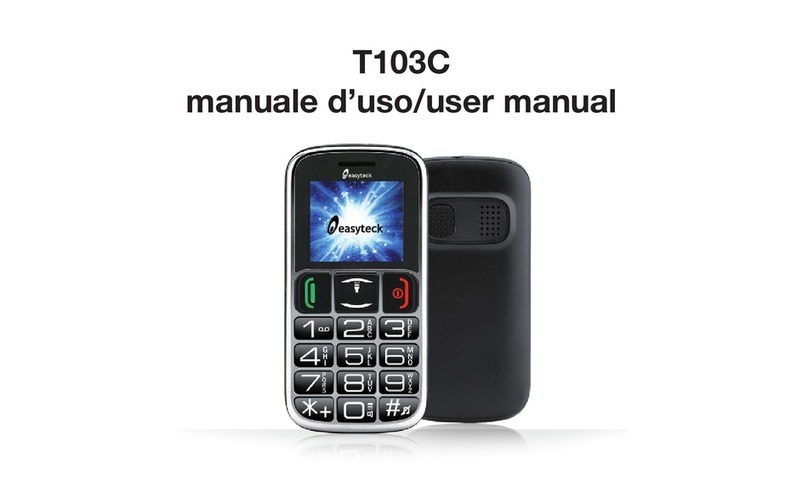
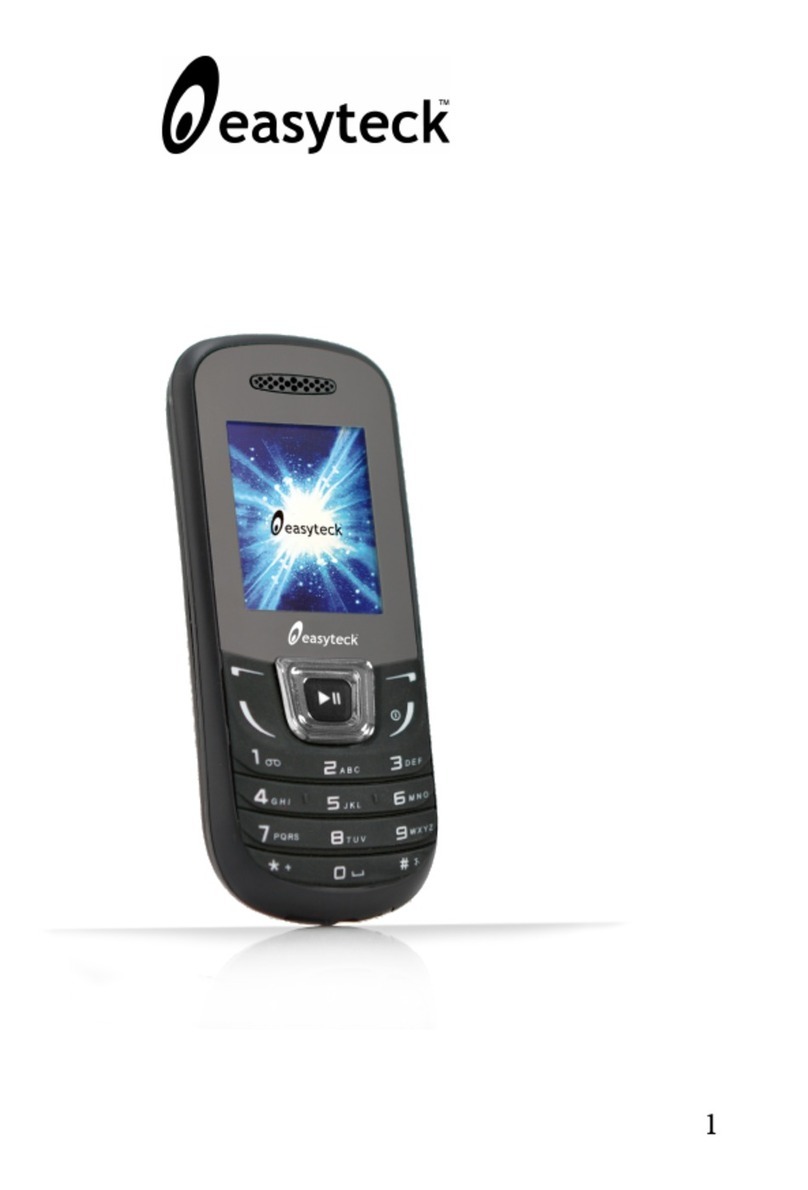
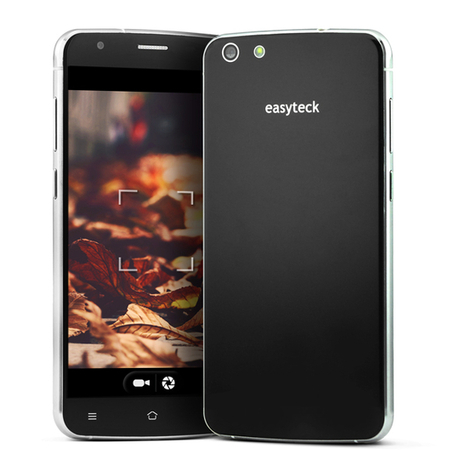
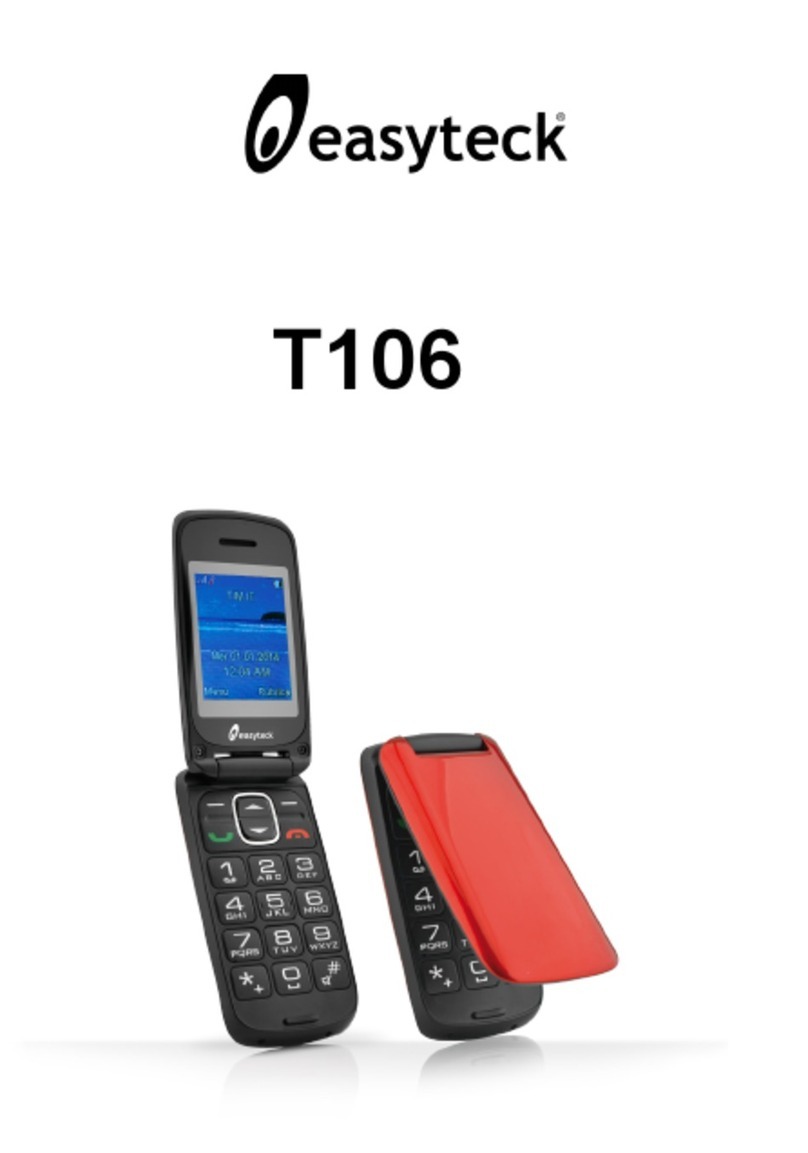
easyteck T120 User manual

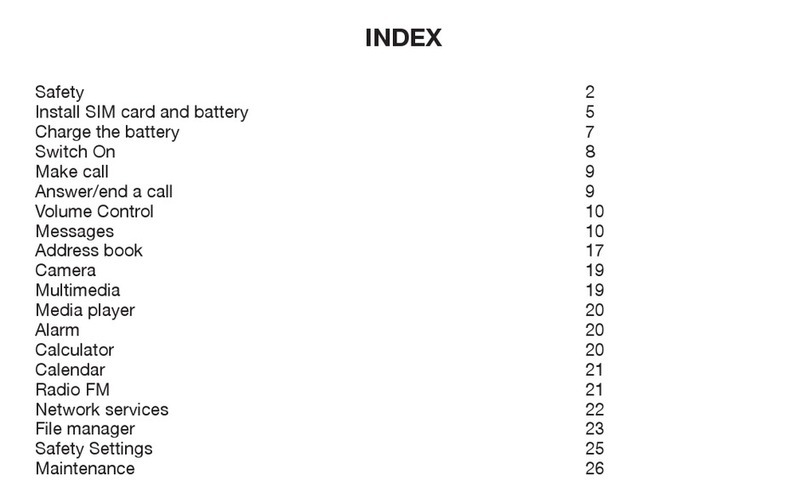
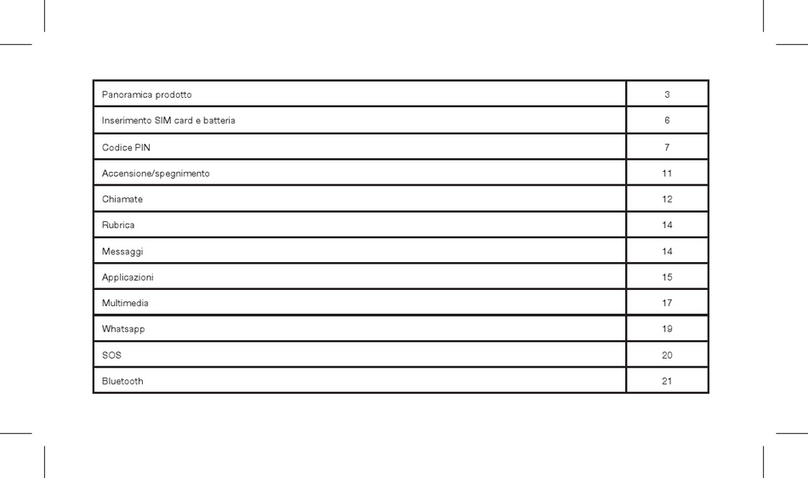
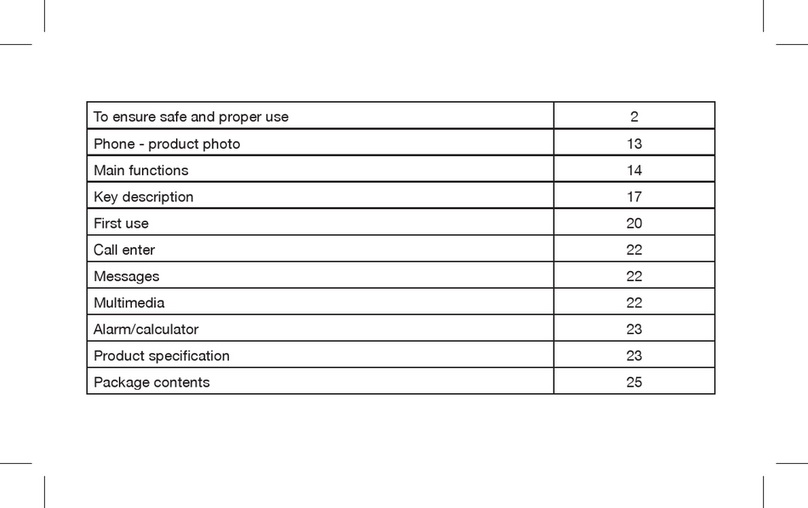
Installing the battery and SIM card 6
Product overview 7
Messages 8
Phonebook 10
Call settings 12
Multimedia 13
FM radio 16
SOS setting 17
Organizer 24
Bluetooth 25

2 3
Turning o when in hospital
Please obey the restriction rules and turn o the device near hospitals.
Turning o when on ight
Please obey the relevant rules and restrictions; any interference caused by a wireless device
may be dangerous.
Turning o in service areas
Turn o wireless devices in gas station, or near chemical or inammable stu.
TO ENSURE SAFE AND PROPER USE
Please read these guidelines to avoid an illegal or dangerous use.
For additional information please read the user manual.
Safe turning on of the device
Do not turn on the device when use of same is not allowed or when its use may cause inter-
ferences or danger situations.
Safety on trac on top
Please obey local regulations, drive with both hands and strictly re-spect road safety.
Interferences
All wireless devices may have work improperly, owing to interferences.

4 5
Qualied service
Only qualied sta is recommended for device installation and main-tanance.
Accessories and batteries
Use only approved accessories and batteries, always use compati-ble devices.
Impermeability
This kind of device is not water-proof. You should keep it in dry places.
Get a copy
Remember to save one copy of any important data memorized in your device, for fear they
may get lost due to unpredictable reasons.
Emergency call
Make sure network is available and the “call” feature is activated; when some network featu-
res are active, emergency call might be unavailable. So please deactivate these functions and
dial the emergency number once again.
CAUTION: Lithium battery. Risk of explosion if the battery is replaced by an incorrect
type.

6 7
Installing the battery and the sim card
1.Remove the battery cover and the battery.
2.Insert the Sd card by carefully sliding into the holder (not mandatory).
3.Insert the SIM card by carefully sliding into the holder. Make sure the SIM card’s contacts are
facing inwards.
4. Insert the battery, sliding it into the battery compartment
5. Install the battery cover again
Read carefully this manual before using the device for the rst time.
Keep this guide in a safe place for future usage
Go to message settings M1-M2: direct call to preset
M1/M2 numbers
Go to phonebook
Tasto button
End call/power ON-OFF
Go to menu
Call button
Product overview

8 9
Messages
Write and send SMS messages
1.Press Menu, go to Messages and press OK.
2.Select Write message and press OK.
3.Write the SMS text.
If necessary, press “*” to select symbols. Press Options to insert the SMS’s receiver.
Inbox
1.Press Menu, go to Messages and press OK.
2.Select Inbox and press OK.
3.Select a message from the list and choose Options -> View to read the message.
Other options are:
Reply
Enter the message and send it to the person who sent it
Call sender
Choose Select to call the sender.
Forward
Enter in message modify mode; select Option → Send to in order to select the contact you
need to send the message to.
Delete
Choose Select to delete the message.
Delete all
Delete all the SMS stored in the memory.
Drafts
In this menu you can manage the draft messages.
Outbox
This menu relates to the management of outgoing messages, which the phone is trying to
send, but not yet sent
Sent messages
Sent messages management

10 11
SMS settings
Here you can check the status of the phone memory and dene the memory where to save
messages (SIM card or phone memory)
Phonebook
Adding a new contact
1. Press Menu, select Phonebook and press OK.
2. Select Add new contact and press Options.
3. Premere Select to choose whether to save To Phone or to SIM.
4. Insert name and number.
5. Choose Options and decide whether to Save the contact or Cancel the operation.
6. Press to go back to main screen.
Note: Press to insert the International prex + (ie. +39 for Italy)
Always add “+” before the phone number to make an International call
Making a phone call
1.In the main screen, write the telephone number using the numbers in the keypad; In case of
error, select Clear.
2.Press to make the phone call and to stop the call.
Calling from the Phonebook
1.In the main screen, press Menu -> Phonebook to go to the contact list.
2.Use the arrows to scroll through the names in the directory, or press the rst letter of the
name to quickly search
3.Press to call the selected contact.
Call center
All the phone calls managed by the phone are saved in the call center.
Call history
1.Press Menu, go to Call Center and press OK.
2.Select Call history and press OK.
3.Here you can see and manage all the calls:

12 13
Missed
Dialed
Received
All calls
Call settings
1.Press Menu, go to Call Center and press OK.
2.Select Call settings and press OK.
3.Here you can activate or cancel the following functions:
Call waiting
Call divert
Call barring
4.On the Advanced settings menu, it is possible to manage the following functions:
Auto redial
Press OK to select the ON/OFF status.
Call time reminder
Press OK and Select O, Single or Periodic in order to see the call duration.
Answer mode
Press OK to activate the answer key with any key or set up automatic reply when using
headphones .
“Cover answer” means that you can answer the calls opening the cover of your phone.
Multimedia
Camera
1.Press Menu, go to Multimedia and press OK to open the Camera.
2.Use the Arrow buttons to increase or decrease the zoom level
3.Take the picture pressing on the button number “5”
4.To save videos, press on the button number “0” or Options -> Switch to video recorder to
go to video recorder mode
NOTE: To save video, it is necessary to insert a memory card on the phone

14 15
Pressing the “Options” menu in camera mode and choosing “Camera settings”, it is possible
to select the scene mode “Night” or manage the Delay Timer, which is the number of seconds
in which the picture is taken, after pressing the number “5” .
Image Viewer
You enter here to the list and manage images saved in the phone memory or SD card.
From the list, select Options -> View, then press the numbers “4” or “6” to surf all the saved
images.
Video Player
Enter this menu to play videos recorded with the video camera.
Select the le to play, then choose Options -> Play.
To play the videos, press the button “5”; press the same button to stop it.
Press “6” or “4” for fast forward or rewind.
NOTE: The video player automatically displays the videos stored in VIDEOS directory of
the SD card.
The system can play videos saved on your phone, and it is not guaranteed to play other video
formats from other sources.
Audio Player
Enter this menu to play audio les (eg MP3).
To add les to playlist, go to List, then Options -> Add and choose the audio les in the fol-
ders on your phone or memory card.
To play the videos, press the button “5”; press the same button to stop it.
Press “6” or “4” for fast forward or rewind.
Sound recorder
Sound recording
1.Press Menu and go to Multimedia, press OK afre choosing Sound recorder.
2.Select Options -> New record to create a new audio recording. Press STOP to save it.
3.Select Options –> List to see all the saved recordings, then Options -> Play to listen to the
chosen le.
From this menu, you can select the recording as Ringtone (Select “Use as”)

16 17
4.Go to Options -> Settings to dene the audio quality and the storage where to save the les
FM Radio
1.Press Menu, go to Multimedia and press OK after selecting FM Radio.
2.From the Radio screen, press the up / down arrows to change the frequency manually;
press the number “6” to automatically search for the next frequency, and the numeric key “4”
to search for the previous
You can adjust the volume pressing the buttons “*” and “#”.
3.Press Options to see the saved Radio channels
4.Select Manual Input to insert manually the desired frequency.
5.Select Auto Search to search automatically the radio channels and save them in the list.
6.Go to settings to dene the background play On or O (i.e., when you go out from the FM
Radio Menu)
SOS setting
1.Press Menu and go to SOS Setting.
2.Select SOS switch setting to activate or delete the SOS setting (when you press the SOS
button on the back of the phone).
3.Select SOS number to dene the numbers to call or send SMS; you can choose up to 5
numbers.
4.Select SOS message to choose whether to send the SMS SOS message and modify its text.
After pressing the SOS button, SMSs are sent to all the numbers entered on the SOS numbers
(if the function has been activated) and calls are made to the numbers in the order dened in
the previous menu, until the rst answer
5.Select Alarm Sound to select whether the sound signal is issued or not when you press the
SOS button
6.Low Battery reminder: an SMS can be sent when the phone battery gets low.
SETTINGS
All the main phone congurations can be set up under this menu.

18 19
Boost
1.Press Menu and go to Settings.
2.Select Boost and press OK.
3.Activate or delete the extra volume (higher volume) during phone calls.
Family numbers
M1 and M2 buttons can be used to make quick phone call sto predened numbers.
To add numbers to be called pressing M1 or M2 buttons:
1.Press Menu and go to Settings.
2.Select Family numbers and press OK.
3.Activate the function (Status ON) and select Number setting.
4.Select 1 (corresponding to M1 button) and press Option, after that you can choose the
telephone number from the Phonebook or insert it manually.
5.At this point, pressing the M1 key, a phone call will be made to the phone number here
specied.
Select 2 to to modify the number associated to the button M2.
User Proles
1.Press Menu and go to Settings.
2.Select User Proles and press OK. The basic proles are the following:
General
Silent
Meeting
Outdoor
For every prole, you can set up the ringtones for power on/o, call ringtone, etc.
2.Select General and press Options.
3.Select Customize and press Select.
4.Select Alert type and press Options in order to Select Ring Only, Vibration only, Vibration
and Ring or Vibration and then ring. Press OK to save.
5.Go to Ring type and press Options to decide if the ringtone must be repeated until the
answer, or only once.
6.Go to Ringtone and press Options to select the desired ringtone.
7.Go to Ringtone Volume and press Options; use the arrows to increase or decrease the
ringtone volume, and press OK to save.

20 21
8.Go to Message and press Options to select the preferred tone for the coming SMS.
9.Go to Keypad and press Options, to dene if after pressing any key, a sound will be pro-
duced, a click, or a voice with the number announcement; press OK to choose the desired
option
10.Go to Keytone volume and press Options; use the arrows to increase or decrease the
volume, and press OK to save.
When all modications are made, select Options –> Save to save the modications.
All the other proles can be modied in the same way.
Phone settings
1.Press Menu and go to Settings.
2.Select Phone settings and press OK.
Following the possible settings:
Date and time
1.Select Set home city and choose your relevant city.
2.Select Set time/date and press OK to change date and time.
3.Select Set format and press OK to decide the time format (12 or 24 hours) and the date (ie,
DD/MM/AAAA).
Language
1.Select Language and press OK.
2.Use the arrows to choose your Language from the list and press OK.
Input method
1.Select Pref.input method and press OK.
Use the arrows to choose your preferred input method and press OK .
Display
1.Select Display, and go to Wallpaper.
2.It is possible to select a wallpaper from the system default, the phone memory or the SD
card.
3.Set the screen Auto lock, which means the time after which the keypad should be locked;
the keypad can also be manually locked, pressing the “End call” button from the main screen.

22 23
4.Select LCD backlight to dene the screen brightness and the date and time shown on the
phone main screen.
5.Select Show date and time to choose whether to select date and time on the main screen.
Dedicated keys
Here you can assign special functions to the arrows up and down keys.
1.From the Phone settings menu, choose Dedicated keys and press OK.
2.Select “Up” to choose the action assiociated with Arrows up button, and then Edit to set the
action; for the Arrows down button, you can do a similar conguration by selecting “Down”.
Flight mode
Here you can activate the ight mode, when you are on a plane. The ight mode removes all
network connections on the phone.
Incoming call report
Here you can turn on the pronunciation of the phone numbers of the caller; when an incoming
call arrives, the device will speak one by one the numbers of the calling telephone.
Security settings
1.From the Phone settings menu, choose Security settings and press OK
The following menus will appear:
A. SIM security
Here you can set the phone is locked by the SIM PIN. SIM PIN can also be changed.
B. Phone security
Here you can set a phone password, which is required when the device turns on.
The initial password is 1122 and can be changed at will.
Restore Factory settings
1.From the Phone settings, choose Restore factory settings and press OK.
Press OK and insert the password (Initial Password: 1122) to restore the phone to initial set-
tings; all the personal settings will be deleted.

24 25
File manager
From this menu you can manage the les on the SD card and on the phone memory.
1.Press menu, go to File Manager and press OK.
2.Select Phone or SD card to manage the les in the chosen memory.
Warning: the SD Card menu opens only if the memory card is inserted in the phone
(memory card not included).
Organizer
Calendar
1.Press Menu and go to Organizer, Select Calendar and press OK.
The screen moves to today’s date.
2.Press Options to go to Jump to date – insert the date and press OK to go to the decided
date.
Calculator
1.Press Menu and go to Organizer, Select Calculator and press OK.
2.Insert the rst number and if necessary use the button “#” to insert the decimal points.
3.Use the arrow buttons to select the operation ( + - * ÷).
4.Insert the next number and press OK. The result will be shown on the screen.
Alarm
1.Press Menu and enter into Organizer, Select Alarm and press OK.
2.Press Edit to Select the status On/O.
3.Insert the alarm time using the numbers on the keypad
4.Select the repeat time and the Alarm Tone.
5.Press Save to activate the alarm; press the red button not to save the modications.
Bluetooth
1.Press Menu and go to Organizer, select Bluetooth and press OK.
2.Power: Select On or O to activate or close the Bluetooth.
3.Visibility: Select On to make the phone visible to other BT devices.
4.My device: Possibility to add other BT devices.
5.My name: Bluetooth name of your phone.

26 27
MANUFACTURER’S LIMITED WARRANTY
This warranty does not limit the rights granted to consumers by specic national rules on consumer goods.
The period of time during which this warranty is valid is limited to 24 months starting from the rst date of
purchase of the product. If it is used for professional purposes, the period is reduced to 12 months. During
the warranty period, the national distributor Easyteck indicated at the bottom of this certicate, will, at its
own expense and within a reasonable time, remove any interferences that may be encountered, and caused
by manufacturing defects. Except as required by applicable law, the defects found by assistance personnel
will be resolved by repair or, at the discretion Easyteck, through the replacement of the Product.
This limited warranty is only valid in the European country for which the product is intended and is the sole
responsibility of the national distributor of reference for that country and which is identied in the bottom of
the certicate. Some limitations in assistance services covered by this warranty may arise from the presence
of specic components for a country.
Warranty referred to accessories and spare parts contained in the package
The package for the product covered by this warranty may contain accessories or spare parts that have a
dierent warranty period since they are consumables, the warranty periods are summarized as follows:
- 24 months for cell phones
- 12 months for non-consumable accessories
- 6 months for batteries, headsets, memory cards or other.
The following are not covered by the warranty:
-The manuals and/or packaging
-User contents, congurations downloaded into the product or third party software
-Costs related to shipping the product to and from an authorized service center
-Deterioration caused by normal wear and tear including batteries
-Breakage due to accidental causes or inexperience and all damages caused by any external agent.
-Damage caused by improper use as described in the manual supplied with the product.
-All failures caused by use of non-original accessories, by viruses, or by connections to computers and
networks.
-All defects caused by exposure to moisture and/or steam, from use under extreme thermal or environmental
conditions or in the presence of corrosion, oxidation, food, liquid or chemical spills.
Limits of Liability:
The SIM card that is required to use the phone is provided by the phone operator and is therefore excluded
from the warranty.
-This warranty is the protection given to the consumer by Easyteck through the reference dealer and is not
intended to limit guarantees to the consumer which the retailer must ensure in accordance with the laws of
the dierent countries.

28 29
-This warranty will be honored only and exclusively at authorized service centers or at retailers that are
responsible for selling Easyteck brand products.
-The terms of the Guarantee shall not be extended under any circumstances and will be eective only from
the date the product is rst sold to the nal consumer, as certied by a valid receipt.
-The faulty parts replaced during repairs under warranty are the sole property of Easyteck and cannot be
demanded by the consumer in any way.
-To the extent permitted by applicable law and in the absence of fraud, no liability is attributable to Easyteck
for damages due to loss of user data caused by any defect covered by the warranty.
-The consumer, to be able to obtain the repair, must always deliver the product to the authorized service
center at his own expense, devoid of any lock or security code that limits or prevents use.
-Loss of prot, losses caused by non-use of the product or loss of revenues for any direct, indirect, special
or consequential damages are also excluded from the liability.
-The responsibility of Easyteck is always limited to the purchase value of the product and the consumer is
always responsible for keeping a copy of the personal data and software stored in the phone’s memory.
-For faults which, for the reasons listed above, are not attributable to the terms of this warranty the con-
sumer who does not want to have the repair carried out, will be required to pay the corresponding amount
requested by the service center. Easyteck shall in no way be held responsible for this request because it is
not under warranty.
CAUTION: The warranty is not valid if any attempts have been made to open or tamper with the pro-
duct, including remove and/or obliterate labels and/or the IMEI code of the product.
Product sold in the European community
Manufactured by Fonex S.p.A. via dell’artigianato 2/4 Sant’Albano Stura (CN)
MADE IN CHINA
Stamp and signature of dealer
Date of purchase 2200
to avoid possible hearing damage, limit the amount of time listening at
high volumes
to avoid possible hearing damage, limit the amount of time
listening at high volumes

30 31
INFORMATION FOR USERS
pursuant to Legislative Decree No. 49 of March 14, 2014
“Implementation of Directive 2012/19 / EU on Waste Electrical and Electronic Equipment (WEEE)”
This wheeled bin symbol on the product indicates that at the end of its life must be collected separately from
other waste. The user must, therefore, take the remote control integrates the essential components that got to
its life to the appropriate dierentiated collection centers for electronic and electro-technical waste, or return
it to the dealer when purchasing a new appliance of equivalent type, in terms of one to one, or one to zero for
equipment having longer side of less than 25 cm. Appropriate separate collection for the decommissioned
equipment for recycling, processing and environmentally compatible disposal helps prevent negative impact
on the environment and human health and promotes recycling of the materials making up the product. Illegal
dumping of the product by the user entails the application of administrative sanctions stated in Legislative
Decree n. Legislative Decree No. 49 of March 14, 2014.
Your product contains batteries covered by the European Directive 2013/56/EU, and that can not be disposed
of with normal household waste. Please inform yourself about the local rules on separate collection of batteri-
es because correct disposal helps to prevent negative consequences for the environment and health.
The battery is incorporated, to be disposed at the end of the useful life of the product, it can not be removed
by the user. In this case, recycling or recovery centers handle the dismantling of the product and remove the
battery.
READ CAREFULLY AND KEEP THE INFORMATION FOR FUTURE REFERENCE
Declaration of conformity Directive RED 2014/53/EU
The company FONEX SPA declares that the product T120 complies with the essential requirements of the
RED 2014/53/EU.
The declaration of conformity in complete form is available at the headquarters of FONEX SPA via
dell’Artigianato 2/4 - 12040 - Sant’Albano Stura (CN)
Table of contents
Other easyteck Cell Phone manuals

easyteck
easyteck M200 User manual

easyteck
easyteck T710 User manual

easyteck
easyteck T900 User manual

easyteck
easyteck T110 User manual

easyteck
easyteck M300 User manual

easyteck
easyteck W70-M100 User manual

easyteck
easyteck T125 User manual

easyteck
easyteck UP User manual

easyteck
easyteck T116 User manual

easyteck
easyteck T200 User manual