_ Electric Ovens _ rev. 0 ______________________________________________________________EKF 523 UD _
_____________________________________________________________________________________ page 5 _
3.
3. 3.
3. Technical specifications
Technical specificationsTechnical specifications
Technical specifications
Dimensions of appliance LxDxH (mm)
Dimensions of appliance LxDxH (mm)Dimensions of appliance LxDxH (mm)
Dimensions of appliance LxDxH (mm)
610x730x660
Weight (Kg)
Weight (Kg)Weight (Kg)
Weight (Kg)
44
Convec
ConvecConvec
Convection heating element (kW)
tion heating element (kW)tion heating element (kW)
tion heating element (kW)
3
Max. absorbed power (kW)
Max. absorbed power (kW)Max. absorbed power (kW)
Max. absorbed power (kW)
3 2
Power supply voltage (V)
Power supply voltage (V)Power supply voltage (V)
Power supply voltage (V)
230V~ (50Hz)
Power cable diameter
Power cable diameterPower cable diameter
Power cable diameter
3x1 5 mm
2
Type of cable
Type of cableType of cable
Type of cable
H07RN-F
Connecting electric cable
Connecting electric cableConnecting electric cable
Connecting electric cable
Tipo Y
Class
ClassClass
Class
I
Degree of protection against humidity
Degree of protection against humidityDegree of protection against humidity
Degree of protection against humidity
IPX3
Water pressure
Water pressureWater pressure
Water pressure
(kPa)
100-200
The noise level of the appliance in operation is below 70 dB (A).
The noise level of the appliance in operation is below 70 dB (A).The noise level of the appliance in operation is below 70 dB (A).
The noise level of the appliance in operation is below 70 dB (A).
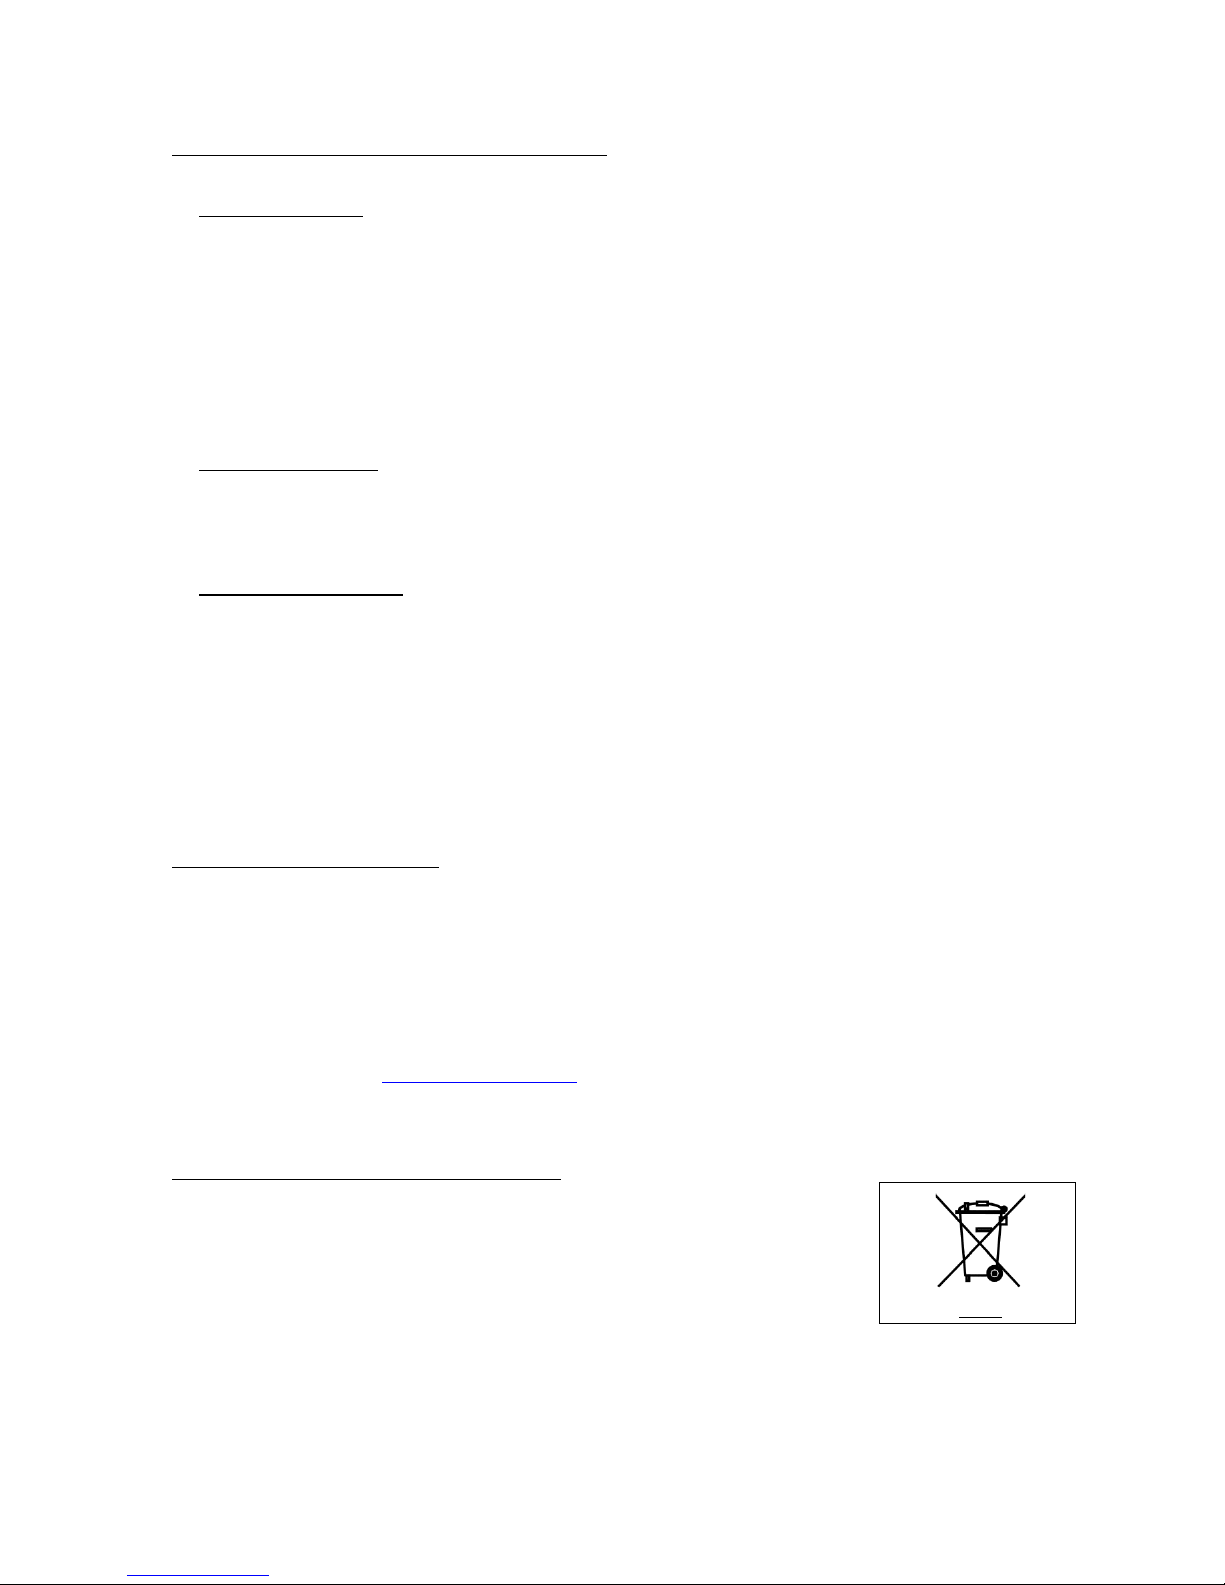
The "technical data" plate is positioned on the rear panel of the appliance.
The "technical data" plate is positioned on the rear panel of the appliance.The "technical data" plate is positioned on the rear panel of the appliance.
The "technical data" plate is positioned on the rear panel of the appliance.
4.
4. 4.
4. Instructions for the installer
Instructions for the installerInstructions for the installer
Instructions for the installer
The following instructions are aimed at the qualified installer to ensure that he carries
out the installation adjustment and maintenance operations as correctly as possible and
according to current legal regulations. Any operation must be performed with electrical
power cut to the appliance.
Before using the appliance carefully remove the special adhesive film protecting the parts
in stainless steel. Do not leave any glue residues on the surfaces. If necessary remove them
at once with an appropriate solvent.
Fitting the feet
Fitting the feetFitting the feet
Fitting the feet - The feet are inside the appliance and must be secured on the four
threaded holes on the base. If necessary the height of the feet can be adjusted by screwing
or unscrewing.
Positioning
PositioningPositioning
Positioning - Position the appliance perfectly horizontally on a table or similar support (the
table or support must be at least 85 cm above the floor). Position it at a distance of not less
than 10 cm from the side and rear walls to enable natural ventilating air to circulate freely
around it. The appliance is ventilated through specific openings on the metal walls of the
outer housing and ensures efficiency and long-life. For this reason it is strictly forbidden to
obstruct these ventilation openings even partially or for short periods. Failure to observe this
Failure to observe this Failure to observe this
Failure to observe this
specific prohibition releases the manufacturer of th
specific prohibition releases the manufacturer of thspecific prohibition releases the manufacturer of th
specific prohibition releases the manufacturer of the appliance from all responsibility and
e appliance from all responsibility and e appliance from all responsibility and
e appliance from all responsibility and
immediately voids any guarantee rights for the said appliance
immediately voids any guarantee rights for the said appliance immediately voids any guarantee rights for the said appliance
immediately voids any guarantee rights for the said appliance because its constructive
conformity has been voluntarily compromised. Furthermore the appliance is not suitable for
embedding and for grouped positioning with other identical appliances.
Electrical connection
Electrical connectionElectrical connection
Electrical connection - The appliance must be connected to the electrical mains according
to current legal regulations. Before making the connection make sure of the following:
-the voltage and frequency values of the power supply system match the values on
the "technical data" plate affixed on the appliance;
-the limiting valve and the system are able to support the appliance's load (see the
"technical data" plate);
-the power supply system has an adequate earth connection
the power supply system has an adequate earth connection the power supply system has an adequate earth connection
the power supply system has an adequate earth connection according to current
according to current according to current
according to current
legal regulations;
legal regulations;legal regulations;
legal regulations;