manuals.online logo
Brands
  1. Home
  2. •
  3. Brands
  4. •
  5. Elan
  6. •
  7. Controllers
  8. •
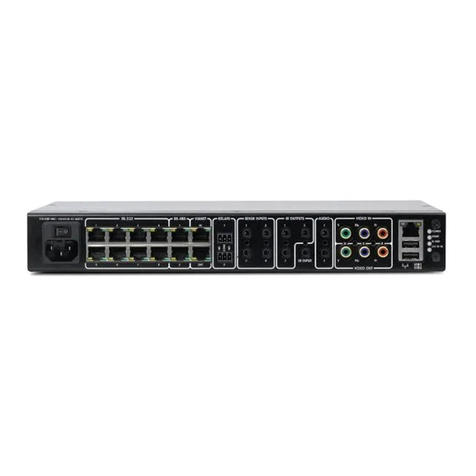
  9. Elan HC6 User manual

Elan HC6 User manual

16VDC
0.75A
PPVNPPIS
+16VDC
Power Supply
AC Power Connection
VIA!Net Connections
Connect to PPVNs and
VIA!Net devices like the
M86A. Uses the ELAN
standard color code.
PPWM
Sense Input Connections
Connect to Sense Input
connections on the PPWM.
IR ALL Port Out
EXTERNAL IR Input
OSD Output &
Passthrough for
component video from
A/V Controller to a
monitor.
Serial Connections
6 RS232 and 2 RS485 ports.
Connect to PPIS panels and/or to the PPWM.
Connect to serial controlled devices using the
supplied DB9-RJ45 adapters.
Relay Connections
Note: Only Room 1-4
punchdowns on the
PPWM have relay
connections.
IR Outputs
Connect to IR Output
connections on the PPWM
and / or to IR controlled
devices located in the rack.
Audio Outputs
Connect to Source Inputs
of the A/V Controller.
Provides audio out for the
Internal Player.
Ethernet Connection
USB Connections
Activity
Indicator
LEDS
IR Link Connection
Use the supplied DB15
cable from the HC6 to the
PPWM.
Be sure to connect the
PPWM’s power supply
when using the DB15
cable.
When using the DB15
connection do not connect
3.5mm mono cables
between the IR Output
connections of the HC6
and the PPWM.
+16VDC
Power Supply
RJ-45 to RS-232
Adapter
Serial Controlled
Device
HC6
Quick Install Guide
Rev. C - 12/13/10
P/N 9901083
DO NOT connect the AC power cord until all other connections have been completed.
1
Unpack the HC6. Verify that you have all package contents. You should have received:
HC6 DB-15 Male-Female Cable  Rack Mounting Ears (2)
AC Power cord DB9 Male to RJ45 Adapter (6) Rack Ear Mounting Screws (8)
HCREM Remote Safety Sheet
AAA Batteries (2) Quick Install Guide (This Document)
The complete HC6 Installation manual can be found by going to www.elanhomesystems.com and
following the dealer link. Precision panel documentation is also located on the dealer site.
Mount the HC6 in the desired location. Use the included rack ears and screws if mounting in an equipment rack.
When choosing the location for the HC6 keep heat management and ventilation in mind. The HC6 should not be
directly located above heat sources such as amplifiers. When possible the HC6 should be mounted at the bottom of the
gear rack. In very warm locations (i.e.: enclosed rack or cabinet) leave a rack space above and/or below the HC6.
Serial Connections
Connect up to 6 RS232 controlled devices using the included DB9 to RJ45
adapters. Two RS485 ports are also available for a total of 8 serial ports.
Connect serial inputs from PPIS panels when using GCIREs. Connect
serial control outputs to the PPWM RJ45 connections for serial controlled
devices located in zones. Suggested Cat5 wiring is 568 for the RS232 port
connections to the DB9-RJ45 adapters. Refer to the Integration Notes for
Cat5 wiring for devices connected to the RS485 ports.
VIA!Net Connections
Connect to PPVN precision panels to provide VIA!Net communication for
TS2 user interfaces. Connect to VIA!Net controlled devices like the M86A.
Use the ELAN standard color code for this connection.
Insert wires in this order:
Blue
White/Blue
Orange
White/Orange
Green
White/Green
Brown
White/Brown
1 2 3 4 5 76 8
PR3
GR
PR2
OR
PR1
BL PR4
BR
ELAN Standard
Relay Connections
Connect to the PPWM precision panel to activate relay controlled devices like lifts, drapes and
movie screens located in the zones. Connect bare leads using the screw down terminals to 3.5
stereo minis connected to the PPWM. Only Room connections 1-4 on the PPWM have relay
connections. Accepts up to 24V AC or DC and current of up to 1 amp.
Sense Input Connections
Connect to the Sense Input connections of the PPWM using 3.5 stereo cables. This allows ELAN
sensors connected to PPRMs to be used to trigger events or to be used when conditionals are
required in programming. The connection from the HC6 provides power for the sensor.
Optionally, sensors may be connected directly to the HC6 sense inputs.
IR Output Connections
Connect to IR controlled devices at the head end or by using the PPWM to connect
to IR controlled devices located in zones. Use 3.5 mono cables to connect to the
PPWM. If more than six IR controlled devices are to be used connect the DB15
cable from the HC6 to the PPWM. An IR ALL port is also provided.
EXTERNAL IR Input Connection
Connect to the EXT IR IN connection of a PPVN or the PPWM. This connection allows the HC6 to
receive IR input from a TS2’s IR receiver (through the PPVN) or from an IR sensor connected to a
PPRM, PPIS or PPIR (through the PPWM). If you need to connect both the PPWM and a PPVN
to the EXT IR In of the HC6 an IR connecting block can be used.
Audio Output Connection
Connect to the source inputs of the A/V Controller. These are the line level audio outputs
of the Internal Player.
Video In/Out Connections
Connect the Video Output to the component input of a monitor to provide the On Screen
Display of the HC6. Connect the Video Inputs to the component video output of the A/V
Controller to allow video to loop through the HC6 when the OSD is not being displayed.
Ethernet and USB Connections
Connect the Ethernet connector to a switch or router to allow the HC6 to communicate on
the network.
Connect the USB connection to the dial-up modem for Voice Mail applications.
Connect AC Power Cord
Verify the HC6 is powered using the Activity Indicator LEDs.
Verify the HC6 is on the network
Using the g! Configuration software verify the HC6 is on the network. You can also “ping”
the HC6’s IP address from a computer that is on the network.
The HC6 comes from the factory as a DHCP client. We recommend changing the IP
address using the “Config IP Info” button on g! ConnectPro to a dedicated static address
outside of the DHCP range of your network.
2
3
4
5
6
7
8
9
10
11
12
13
To help protect your equipment from power surges and momentary power interruptions, we
strongly suggest that you use a battery-backed power supply (UPS) with this equipment.
INSTR, INSTL HC6
LINEAR P/N 9901083 REV: C
INK: BLACK
MATERIAL: 60 LB WHITE PAPER
No. PAGES: 2 Pages (Front and Back)
SCALE: 1-1
SIZE: 11.0 x 17.0
FOLDING: SEE ARTWORK • “ELAN HC6” SHOWS ON FRONT
Final Dimension: 11 x 8.5
NOTE: ARTWORK CREATED BY ELAN HOME SYSTEMS
THIS MANUAL MUST BE RoHS COMPLIANT
ELAN HC6
Fold 1

Other manuals for HC6

1

Other Elan Controllers manuals

Elan VC VSE2 User manual

Elan

Elan VC VSE2 User manual

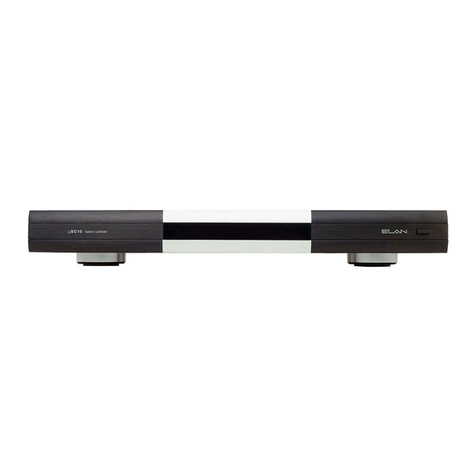
Elan gSC10 User manual

Elan

Elan gSC10 User manual

Elan OLE User manual

Elan

Elan OLE User manual

Elan Z-600 User manual

Elan

Elan Z-600 User manual

Elan S6 User manual

Elan

Elan S6 User manual

Elan System12 User manual

Elan

Elan System12 User manual

Elan RS232 User manual

Elan

Elan RS232 User manual

Elan System12 Guide

Elan

Elan System12 Guide

Elan V Series User manual

Elan

Elan V Series User manual

Elan VIA! DVDJ User manual

Elan

Elan VIA! DVDJ User manual

Elan EL-SC-300-ZW User manual

Elan

Elan EL-SC-300-ZW User manual

Elan C2 Communications Controller User manual

Elan

Elan C2 Communications Controller User manual

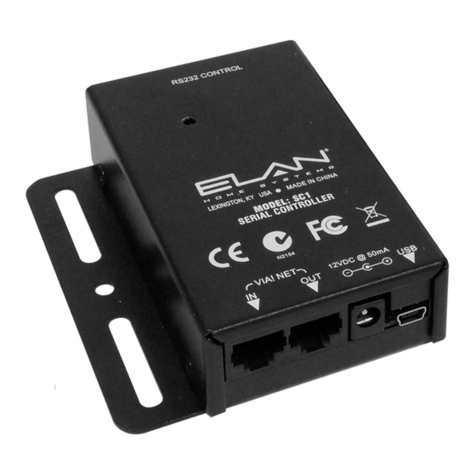
Elan SC1 User manual

Elan

Elan SC1 User manual

Elan S128P User manual

Elan

Elan S128P User manual

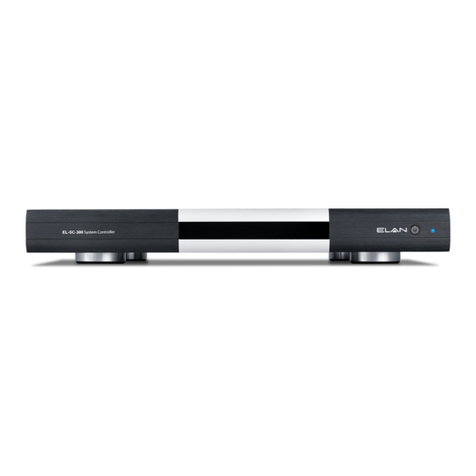
Elan EL-SC-300 User manual

Elan

Elan EL-SC-300 User manual

Elan OLE XL User manual

Elan

Elan OLE XL User manual

Elan EL-SC-100 User manual

Elan

Elan EL-SC-100 User manual

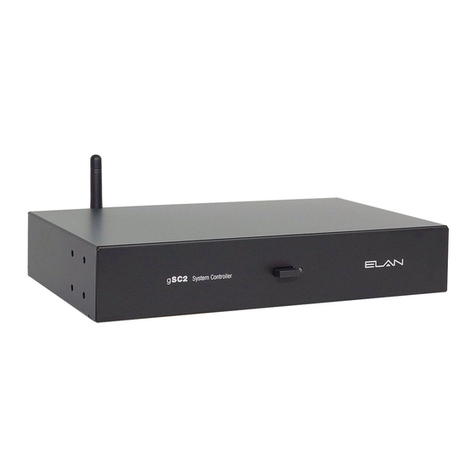
Elan gSC2 User manual

Elan

Elan gSC2 User manual

Elan N800 User manual

Elan

Elan N800 User manual

Elan COM2 User manual

Elan

Elan COM2 User manual

Elan EM78P458 User manual

Elan

Elan EM78P458 User manual

Elan SC1 User manual

Elan

Elan SC1 User manual

Elan eKM6211 User manual

Elan

Elan eKM6211 User manual

Elan Z-880 User manual

Elan

Elan Z-880 User manual

Popular Controllers manuals by other brands

Cambridge Air Solutions BACNET EVAP operating instructions

Cambridge Air Solutions

Cambridge Air Solutions BACNET EVAP operating instructions

Helios TDS 0,8 Installation and operating instructions

Helios

Helios TDS 0,8 Installation and operating instructions

HAVKON BCP-6-T manual

HAVKON

HAVKON BCP-6-T manual

LEGRAND MRD6 v2 installation instructions

LEGRAND

LEGRAND MRD6 v2 installation instructions

HighPoint RR37 8 28 Series installation guide

HighPoint

HighPoint RR37 8 28 Series installation guide

Tangent Wave element Tk user manual

Tangent Wave

Tangent Wave element Tk user manual

Siemens LOGO! 24RC manual

Siemens

Siemens LOGO! 24RC manual

Peavey SANPERA I Player's handbook

Peavey

Peavey SANPERA I Player's handbook

lefeirc SN-L V2 user manual

lefeirc

lefeirc SN-L V2 user manual

Smarttech LPC-2.DI6 user manual

Smarttech

Smarttech LPC-2.DI6 user manual

Sunlover SL6RR manual

Sunlover

Sunlover SL6RR manual

DXT Eurolite Node IV user manual

DXT

DXT Eurolite Node IV user manual

Control Module Genus G1 Mark II user manual

Control Module

Control Module Genus G1 Mark II user manual

Honeywell T775U 2000 Series installation instructions

Honeywell

Honeywell T775U 2000 Series installation instructions

Danfoss AK-SC255 troubleshooting guide

Danfoss

Danfoss AK-SC255 troubleshooting guide

Festo CMXR-C1 Assembly and installation

Festo

Festo CMXR-C1 Assembly and installation

Luxul XWS-2610 user manual

Luxul

Luxul XWS-2610 user manual

DoorBird A1081 Series installation manual

DoorBird

DoorBird A1081 Series installation manual

manuals.online logo
manuals.online logoBrands
  • About & Mission
  • Contact us
  • Privacy Policy
  • Terms and Conditions

Copyright 2025 Manuals.Online. All Rights Reserved.