manuals.online logo
Brands
  1. Home
  2. •
  3. Brands
  4. •
  5. Elan
  6. •
  7. Controllers
  8. •
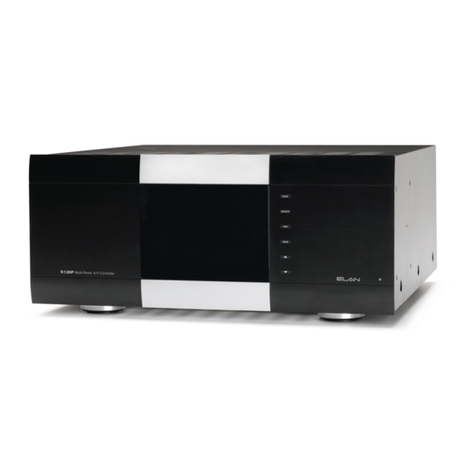
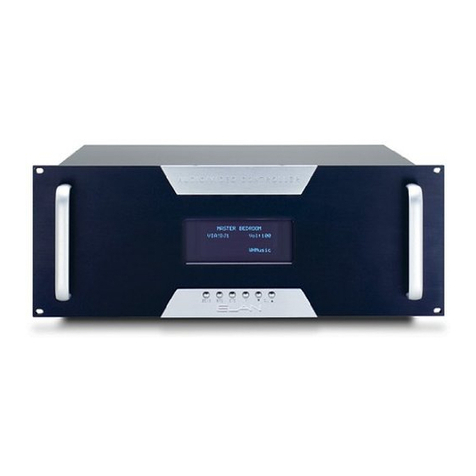
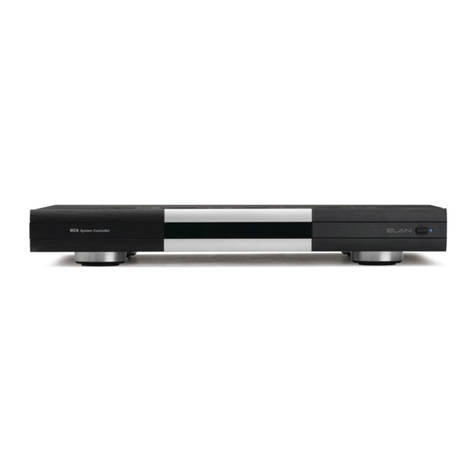
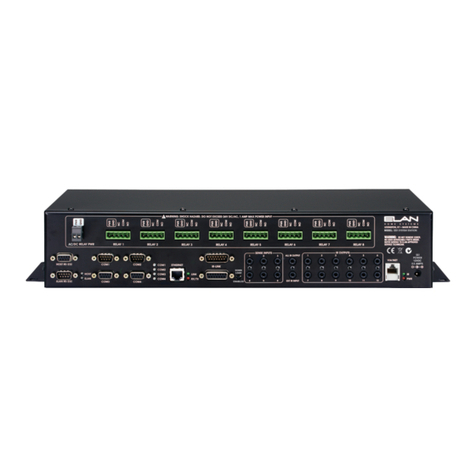
  9. Elan Z-600 User manual

Elan Z-600 User manual

Other manuals for Z-600

2

Other Elan Controllers manuals

Elan gSC10 User manual

Elan

Elan gSC10 User manual

Elan C2 Communications Controller User manual

Elan

Elan C2 Communications Controller User manual

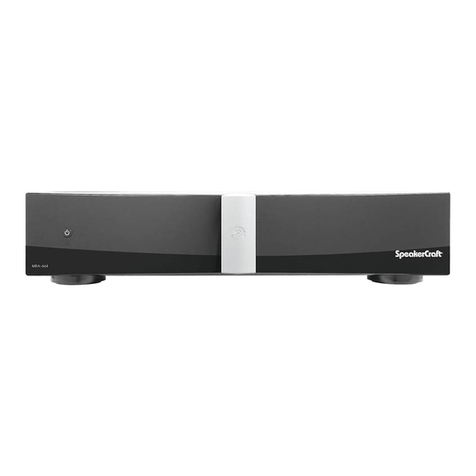
Elan SpeakerCraft MRA664 Quick start guide

Elan

Elan SpeakerCraft MRA664 Quick start guide

Elan S8.6AV User manual

Elan

Elan S8.6AV User manual

Elan VIA! DVDJ User manual

Elan

Elan VIA! DVDJ User manual

Elan EL-SC-300 User manual

Elan

Elan EL-SC-300 User manual

Elan HC8 User manual

Elan

Elan HC8 User manual

Elan Via! dvdj User manual

Elan

Elan Via! dvdj User manual

Elan S6 User manual

Elan

Elan S6 User manual

Elan V883 User manual

Elan

Elan V883 User manual

Elan SS1 User manual

Elan

Elan SS1 User manual

Elan RS232 User manual

Elan

Elan RS232 User manual

Elan V883 Quick start guide

Elan

Elan V883 Quick start guide

Elan COM2 User manual

Elan

Elan COM2 User manual

Elan System12 Guide

Elan

Elan System12 Guide

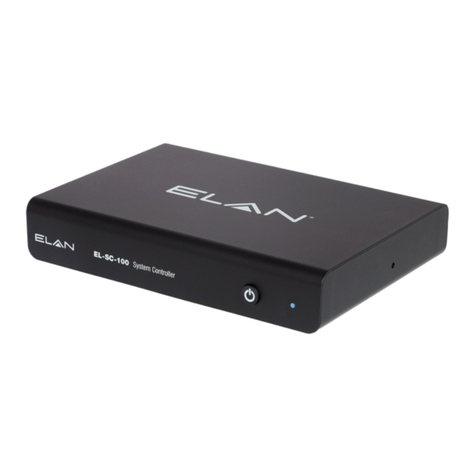
Elan EL-SC-100 User manual

Elan

Elan EL-SC-100 User manual

Elan OLE User manual

Elan

Elan OLE User manual

Elan OLE XL User manual

Elan

Elan OLE XL User manual

Elan EM78P156EL User manual

Elan

Elan EM78P156EL User manual

Elan EM78P458 User manual

Elan

Elan EM78P458 User manual

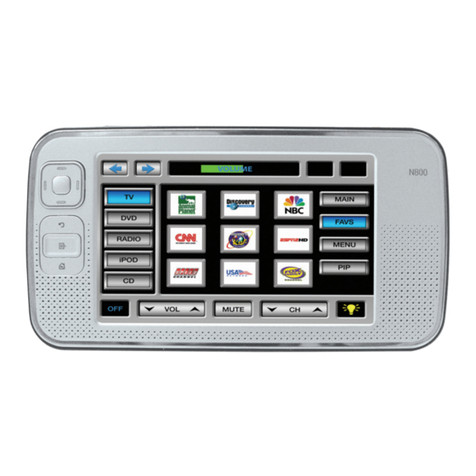
Elan N800 User manual

Elan

Elan N800 User manual

Elan System12 User manual

Elan

Elan System12 User manual

Elan gSC2 User manual

Elan

Elan gSC2 User manual

Elan VSOS User manual

Elan

Elan VSOS User manual

Popular Controllers manuals by other brands

Sunricher SR-ZV9003T3-RGBW-US Installation

Sunricher

Sunricher SR-ZV9003T3-RGBW-US Installation

Ksenia intro Installation and configuration manual

Ksenia

Ksenia intro Installation and configuration manual

Inovance CAN200 Series manual

Inovance

Inovance CAN200 Series manual

Gauzy LC6 FLEX Controller Installation and operation guide

Gauzy

Gauzy LC6 FLEX Controller Installation and operation guide

Viking SLP-1 Technical practice

Viking

Viking SLP-1 Technical practice

CKD KBX-30E-U Series instruction manual

CKD

CKD KBX-30E-U Series instruction manual

Sharp Energy Sun Flux User manual & installation guide

Sharp Energy

Sharp Energy Sun Flux User manual & installation guide

Yamaha RCX40 user manual

Yamaha

Yamaha RCX40 user manual

AB Quality PowerFlex 400 Frames D-H Service bulletin

AB Quality

AB Quality PowerFlex 400 Frames D-H Service bulletin

Yamaha MJC8 owner's manual

Yamaha

Yamaha MJC8 owner's manual

AL-KO ATC operating instructions

AL-KO

AL-KO ATC operating instructions

Savant SmartControl 2 Deployment guide

Savant

Savant SmartControl 2 Deployment guide

GameSir T3S user manual

GameSir

GameSir T3S user manual

Kostal inveor operating manual

Kostal

Kostal inveor operating manual

Emerson Yarway 20-55 Operating and safety instructions

Emerson

Emerson Yarway 20-55 Operating and safety instructions

CoCo ACM-LV24 Quick installation guide

CoCo

CoCo ACM-LV24 Quick installation guide

Brooks SLA5810/20 Installation and operation manual

Brooks

Brooks SLA5810/20 Installation and operation manual

SIGMA TEK SR 011 Technical manual

SIGMA TEK

SIGMA TEK SR 011 Technical manual

manuals.online logo
manuals.online logoBrands
  • About & Mission
  • Contact us
  • Privacy Policy
  • Terms and Conditions

Copyright 2025 Manuals.Online. All Rights Reserved.

600 COMM CONTROLLER QUICK REFERENCE GUIDE
Z600 FRONT PANEL ADJUSTMENTS
Page
Loop-Thru
Level
Page & Door Chime
Output Level
Door Chime Loop-
Thru Level
(Pull back left side of front panel strip to access)
MOH
Input Level
DIP SWITCH SETTINGS
1. (Factory Default:
Selects whether the or key
is used to initiate ELAN telcomm
features.
2. (Factory Default: 65ms)
Switch to 85ms only if experiencing
intermittent drop-outs during a phone
conversation.
3. (Factory Default: 75ms)
Switch to 1.25 sec. only if experiencing
trouble with Call Waiting functions.
4. (Factory Default: +3dB)
Switch to '0' if the Door Speaker is too
loud or you are experiencing
feedback from the Door Speaker.
5. (Factory Default: +3dB)
Switch to '0' dB if the Door Mic is too
loud or you are experiencing feedback
from the Door Mic.
#
)
#*
1 2 3 4 5
*
#
65 85
.75 1.25
0
+3
0+3
POUND/STAR
DEBOUNCE
FLASHHOOK
DSPKR GAIN
MIC GAIN
(Factory Default settings shown)
Always use Telephone Line Surge Protection
between the incoming telephone service and
the Z600 Communications Controller.
DOOR SPEAKER ASSEMBLY CONNECTIONS
PZ6 Door
Speaker Connector
Blue
Wh/Blue
Wh/Green
Wh/Orange
Green
Orange
Brown
Wh/Brown
M+
M-
DB-
L+
L-
DB+
DS+
DS-
4 twisted-pair
shielded cable
w/ drain wire
(min. 24 AWG)
(max. length 400')
DRAIN
WIRE
Cut
DRAIN
WIRE
Blue
Wh/Blue
Orange
Wh/Orange
Green
Wh/Green
Brown
Wh/Brown
M+
M -
DB-
DB+
DS+
DS-
L+
L-
Door
Station
N.O.
COM
to Electronic
Door Latch
GND
nc
TIPTELCO
RINGTELCO
TIPPHONE
RINGPHONE
nc
P&DB
Telco Connector
TELCO CONNECTIONS
Telephone
Service IN
to Punch-
down Block
PZ6 #1
Zone
Connector
GND
+12V
485-
485+
IR
VC-
VC+
nc
GND
+12V
485-
485+
IR
VC-
VC+
nc
any of the PZ6 Zone
Connectors may be used
PZ6 #2
Zone
Connector
GND
nc
TIPTELCO
RINGTELCO
P&DB
TIPPHONE
RINGPHONE
nc
GND
nc
PZ6 #1
Telco
Connector
TIPTELCO
RINGTELCO
P&DB
TIPPHONE
RINGPHONE
nc
PZ6 #2
Telco
Connector
DUAL PZ6 INTERCONNECTS
to
PZ6
'Control'
to
PZ6
'Relay'
from Z630
Source #1
or dedicated
MOH source
used for
stand-alone
applications
(see Z600
Installation Manual)
to Z630
P&DB IN
to
PZ6
DS1
to
PZ6
DS2
to
PZ6
'Telco'
to
PZ6
'Phone'
Z600 to PZ6 PRECISION PANEL FRONT PANEL CONNECTIONS
Z600 TO PZ6 PRECISION PANEL REAR PUNCHDOWN CONNECTIONS
RELAY CONNECTIONS
Relay-Controlled
Device
DC
Power
Supply
R1 COM
R1 N.O.
R2 COM
R2 N.O.
R3 COM
R3 N.O.
R4 COM
R4 N.O.
Relay Connector
Relay-Controlled
Device
VC-
VC+
VC-
VC+
VC-
VC+
VC-
VC+
ELAN Volume
Control w/
Override
VC-
VC+
VCO Connector
OVERRIDE CONNECTIONS
NOTE: Plug the Z027 +12VDC Power Supply
into the VCO jack on the front of the PZ6.
Complete Z Series Installation Manuals for each Z Series component are available for download from the ELAN Web Site, www.elanhomesystems.com P/N 9900006 April 2003
See reverse side for Z600 connections when NOT using a PZ6 Precision Panel
ELAN
C4545
Interconnect
Cables
This connection MUST be made in order for the Z630 to mute the music
whenever a Page and Door Chime is initiated.
NOTE: If using a PZ6 Precision Panel, this connection is made automatically
thru the PZ6 PC board.)
630
600 to 630 CONNECTIONS
IR INPUTS ELAN
C45P White/Brown
ELAN
C45P
Blue
600
CONTROL
OUTPUTS
DOOR SPEAKER ASSEMBLY CONNECTIONS
Blue
Wh/Blue
Orange
Wh/Orange
Green
Wh/Grn
Brown
Wh/Brown
(M+)
(M-)
(DB-)
(L+)
(L-)
(DB+)
(DS+)
(DS-)
4 twisted-pair
shielded cable
w/ drain wire
(min. 24 AWG)
(max. length 400')
DRAIN
WIRE
Cut
DRAIN
WIRE
M+
M -
DB+
DB-
DS+
DS-
L+
L-
Door
Station
N.O.
COM
to Electronic
Door Latch
ELAN
C45P
Z600
Door Speaker
Input 1 or 2
RELAY CONNECTIONS i.e. Relay-
Controlled Device
DC
Power
Supply
i.e. Dry Contact
Controlled Device
Blue
Wh/Blue
Orange
Wh/Orange
Green
Wh/Green
Brown
Wh/Brown
ELAN
C45P
Z600
RELAY
Output
Relay 1 COM.
Relay 1 N.O.
Relay 3 N.O.
Relay 2 N.O.
Relay 3 COM.
Relay 2 COM.
Relay 4 COM.
Relay 4 N.O.
BLUE
WHITE/BLUE
ORANGE
WHITE/ORANGE
GREEN
WHITE/GREEN
BROWN
WHITE/BROWN
1
2
3
4
5
6
7
8
PIN # COLOR CODE
FRONT
CABLE
Standard ELAN RJ-45 Pin-Out
TAB
to VC-
+-
Z027
White/Blue
White/Orange
White/Green
Brown
ELAN
C45P
to VC+
White/Orange
White/Brown
Green
Brown
ELAN
C45P
Z600
CONTROL
Output Jack
to VC-
to VC+
Z600
CONTROL
Output Jack
Using the Z600's Internal Power Supply
(Max 5 Volume Controls w/ Override)
Using the Z027 External Power Supply
(for use with 6 to 30 Volume Controls w/ Override)
tie
together
CONNECTING ELAN VOLUME
CONTROLS WITH OVERRIDE
Complete Z Series Installation Manuals for each Z Series component are available for download from the ELAN Web Site, www.elanhomesystems.com P/N 9900006 April 2003
RJ11
Z600 TELCO IN
Telephone Service IN
RJ11
Z600 PHONE OUT
to Telephone Punchdown
block for the connection
of house extensions
Always use Telephone Line Surge Protection
between the incoming telephone service and
the Z600 Communications Controller.
TELEPHONE SERVICE CONNECTIONS
Connections when NOT using a PZ6 Precision Panel (see reverse side for Z600 connections to the PZ6)
IMPORTANT NOTES:
1. If you are NOT using a PZ6 Precision Panel make sure to connect the
Page & Door Chime Control wires between the Z600 and the Z630
PreAmp Controller (see Z600 to Z630 Connections diagram). If using a
PZ6, this connection is made automatically.
2.
3. The four Z600 Relays are activated using telephone key presses
(# - 1 - 1, # - 1 - 2, # - 1 - 3, # - 1 - 4).
4. Modems, alarm systems, fax & answering machines, satellite & cable
boxes should be connected 'in front of' the Z600
Make sure to connect the Z600 P&DB OUT to the Z630 P&DB IN
only
600 COMM CONTROLLER QUICK REFERENCE GUIDE
C.O. Line IN
Tel. Surge
Protector
Z600
House
Phones
Fax, Modem,
Sat. & Cable Boxes,
Answering Machine
TELEPHONE LINE FLOW CHART
(ELAN Z Power
Controller)
PAGE # - 7(P)
DOOR # - 3(D)
HOLD # - 4(H)
MUTE # - 6(M)
BYPASS # - 9
RELAY # - 1 - 1, # - 1 - 2,
# - 1 - 3, # - 1 - 4
FUNCTION KEYS
A caller is automatically placed On-Hold when the # key is pressed.
The Hold feature (# - 4) is only used when you want to hang up the phone and move to another one.
No extra key presses are needed to dial out - just pick the phone and dial.
The System Bypass feature (# - 9) is used when calling automated services such as a bank or credit card company. When
you hang up, the Z600 automatically come back on-line.
A USER'S QUICK REFERENCE CARD IS ENCLOSED WITH EVERY Z600. PLEASE MAKE SURE TO LEAVE IT WITH
THE HOMEOWNER
USAGE TIPS