manuals.online logo
Brands
  1. Home
  2. •
  3. Brands
  4. •
  5. Elite Screens
  6. •
  7. Projection Screen
  8. •
  9. Elite Screens AR2 Series User manual

Elite Screens AR2 Series User manual

This manual suits for next models

1

Other Elite Screens Projection Screen manuals

Elite Screens ITE139XW3-E8 User manual

Elite Screens

Elite Screens ITE139XW3-E8 User manual

Elite Screens Kestrel Stage Series User manual

Elite Screens

Elite Screens Kestrel Stage Series User manual

Elite Screens TE100HC2 User manual

Elite Screens

Elite Screens TE100HC2 User manual

Elite Screens CineTension2 Series Quick reference guide

Elite Screens

Elite Screens CineTension2 Series Quick reference guide

Elite Screens QuickStand Series Quick reference guide

Elite Screens

Elite Screens QuickStand Series Quick reference guide

Elite Screens TE100HC2 User manual

Elite Screens

Elite Screens TE100HC2 User manual

Elite Screens AR120WH2 User manual

Elite Screens

Elite Screens AR120WH2 User manual

Elite Screens aeonclr series User manual

Elite Screens

Elite Screens aeonclr series User manual

Elite Screens Planate Tab-Tension Series Guide

Elite Screens

Elite Screens Planate Tab-Tension Series Guide

Elite Screens F60XWV1 User manual

Elite Screens

Elite Screens F60XWV1 User manual

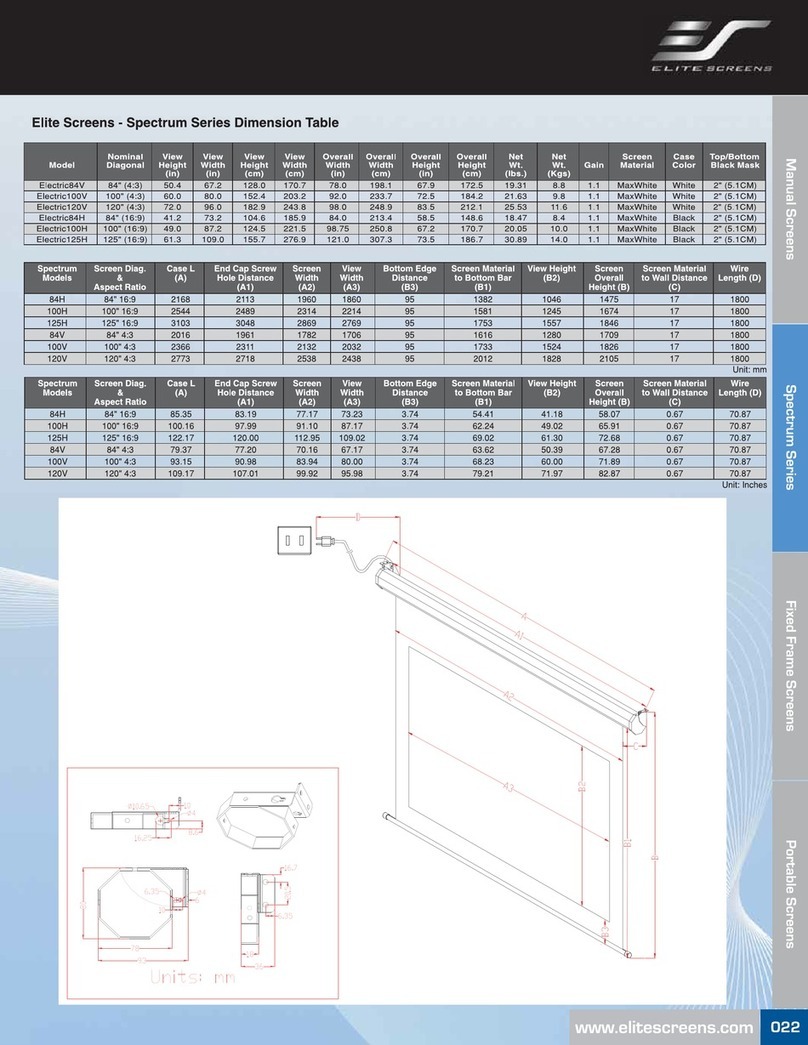
Elite Screens Spectrum Series User manual

Elite Screens

Elite Screens Spectrum Series User manual

Elite Screens Manual SRM Pro Series User manual

Elite Screens

Elite Screens Manual SRM Pro Series User manual

Elite Screens Starling 2 Series User manual

Elite Screens

Elite Screens Starling 2 Series User manual

Elite Screens TE200HR2 User manual

Elite Screens

Elite Screens TE200HR2 User manual

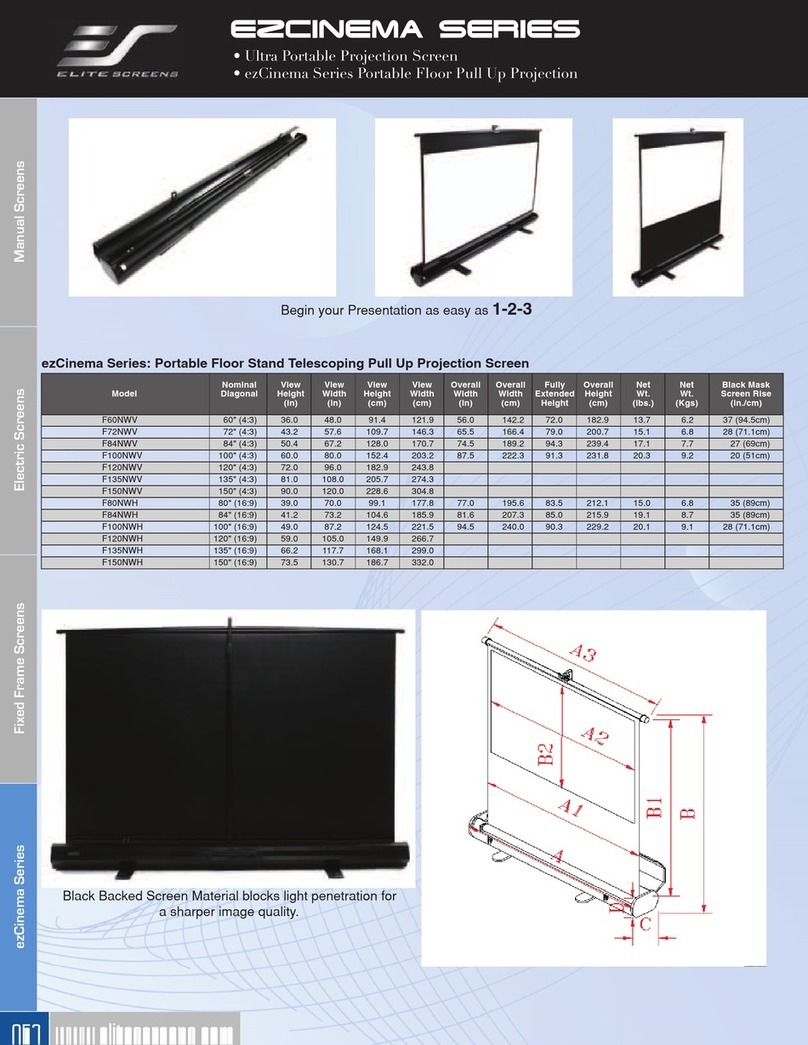
Elite Screens ezCinema Series User manual

Elite Screens

Elite Screens ezCinema Series User manual

Elite Screens Evanesce Tension Series User manual

Elite Screens

Elite Screens Evanesce Tension Series User manual

Elite Screens EDGE FREE Aeon StarBright 9 Series User manual

Elite Screens

Elite Screens EDGE FREE Aeon StarBright 9 Series User manual

Elite Screens TE100HC2 User manual

Elite Screens

Elite Screens TE100HC2 User manual

Elite Screens CineTension 2 Series User manual

Elite Screens

Elite Screens CineTension 2 Series User manual

Elite Screens Kestrel FE100H User manual

Elite Screens

Elite Screens Kestrel FE100H User manual

Elite Screens Aeon CineGrey 4D AT Series User manual

Elite Screens

Elite Screens Aeon CineGrey 4D AT Series User manual

Elite Screens VMAX 2 Series User manual

Elite Screens

Elite Screens VMAX 2 Series User manual

Elite Screens YARD MASTER MANUAL SERIES User manual

Elite Screens

Elite Screens YARD MASTER MANUAL SERIES User manual

Elite Screens Saker Series Guide

Elite Screens

Elite Screens Saker Series Guide

Popular Projection Screen manuals by other brands

Draper E Series Installation & operating instructions

Draper

Draper E Series Installation & operating instructions

Laarhoven Companion II General assembly instructions

Laarhoven

Laarhoven Companion II General assembly instructions

Da-Lite ExecutiveElectrol Instruction book

Da-Lite

Da-Lite ExecutiveElectrol Instruction book

FONESTAR PPTR-43100-FA quick start guide

FONESTAR

FONESTAR PPTR-43100-FA quick start guide

Slide Clear Varro XL installation instructions

Slide Clear

Slide Clear Varro XL installation instructions

OS РХ-090Н user manual

OS

OS РХ-090Н user manual

Niko 10-845 Product information

Niko

Niko 10-845 Product information

Speaka Professional 2357532 Important information

Speaka Professional

Speaka Professional 2357532 Important information

Sima XL-72 instruction manual

Sima

Sima XL-72 instruction manual

Jasic EVO 2.0 ET-200P Fitting instructions

Jasic

Jasic EVO 2.0 ET-200P Fitting instructions

Renogy RMS-LFPS-US manual

Renogy

Renogy RMS-LFPS-US manual

InFocus SC-WALL GRY-92H Instruction guide

InFocus

InFocus SC-WALL GRY-92H Instruction guide

Samsung S*H65* user manual

Samsung

Samsung S*H65* user manual

Celexon UST operating instructions

Celexon

Celexon UST operating instructions

JONSBO D31 user guide

JONSBO

JONSBO D31 user guide

Draper Luma instructions

Draper

Draper Luma instructions

Barco OverView MVL­-615 Brochure & specs

Barco

Barco OverView MVL­-615 Brochure & specs

FONESTAR PPEL-43100-FA quick start guide

FONESTAR

FONESTAR PPEL-43100-FA quick start guide

manuals.online logo
manuals.online logoBrands
  • About & Mission
  • Contact us
  • Privacy Policy
  • Terms and Conditions

Copyright 2025 Manuals.Online. All Rights Reserved.

User manual
AR2 fixed frame series
(Screw adjustment type)
Rev. V210929DT
Elite Screens China Corp.
User manual AR2 (Screw adjustment type)
Rev. V210929DT Elite Screens China Corp. 2
Product maintenance and precautions
Dust, dirt, and scratches on the projection screen surface will affect the quality and performance of the
projection image. Follow the instructions below to properly maintain the screen.
Cleaning and maintenance:
1) The screen surface has a horizontal linear structure. DO NOT wipe the screen up and down or
in a circular motion. Wipe gently from left to right only.
2) Clean the dust on the screen surface with a soft brush or microfiber cloth. A rough/coarse towel
or cloth may damage the screen’s surface.
3) Gently wipe the screen with a lightly moistened white lint free cloth with water or with a neutral
detergent mixed with water.
Attention:
1) Don’t touch the screen material to avoid leaving fingerprints.
Use gloves when handling the material.
2) Don’t scratch the material, as it will leave permanent markings on the screen’s surface.
3) Don’t point to the screen material with a fingertip or other sharp objects to prevent damage to
the material.
4) Don’t use acetone, benzene, alcohol, and any other organic solvents to clean the screen material.
Using such chemicals will permanently damage the screen.
※ Note: this product is only suitable for ultra-short throw projectors
Prepare tools before installation
1. Tape measure
x1
2. Electric drill
x1
3. Marker x1
4.Screwdriver
x1
5.Hammer
x1
User manual AR2 (Screw adjustment type)
Rev. V210929DT Elite Screens China Corp. 3
Hardware and Parts List
Please check whether the following accessories exist before installation. If there are any missing
accessories, please contact us immediately.
A. Elbow joints x 8
B. Horizontal frame x 2
C. Left/Right vertical frame x 2
D. Edge trim x 4
E. Sliding nut x 4
F. Wall bracket x 4
(Installed in the frame already)
G. M3x8 screw x 20
H. M5x8 screw x 40
I. M5x50 Screw and anchor x 4
(Including 8pcs have been
installed on the sliding nuts)
J. M4x40 screw x 26
K. M3 Hex key x 2
L. Fiberglass rod x 4
M. Center support bar x 1
N. Gloves x 2
O. Screen material
P. Corner cover x 4
Q. Adjustment bar x 6
R. Protection sheet
User manual AR2 (Screw adjustment type)
Rev. V210929DT Elite Screens China Corp. 4
Sectional view
Frame assembly
First, take out all items from packaging, place the Protection sheet (R), and put it on a clean floor, and
install as follows:
1. Insert the Elbow joints (A) into the top section and bottom section at both ends of the Horizontal
frame (B), as shown in the figure.
Reminder: please place the frame in a relative position before assembling to avoid scratching
the frame caused by collision during assembly
2. Connect the two Left/Right vertical frame (C) along the corner, install another Horizontal frame
(B) in the same way, and assemble the frame as shown in the figure.
Elbow joints (A)
Top section
Bottom section
Horizontal frame (B)
Push
Push
Elbow joints (A)
Left/Right vertical frame (C)
User manual AR2 (Screw adjustment type)
Rev. V210929DT Elite Screens China Corp. 5
3. Make sure all four corners are properly in place to form a perfect square, then fasten the four
angles with the M5x8 flat head screws (H).
Four corners join correctly to form
a perfect rectangle.
M5x8 flat head screws (H)
User manual AR2 (Screw adjustment type)
Rev. V210929DT Elite Screens China Corp. 6
Screen Material Installation
1. First put on the installation Gloves (N) (To avoid fingerprints on the screen that cannot be erased)
(Figure 1), move the completed frame from the Protection sheet (R) to a safe place, and wait for
installation later.
2. Take the Screen material (O) out of the packaging tube and set it gently on the Protection sheet
(R). Gently press one end of the screen (screen edge) with a suitable weighted object or hand
pressure (Cannot press and crush the screen material), face down, and two people hold the other
end (rolled up end) clockwise slowly rotate the screen (Figure 2).
3. Lay the material completely flat with the front facing down on a clean surface in a horizontal position
(Figure 3).
There are thumbtacks fixed on the paper tube at the end of screen expansion, please pay
attention to the thumbtacks to avoid stabbing when removing!
Backside of the screen
Frontside of the screen
Clean, flat and does not harm the screen
Heavy weighted object
or hand pressure
Backside of the screen
(Figure 1)
(Figure2)
(Figure3)
Note: Screen back facing up
(Face down)
User manual AR2 (Screw adjustment type)
Rev. V210929DT Elite Screens China Corp. 7
4. Insert the Fiberglass rods (L) through the openings. The shorter rods (1, 2) are used on the vertical
edges of the screen material, and the longer rods (3, 4) are used on the horizontal edges, as
shown below.
5. Insert two long Adjustment bars (Q) (1, 2) on the fiberglass rod of the short side of the screen
material and two short Adjustment bars (Q) (3, 4, 5, 6) on the fiberglass rod of the long side of
the screen.
Installation direction of Adjustment bars (Q):
Fiberglass rod (L)
3
1
4
2
Long side of the frame
Short side of
the frame
1
2
4
3
5
6
※ Please noticed that four Angle
adjusting rods have bevel angles
※ The upper and lower middle adjusting
rods are right-angled edges
Short side of
the frame
Long side of the frame
User manual AR2 (Screw adjustment type)
Rev. V210929DT Elite Screens China Corp. 8
Adjustment bar installation
※The adjustment bar is installed into the groove along the fiberglass rod
Center support bar installation
Push the Center support bar (M) in the middle of the frame and align each end of the support bar
with the top and bottom frames.
6. Carefully and gently place the assembled frame on top of the screen material. In order to avoid
puncturing the material, do not allow the angled edge of the frame to come in direct contact with
the screen.
7. Ensure that the sliders in the left and right short frames (two sliders on each side) are fixed 1/4
away from both ends.
Screen material (O)
Adjustment bar (Q)
※ Align the frame with the line
Note: The screen back facing up
※ Make sure the sliders in the grooves are
positioned 1/4 at both frames
Horizontal frame (B)
Center support bar (M)
push
Center support bar
(M)
User manual AR2 (Screw adjustment type)
Rev. V210929DT Elite Screens China Corp. 9
8. Insert the M4x40 screw (J) through the hole on the side of the frame, as shown below picture,
and screw the M4x40 screw (J) and adjustment bar (Q) together with the M3 Hex key (K), as
follows:
1) After the four corners are aligned with the drawing lines on the corners, two people should insert
the M4x40 screw (J) through the frame hole and screw it on the adjustment bar (Q) for two turns
according to the sequence of 1-1 → 2-2 → 3-3 → 4-4 → 5-5 → 6-6 → 7-7 → 8-8 → 9-9 → 10-
10 → 11-11 → 12-12 → 13-13 as shown in the picture below:
2) Fastened the M4x40 screw (J) on the adjustment bar (Q) for 2 turns, and then symmetrically
tighten the screw (J) with M3 Hex key (K) in the order of 1-1 → 2-2 → 3-3 → 4-4 → 5-5 → 6-6
→ 7-7 → 8-8 → 9-9 → 10-10 → 11-11 → 12-12 → 13-13. (The distance between the adjustment
bar and the edge of the frame is 3-4mm. It’s fastened status.)
User manual AR2 (Screw adjustment type)
Rev. V210929DT Elite Screens China Corp. 10
Assemble adjustment bar and screws
3) After installing screws 1-13, two people lift the frame to check the screen surface. Where there
are waves on the screen surface, it can be restored to flat surface by adjusting the tightness of the
screws.
※Two persons screw the
screws on the adjustment
bar 2 turns in sequence
Screen material (O)
M3 Hex Key (K)
Adjustment bar (Q)
Fiberglass rod (L)
※Tighten screws with hex
key
※Turn the adjustment bar
and place it on the back of
the frame
M3 Hex Key (K)
※Diagram of each position of
screw installation
Check the screen
surface is flat of not