Rev.03142023JA www.elitescreens.com 2
Do not use this unit under the following circumstances.
•Disconnect the power cord under the conditions of heavy rain, wind, thunder or lightning.
•Avoid direct Sunshine, rain shower and moisture.
•Keep away from fire sources and high temperature to prevent this device from overheating.
•Cut off the power supply first before transportation or maintenance.
•Fully disconnect from the power supply when the unit is not in use for a long period of time, as should be done
with any other electric household appliance.
•To avoid possible injury and/or an electric shock, do not attempt to use the screen if there is obvious damage
or if there are any evident broken parts.
NOTE: This equipment has been tested and found to comply with the limits for a Class B digital device, pursuant to
Part 15 of the FCC Rules.
These limits are designed to provide reasonable protection against harmful interference in a residential installation.
This equipment generates and can radiate radio frequency energy and, if not installed and used in accordance with the
instructions, may cause harmful interference to radio communications.
However, there is no guarantee that the interference will not occur on a particular installation. If this equipment causes
harmful interference to radio or television reception, which can be determined by turning the equipment off and on,
the user is encouraged to try to correct the interference by one or more of the following measures.
✓Reorient or relocate the receiving antenna of the device which may be casing the interference.
✓Increase the separation between the screen and the device’s receiver.
✓Connect the equipment into a different power outlet other than the device.
Pre-Installation
1. Carefully unpack the screen.
2. Always handle the screen in a leveled position on a clean surface.
3. In order to protect the screen from exposure to stains, keep the screen out of contact with foreign particles
such as dust, sawdust, and/or liquids.
Installation Instructions
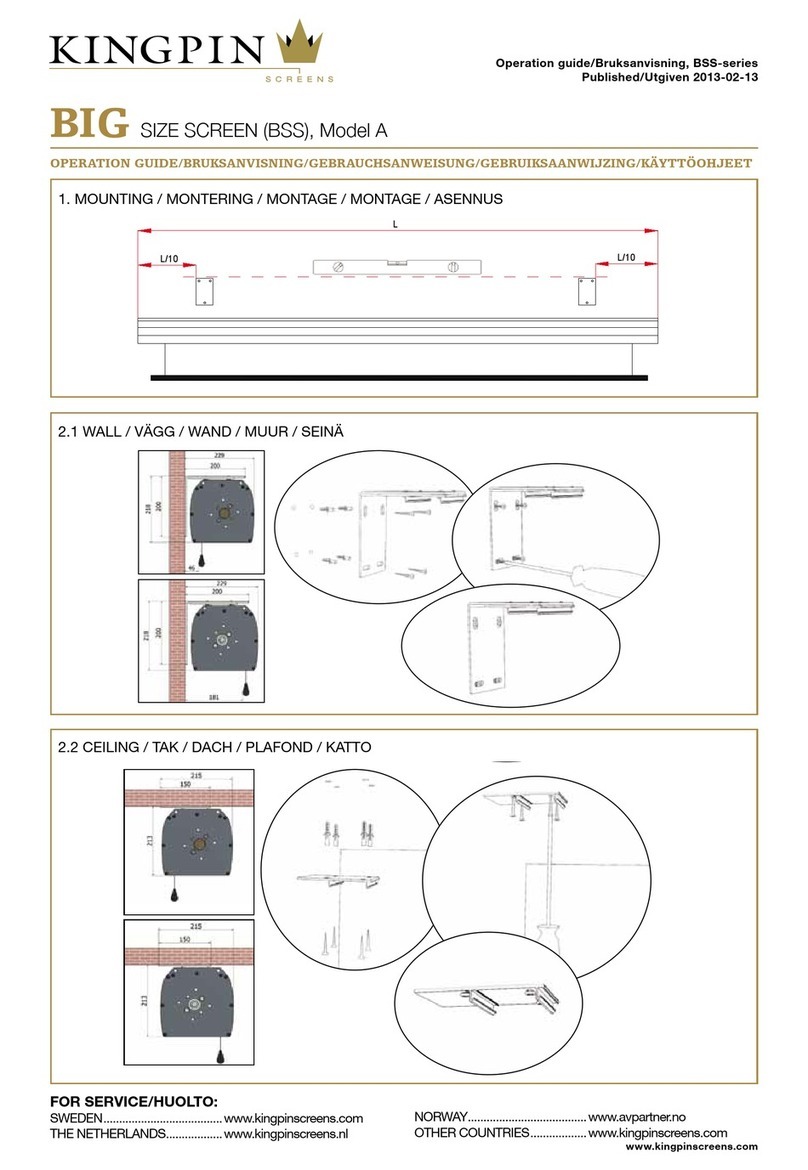
Note: Regardless of the mounting method, the screen should be securely supported so that the vibration or pulling on
the viewing surface will not cause the casing to become loose or fall.
Included are complimentary mounting screws that may or may not be appropriate for the installation you are
attempting. Always use the correct anchors to safely secure the screen.
1. Select the installation location for your screen. Ensure that it is within reasonable proximity from your power
source.
2. For best support of your screen, it is ideal to secure your screen into the studs of your house’s internal
framework. If studs are not available, use hollow anchors for mounting your wall screws into drywall. If you’re
installing in a concrete structure, use concrete bolts to secure your screen.
3. Ensure that both brackets are in perfect level alignment with one another. Use wall/ceiling wood screws to
secure to the wood studs. Use hollow anchors if mounting in drywall.
4. The screen casing is designed to accept the wall screws directly, be sure to position a washer between the head
of the wall-screw and the anchor slots on the screen’s casing.
5. Using a tape measure, mark the keyholes that are located at the back of the screen’s casing end cap.
6. After marking the area and predrilled hole, insert the screw and have at least 1/8” from the wall/ceiling to
mount the screen. (See example in Figure 1.)
7. Figure 3 will show you an optional installation using chains (not included)
