manuals.online logo
Brands
  1. Home
  2. •
  3. Brands
  4. •
  5. Epilog Laser
  6. •
  7. Engraver
  8. •
  9. Epilog Laser Fusion Pro 32 User manual

Epilog Laser Fusion Pro 32 User manual

www.epiloglaser.com
tech@epiloglaser.com
303-215-9171
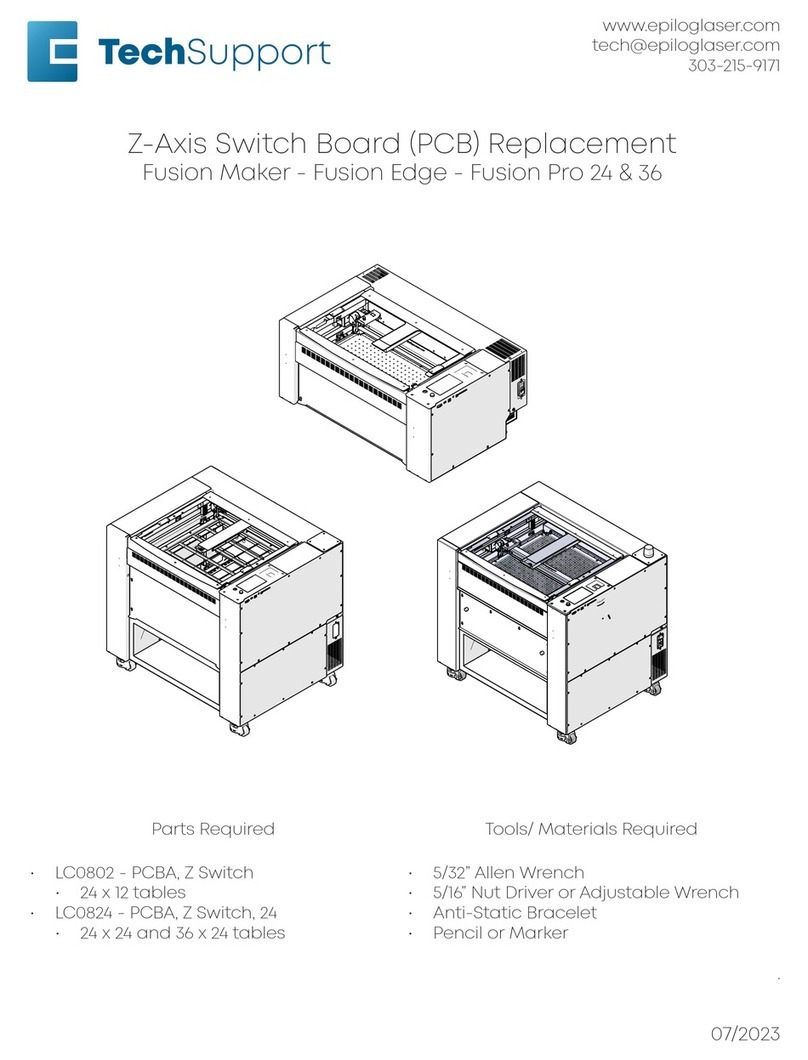
X-Axis Air Assist (AA) Tubing Replacement
Fusion Pro 32 & 48
Parts Required Tools/Materials Required
• LC0643 - Tubing,Air,Vinyl,5/16”ODx3/16”ID
• Pro 48 - 6’
• Pro 32 - 4.5’
• 5/32” Allen Wrench
• T7 Torx Driver
• Wire Cutters
• Cable Ties
.
07/2023
16000 - X-Axis AA Tubing Replacement
2
X-Axis Air Assist (AA)
Tubing Replacement
X-Axis AA Tubing Removal
1. Turn o the engraver.
2. Disconnect engraver from power
source.
3. Remove the right panel of the
engraver.
4. Remove the nine (9) Torx screws that
secure the carriage assembly cover
and remove the cover:
5. Remove the carriage cover:
6. Disconnect the AA tubing from the
connector on the carriage assembly:
7. Disconnect the lens camera PCB USB
cable:
8. Loosen and remove the two (2) Phillips
screws that secure the cable track to
the rear of the x-axis assembly:
16000 - X-Axis AA Tubing Replacement
3
9. Pull the cable track to the le side of
the machine to straighten it. This will
make removing the AA tubing easier.
10. Pull the AA tubing towards the right
side of the machine to remove it from
the cable track, taking care not to
remove the USB cable with it is also
being replaced.
The AA tubing and carriage camera USB
cable may be ziptied to the x-axis assem-
bly in certain points. If this is the case,
remove the zipties and replace them
once the installation of the AA tubing is
complete. Take care not to over-tighten
the zipties.
11. Disconnect the AA tubing from the
elbow connector at right side of the
x-axis assembly:
To remove the tubing, press the tubing
into the fixture. Then, hold the orange
retaining ring tight to the fixture, pull the
AA tubing away from it.
12. Remove the AA tubing from the
engraver.
X-Axis AA Tubing Installation
1. Connect the AA tubing to the elbow
connector at right side of the x-axis
assembly:
2. Route the AA tubing through the
opening on the right side of the x-axis
assembly.
3. Insert the AA tubing into the right side
of the cable track and push it towards
the le side.
4. Place the cable track into position and
tighten the two (2) Phillips screws that
secure the cable track to the rear of
the x-axis assembly:
16000 - X-Axis AA Tubing Replacement
4
4. Connect the camera board USB cable:
5. Connect the AA tubing to the
connector on the carriage assembly:
6. Install the carriage cover:
7. Install and tighten the nine (9) Torx
screws on the carriage cover:
8. Replace the right panel of the engraver.
If further assistance is required, contact
Epilog Laser Technical Support by phone at
303-215-9171, or by email at
tech@epiloglaser.com.

Other manuals for Fusion Pro 32

5

This manual suits for next models

1

Other Epilog Laser Engraver manuals

Epilog Laser Helix User manual

Epilog Laser

Epilog Laser Helix User manual

Epilog Laser FiberMark User manual

Epilog Laser

Epilog Laser FiberMark User manual

Epilog Laser LEGEND 24EX 6000 User manual

Epilog Laser

Epilog Laser LEGEND 24EX 6000 User manual

Epilog Laser Fusion User manual

Epilog Laser

Epilog Laser Fusion User manual

Epilog Laser FusionPro 16000 User manual

Epilog Laser

Epilog Laser FusionPro 16000 User manual

Epilog Laser Fusion User manual

Epilog Laser

Epilog Laser Fusion User manual

Epilog Laser MINI User manual

Epilog Laser

Epilog Laser MINI User manual

Epilog Laser Fusion User manual

Epilog Laser

Epilog Laser Fusion User manual

Epilog Laser Mini Series User manual

Epilog Laser

Epilog Laser Mini Series User manual
Epilog Laser FiberMark User manual

Epilog Laser

Epilog Laser FiberMark User manual
Epilog Laser FiberMark User manual

Epilog Laser

Epilog Laser FiberMark User manual

Epilog Laser Fusion User manual

Epilog Laser

Epilog Laser Fusion User manual

Epilog Laser MINI 18 User manual

Epilog Laser

Epilog Laser MINI 18 User manual

Epilog Laser Fusion User manual

Epilog Laser

Epilog Laser Fusion User manual

Epilog Laser Zing User manual

Epilog Laser

Epilog Laser Zing User manual
Epilog Laser Fusion User manual

Epilog Laser

Epilog Laser Fusion User manual

Epilog Laser Fusion Use and care manual

Epilog Laser

Epilog Laser Fusion Use and care manual

Epilog Laser Fusion Pro 32 User manual

Epilog Laser

Epilog Laser Fusion Pro 32 User manual

Epilog Laser Edge 12 User manual

Epilog Laser

Epilog Laser Edge 12 User manual

Epilog Laser FiberMark User manual

Epilog Laser

Epilog Laser FiberMark User manual

Epilog Laser Fusion User manual

Epilog Laser

Epilog Laser Fusion User manual
Epilog Laser Fusion User manual

Epilog Laser

Epilog Laser Fusion User manual
Epilog Laser Zing User manual

Epilog Laser

Epilog Laser Zing User manual

Epilog Laser Helix Installation and operation manual

Epilog Laser

Epilog Laser Helix Installation and operation manual

Popular Engraver manuals by other brands

CTR TMX Series Alignment Guide

CTR

CTR TMX Series Alignment Guide

Vision Multi Axis Operation manual

Vision

Vision Multi Axis Operation manual

Omtech USB460j user manual

Omtech

Omtech USB460j user manual

GRS 901 Handpiece instructions

GRS

GRS 901 Handpiece instructions

CNC 6040z-s65j user guide

CNC

CNC 6040z-s65j user guide

Parkside KH 3037 MODELLING AND ENGRAVING SET Operation and safety notes

Parkside

Parkside KH 3037 MODELLING AND ENGRAVING SET Operation and safety notes

Genmitsu Jinsoku LC-60A user manual

Genmitsu

Genmitsu Jinsoku LC-60A user manual

Vision Phoenix 1212 S5 installation guide

Vision

Vision Phoenix 1212 S5 installation guide

Omtech USB3020A user manual

Omtech

Omtech USB3020A user manual

manuals.online logo
manuals.online logoBrands
  • About & Mission
  • Contact us
  • Privacy Policy
  • Terms and Conditions

Copyright 2025 Manuals.Online. All Rights Reserved.