manuals.online logo
Brands
  1. Home
  2. •
  3. Brands
  4. •
  5. Epilog Laser
  6. •
  7. Engraver
  8. •
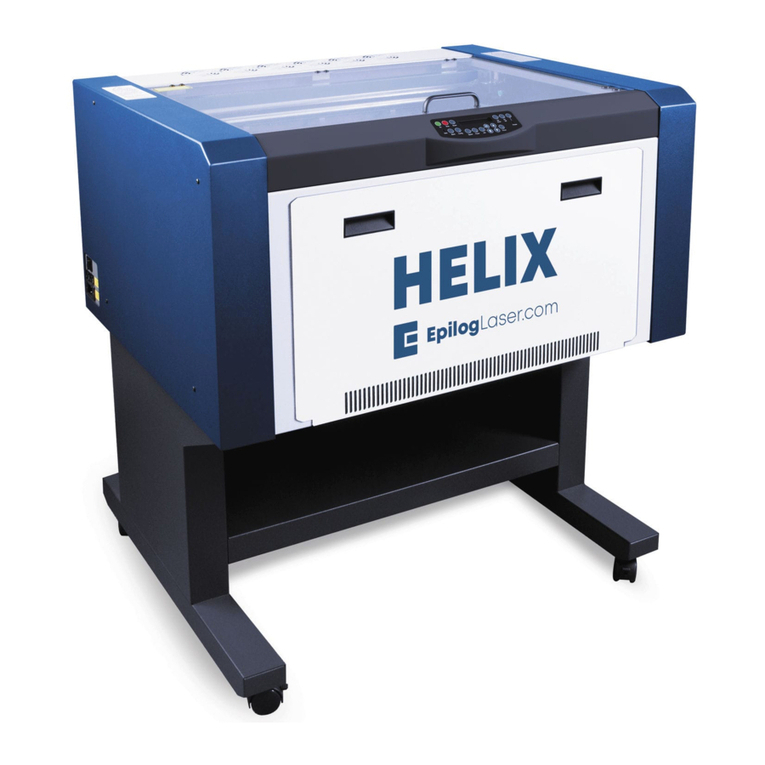
  9. Epilog Laser Helix Installation and operation manual

Epilog Laser Helix Installation and operation manual

Other manuals for Helix

3

Other Epilog Laser Engraver manuals

Epilog Laser Fusion User manual

Epilog Laser

Epilog Laser Fusion User manual

Epilog Laser Edge 12 User manual

Epilog Laser

Epilog Laser Edge 12 User manual

Epilog Laser Helix User manual

Epilog Laser

Epilog Laser Helix User manual

Epilog Laser FiberMark User manual

Epilog Laser

Epilog Laser FiberMark User manual

Epilog Laser Fusion User manual

Epilog Laser

Epilog Laser Fusion User manual

Epilog Laser Fusion User manual

Epilog Laser

Epilog Laser Fusion User manual

Epilog Laser MINI User manual

Epilog Laser

Epilog Laser MINI User manual
Epilog Laser Helix User manual

Epilog Laser

Epilog Laser Helix User manual

Epilog Laser Zing User manual

Epilog Laser

Epilog Laser Zing User manual

Epilog Laser Fusion Pro 32 User manual

Epilog Laser

Epilog Laser Fusion Pro 32 User manual

Epilog Laser Fusion User manual

Epilog Laser

Epilog Laser Fusion User manual

Epilog Laser Fusion User manual

Epilog Laser

Epilog Laser Fusion User manual

Epilog Laser Fusion Use and care manual
Epilog Laser

Epilog Laser Fusion Use and care manual

Epilog Laser Fusion User manual

Epilog Laser

Epilog Laser Fusion User manual

Epilog Laser Zing User manual

Epilog Laser

Epilog Laser Zing User manual
Epilog Laser Fusion Pro 32 User manual
Epilog Laser

Epilog Laser Fusion Pro 32 User manual

Epilog Laser FiberMark User manual

Epilog Laser

Epilog Laser FiberMark User manual

Epilog Laser Mini Series User manual

Epilog Laser

Epilog Laser Mini Series User manual

Epilog Laser MINI User manual

Epilog Laser

Epilog Laser MINI User manual

Epilog Laser FiberMark User manual

Epilog Laser

Epilog Laser FiberMark User manual
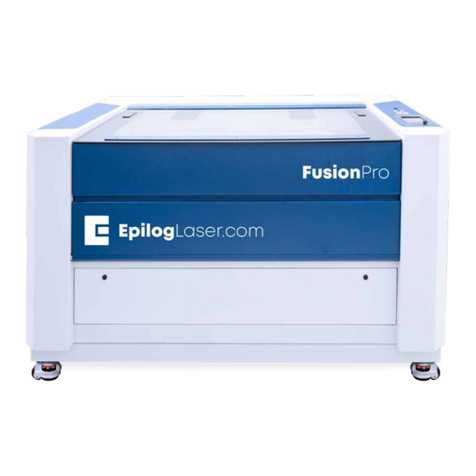
Epilog Laser Fusion Pro 32 User manual

Epilog Laser

Epilog Laser Fusion Pro 32 User manual

Epilog Laser FiberMark User manual

Epilog Laser

Epilog Laser FiberMark User manual

Epilog Laser LEGEND 24EX 6000 User manual

Epilog Laser

Epilog Laser LEGEND 24EX 6000 User manual

Epilog Laser FiberMark User manual

Epilog Laser

Epilog Laser FiberMark User manual
Popular Engraver manuals by other brands

Roland EGX-350 user manual

Roland

Roland EGX-350 user manual

BAUKER EG013 instruction manual

BAUKER

BAUKER EG013 instruction manual

COMGROW COMGO Z1 user manual

COMGROW

COMGROW COMGO Z1 user manual

iMARC VET TAG Engraver user manual

iMARC

iMARC VET TAG Engraver user manual

GRAVOGRAPH LS900 XP Operating and maintenance manual

GRAVOGRAPH

GRAVOGRAPH LS900 XP Operating and maintenance manual

Vision MAX Pro user manual

Vision

Vision MAX Pro user manual

Roland EGX-30 user manual

Roland

Roland EGX-30 user manual

Vision SP Series user manual

Vision

Vision SP Series user manual

Miyachi LMV1000 user manual

Miyachi

Miyachi LMV1000 user manual

Universal Laser Systems VersaLaser VL-200 Safety, installation, operation, and basic maintenance manual

Universal Laser Systems

Universal Laser Systems VersaLaser VL-200 Safety, installation, operation, and basic maintenance manual

Roland EGX-30A user manual

Roland

Roland EGX-30A user manual

Redsail X700 user manual

Redsail

Redsail X700 user manual

Omtech POLAR 350 owner's manual

Omtech

Omtech POLAR 350 owner's manual

Vision Engraving & Routing Systems Express user manual

Vision Engraving & Routing Systems

Vision Engraving & Routing Systems Express user manual

idp SMART-70X user manual

idp

idp SMART-70X user manual

Universal Laser Systems PLS3.60 Safety, installation, operation, and basic maintenance manual

Universal Laser Systems

Universal Laser Systems PLS3.60 Safety, installation, operation, and basic maintenance manual

Genmitsu Jinsoku LC-40 user manual

Genmitsu

Genmitsu Jinsoku LC-40 user manual

ATOMSTACK MAKER AC1 user manual

ATOMSTACK

ATOMSTACK MAKER AC1 user manual

manuals.online logo
manuals.online logoBrands
  • About & Mission
  • Contact us
  • Privacy Policy
  • Terms and Conditions

Copyright 2025 Manuals.Online. All Rights Reserved.


Instructions for using the EPILOG HELIX laser cutting machine
FABLAB BRIGHTON 2019
HARDWARE PREPARATION
Note: Cutting bed size is 609 x 457 mm
(24 x 18 inches)
A. Turn on the laser cutter.
B. Place your material on the machine bed,
aligning it in the top left against the rulers.
Consider raising the material away from the
aluminium base using supports.
C. Set up the machine using the front panel.
Note: we work down from button 9 to button 6 (all on the right hand side of the panel), then skip to
button 0 to reset the cutter. Buttons 1-5 are not required for cutting.
9. Press [POINTER] to toggle the red laser point on or off to aid with positioning.
8. Press [X/Y OFF] and press [GO] to confirm (this will turn off the motors which move the
laser in X-Y). Physically move the gantry (gently) to your desired starting position (0,0).
7. Press [SET HOME] to set the current X-Y position as the origin or home position.
6. Press [FOCUS], then attach magnetic focus tool (see figure 3 below)

and adjust the bed
height using [∆] and [∇] (up and down arrows) until the height tool on the head is just
touching your material.
0. Remove the focus tool

and press [RESET] to move the head back to the starting position.
Figure 3

: Magnetic focus tool fitted
to the head of the laser and cutting
bed raised showing focus tool
touching material.
SOFTWARE
D. Create image using any software that can export to .dxf file

.
E. Go to cutting software (e.g. Rhinoceros or Illustrator), and import the .dxf file. Make sure
your lines are joined together, this will ensure that the laser works sequentially around the
drawing (rather than moving randomly between lines).
IN RHINO:
In Rhinoceros, choose FILE > PRINT. Click on SET to define the bed size. Place it
over the top of your drawing. Note that in Rhino you can adjust the colour/line
thickness of various LAYERS, so if you want to change lines from vector (cut) to
raster (engrave), adjusting the colours/line thicknesses is the best way to do this.
IN ILLUSTRATOR:
Choose FILE > PRINT. Click on PREFERENCES.
Click on PROPERTIES. These are GENERIC properties for this laser cutter,
regardless of software.
Note: PIECE SIZE is 609 mm x 457 mm, and usually you want to start the cut from
TOP LEFT (click on little icon).
Note: sometimes you need to go into the SETUP twice for the piece size to register.
Colour mapping to set different cut speeds depending on the colour of the layer:
STANDARD SETTINGS FOR THE MACHINE:
Resolution: Measured in DPI (Dots per Inch). Higher number means higher quality.
Options: No auto focus, no center-engraving, tick send to laser, tick send to manager.
Job Type: Raster (Engraving), Vector (Cutting), Combined (Both Engraving and Cutting).
Piece Size: Horizontal 609.00 and Vertical 457.00
Raster Setting: Check settings table at the end of this document
Vector Setting: Check settings table
EXTRACTION
E. Then, before actually cutting, we MUST turn on BOTH the BOFA extraction system (next
to the PC stand), AND the COMPRESSOR (which is on the floor, next to the laser cutter).
Wait until the extractor has reached the desired setting e.g. 330m3h (On the extractor
screen the top number is the current setting and the bottom number is the desired setting.)
FINAL CHECK and CUT
F. Make sure:
1. Focus tool is removed.
2. Compressor and extraction system are running.
3. Correct job is loaded on cutter in correct orientation.
G. Press [GO] and the cutting will start.
DO NOT leave the laser cutter running unattended. It is quite easy to start fires!
After the cut has finished, leave the extraction on for a further 60 seconds to clear the fumes.

A note on materials
Material
DANGER!
Cause/Consequence
PVC
Emits chlorine gas
when cut!
Don't ever cut this material as it will ruin the
optics, cause the metal of the machine to
corrode, and ruin the motion control system.
Thick ( >1mm )
Polycarbonate/Lex
an
Cuts very poorly,
discolors, catches
fire.
Polycarbonate strongly absorbs infrared
radiation. This is the frequency of light the
laser cutter uses to cut materials, so it is very
ineffective at cutting polycarbonate.
ABS
Melts / Emits
Hydrogen Cyanide
Cutting ABS plastic emits hydrogen cyanide,
which is unsafe at any concentration. ABS also
does not cut well in a laser cutter. It tends to
melt rather than vaporize and has a high
chance of catching on fire.
HDPE/milk bottle
plastic
Catches fire and
melts.
It melts. It gets gooey. Don't use it.
PolyStyrene Foam
Catches fire.
It catches fire, it melts, and only thin pieces
cut. This is the #1 material that causes laser
fires!
PolyPropylene
Foam
Catches fire.
Like PolyStyrene, it melts, catches fire, and the
melted drops continue to burn and turn into
rock-hard drips and pebbles.
Epoxy
Burns, smokes.
Epoxy is an aliphatic resin, strongly
cross-linked carbon chains. A CO2 laser can't
cut it, and the resulting burned mess creates
toxic fumes. Items coated in epoxy, or cast
epoxy resins must not be used in the laser
cutter.
Fiberglass
Emits fumes.
It's a mix of two materials that can’t be cut.
Glass (etch, no cut) and epoxy resin (fumes).
Coated Carbon
Fiber
Emits noxious
fumes.
A mix of two materials. Thin carbon fiber mat
can be cut, with some fraying - but not when
coated.
Credit: ATX Hackerspace

Material Settings
The official Epilog Legend Series material settings guide is here:
https://www.epiloglaser.com/assets/downloads/legend-material-settings.pdf
Here are the Fab Lab Brighton experiences:
Material / Operation
Thickness
DPI / Frequency
Speed / Power
Wood / Cutting
3 mm
500f
30s 100p
Wood / Cutting
6 mm
500f
10s 100p
Wood / Engrave
-
600 DPI
10s 100p