manuals.online logo
Brands
  1. Home
  2. •
  3. Brands
  4. •
  5. Epilog Laser
  6. •
  7. Engraver
  8. •
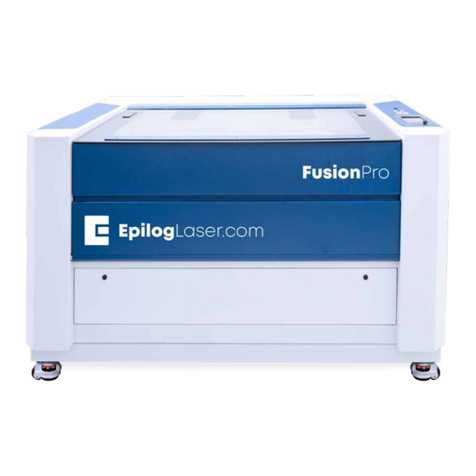
  9. Epilog Laser Fusion Pro 32 User manual
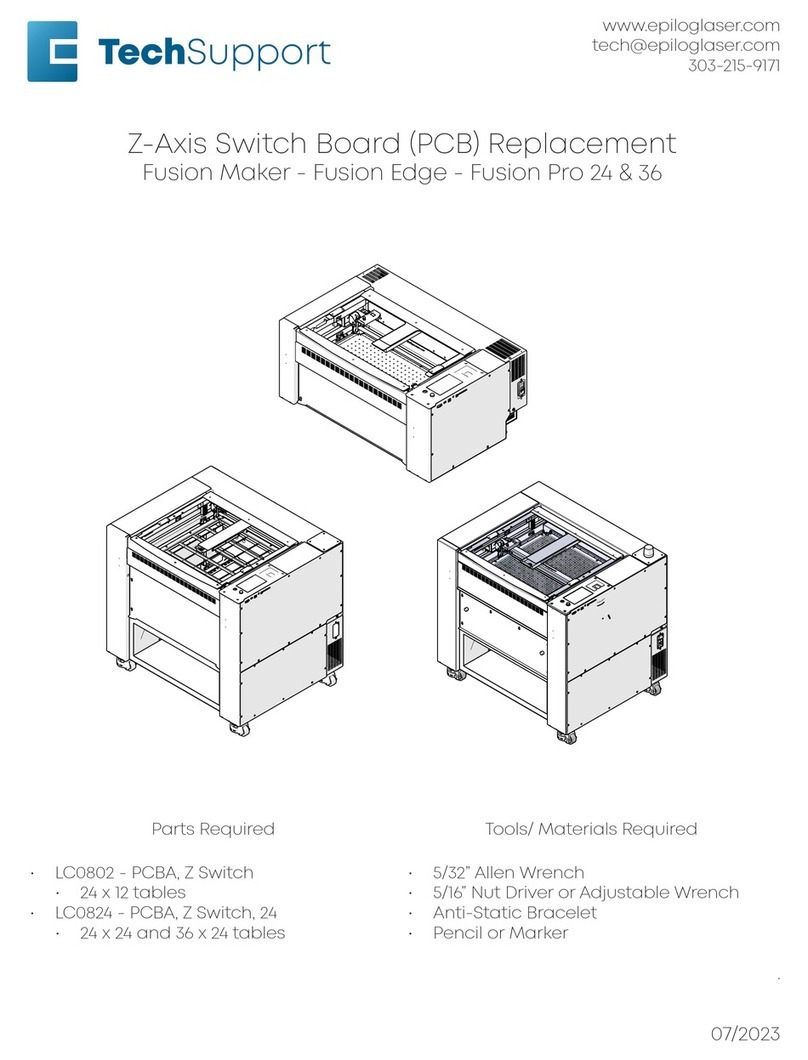
Epilog Laser Fusion Pro 32 User manual

www.epiloglaser.com
tech@epiloglaser.com
303-215-9171
X-Axis Assembly Replacement
Fusion Pro 32 & 48
Parts Required Tools/Materials Required
• CS0400 - Assy, X-Axis Rail, 32x20
• Fusion Pro 32
• CS1200 - Assy, X-Axis Rail, 48x36
• Fusion Pro 48
• 5/32” Allen Wrench
• 5/16” Nut Driver
• Phillips Head Screwdriver
.
07/2023
16000 - X-Axis Replacement
2
X-Axis Assembly
Replacement
X-Axis Assembly Removal
1. Turn o the engraver.
2. Disconnect engraver from power
source.
3. Remove the le and right panels of
the engraver by loosening the 5/32”
cam locks:
4. Manually move the x-axis assembly to
the middle of the engraver:
5. Loosen the Phillips screw on the lens
tube retaining collar. Make sure to
hold the lens tube to ensure that it
does not fall:
6. Remove the lens tube:
16000 - X-Axis Replacement
3
7. Remove the le and right bellows
by loosening the six (6) 5/16” nuts and
backing plate:
8. Loosen, but do not remove the four
(4) Phillips screws that hold the x-axis
drive board cover:
9. Remove the x-axis drive board cover.
10. Disconnect the seven (7) electrical
connectors from the drive board:
11. Disconnect the air tubing from the
elbow connector at right side of the
x-axis assembly:
The air tubing is held by a retaining fix-
ture. To remove the tubing, press the
tubing into the fixture. Then, while holding
the orange retaining ring tight to the fix-
ture pull the air tubing away from it.
12. Loosen and remove the four (4) 7/64”
hex screws that hold the x-axis drive
board housing:
13.
16000 - X-Axis Replacement
4
13. Remove the x-axis drive board
housing:
14. Remove and or loosen the four (4)
5/32” fasteners that secure the x-axis
assembly to the y-axis bearings. There
are two (2) on the right side and two (2)
on the le side:
15. Li the x-axis assembly upwards to
clear the locator pins on the le and
right y-axis bearing blocks:
16. Slide the x-axis assembly out of the
engraver through the right side:
16000 - X-Axis Replacement
5
X-Axis Assembly Installation
1. Slide the x-axis assembly into the
engraver through the right side of the
machine:
2. Place the x-axis assembly on the
y-axis bearing blocks, ensuring that
the locator pins enter the upper
bearing block assembly:
3. Install and/or tighten the four (4)
5/32” fasteners that secure the x-axis
assembly to the y-axis bearings. There
are two (2) on the right side and two (2)
on the le side:
4. Position the x-axis drive board housing
over the mounting holes:
16000 - X-Axis Replacement
6
5. Install and tighten the four (4) 7/64”
hex screws that hold the x-axis drive
board housing:
6. Reconnect the air tubing to the elbow
fitting at the right side of the x-axis
assembly:
To reconnect the air tubing into the re-
taining fixture, simply insert the tubing
into the collar. To ensure that it is securely
connected, gently pull on the tubing.
7. Reconnect the seven (7) electrical
connectors from the drive board:
The electrical connectors on the drive
board are all unique and will only fit into
one receptacle.
8. Install the x-axis drive board cover
and tighten the four (4) Phillips screws:
9. Install the backing plate and bellows.
Install and tighten the six (6) 5/16” nuts
that hold them in place:
16000 - X-Axis Replacement
7
10. Position the lens tube in the lens
assembly, ensuring that the notch
in the tube faces the rear of the
engraver. Make sure to hold the lens
tube aer inserting to ensure that it
does not fall:
11. Tighten the Phillips screw on the lens
tube retaining collar:
12. Replace both the le and right panels
of the engraver.
13. Reconnect to power and turn on the
engraver.
Updates and Programming
The x-axis assembly contains many
components, including circuit boards,
cameras, and a motor. Further
procedures are required.
Updating the Carriage
Camera
1. On the display, press the gear icon to
enter the Settings menu:
2. Press and hold the word “Settings” that
appears at the touch of the touchpad
to gain access to the Advanced
Settings menu:
16000 - X-Axis Replacement
8
3. Enter the Diagnostics menu and
scroll to the Camera tab. Press Test &
Update:
4. Press Update:
5. Allow the engraver to complete
the update. Once done, a success
message will appear:
Updating the Peripherals
1. At the display panel, press the gear
icon in the upper right-hand corner of
the display to open the Settings menu:
16000 - X-Axis Replacement
9
2. Press Program to enter the Peripheral
Update menu:
3. Once in the Peripheral Update menu,
select Motor Drives and FPGA. Press
Update:
When running a peripheral update, do
not power o the engraver. During a
peripheral update it is common for the
display to power o. Once the update
has been applied, the engraver will
prompt to restart.
4. Once the engraver prompts you to
restart, power cycle the engraver.
Aer replacing the x-axis assembly,
complete a full focus calibration and laser
alignment.
If further assistance is required, contact
Epilog Laser Technical Support by phone at
303-215-9171, or by email at
tech@epiloglaser.com.

Other manuals for Fusion Pro 32

5

This manual suits for next models

1

Other Epilog Laser Engraver manuals

Epilog Laser FiberMark User manual

Epilog Laser

Epilog Laser FiberMark User manual

Epilog Laser Helix User manual

Epilog Laser

Epilog Laser Helix User manual

Epilog Laser MINI User manual

Epilog Laser

Epilog Laser MINI User manual

Epilog Laser FiberMark User manual

Epilog Laser

Epilog Laser FiberMark User manual

Epilog Laser Helix User manual

Epilog Laser

Epilog Laser Helix User manual

Epilog Laser Mini Series User manual

Epilog Laser

Epilog Laser Mini Series User manual

Epilog Laser Zing User manual

Epilog Laser

Epilog Laser Zing User manual

Epilog Laser Zing User manual

Epilog Laser

Epilog Laser Zing User manual

Epilog Laser Fusion Pro 32 User manual

Epilog Laser

Epilog Laser Fusion Pro 32 User manual

Epilog Laser Fusion User manual

Epilog Laser

Epilog Laser Fusion User manual

Epilog Laser Fusion User manual

Epilog Laser

Epilog Laser Fusion User manual

Epilog Laser MINI User manual

Epilog Laser

Epilog Laser MINI User manual

Epilog Laser Zing User manual

Epilog Laser

Epilog Laser Zing User manual

Epilog Laser Fusion User manual

Epilog Laser

Epilog Laser Fusion User manual

Epilog Laser Edge 12 User manual

Epilog Laser

Epilog Laser Edge 12 User manual
Epilog Laser Fusion Pro 32 User manual

Epilog Laser

Epilog Laser Fusion Pro 32 User manual

Epilog Laser FusionPro 16000 User manual

Epilog Laser

Epilog Laser FusionPro 16000 User manual

Epilog Laser Fusion User manual

Epilog Laser

Epilog Laser Fusion User manual

Epilog Laser Helix Installation and operation manual

Epilog Laser

Epilog Laser Helix Installation and operation manual

Epilog Laser FiberMark User manual

Epilog Laser

Epilog Laser FiberMark User manual
Epilog Laser Fusion M2 32 User manual

Epilog Laser

Epilog Laser Fusion M2 32 User manual

Epilog Laser MINI User manual

Epilog Laser

Epilog Laser MINI User manual

Epilog Laser Fusion Pro 32 User manual

Epilog Laser

Epilog Laser Fusion Pro 32 User manual

Epilog Laser FiberMark User manual

Epilog Laser

Epilog Laser FiberMark User manual

Popular Engraver manuals by other brands

Pinnacle LaserPro ZX Series user manual

Pinnacle

Pinnacle LaserPro ZX Series user manual

Parkside PMGS 12 B2 Operation and safety notes

Parkside

Parkside PMGS 12 B2 Operation and safety notes

idp SMART-70X user manual

idp

idp SMART-70X user manual

Genmitsu Jinsoku LC-40 user manual

Genmitsu

Genmitsu Jinsoku LC-40 user manual

ATOMSTACK MAKER AC1 user manual

ATOMSTACK

ATOMSTACK MAKER AC1 user manual

ATOMSTACK A 5 Pro installation manual

ATOMSTACK

ATOMSTACK A 5 Pro installation manual

Parkside PMGS 12 B2 Operation and safety notes

Parkside

Parkside PMGS 12 B2 Operation and safety notes

Monoprice 44220 user manual

Monoprice

Monoprice 44220 user manual

Ingersoll-Rand EP50 Series Maintenance information

Ingersoll-Rand

Ingersoll-Rand EP50 Series Maintenance information

VEVOR A7 5W user manual

VEVOR

VEVOR A7 5W user manual

Proxxon GG 12 manual

Proxxon

Proxxon GG 12 manual

PT W50036 owner's manual

PT

PT W50036 owner's manual

Vision VE-810 Operation manual

Vision

Vision VE-810 Operation manual

Dremel 8200 Original instructions

Dremel

Dremel 8200 Original instructions

Vision Express S5 installation guide

Vision

Vision Express S5 installation guide

GCC Technologies S290LS Series user manual

GCC Technologies

GCC Technologies S290LS Series user manual

DGSHAPE DE-3 Setup guide

DGSHAPE

DGSHAPE DE-3 Setup guide

NEJE 3 MAX user manual

NEJE

NEJE 3 MAX user manual

manuals.online logo
manuals.online logoBrands
  • About & Mission
  • Contact us
  • Privacy Policy
  • Terms and Conditions

Copyright 2025 Manuals.Online. All Rights Reserved.