ersa i-CON PICO User manual

i-CON®PICO
Betriebsanleitung/User Manual
Mode d‘emploi/Instrucciones de uso
Libretto d‘istruzioni/Manual de instruções
Руководство по эксплуатации/
取扱説明書/使用说明书
사용설명서

02
07 08
01
0504 06
1210 11
03
A
B
09

Ersa
|
49
Ersa i-Tool pico
0130CDK
Ersa A53
0A053
0008M
Ersa DTM 100
0DTM100
Ersatzteile & Zubehör
Replacement parts &
Acessories
Pièces de rechange
et accessoires
Piezas de repuesto
y accesorios
Parti di ricambio e accessori
Peças sobressalentes
e acessórios
Запчасти и принадлежности
予備部品 および 付属品
备件和配件
보충 부품과 부속품

13
19 21
22 23 24
15
16 18
14
40 °C / 104 °F
20
17

8
|
English
Commissioning
01 Adjust mains voltage in ac-
cordance with type plate.
02 Set up soldering station
and stand in a dry place.
03 Check for correct t of
soldering tip.
04 Place soldering iron into
holder stand.
05 Insert plug into socket.
06 Switch on soldering station.
ATTENTION! Soldering
tip is hot! Risk of burning
yourself!
Key to symbols:
Attention!
Danger spot
Hot surface!
Risk of burning
yourself!
Many thanks for purchasing
an Ersa soldering station.
Read user manual and safety
instructions carefully and keep
in a safe place for future use.
Check contents of package to
ensure that no components
are missing. Contact dealer if
a component is missing.
Scope of delivery:
1 x i-CON pico soldering
station
1 x i-Tool pico soldering iron
1 x soldering tip (tted)
1 x holder stand
1 x user manual
1 x set of safety instructions
Soldering
07 Soldering station heats up
to the default value.
08 Press top key to increase
temperature, press bottom
key to decrease tempera-
ture.
09 Digital display shows ac-
tual value (A) and default
value (B).
10 Solder when the set
temperature has been
reached.
11 Place soldering iron only
onto holder stand.
12 After work or during pro-
longed breaks, switch off
appliance and remove plug.
The soldering station is
designed for soft solder
soldering at various tem-
peratures. After appliance is
switched on, the soldering
tip is heated up automati-
cally to the most recently
set temperature.
The soldering results depend
on how suitable the soldering
tip is to the job. When solder-
ing large-size jobs, our more
powerful i-CON1 and i-CON2
soldering stations should be
used.
Default value: 360 °C / 680 °F
Value range: 150 to 450 °C
300 to 842 °F

English
|
9
Changing the soldering tip
Various soldering tips can
be used with the i-CON pico
soldering station. In this
way, the soldering station
can be adapted to various
areas of operation. See
page 48.
More soldering tips are avail-
able from the Ersa dealer.
Downloadable overview of
standard tips:
http://i-tool.de/mediothek/
pdf/3ba00172_spitzen.pdf
Downloadable overview of
special tips:
http://i-tool.de/mediothek/
pdf/3ba00176_spc_itips.pdf
Temperature calibration
If the set temperature and
the actual temperature of
the soldering tip do not con-
cur, then the temperature
can be calibrated in order
to resume work at exact
soldering temperatures.
Default value: 0
Value range: -70 to +50 °C
-126 to +90 °F
13 Switch off soldering station
and allow soldering tip to
cool to approx. 40 °C / 104 °F.
14 Screw soldering tip onto
the knurled section of the
soldering iron.
15 Remove soldering tip from
soldering iron.
16 Place desired soldering tip
onto soldering iron.
17
Fit soldering tip with knurled
section onto soldering iron
and check for correct t.
18 Switch on soldering station.
ATTENTION! Soldering
tip is hot! Risk of burning
yourself!
19 Select reference value for
calibration at the soldering
station.
20 Determining actual tem-
perature using a digital
temperature-measuring
instrument.
21 Calculating deviation be-
tween reference value and
actual value.
22
Press both keys briey to
call up the calibration menu.
23 Setting temperature using
the keys in accordance
with the deviation.
24 Wait ve seconds to save
the value.

10
|
English
After a certain time, the appli-
ance reduces the soldering
temperature to save power.
To quit stand-by, press key or
cool the soldering tip by ap-
prox. 5 °C / 9 °F.
Default value: 5 Min.
Value range: 0 to 60 Min.
0 = Off
If required, the soldering
iron can be changed or
exchanged.
Use only soldering irons bear-
ing the description Ersa i-Tool
pico.
Installation of the exchange
iron is by analogy the reverse
of the dismantling sequence.
SD card
Technical specications
Using a micro SD card will
permit further settings to be
made via software:
- Stand-by temperature & time
- Shutdown time
- Keylock function
- Display in °C or °F
- Up to 3 xed temperatures
- Power functions can be as-
signed
For further information on
using the micro SD (HC) card,
please consult the software
manual.
Both software and the manual
can be downloaded free by
going to the following link:
http://www.ersa.com/pico
Standby time Soldering iron
AHold down both keys for a
prolonged period to open
the standby time menu.
BAdjust standby time by
pressing the keys (0 = Off).
CWait ve seconds to save
the value.
ATurn appliance onto its
side.
BPull cable of soldering iron
out of holders.
CRemove plug in the direc-
tion of the operating panel.
i-CON pico soldering
station:
Power rating:
Operating voltage:
Temperature range:
Dimensions L x W x H:
Weight:
i-tool pico soldering iron:
Dimensions:
Weight:
Holder stand:
Dimensions L x W x H:
Weight:
Order No.: 0IC1300
68 watts
220 - 240 V ~ 50/60 Hz
110 - 120 V ~ 50/60 Hz
150 - 450 °C
300 - 842 °F
145 mm x 80 mm x 103 mm
1050 g
Order No.: 0130CDK
L x handle-ø / 175 mm x 12 mm
30 g (without cable)
Order No.: 0A53
140 mm x 80 mm x 80 mm
200 g
Error codes
In the event of an error, an
error code appears on the
display. The number above
the label ‘Err’ provides
information about the error
present.
Codes 7 und 8 indicate faults
in the heating element in the
soldering iron:
- Err7 Insert heating element
and press key.
- Err8 Change heating
element
For further information, go to
the following link:
http://www.ersa.com/pico

English
|
11
Heating element, and solder-
ing and desoldering tips con-
stitute parts subject to wear
that are not covered by the
guarantee. Material defects or
manufacturing defects must be
stated in addition to provid-
ing proof of purchase prior to
certied return of goods.
Statement of defects and proof
of purchase must be returned
along with the goods.
Ersa has created this manual
with the utmost care. However,
no guarantee is provided as
regards content, completeness
and quality of the details con-
tained in this manual. Content
is maintained and adapted to
prevailing conditions.
All data published in this
Should be done ac-
cording to Directive
2002/96/EC of the
European Parlia-
ment and of the
Council dated 27.01.2003
applicable to used electrical
and electronic appliances.
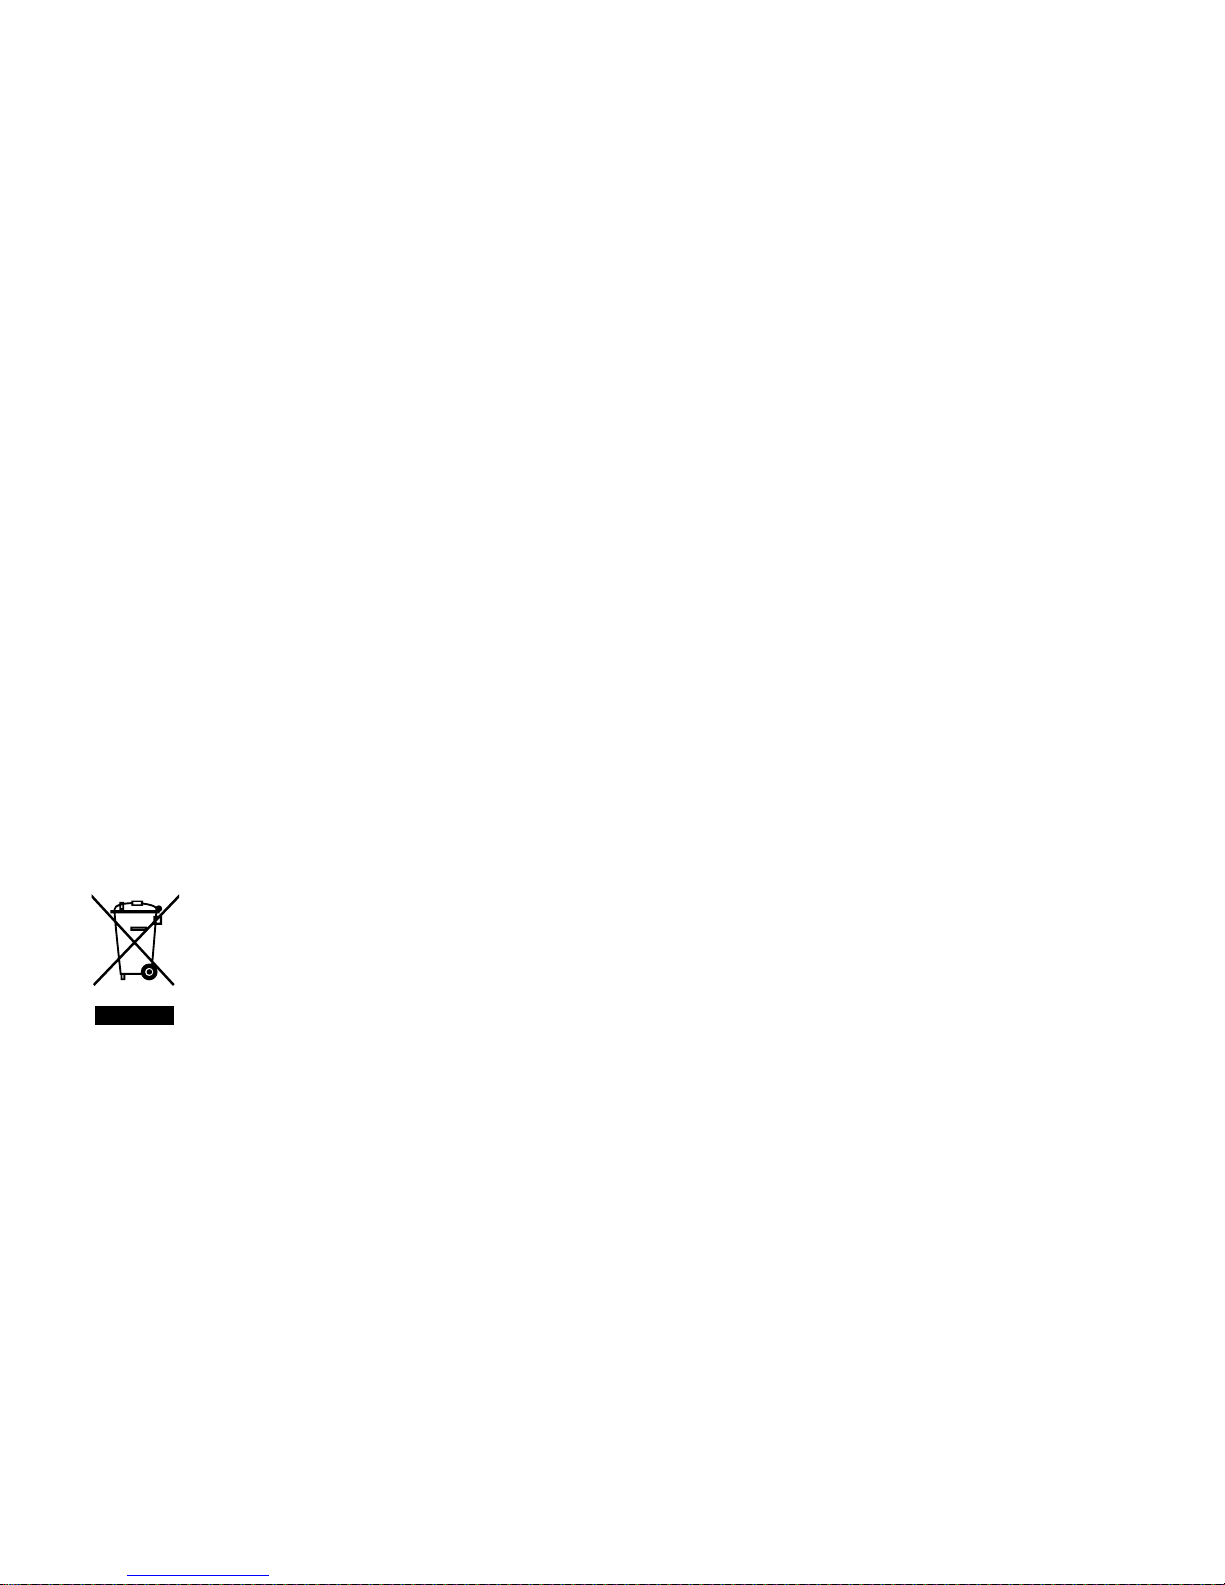
Products bearing the symbol
of a strikethrough refuse
bin must not be disposed of
along with unsorted domestic
refuse. The municipalities
have set up collection points
for this purpose. Please con-
sult your municipal or local
authority concerning facilities
available for separate collec-
tion of used appliances.
In this way, you contribute to
reuse or other forms of utili-
manual and details on prod-
ucts and methods have been
ascertained by using state-of-
the-art aids according to the
best of our knowledge. These
details are not binding and do
not relieve the user of per-
sonal responsibility to check
the appliance prior to use. We
accept no responsibility for
infringements of third-party
patent rights for applications
and procedures without prior
express and written acknowl-
edgement. We reserve the
right to undertake technical im-
provements for the purposes
of product improvement.
As part of legal means, liability
for direct damage, consequen-
tial damage and third-party
damage resulting from the
acquisition of this product is
excluded.
All rights reserved. Without
written approval of Ersa
GmbH, this instruction manual
may not, even in extract form,
be reproduced, transmitted
or translated into another
language.
Guarantee
Disposal
sation of used appliances in
the interests of environmental
protection and human health.

48
|
Ersa
P
S
W
Lötspitzen
Soldering tips
Panne
Soldadura consejos
Brasatura suggerimenti
Soldering dicas
Пайка советы
はんだ付けのコツ
焊錫秘訣
팁 납땜
http://i-tool.de/mediothek/
pdf/3ba00172_spitzen.pdf
C
A
B
01 02
40 °C / 104 °F
Other manuals for i-CON PICO
1
Table of contents
Other ersa Soldering Gun manuals

ersa
ersa ANALOG 60 User manual

ersa
ersa i-CON 1V User manual

ersa
ersa RA 4500 D User manual

ersa
ersa Solder Smart User manual

ersa
ersa RDS 80 User manual

ersa
ersa DIGITAL 2000 A User manual

ersa
ersa i-CON Nano User manual

ersa
ersa i-CON 1V User manual

ersa
ersa i-CON NANO MK2 User manual

ersa
ersa i-CON NANO MK2 User manual