ESI 600 User manual

ESI Feature Phone
User’s Guide
FOR THE ESI-600
0450-0907
Rev. B
Visit www.esiusers.com for up-to-date help.

About ESI
ESI (Estech Systems, Inc.) is a privately held corporation based in Plano, Texas. Founded in 1987, ESI
designs and builds innovative telecommunications products for businesses like yours. Because of their
powerful combination of value and features, ESI products are consistently recognized by industry
publications and leaders.
Copyright © 2006 ESI (Estech Systems, Inc.).
Esi-Dex, Quick Groups, Quick Moves, Virtual Mailbox Key, AutoPage, Quick Page and Verbal User Guide are trademarks, of ESI.
Act! is a registered trademark of Symantec Corporation. Goldmine is a trademark of Goldmine Software Corporation. Ethernet is a
registered trademark of Xerox Corporation. Microsoft, Windows, NT and Outlook are registered trademarks of Microsoft Corporation.
Intel is a registered trademark of Intel Corporation. Panasonic and DBS are registered trademarks of Matsushita Electric Corporation
of America.
Information contained herein is subject to change without notice.
ESI products are protected by various U.S. Patents, granted and pending.
ESI is an ISO 9001:2000-certified company. Visit ESI on the Web at www.esi-estech.com.

Contents
Introduction...............................................................................................................................................................A.1
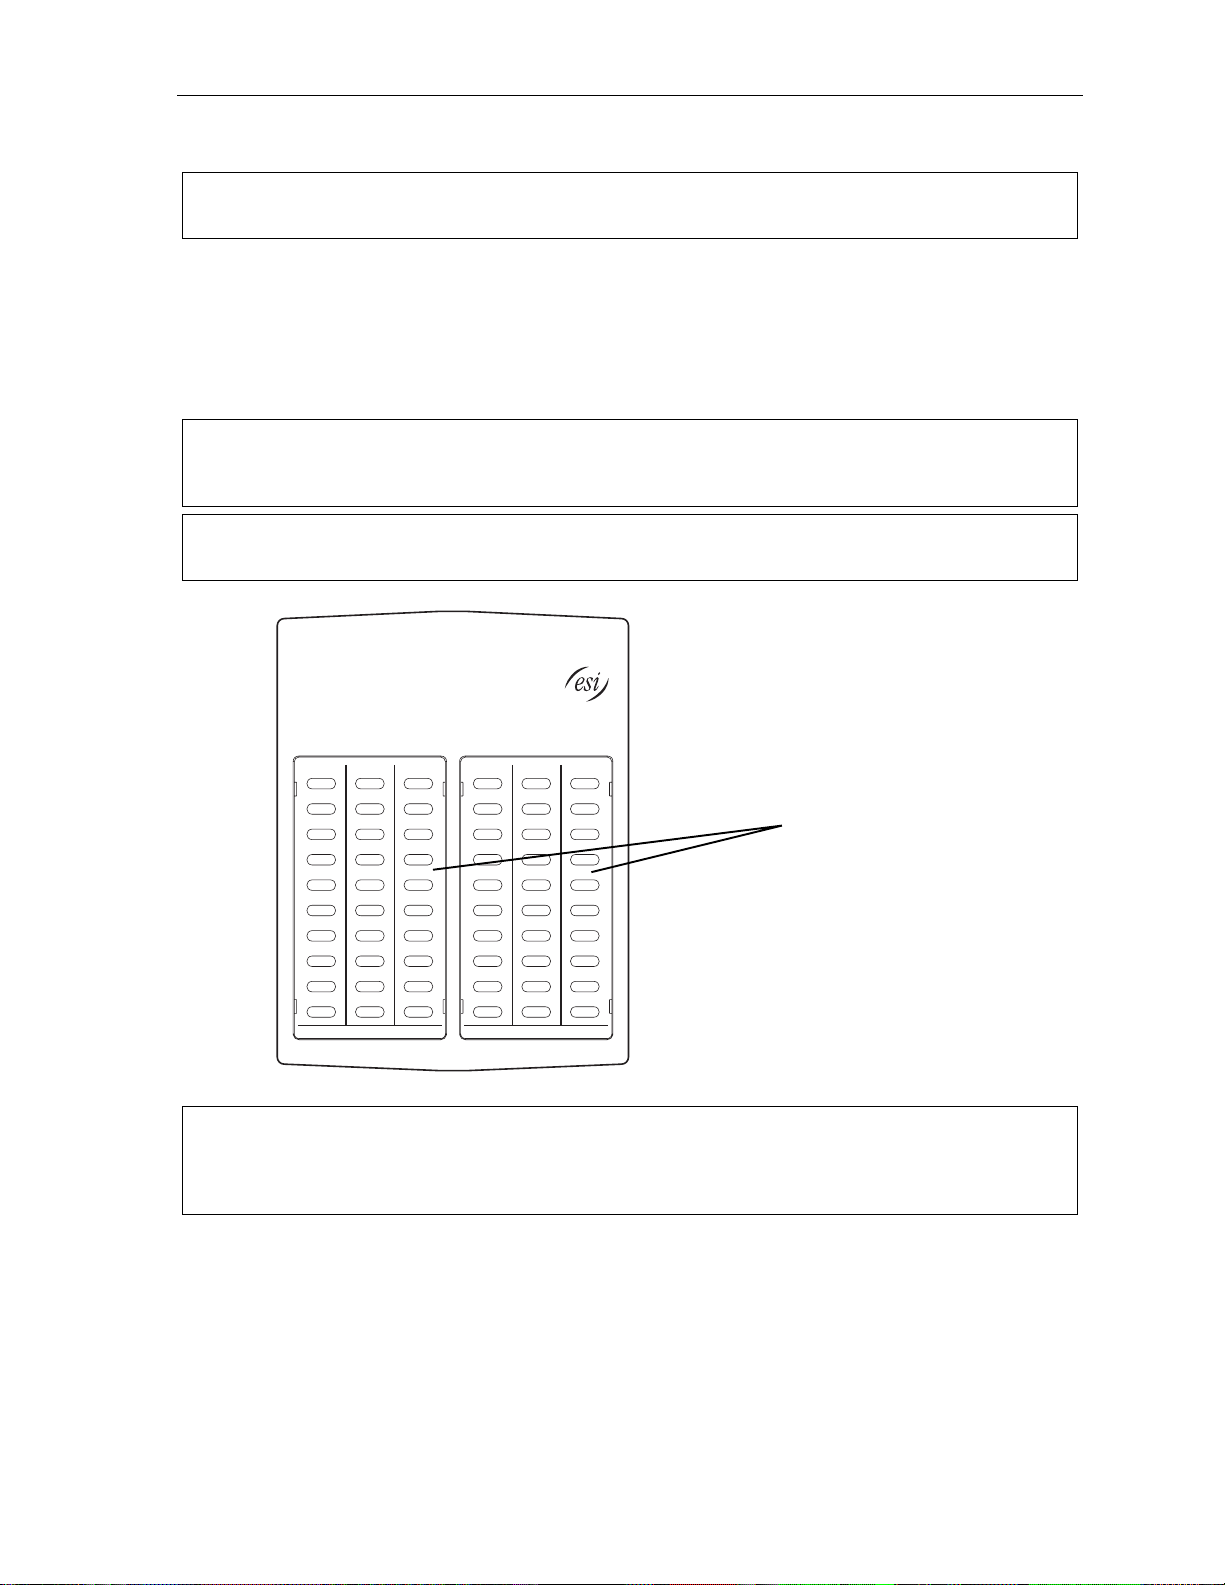
48-Key Feature Phone ................................................................................................................................................................................A.2
24-Key Feature Phone ................................................................................................................................................................................A.4
12-Key Feature Phone ................................................................................................................................................................................A.5
ESI Cordless Handsets ...............................................................................................................................................................................A.6
Connecting your ESI phone........................................................................................................................................................................A.7
Help mode (Verbal User Guide)..............................................................................................................................B.1
User programming: An introduction......................................................................................................................C.1
User programming menu ............................................................................................................................................................................C.1
Voice mail operation................................................................................................................................................D.1
VOICE MAIL key..........................................................................................................................................................................................D.1
Personal greetings.......................................................................................................................................................................................D.1
Leaving messages . . ..................................................................................................................................................................................D.2
AutoPage......................................................................................................................................................................................................D.3
Moving and deleting a message.................................................................................................................................................................D.3
Off-premises “reach me”..............................................................................................................................................................................D.3
Message retrieval.........................................................................................................................................................................................D.4
Live recording...............................................................................................................................................................................................D.7
Off-premises message delivery..................................................................................................................................................................D.8
Message Recycle Bin (un-delete)...............................................................................................................................................................D.9
Status indicator lamp....................................................................................................................................................................................D.9
Optional voice mail feature: Guest mailboxes ........................................................................................................................................ D.10
Optional voice mail feature: Group/broadcast mailboxes...................................................................................................................... D.12
Optional voice mail feature: Cascade notification mailboxes ................................................................................................................ D.13
Optional voice mail feature: Q & A mailboxes ........................................................................................................................................ D.15
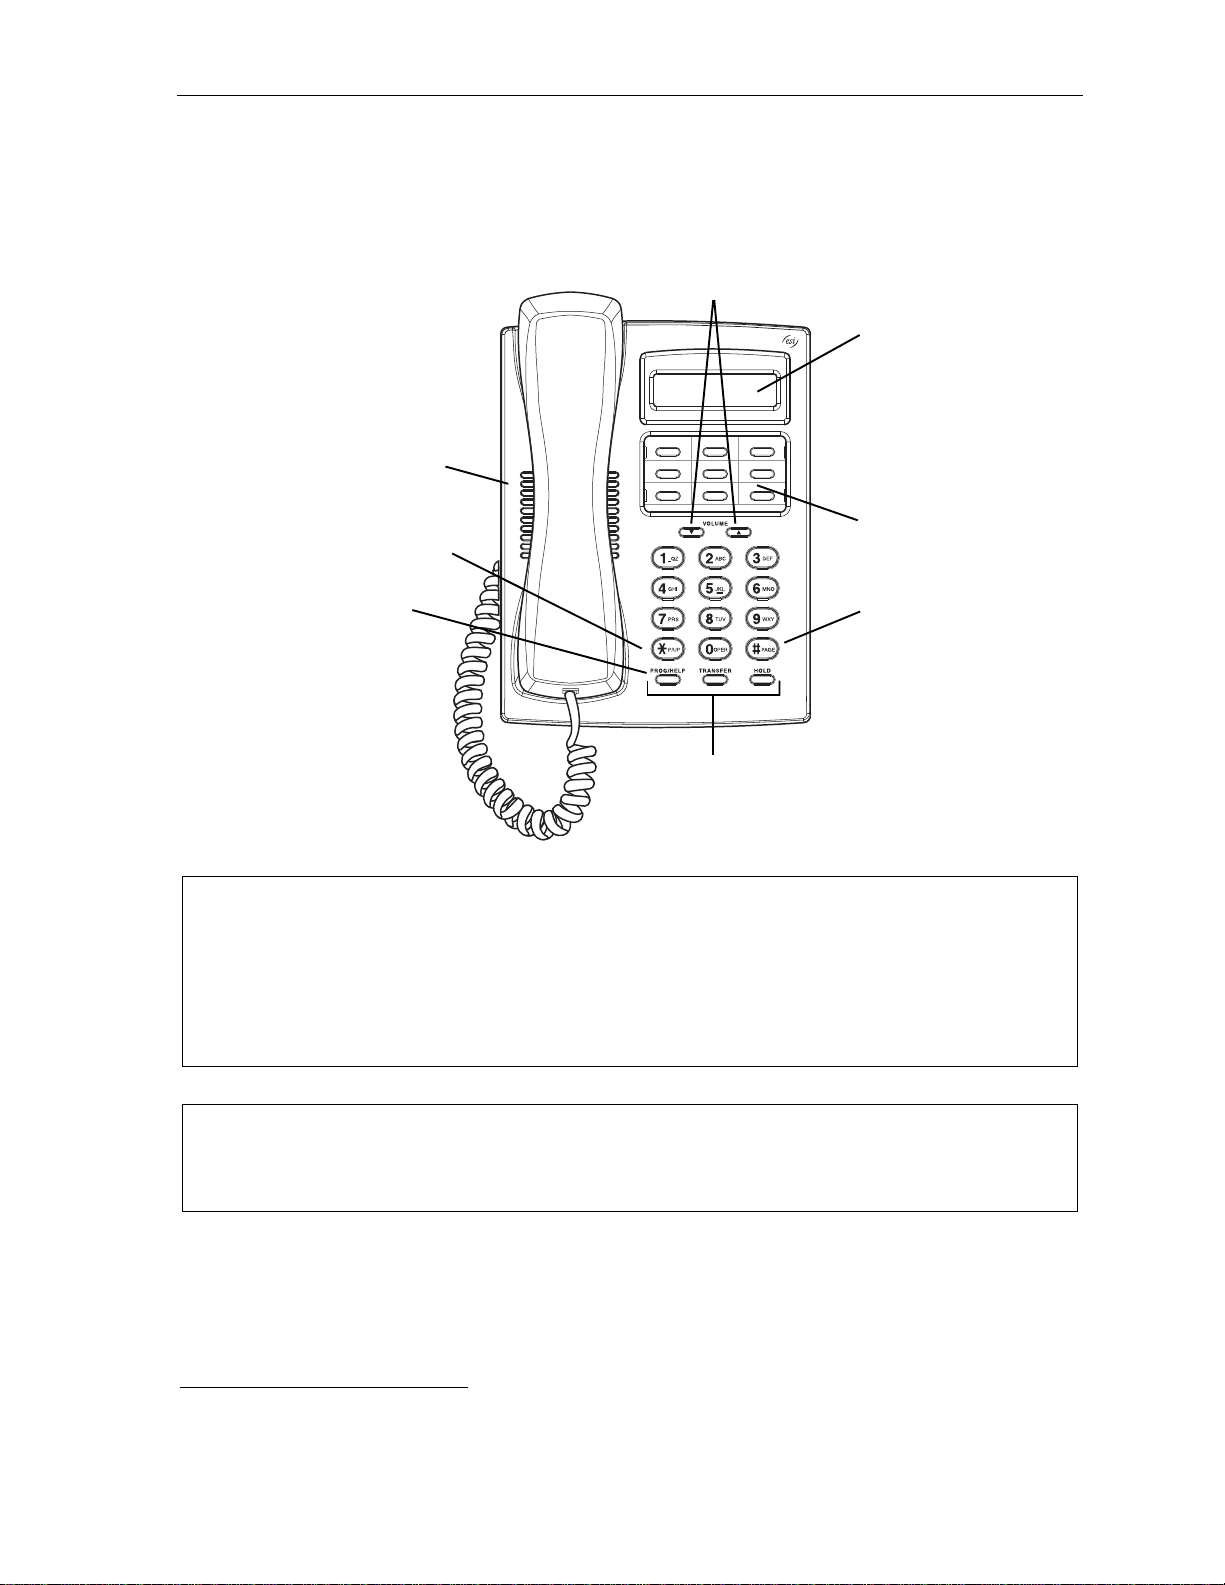
ESI Feature Phone operation..................................................................................................................................E.1
Display...........................................................................................................................................................................................................E.1
Caller ID ........................................................................................................................................................................................................E.1
Keys...............................................................................................................................................................................................................E.1
Dial tone........................................................................................................................................................................................................E.3
Basic phone use...........................................................................................................................................................................................E.4
Direct station selection.................................................................................................................................................................................E.5
Transferring an outside call . . ....................................................................................................................................................................E.5
Transferring an internal call . . ....................................................................................................................................................................E.7
Conferencecalling .......................................................................................................................................................................................E.8
Call forwarding..............................................................................................................................................................................................E.9
Call waiting..................................................................................................................................................................................................E.12
Hold/exclusive hold operation ...................................................................................................................................................................E.13
Paging.........................................................................................................................................................................................................E.15
Call pickup...................................................................................................................................................................................................E.15
Optional features........................................................................................................................................................................................E.16
Special keys..............................................................................................................................................................F.1
Esi-Dex..........................................................................................................................................................................................................F.2
Override ring.................................................................................................................................................................................................F.9
Message monitor mode (live call screening) ...........................................................................................................................................F.10
Personal greeting reminder.......................................................................................................................................................................F.10
Headset operation......................................................................................................................................................................................F.10
Outside dial tone preference.....................................................................................................................................................................F.11
Line keys.....................................................................................................................................................................................................F.11
Optional features........................................................................................................................................................................................F.12
Using 48-Key IP Feature Phone II remotely.......................................................................................................... G.1
1. Channel availability display ....................................................................................................................................................................G.1
2. No 911/emergency calls.........................................................................................................................................................................G.1
Troubleshooting...........................................................................................................................................................................................G.2
Using Esi-Link...........................................................................................................................................................H.1
Overview.......................................................................................................................................................................................................H.1
Location Keys...............................................................................................................................................................................................H.1
Programmable feature keys and Esi-Link: an introduction.......................................................................................................................H.2
Dialing an Esi-Link location..........................................................................................................................................................................H.3
Using feature keys with Esi-Link.................................................................................................................................................................H.4
Other Esi-Link features................................................................................................................................................................................H.7
Dialing into an ESI IP Gateway...................................................................................................................................................................H.9

ACD agent operation.................................................................................................................................................I.1
Programming the agent log-on/off key ........................................................................................................................................................I.1
Wrap mode ....................................................................................................................................................................................................I.2
LED indicator..................................................................................................................................................................................................I.2
Display indications.........................................................................................................................................................................................I.3
While logged on: no DND, monitor mode, call forward, or programming................................................................................................I.4
Call waiting.....................................................................................................................................................................................................I.4
ACD administrator key..................................................................................................................................................................................I.5
Analog stations.........................................................................................................................................................J.1
Caller ID.........................................................................................................................................................................................................J.1
Placing calls ..................................................................................................................................................................................................J.1
Transferring calls ..........................................................................................................................................................................................J.2
Conferencecalling........................................................................................................................................................................................J.2
Call waiting....................................................................................................................................................................................................J.3
Call hold.........................................................................................................................................................................................................J.3
Paging............................................................................................................................................................................................................J.3
Call pick-up....................................................................................................................................................................................................J.3
Voice mail operation from an analog station..............................................................................................................................................J.4
Analog station programming........................................................................................................................................................................J.7
Index

User’s Guide Introduction
A.1
Introduction
Accessing the rich ESI feature set is simple and easy through the straightforward design of each of the
various ESI Feature Phones. Each feature has been designed for ease of use while providing
capabilities needed in an advanced business phone.
You will be able to learn many of the features by simply using your phone; and this ESI Feature Phone
User’s Guide will introduce you to the wide variety of features offered by your ESI phone system and
how to use your phone effectively to achieve maximum benefits.
What it covers
This User’s Guide covers the use of the following with the ESI-600 phone system:
•48-Key Feature Phone (Digital, TAPI, and local/remote IP Feature Phone II)
•24-Key Digital Feature Phone
•12-Key Feature Phone
•ESI Cordless Handset (Digital, IP, and Remote IP)
•60-Key Expansion Console and Second Expansion Console
How it’s arranged
•Section A — Phone illustrations
•Section B — User help
•Section C — User programming
•Section D — Voice mail operation
•Section E — Phone operation
•Sections F through K — Special keys and features

Introduction User’s Guide
A.2
48-Key Feature Phone
The 48-Key Feature Phone has a variety of programmable and built-in features. It comes in multiple
versions: 48-Key Digital Feature Phone; 48-Key Digital TAPI Feature Phone; and 48-Key IP Feature
Phone II. Additionally, it supports up to two optional Expansion Consoles (see next page). All versions
of the 48-Key Feature Phone offer the same basic features which are described throughout this User’s
Guide. The 48-Key Feature Phone’s built-in voice mail features and voice prompts make it easy to
program and use.
Hint: On any of these ESI phone varieties (including the Expansion Consoles), you can perform direct
programming by holding down a programmable feature key for at least two seconds (similar to how you
mightprogram a car radio button).This isn’t applicable to the fixed-feature keys which, as theirname
implies, are already programmed.
3-line, 56-character display
ESI-DEX
soft feature key
(pg. F.2)
PROGRAM
soft feature key
(pg. C.2)
Volume/scroll keys
30 programmable
feature keys
(pg. C.2)
Microphone for
built-in speakerphone
Fixed feature keys
(pg. E.1)
Status indicator
lamp (pg. D.9)
VOICE MAIL
key (pg. D.1)
HELP key for
access to Verbal
User Guide
and tutorial
(pg. B.1)
RECORD key
(pg. D.7)
Context-specific
key to select
displayed options
PAGE key
(pg. E.15)
P/UP
(pickup) key
(pg. E.15)
Speaker

User’s Guide Introduction
A.3
Optional Expansion Consoles for use with the 48-Key Feature Phone
Note: Your Installer or System Administrator must enable Expansion Console support for your extension
before you can use one or both Expansion Consoles.
Your ESI 48-Key Feature Phone can support up to two optional Expansion Consoles, for a possible total
of 120 additional programmable feature keys.
The 60-Key Expansion Console connects directly to the phone, while the Second Expansion Console
connects to the first Console.
You program each Expansion Console’s keys just as you do the programmable feature keys on your
ESI Feature Phone, using either direct or traditional programming (see page C.2).
Note: Only one key can exist perextension, feature or operation. Ifyou program a second key for the same
extension, feature or operation, this automatically erases the first key so programmed, thus making it
available fora new extension, feature or operation.
Hint: You may find iteasier to write in the names on the overlay before you program the keys and attach the
overlay to the Console.
Hint: On any of these ESI phone varieties (including the Expansion Consoles), you can perform direct
programming by holding down a programmable feature key for at least two seconds (similar to how you
mightprogram a car radio button).This isn’t applicable to the fixed-feature keys which, as theirname
implies, are already programmed.
60 programmable
feature keys
(pg. C.2)
in two banks
of 30 each

Introduction User’s Guide
A.4
24-Key Feature Phone
The 24-Key Feature Phone has features similar to those of the 48-Key Feature Phone. However, the
24-Key Feature Phone is available only as a digital model and doesn’t support TAPI, IP, ESI’s software
applications (VIP, VIP Professional, and ESI PC Attendant Console)1, or the Expansion Consoles. As is
true for the 48-Key Feature Phone, the 24-Key Feature Phone’s built-in voice mail features and voice
prompts make it easy to program and use.
Hint: On any of these ESI phone varieties (including the Expansion Consoles), you can perform direct
programming by holding down a programmable feature key for at least two seconds (similar to how you
mightprogram a car radio button). This isn’t applicable to the fixed-feature keys which, as theirname
implies, are already programmed.
1For information concerning these software applications, see the ESI Web site at www.esi-estech.com.
2-line, 32-character display
ESI-DEX key (pg. F.2)
PROG/HELP combo key
for phone programming
(pg. C.2) and access to
Verbal User Guide
and tutorial (pg. B.1)
Volume/scroll keys
12 programmable feature
keys (pg. C.2)
Microphone for
built-in speakerphone
Speaker
Other fixed feature keys
(pg. E.1)
VOICE MAIL key (pg. D.1)
RECORD key (pg. D.7)
Status indicator
lamp (pg. D.9)
PAGE key (pg. E.15)
P/UP (pickup) key
(pg. E.15)

User’s Guide Introduction
A.5
12-Key Feature Phone
The 12-Key Feature Phone includes the basic, most commonly used phone features. This simplified
model is available only as a digital model and doesn’t support TAPI, IP, ESI’s software applications
(VIP, VIP Professional, and ESI PC Attendant Console)1, the Expansion Consoles, speakerphone
operation2, or Esi-Dex.
Note: The following features aren’t available on a 12-Key Feature Phone:
• Certain special keys and features (see “Special keys,” page F.1).
• Esi-Dex.
• ACD operation.
Additionally: to use voice mail, conference calling and mute/DND on a 12-Key Feature Phone,you
must program these features into programmable feature keys (see “Programmable feature keys,” page
C.3, and “Optional features,” page F.12).
Hint: On any of these ESI phone varieties (including the Expansion Consoles), you can perform direct
programming by holding down a programmable feature key for at least two seconds (similar to how you
mightprogram a car radio button). This isn’t applicable to the fixed-feature keys which, as theirname
implies, are already programmed.
1For information concerning these software applications, see the ESI Web site at www.esi-estech.com.
2The 12-Key Feature Phone doesn’t have a hands-free microphone, and therefore can’t serve as a true two-way speakerphone.
Its speaker plays pages.
1-line,
16-character display
Volume/scroll keys
9 programmable
feature keys (pg. C.2)
Speaker
Fixed feature keys
(pg. E.1)
PAGE key (pg. E.15)
P/UP (pickup) key (pg. E.15)
PROG/HELP combo key
for phone programming
(pg. C.2) and access to
Verbal User Guide
and tutorial (pg. B.1)

Introduction User’s Guide
A.6
ESI Cordless Handsets
ESI’s digital Cordless Handsets come in two models — compact and heavy-duty — but each offers the
same features. Note that they do not have the following features found on some ESI desktop phones:
speakerphone, Esi-Dex support (or ESI-DEX key), Caller ID key, Virtual Mailbox Key support, or Verbal
User Guide (or HELP key). Each model comes with a charger/AC adapter, base station, belt clip,
battery pack, and wall mount.
Two-line, 32-character display;
third line contains status icons
Other fixed feature keys (pg. E.1)
VOICE MAIL key (pg. D.1)
Four programmable feature keys (pg. C.2)
TALK key
CHANNEL key
Compact model Heavy-duty model

User’s Guide Introduction
A.7
Connecting your ESI phone
Depending on which ESI phone you have, use the appropriate diagram (below) to connect it. Each
diagram represents the panel on the phone’s underside.
Note: The “Top of phone” and “Bottom of phone” references in these diagrams show the correct vertical
orientation of the phone — i.e., the part with the display is the top.
12-Key Feature Phone
24-Key Feature Phone
•Connects like a basic phone.
•Handset plugs into right-side jack.
•Line cord plugs into left-side jack.
48-Key Digital Feature Phone
In addition to how the 24-Key Feature Phone connects
to the handset and line cord, note the presence of a
headset jack1, as well as the following information:
•TAPI version includes a cable for connecting to your
PC’s serial port.
•60-Key Expansion Console cable (included with each
Console) uses standard RJ-11 telephone connectors.
48-Key IP Feature Phone II
In addition to the details mentioned previously for
the 48-Key Digital Feature Phone, each 48-Key IP
Feature Phone II includes:
•A power supply that is unswitched (i.e., always-on AC
outlet) and plugs into the phone.
•An Ethernet cable, which connects the
phone to a PC (or, if no PC is present, directly to a
router, switch or hub) to achieve connectivity to a local
area network (LAN).
Note: When the phone is in the highest upright position, use the wall-mount hook located under the handset
to secure the handset when you’re not using the phone.
1On 48-Key Feature Phones shipped by ESI to its Resellers on or after March 1, 2004.
Line cord
to wall
Handset
Connectors on bottom of
48-Key Digital Feature Phone
(headset jack shown)
Line cord
to wall
To 60-Key
Console Handset
(TAPI)
to PC
To
headset
To 60-Key
Console
Handset
To power
supply To
PC
To
LAN
To
headset

Introduction User’s Guide
A.8
60-Key Expansion Console connection
Notes: Your Installer or System Administrator must enable Expansion Console support for your extension
before you can use one or both Expansion Consoles.
The 60-Key Expansion Console can be connected to only a 48-Key Feature Phone.
If connecting both a 60-Key Expansion Console and a Second Expansion Console to a 48-Key Feature
Phone, see “Second Expansion Console connection,” page A.9.
1. Unplug the line cord or Ethernet cable from your 48-Key Feature Phone.
If it’s an IPFeature Phone II with a power supply plugged into it, unplug the power supply, too.
2. The 60-Key Expansion Console (right) includes a six-conductor
expansion cable. Connect one end of the expansion cable to the
appropriate connector on the bottom of the Feature Phone (below).
Then, connect the other end of the expansion cable to the 60-Key
Expansion Console.
3. To keep cabling out of the way, thread the expansion cable into the
slots on the bottom of the phone and 60-Key Expansion Console.
4. Program the keys on the 60-Key Expansion Console using the same
procedure as with the Digital Feature Phone (press PROGRAM 2).
5. If necessary, remove the clear plastic overlay from the keys on the
Expansion Console.
6. For maximum convenience, label the paper overlay to show how
the keys are programmed (your Installer or System Administrator can do this with ESI software).
7. Install the labeled paper overlay on the 60-Key Expansion Console.
8. Install the clear plastic overlay over the paper overlay, to protect it.
9. Use the provided Velcro®tape to attach the left side of the 60-Key Expansion Console to the right
side of the 48-Key Feature Phone.
10. Plug the line cord or Ethernet cable back into your 48-Key Feature Phone.
If you unplugged a power supply in step 1, plug it back in, as well.
Connectors on bottom of
48-Key Digital Feature Phone;
TAPI model shown
Line cord
to wall
To 60-Key
Console Handset
(TAPI)
to PC
To
headset

User’s Guide Introduction
A.9
Second Expansion Console connection
Notes: Your Installer or System Administrator must enable Expansion Console support for your extension
before you can use one or both Expansion Consoles.
If connecting only one Expansion Console to a 48-Key Feature Phone, see “60-Key Expansion
Console connection,” page A.8.
The Second Expansion Console connects to the 60-Key Expansion Console and cannot connect
directly to the 48-Key Feature Phone (which is the only phone to which you can connect a 60-Key
Expansion Console).
1. Unplug the line cord or Ethernet cable from your 48-Key Feature Phone.
If it’s an IPFeature Phone II with a power supply plugged into it, unplug the power supply, too.
2. The Second Expansion Console1includes an
expansion “Y” cable (right)2. Lay out the cable across
the back of the equipment so that the AC adapter is on
left and the end of the cable is on the right.
3. Connect the right end of the expansion “Y” cable to the
appropriate connector on the bottom of the 48-Key
Feature Phone (below).
4. Then, connect the expansion “Y” cable’s middle plug to the 60-Key Expansion Console, the left
plug to the Second Expansion Console, and the AC adapter to an appropriate 110 VAC outlet to
provide power to the Second Expansion Console (above).
5. To keep cabling out of the way, thread the expansion “Y” cable into the slots on the bottom of the
phone and the two Expansion Consoles.
6. Program the keys on the two Expansion Consoles using the same procedure as with the Digital
Feature Phone (press PROGRAM 2).
7. If necessary, remove the clear plastic overlay from the keys on the two 60-Key Expansion Consoles.
8. For maximum convenience, label the paper overlay to show how the keys are programmed (your
Installer or System Administrator can do this with ESI software).
9. Install the labeled paper overlays on the two 60-Key Expansion Consoles.
10. Install the clear plastic overlays over the paper overlays, to protect them.
11. Use the provided Velcro®tape to attach the left side of the 60-Key Expansion Console to the right
side of the 48-Key Feature Phone, and the right side of the 60-Key Expansion Console to the left
side of the Second Expansion Console).
12. Plug the line cord or Ethernet cable back into your 48-Key Feature Phone.
If you unplugged a power supply in step 1, plug it back in, as well.
1It’s physically identical to a 60-Key Expansion Console; consult your Installer if you have trouble determining which one it is.
2This diagram shows the backs of the Expansion Consoles.
Connectors on bottom of
48-Key Digital Feature Phone;
TAPI model shown
Line cord
to wall
To 60-Key
Console Handset
(TAPI)
to PC
To
headset

Introduction User’s Guide
A.10
ESI Cordless Handset connection
Each ESI Cordless Handset comes with:
•A charger/cradle to charge the Handset.
•An AC adapter for use with only the charger.
•A base station to provide a digital interface between the ESI phone system and ESI Cordless
Handset. This base station is line-powered and thus needs no AC power.
•Wall-mount(s), a belt clip, and a Quick Reference Guide.
Base station installation
Due to each site’s unique characteristics, the range and distance information we’ll provide herein is
only approximate.
Characteristics that positively affect performance:
•The base station should be installed so it has a clear line-of-sight with the Cordless Handset.
•The base station antenna should always be pointed in its uppermost vertical position.
Don’t install the base station:
•Close to a wall, especially one with metal studs.
•Next to a device that emits EMI1— e.g., a television, radio, computer, computer printer, flourescent
light fixture, or fax machine.
•Next to any other 900 MHz device — e.g., a hand-held inventory control device.
•In a ceiling that has foil-backed insulation.
•Behind doors that typically are closed, tinted windows, one-way glass, or other areas that limit or
cut off transmission to the Cordless Handset.
Base stations must be installed at least 10 feet apart, regardless of whether the base station is for the
small-model or large-model Cordless Handset. Don’t install more then six base stations in one area
(such as a network room). Choose a location at least 30 feet away if more than six base stations are
needed in a building. A base station requires only a line cord to the phone system;AC power isn’t
needed because the base station receives power from the phone system via the line cord.
Once the base stations are installed and the Cordless Handsets charged, change each Handset’s
channel by pressing its CH key. Each Handset should have its own channel. There are 30 available
channels on the small Cordless Handset and 10 on the large Cordless Handset.
Note: Feedback may result if the Cordless Handset is within three inches of an ESI desktop Feature Phone.
1Electromagnetic interference.

User’s Guide Help mode (Verbal User Guide)
B.1
Help mode (Verbal User Guide)
Your ESI phone system’s Help mode (also called the Verbal User Guide) — a carefully conceived
combination of spoken information, display readouts and even key illumination when appropriate — is a
powerful tool to help you learn how to use the system’s many features.
Notes: As explained on page E.1, each of the two smaller Feature Phones, 12-Key and 24-Key, has a combo
PROG/HELP key.
The ESI Cordless Handsets have no access to the Verbal UserGuide and, therefore, no HELP key.
Tutorial
When your station is idle, press HELP, and then follow the spoken Help menu to:
• Learn how to use the phone • Hear a description of how any key is used
• Learn how to use voice mail features • Hear a complete tutorial on phone operation
Help during station programming
To hear a detailed description of a function you wish to program, press HELP while programming it.
Help during a call
Press HELP while on a call and this will place the call on hold, whereupon you can use Help mode to
hear a description of the function you wish to perform. When you exit Help mode,you will be
reconnected to the call.
While you are either in Help mode or programming your phone, your station will be temporarily placed in
DND (see “MUTE/DND,” page E.3). Anyone calling your station while you are in DND will be forwarded
to your mailbox (or other destination set by the installer).
Exiting Help mode
To exit Help mode, simply hang up.
Visit www.esiusers.com for up-to-date help.

Help mode (Verbal User Guide) User’s Guide
B.2
(This page included for pagination purposes only.)

User’s Guide User programming: An introduction
C.1
User programming: An introduction
Voice prompts will play menu and sub-menu options to access the desired feature. You don't have to wait
for the entire prompt to be played. Therefore, once you’ve become familiar with the prompts (consult
“User programming menu overview,” below), you can quickly set any frequently used feature.
Programming help
During any of the programming steps, press HELP to hear a more detailed description of the feature
and related programming options.
Exiting programming mode
To exit programming mode, simply hang up.
User programming menu
Overview
1 Select personal greeting
1 Record
2 Delete
3 Hear
2 Programmable feature keys
(Station keys, line keys, speed-dial keys,
other feature keys)
3 Station options
1 Call waiting/background announce
2 Personal greeting reminder
4 Outside dial tone preference
5 Hands-free answer
6 Message monitor
7 Power-saving mode1
4 Station audibles
1 Station ring tone
2 Station ring volume
3 Message ring
4 Secondary ring tone
5 Password
1 Enter
2 Delete
3 Play back
4 Security level
6 External message notification
1 Delivery options
2 Phone delivery
3 Pager notification
4 Urgent message
7 Personal Call Routing2
1 Entry settings
2 Exit settings
3 Quiet time settings
9 Un-delete
Note: Selections 3, 5 and 6, as well as the background announce function under “Station options” (see page
E.12), are not available on a 12-Key Feature Phone.
1For use with only ESI Cordless Handsets.
2Available only if your phone system is using ESI Presence Management. If you’re not sure whether it is, consult your System
Administrator. For more information about ESI Presence Management, visit www.esi-estech.com/presence.

User programming: An introduction User’s Guide
C.2
1 Select personal greeting
Select the desired greeting — 1, 2 or 3. The system will play the current greeting, followed by
prompts to re-record, delete or hear again — or select the current greeting by pressing #.
1 Record personal greeting
Begin recording at the tone. Press 1to stop. The new personal greeting automatically replaces
the previous greeting.
2 Delete personal greeting
When prompted, press 2again to confirm deletion.
Warning: Your mailbox is disabled if no personal greeting exists. Never delete all of your existing
personal greetings before you record at least one new one.
3 Hear current personal greeting
2 Programmable feature keys
There are two methods for performing programming of your phone’s programmable feature keys:
• Direct programming — Select the key you want to program, and hold it down for at least two
seconds.This not only initiates programming but also lets you immediately program that specific key.
• Traditional programming — Press PROGRAM. The Verbal Help Guide will speak to you,
walking you through the full menu, during which you can choose the appropriate option.
Direct programming example:
You wish to setone of the keys to dial a co-worker, whose extension is 105. Hold down the key
for at least two seconds.This automatically puts you in feature key programming. Follow the
prompts to enter 1 0 5. (This has allowed you to skip two steps — pressing PROGRAM and
selecting a menu option — that you’d have had to perform ifusing traditionalprogramming.)
(Continued)

User’s Guide User programming: An introduction
C.3
How the programmable feature keys can be set
• Line keys — Programming a line number into a programmable feature key makes it a line key,
which provides the appropriate lamp information and manual outside-line access.
• Station keys — If you program a programmable feature key with any of the following, it
becomes a station key, providing the appropriate lamp information and easy access or transfer:
— User extensions — Group mailboxes
— Department pilot numbers — Cascade paging mailboxes
— Guest/info mailboxes — System speed dial numbers
— Q & A mailboxes
• Speed-dial keys — In addition to programming a programmable feature key with a system
speed-dial number, you can create personal speed-dial keys for automatic dialing of frequently
called outside numbers. The speed-dial number can be up to 24 characters long. If you program
9(or 8or 71–76) plus a phone number, the programmable feature key becomes a speed-dial
key. When you program a speed-dial key, there's no need to insert a pause after the 9(or 8or
71–76). Use the scroll key to enter special characters for dialing:
— P= Three-second pause
— F= Hook-flash
— #= #(pound) key
—
=
(star) key
Note: You can also program Location Keys for use with Esi-Link. See page H.1 for more information.
• Other feature keys — If you enter a feature code, the programmable feature key will serve as
an enable/disable key for that feature.The Installer may have programmed certain stations for
accessing additional features (see “Optional features,” page F.12); consult your System
Administrator to determine your access.
Keys’ LED activity during programming
Key type and LED indication
Mode Station key or
Virtual Mailbox Key
Line key Feature key
or speed-dial key
Currently being programmed and
previously assigned Flashing red Flashing green Flashing amber
Currently being programmed and
previously unassigned Flashing red Flashing red Flashing red
Programming mode — Was assigned or
viewed in current session Blinking red Blinking green Blinking amber
Assigned in a previous programming session
and not yet viewed in current session Solid red Solid green Solid amber
Never assigned and not yet viewed in
current session Off Off Off
Note: Each ESI Cordless Handset has only one LED color — red — with similar blinking rates.

User programming: An introduction User’s Guide
C.4
3 Station options
The station options sub-menu (PROGRAM 3) lets you activate or deactivate several features your
station can provide. At each option sub-menu, 1enables the option and 0disables it. (Each option
listed below is explained elsewhere in this manual, as noted.)
1 Call waiting/background announce
See page E.12 for call waiting and page E.12 for background announce.
Note: Background announce is not available on a 12-Key Feature Phone.
2 Personal greeting reminder
See page F.10.
3 Headset operation
See page F.10.
Note: Not available on a 12-Key Feature Phone.
4 Outside dial tone preference
See page F.11.
5 Hands-free answer
Note: With an ESI Cordless Handset, use of this feature requires a headset.
See page E.2.
Note: Not available on a 12-Key Feature Phone.
6 Message monitor
See page F.10.
Note: Not available on a 12-Key Feature Phone.
7 Power-saving mode
Note: Applicable to only an ESI Cordless Handset.
Allows you to enable or disable an ESI Cordless Handset’s power-saving mode. Enabling this
mode helps achieve full battery life. However, if full-time status monitoring is required, you can
disable this mode. In power-saving mode, the phone system blocks all status updates1to the
Cordless Handset when the Handset has been idle for 30 seconds. Pressing the Cordless
Handset’s keys or receiving an incoming call on it will discontinue power-saving mode.
Note: When the handset has received no calls or status updates1for five minutes, the Cordless
Handset enters deep-sleep mode. During it, the display is blank and the LEDs don’t light up.
If the system sends any updates to the Cordless Handset, it will discontinue deep-sleep mode.
1For example: If you have a programmable feature key set as a station key for someone’s extension, the system updates your
Cordless Handset based on that extension’s current status (busy, idle, do-not-disturb, or — with optional ESI Presence
Management — off-premises).
This manual suits for next models
3
Table of contents
Other ESI Telephone manuals

ESI
ESI 50L User manual

ESI
ESI 12-Key Feature Phone User manual

ESI
ESI eSIP Evolution Series User manual

ESI
ESI IVX 20 User manual

ESI
ESI IP 200 User manual

ESI
ESI IVX 128 Plus Installation and operation manual

ESI
ESI IVX X-Class User manual

ESI
ESI IVX 20 User manual

ESI
ESI 55 User manual

ESI
ESI IVX S-Class User manual

ESI
ESI ePhoneX eSIP Evolution Series User manual

ESI
ESI IVX C-Class User manual

ESI
ESI ESI Phone Specification sheet

ESI
ESI ivx e-class series Use and care manual

ESI
ESI Feature Phone User manual

ESI
ESI IVX S-Class Use and care manual

ESI
ESI 45SIP User manual

ESI
ESI 60 Business Phone User manual

ESI
ESI IVX 20 Plus Owner's manual

ESI
ESI ePhone4x Operator's manual