3
Assembly:
Some of the assembly can be by one person, but it is most helpful to have a second pair of hands
available. Assembling the windows, doors and gables ahead of time will make you familiar with
the process and will make the main assembly go quicker and more smoothly.
Once the roof beam is attached to your gable, it is neccesary to have an additional person to hold/
steady the roof beam or use stable support such as: stay bars, ladders, straps or other
equipment. A third person is extremely helpful when installing the curved side walls.
Important note regarding polycarbonate glazing during assembly:
The ISO-celluar sheets (polycarbonate glazing) must be placed with the UV-coated side to the
outside. On the protective film, there will be a corresponding note indicating "UV" or "2UV",
most panels should be coated on both sides, but if you are unsure, please give us a call.
Loosen the protection film only at the edge and the complete rest of the foil only after the panel
is securely in place. HOWEVER, do not leave the film on more than 1 day in the sun as the film
can burn tight to the polycarbonate and will be extremely difficult to remove.
Do not strip it completely off when unpacking the goods because then you cannot see the side
with the UV-protection. The film will also protect the polycarbonate from scratches during
assembly.
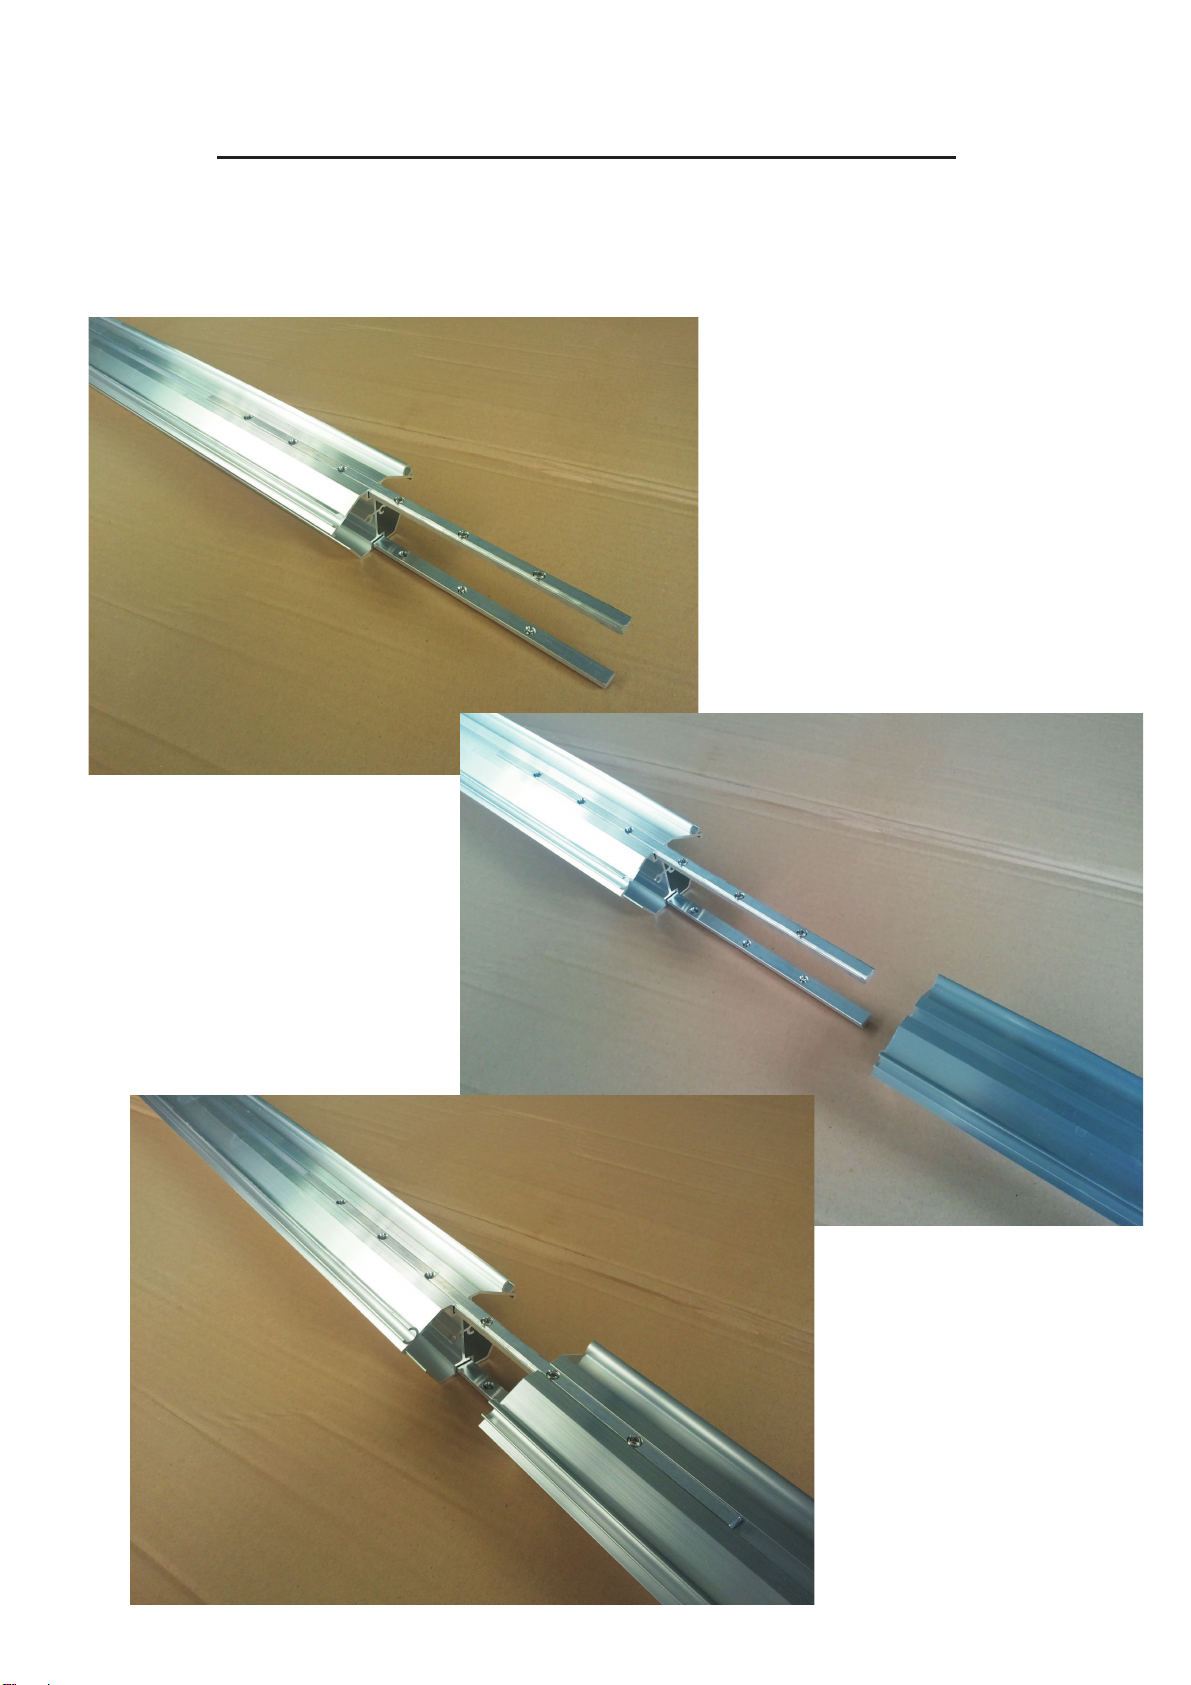
Unlike most greenhouses, the mounting of the aluminium profiles is done together with the
glazing. This results in an absolutely secure glazing and the best possible stability of the
greenhouse.
Special Note: Much of the greenhouse is assembled with series of bolts that
are inserted into the channels on the aluminum profiles/extrusions. If you
miss inserted a bolt where needed, there are insertion points in many of the
vertical and curved profiles/extrusions. You may also create your own
insertion point with a 1/2" drill bit. This will not compromise the integrity of
the structure
What you will need:
- Patience - do not rush - Make it a fun build
- 2 people (3 will make it easier - especially when inserting the glazing panels)
- Gloves - the ends of the aluminium profiles can be sharp
- Measuring tape - a combination metric/inch tape measure is preferred
- 2 A-frame step ladders (10‘ and 8‘ preferable)
- 2 Rubber mallets
- Adjustable wrench
- 10 mm socket wrench
- 10 mm wrench
- Philips head screwdriver (Drill or impact drill can be used with
caution) - Level
- Lithium Grease - helpful to slide profiles along floor/roof profiles
and windows along roof beam
- Permanent Marker (to mark glazing panels)