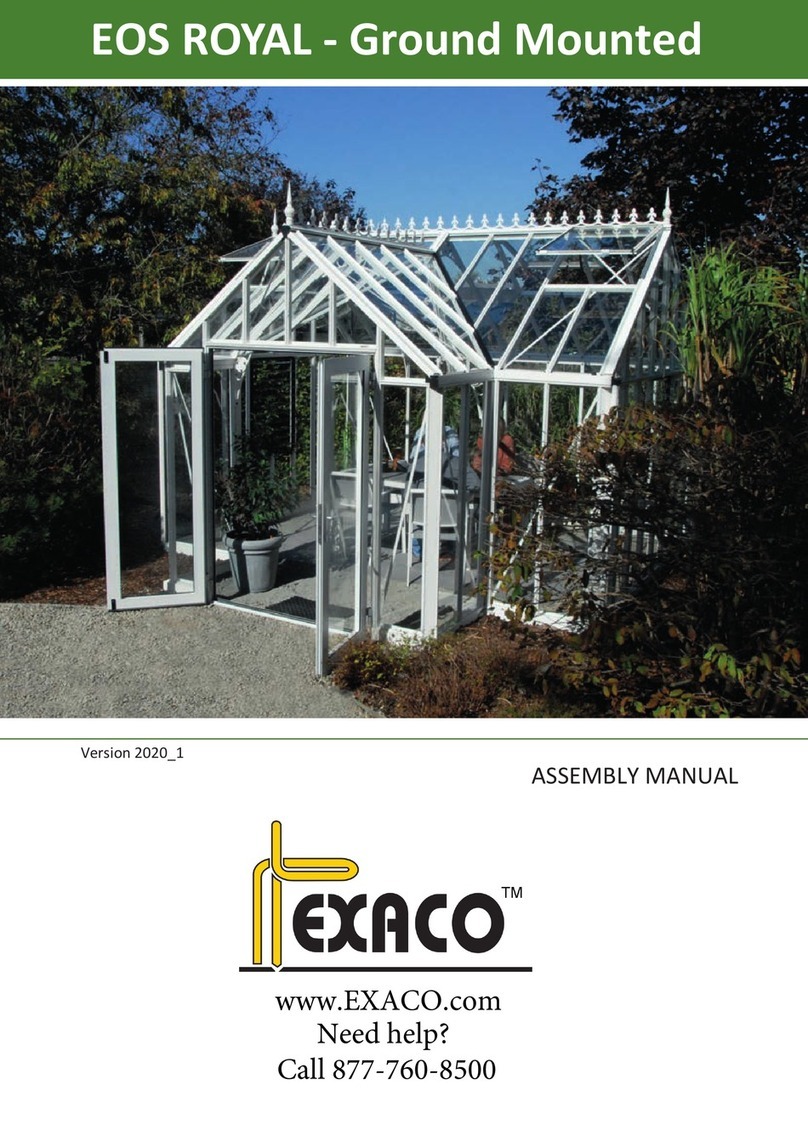
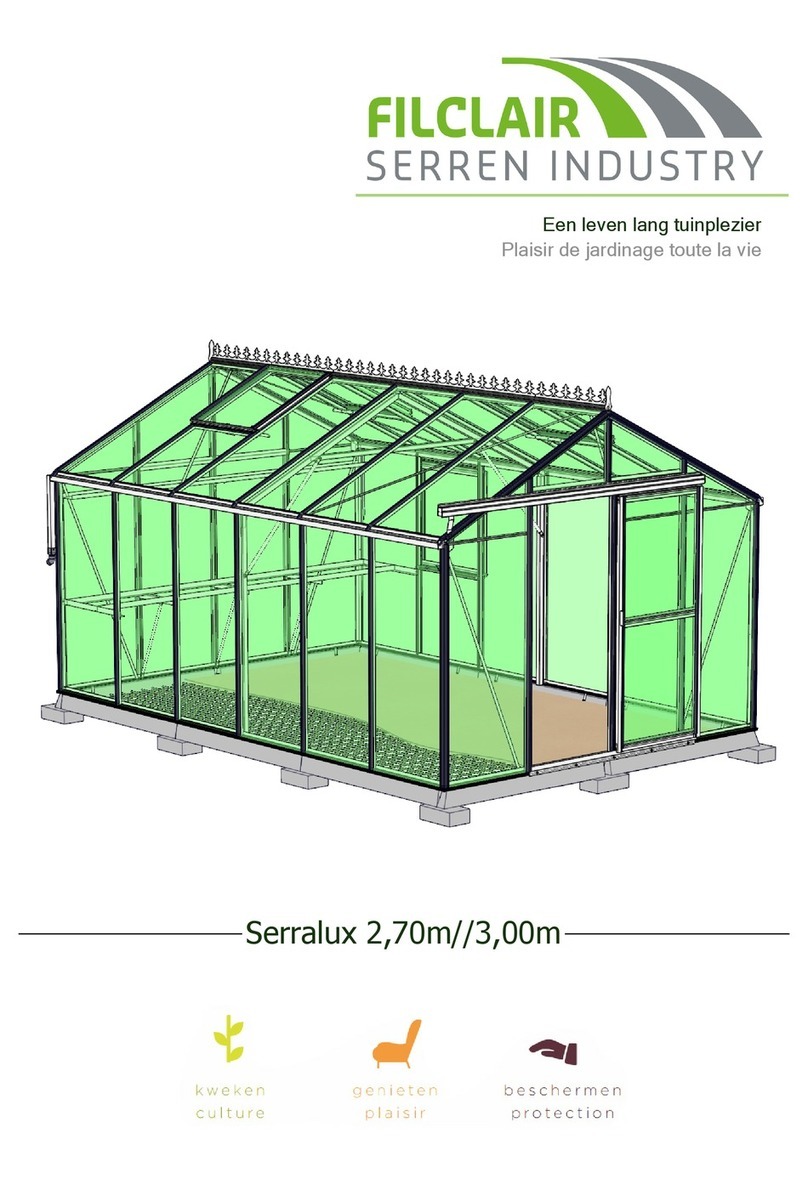
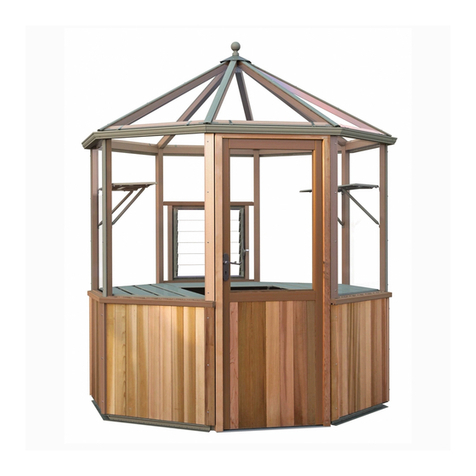
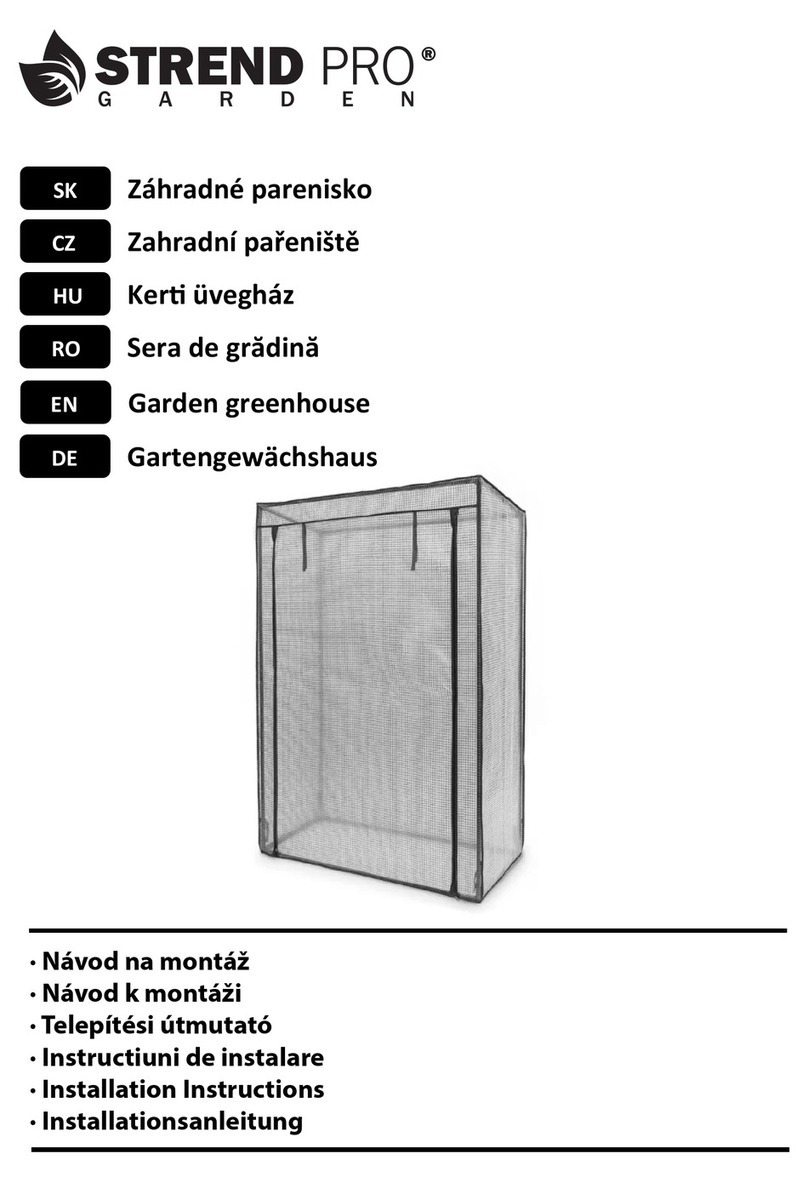
Exaco VI23 User manual

ASSEMBLY INSTRUCTIONS
Royal Victorian Greenhouse
VI23,34,36,46
Janssens Version 2021_2
Exaco Edits 04.15.22
Note: This is an all-inclusive manual. It shows optional accessories and customizations that may not apply
to your greenhouse. Direct any questions to Exaco.
Assembly Videos can
be found by scanning
the code to the left
with your
smartphone. www.exaco.com
877-760-8500
1
Or find the link to our YouTube page at
www.exaco.com. Go to the Victorian
Greenhouse Playlist for all videos.

Table of Contents
Introduction & General Information……………………………………………………...………………4
Foundation Measurements and Planning…………………………………………...………………….5
Option: Placing Greenhouse on a Stem Wall
VI34, 36, 46 on a Stem Wall……………………………………………………………………..6
VI 23 on a Stem Wall…………………………………………………………..………..………..7
Single Sliding Door on a Stem Wall……………………………………….…………..………..8
Double Sliding Door on a Stem Wall…………………………………………..……….……….9
Packing List………………………………………………………………………………………..…10-11
Glass Specs………………………………………………………………………………………….12-13
Diagram of Greenhouse Extrusions/Profiles………………………………………………….………14
Assembling your Greenhouse Frame
Foundation Frame and Side Walls…………….……………………………………..……15-21
Building the Roof……………………………………………………………………………22-34
Gutter Downspouts and Roof Decorations……………………………..…………………….33
Retro Greenhouse Assembly…………………………………………….……………………35
Installing the Glazing………………………………………………………………………………...36-42
Important Information before installing glazing………………………………………………37
Polycarbonate greenhouse procedures………………………………………………………38
Glazing and Gasket Installation……………………………………………………………39-42
Door Assembly and Installation
Sliding Door Assembly and Information………………………………………………......44-48
Option: Sliding Door Low Threshold Installation…………………………………………49-50
Sliding Door Lock……………………………………………………………………………51-52
Hinged Door Installation……………………………………………………………………64-74
Hinge Adjustment…………………………………………………………………………...75-76
Window and Vent Installation
Roof Window/Vent Assembly/Installation……………………………………………......53-54
Roof Vent Openers………………………………………………………………………....54-56

Louvered Window Assembly/Installation ………………………………………...………57-59
Louvered Window Cover……………………………………………………………………….60
Option: Push Out Window Assembly……………………………………………………...61-63
Shelving options
2 Slat Shelf Assembly…………………………………………………………………………..77
5 Slat Shelf Assembly…………………………………………………………………………..78
Narrow Top Shelf Assembly……………………………………………………………….......79
Seed Bed/Tray Assembly………………………………………………………………………80
Option: Shadecloth Assembly………………………………………………………………………81-82
Misting System…………………………………………………………………………………………..83
Option: Exhaust Fan Installation……………………………………………………………………….84
Option: Fly Screens for Window/Door……………………………………………………………..85-87
Customer Service Information………………………………………………………………………….88
Customer Service or Assembly Questions?
Give us a call: 1-877-760-8500
www.EXACO.com
Please watch our assembly
videos on our Exaco YouTube
Channel, find the link at
www.exaco.com, then go to the
Victorian Greenhouse Playlist -
or scan the QR code to the
right!

PRODUCT INFORMATION
Dear customer,
Thank you for buying a Janssens high-quality aluminium greenhouse.
REMARKS
In this manual, you will find the assembly instructions for all basic/standard-model greenhouses. However,
this manual also contains pages which apply to optional accessories that may not be included with your kit.
This greenhouse is designed for cultivation of plants/flowers. Therefore leakage, water drops and condensation
inside the building are allowed. The building may only be entered by competent persons during cultivation or
maintenance. Aluminium profiles that are not painted may show black stains, these stains are not a
production error: they can be easily removed with an aluminium cleaner available at a home improvement
store. The rubber strips have been treated with oil/silicone on the interior to facilitate the assembly. The
building should be mounted on a solid concrete foundation deep enough to get a solid and frost-free
ground. Anchoring of the foundation should be made by the owner or operator and should be checked
periodically. During winter, the roof will need to be cleared of snow or supported in a suitable way. The
greenhouse should be built in a location protected from strong winds. Protective gear (such as
protective gloves) should be used during assembly in order to avoid injuries. One should at all times pay
attention to the local building regulations.
ASSEMBLY ORDER
The assembly procedure is the same for all our greenhouses.
- Sorting of the profiles/extrusions according to the model/size of greenhouse. The aluminum
profiles (extrusions) are identified by their cross-section and length.
- Assembly of the complete aluminium framework.
- Leveling of the construction using a level
- Anchoring/securing of the greenhouse to the ground
- Glazing installation
REQUIRED TOOLS
- Metric or Combination Measuring Tape
(highly recommended)
- Socket wrench or spanner 10mm
- Level
- Screwdriver
- Drill + drill bit 4.2 mm
- Scissors (to cut the rubber).
We reserve the right to change the construction without prior notice!
Questions? Need Assembly Support?
Please call Exaco at 877-760-8500, ext. 701 or email
4

Royal Victorian Foundation Drawing
AB
X
VI23 2360mm/93"
VI34 3098mm/122"
VI36 3098mm/122"
VI46 3836mm/151"
VI23 3098mm/122"
VI34 4574mm/180"
VI36 6050mm/ 238.2"
VI46 6050mm/ 238.2"
Note: Do not set anchors in
concrete until the entire
greenhouse frame is complete,
level and square. You will need
some play to attach the uprights.
Notes:
- It is recommended to build your foundation down to the frost line
in your area and/or consult a local contractor for recommendations.
- Greenhouse base frame is 2.25" wide
- Corner anchor posts are 1.5" x 1.5". They attach at the interior corners of the base frame, then
extend 12" below ground. Bolts attach to the bottom of the anchor to be a "catch" in the concrete.
We recommend leaving a 4 to 6" hole in your concrete for the anchor. Do not embed the corner
anchors into concrete until the greenhouse structure is built, leveled and square.
- Embedding the corner anchor into concrete is the most secure method, although you may choose
to trim them off, cut in half, and use as L brackets to attch to the greenhouse and foundtion with
the appropriate stainless steel screws (i.e. Tap Con screws for concrete)
5

OPTION:VI 34,36,46 on Stem Wall
A = 3.098 | 3.836
B = 2.360 | 3.098 | 3.836
4.574 | 5.312 | 6.050
C = 829 | 1.567 | 2.305
D = 703 Single Door
E = 829 | 1.567 | 2.305
!!! A = C + D + E !!!
A = 3.098 | 3.836
B = 2.360 | 3.098 | 3.836
4.574 | 5.312 | 6.050
C = 829 | 1.567 | 2.305
D = 1.441 Double Door
E = 829 | 1.567 | 2.305
!!! A = C + D + E !!!
A|B|C|E
All dimensions are external dimensions of the aluminum profiles!!
This page only applies when you have a
door extension kit and are placing your
greenhouse on a wall.
Divide millimeters by 25.4 to get inches, or use Google.
NOTE - Door/s may be on any side in any bay
(except corner). "A" could be the gable end
OR long wall. Use above information in
conjunction with the measurements from the
previous page. **Sliding door slides along
outside of the greenhouse - wall must be flush
with the base frame**
2.25"
3.9"
The door extension kit includes enough
material for a 30" high wall. Please let us know
if you are planning a taller wall.
6

OPTION:VI 23 Stem Wall One door on Gable (narrow panes)
A = 2.360
B = 2.360 | 3.098 | 3.836
4.574 | 5.312 | 6.050
C = 829
D = 703
E = 829
!!! A = C + D + E !!!
A|B|C|E
All dimensions are external dimensions of the aluminum profiles!!
measurements above
are in millimeters
2.25"
3.9"
7

8

9

PALLET Royal Victorian
WEIGHT: MASTER
VI23
384 kg
VI24
485 kg
VI34
567 kg
VI36
676 kg
VI46
630 kg + 170 kg
DIMENSIONS:
800 x 900 x 2300 mm
VI23 VI24 VI34 VI36 VI46
1 pc 1 pc 1 pc 1 pc 1 pc
12 pc 16 pc 18 pc 22 pc 24 pc
1 pc 1 pc 1 pc 1 pc 1 pc
POSITION
sliding door
walls
under louvre-vent
triangle H1
4 pc 4 pc - - -
triangle H2 - - 4 pc 4 pc -
triangle H3 - - 4 pc 4 pc -
triangle H4 - - - - 4 pc
triangle H5 - - - - 4 pc
triangle H6
GLASS DIMENSIONS
730 x 1850 mm
730 x 1850 mm
730 x 825 mm
1099 x 74 x 543 mm
730 x 74 x 411 mm
730 x 414 x 696 mm (113 plat)
730 x 72 x 357 mm
730 x 360 x 645 mm
361 x 648 x 737 mm (133 plat)
- - - - 4 pc
roof 730 x 1250 mm 6 pc 9 pc - - -
roof 730 x 1650 mm - - 9 pc 12 pc -
roof 730 x 2000 mm - - - - 10 pc
730 x 825 mm 2 pc 3 pc 3 pc 4 pc 6 pc
730 x 425 mm 2 pc 3 pc - - -
730 x 825 mm - - 3 pc 4 pc -
roofwindow
under roofwindow
under roofwindow
under roofwindow
730 x 1180 mm - - - - 6 pc
VI23 VI24 VI34 VI36 VI46
ITEM
Louvered window (Black)
1 pc 1 pc 1 pc 1 pc 1 pc
Sliding door (ESD_183_ZS)
1 pc 1pc
1 pc 2 pc 2 pc
Roof Window (DAKR_HEL) 2 pc 3 pc 3 pc 4 pc 6 pc
PRO6578 corner profile 1830 mm 4 pc 4 pc 1830 mm 4 pc 4 pc 1830 mm 4 pc
PRO1456 glazing bar wall 1830 mm 8 pc 12 pc 1830 mm 14pc 18 pc 1830 mm 20 pc
PRO6918 endbar roof 1230 mm 4 pc 4 pc 1630 mm 4 pc 4 pc 1986 mm 4 pc
PRO1456 glazing bar roof 1230 mm 6 pc 10pc 1630 mm 10 pc 14 pc 1986 mm 14 pc
Gutter downspout(PRO10980 tube Ø40) 1900 mm 2 pc 2 pc 1900 mm 2 pc 2 pc 1900 mm 2 pc
PRO21214 wind bracings wall 1975 mm 8 pc 8 pc 1975 mm 8 pc 8 pc 1975 mm 8 pc
PRO1748 rubber 12m/rol 5 pc 6 pc 7 pc 8 pc 9 pc
1 pc 1 pc 1 pc 1 pc 1 pc
Mixed Hardware (ZAK_H):
Screw 4.8x38mm (for gutter elbow) 2 pc
Bolt M6x25mm (for roof wind braces) 4 pc
Screw 4.8x19mm (roof wind braces/finials) 10 pc
Glassholder (PRO20780) 32 pc
2 pc
Gutter Elbow PVC Ø40 90° PVC
Black Gutter inserts 2 + 2 pc
1 pc 1 pc 1 pc 1 pc 1 pc
80 pc
BAG_GLASS SPACERS
red spacers/shims
silicone 1 pc
RIDGE DECORATION box 1 pc 1+1 pc 1+1 pc 2+1 pc 2 + 1 pc
SPANDREL (Deco Scroll Support) 3 pc 3 pc
VI46 Additional Nuts/Bolts (ZAK_BOUT): 1 pc
nut cap M6 50 pc
nut M6 50 pc
bolt M6x12 50 pc
NOTE: This is the packing list for the standard kit for the Royal Victorian greenhouses. If you have
added optional accessories, they will not be on this list.
Identify parts by extrusion shape (cross section) and length. If you don't have one yet - we strongly
recommend purchasing a metric or combination tape measure. Measurements are kept in metric for
precision.
Main kit of nuts and bolts will be in Colli B - see notes
10

ITEM
VI46
VI23 / VI24 VI34 / VI36
PRO6120 foundation profile 2360 mm 2 pc 3098 mm 2 pc 3836 mm 2 pc
1030 mm 2 pc 1030 mm 2 pc
400 mm 4 pc 400 mm 4 pc
Roof Diagonal Support B19_1030 (round tube Ø19)
Corner Anchors (L40X40GATFUND) 400 mm 4 pc
PRO20229 horizontal gable profile 2244 mm 2 pc 2982 mm 2 pc 3720 mm 2 pc
2757 mm 4 pc 2980 mm 4 pc
PRO21214 wind bracings roof 2543 mm 4pc
PRO1456 gable glazing bar 547 mm 2 pc 703 mm 2 pc 736 mm 2 pc
PRO1456 gable glazing bar 90 / 65 396 mm 2 pc 345 mm 2 pc
PRO1456 gable glazing bar 90 / 65 634 mm 2 pc
PRO1456 gable glazing bar 65 / 90 396 mm 2 pc 345 mm 2 pc
PRO1456 gable glazing bar 65 / 90 634 mm 2 pc
E400330 halfmoon glazing rubber gasket
1 pc 20 lm 1 pc 20 lm 1 pc
1 pc 1 pc 1 pc
COLLI A
WEIGHT:
VI23/VI24 19 kg
VI34/VI36 25 kg
VI46 29 kg
DIMENSIONS:
250 x 150 x 2800 mm VI23 / VI24
3300 mm VI34 / VI36
4050 mm VI46
ITEM
VI23 VI24 / VI34 VI36 / VI46
PRO6120 foundation profile 3098 mm 2 pc 4574 mm 2 pc 6050 mm 2 pc
PRO20227 gutter profile 3098 mm 2 pc 4574 mm 2 pc 6050 mm 2 pc
PRO6760 ridge profile 3098 mm 1 pc 4574 mm 1 pc 6050 mm 1 pc
Assembly Bolts/Nuts (ZAK_BOUT) 2 pc 3 pc 3 pc
nut cap M6 50 pc
nut M6 50 pc
bolt M6x12 DIN933 A2 50 pc
Additional VI 46 Corner Anchors (L40X40GATFUND)
400 mm 2 pc
COLLI B
WEIGHT:
M23 26 kg
M24 / M34 39 kg
M36 / M46 52 kg
DIMENSIONS:
250 x 150 x 3200 mm VI23
4700 mm VI24
6250 mm VI36
Mixed Hardware (SAPAKHELIOS):
Small Black PVC gable pieces 4+4+2 pc
Corner Anchor BoltsM6x50 16 pc
Corner Anchor Nut M6 16 pc
Gable L brackets (L2G) 10 pc
IMPORTANT!!! The packages of nuts/bolts/covers are tucked INSIDE the
gutter profiles (PRO20227). You must cut off all shrink wrap on gutters to
find them.
11

(VI34 10'2" x 15')
(VI36 10'2" x 19'11")
28 3/4"
28 3/4"
28 3/4"
28 3/4"
28 3/4"
28 3/4"
28 3/4"
28 3/4"
28 3/4"
28 3/4"
28 3/4"
28 3/4"
28 3/4"
28 3/4"
Side wall
Side wall
Side wall Roof
Roof
Roof
(VI23 7'9"x10'2")
Roof Vent &
Roof Vent &
below vent &
below louver
below vent &
below louver
below louver
Gable
Gable
Gable
Gable
Gable
below vent
72 3/4"
72 3/4" 72 3/4"
64 7/8"
64 7/8"
49 3/16"
32 1/2"
32 1/2"
32 1/2"
16 3/4"
16 3/16" 16 3/16"
2 15/16"
2 15/16"
2 15/16"
16 5/16"
16 5/16"
4 7/16"
4 7/16"
4 7/16"
21 3/8"
43 1/4"
27 3/8"
27 3/8"
Royal Victorian Glass Sizes - 4mm thick (3/16")
Roof Vent &
27 3/8"
27 3/8"
12

28 3/4"
14"
2 13/16"
28 3/4"
14 1/64"
25 3/8"
29"
25 1/2"
14 3/16"
5 1/4"
VI46 Glass
3/16" (4mm) tempered safety glass
H4
H4
H5
H6
H5
13

PRO6760
Ø 19
PRO20229
PRO1456
TRE
PRO210
PRO6918
PRO1456
PRO6120
HELIOS
PRO20227
PRO6578
Key to Profile (Extrusion) Placement
Note: Model pictured in entire manual is VI34 -
your size/layout may vary.
_______________
_______________
PRO29909 Sliding Door Doorposts
If you have a sliding door you will use
the 72" long PRO29909 found in the
door bundle to frame the doorway.
Doors may be placed on the long or the
short side of the Royal Victorians.
Think you are missing PRO1456
vertical supports? Read this
14

X
X
M6x12
M6x50
B
A
PRO6120
PRO210
PRO6120
Note: When assembling the foundation in this
step, only hand-tighten the nuts. The corners
may needto be slightly loose to attach the
corner uprights (PRO6578).
Suggestion: If installed on a concrete
foundation you may cut PRO210 flush
with the bottom of PRO6120. To
anchor, use cut off PRO210 pieces as L-
brackets to secure the PRO6120 to the
concrete foundation. Please see
YouTube animated assembly video for
more information.
Before attaching,
insert 3
M6x15 bolts as
shown for the
sliding door
guide.
15

Upgrade OPTION: HINGED DOOR Standard: SLIDING DOOR Upgrade Option for sliding door:
LOW THRESHOLD
PRO29909
PRO29909
Note: Insert bolts now
See pages H_52 (HD1 -HD10) for instructions See pages H_35 (H_34-36) for instructions See pages H_37 (SDL1-2) for instructions
16

M6x12
PRO6578
Optional: Insert a bolt into each corner post channel for
where the top shelf and/or Seed Tray will be located. See
page H_62 and H_63 for location information.
17

M6x12
PRO20229
PRO6578
18

M6x12
PRO20227
PRO20229
PRO6578
OPTIONAL: If you
purchased shade
curtains, insert the
slider loops into the
gutter profile channel
before this assembly
step. See page H_64
for more information.
19

PRO1456
M6x12
PRO6120
PRO20227
M6x25
B > 4m58
!
If length > 4580mm (i.e. VI36
and VI46) then insert 2 bolts
(from Spandrel package) in
the center profile for
Spandrels/Scroll Supports -
see H_20 and H_21 for more
information.
NOTE! Sliding doors will use
PRO29909 (in door bundle)for the
door frame see H_34.
NOTE!
Before securing vertical profiles,
insert bolts for:
Louvered Window, see p. H_44-46
Optional Top Shelf, see p. H_62
Optional Seed Tray, see p. H_63
20
Other manuals for VI23
2
This manual suits for next models
3
Table of contents
Other Exaco Greenhouse Kit manuals
Exaco
Exaco EOS JUNIOR VICTORIAN User manual
Exaco
Exaco VICTORIAN VI 46 User manual
Exaco
Exaco HELIOS/EOS T User manual
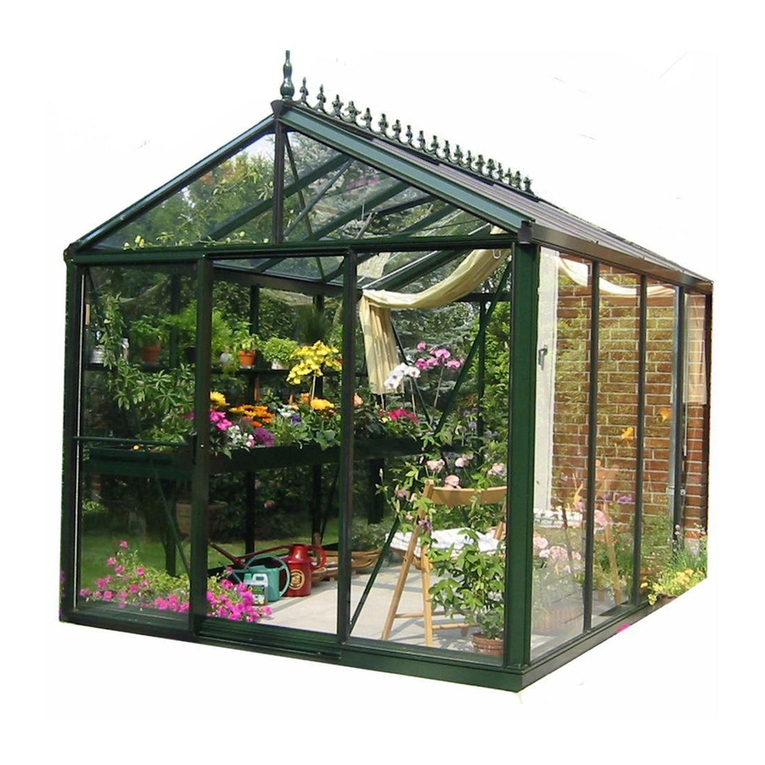
Exaco
Exaco VI23 User manual
Exaco
Exaco EOS Retro SL User manual
Exaco
Exaco EOS ROYAL MUR User manual
Exaco
Exaco GIGANT User manual
Exaco
Exaco Junior Victorian User manual

Exaco
Exaco VI23 User manual
Exaco
Exaco HOKLARTHERM Riga XL 5 User manual

