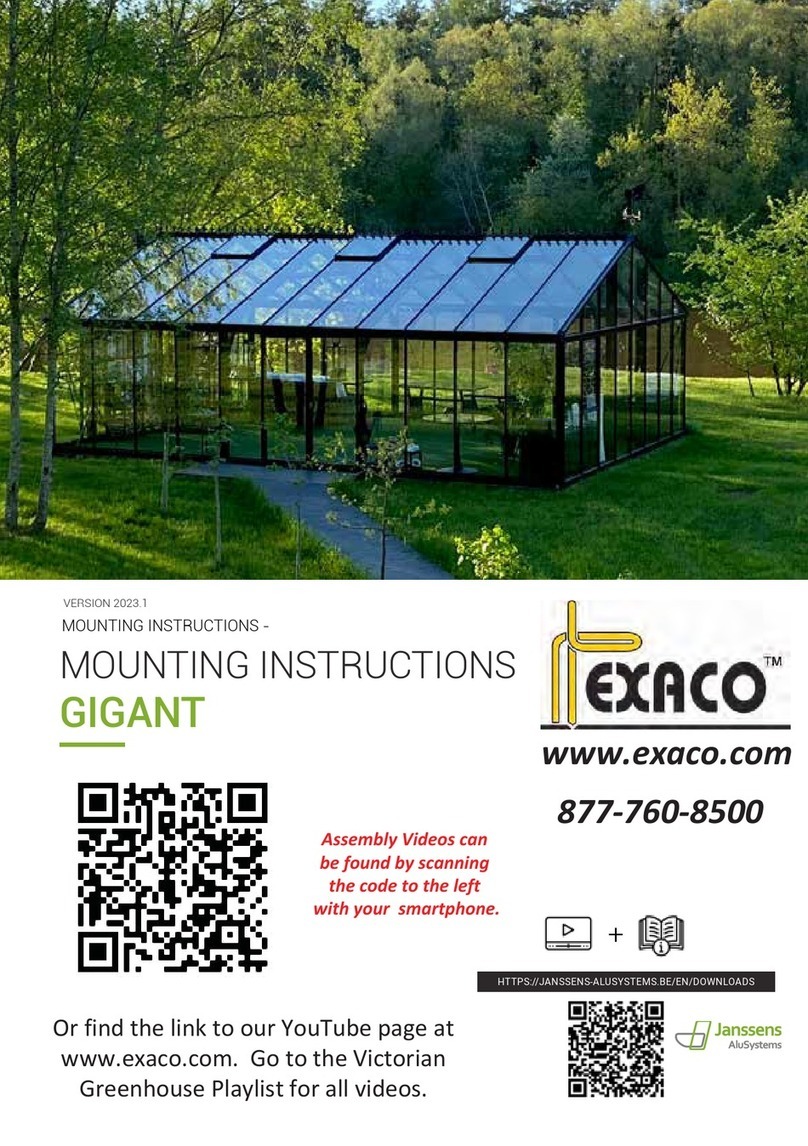
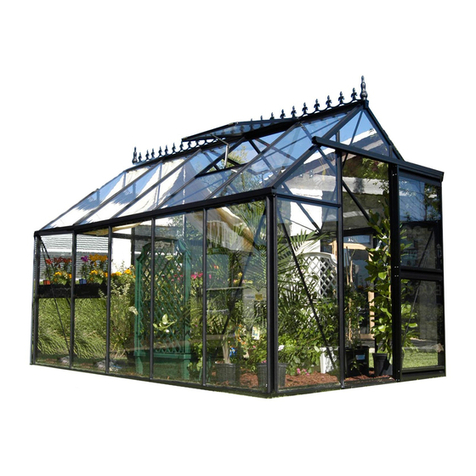
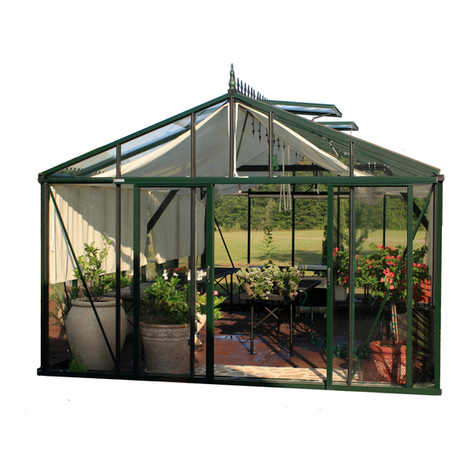
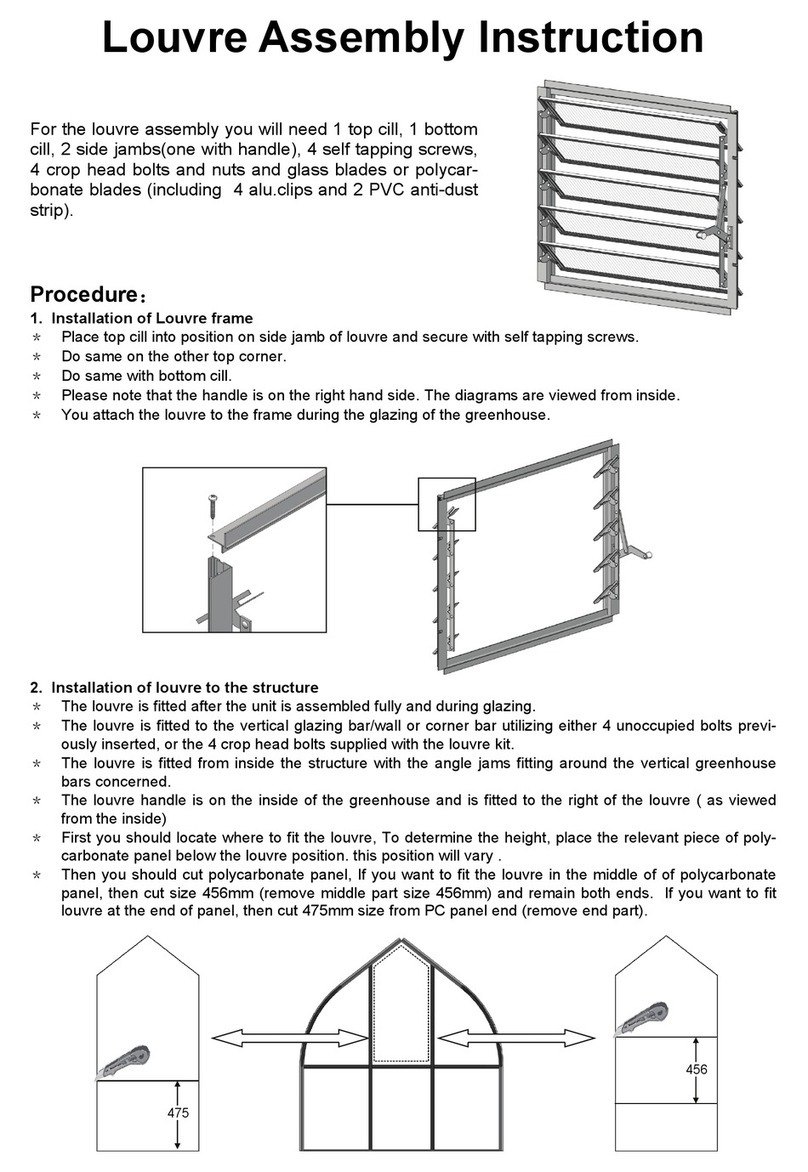
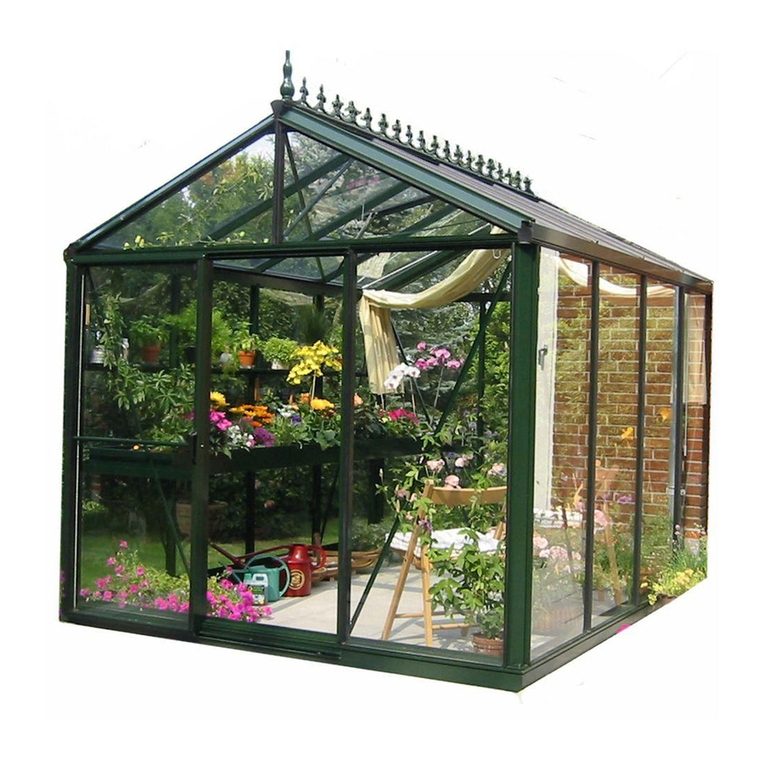
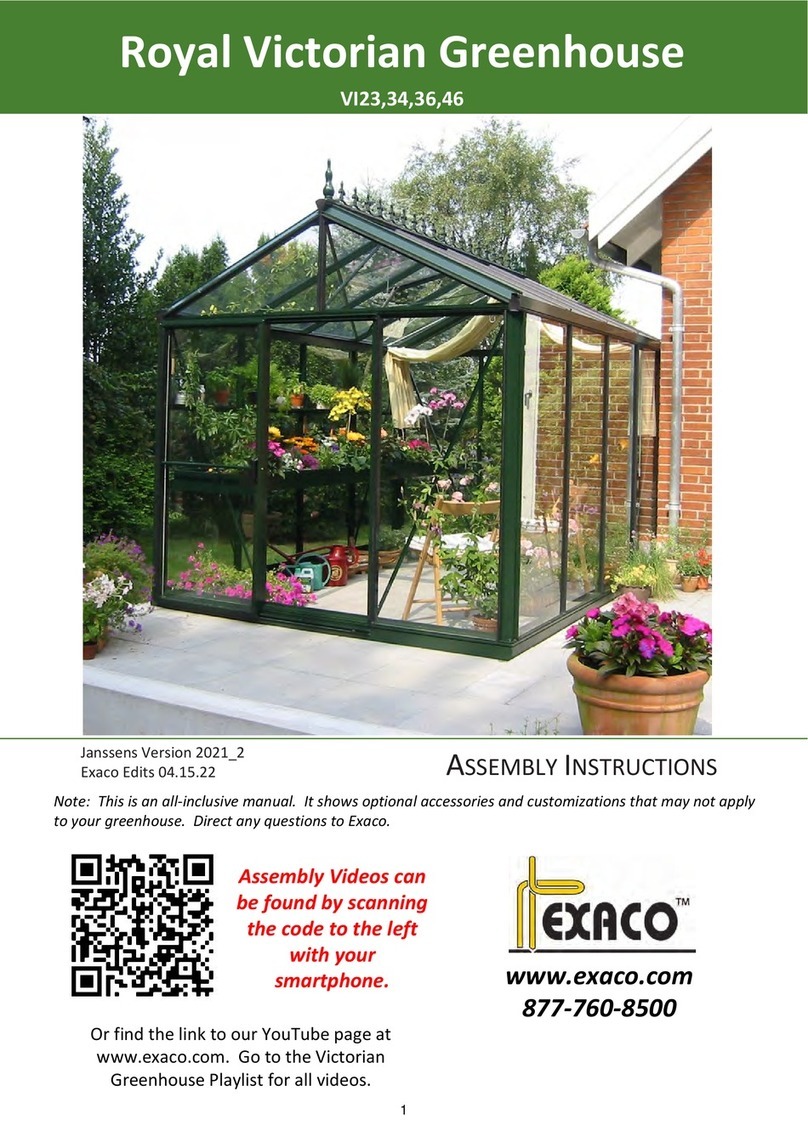
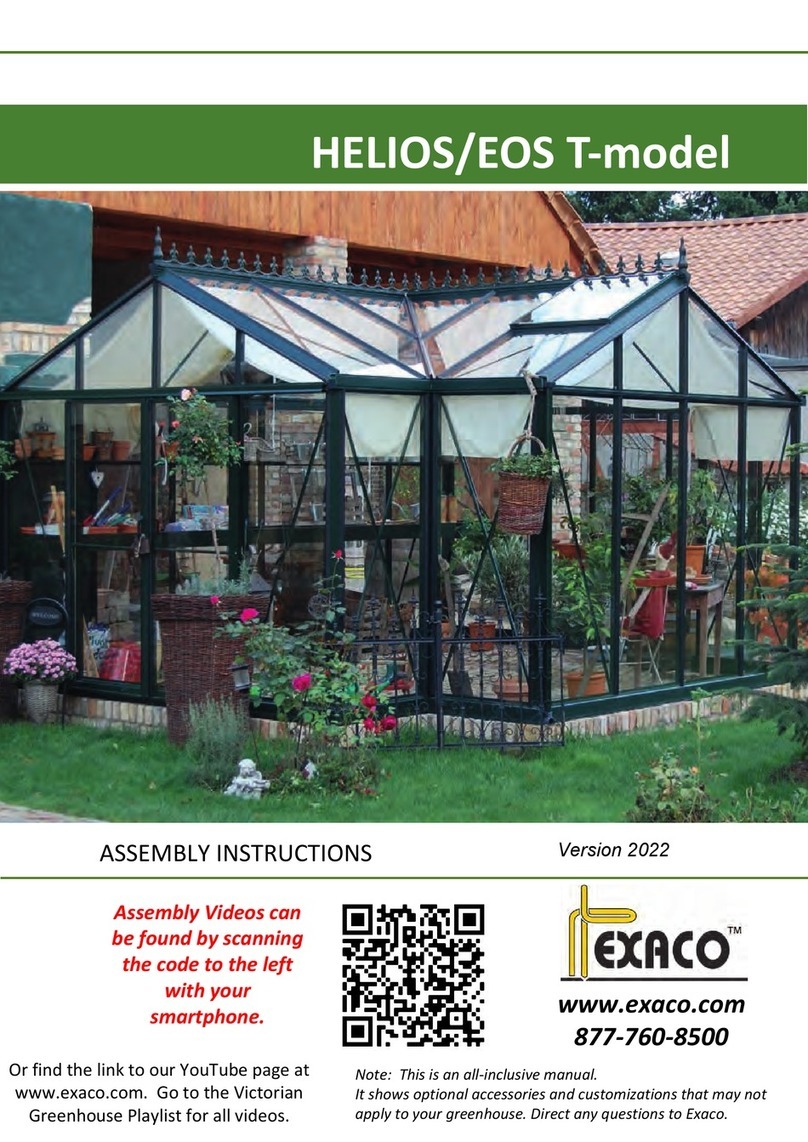
Exaco VI23 User manual

^^D>z/E^dZhd/KE^
ZŽLJĂůsŝĐƚŽƌŝĂŶ'ƌĞĞŶŚŽƵƐĞ
s/Ϯϯϯϰϯϲϰϲ
džĂĐŽĚŝƚƐϬϵϬϯϮϮ
:ĂŶƐƐĞŶƐsĞƌƐŝŽŶϮϬϮϮͺϰ
EŽƚĞdŚŝƐŝƐĂŶĂůůͲŝŶĐůƵƐŝǀĞŵĂŶƵĂů/ƚƐŚŽǁƐŽƉƚŝŽŶĂůĂĐĐĞƐƐŽƌŝĞƐĂŶĚĐƵƐƚŽŵŝnjĂƚŝŽŶƐƚŚĂƚŵĂLJŶŽƚĂƉƉůLJ
ƚŽLJŽƵƌŐƌĞĞŶŚŽƵƐĞŝƌĞĐƚĂŶLJƋƵĞƐƚŝŽŶƐƚŽdžĂĐŽ
ƐƐĞŵďůLJsŝĚĞŽƐĐĂŶ
ďĞĨŽƵŶĚďLJƐĐĂŶŶŝŶŐ
ƚŚĞĐŽĚĞƚŽƚŚĞůĞĨƚ
ǁŝƚŚLJŽƵƌ
ƐŵĂƌƚƉŚŽŶĞ ǁǁǁĞdžĂĐŽĐŽŵ
ϴϳϳͲϳϲϬͲϴϱϬϬ
KƌĨŝŶĚƚŚĞůŝŶŬƚŽŽƵƌzŽƵdƵďĞƉĂŐĞĂƚ
ǁǁǁĞdžĂĐŽĐŽŵ'ŽƚŽƚŚĞsŝĐƚŽƌŝĂŶ
'ƌĞĞŶŚŽƵƐĞWůĂLJůŝƐƚĨŽƌĂůůǀŝĚĞŽƐ
1

Table of Contents
Introduction & General Information……………………………………………………...…….……5-16
Basic Assembly Order of Greenhouse…………………………………………………………5
Required Tools……………………………………………………………………………………6
Safety Considerations……………………………………………………………………………6
Helpful Suggestions……………………………………………………………………………...6
Greenhouse Version Layouts and Diagrams………………………………………..………7-9
Doors and Door Optional Upgrades……………………………………………….…...…..9-11
Windows and Window Options…………………………………………...…...…………..11-12
Optional Accessories and Upgrades……………………………………………….……..12-13
Placement of Greenhouse……………………………………………………………….…….13
Foundation and Anchoring………………………………………………………...……….13-14
Greenhouse Floor…………………………………………………………………………...….14
Water and Electricity…………………………………………………………………...……….14
Ventilation and Cooling………………………………………………………………….……..15
Heating the Greenhouse……………………………………………………………………….15
Using the Greenhouse as Additional Living Space…………………………………………16
Maintenance…………………………………………………………………………………….16
Foundation Measurements and Planning…………………………………………...……….……17-20
UPGRADE OPTION: Planning/Building a Stem Wall……………………………………18-20
UPGRADE OPTION: Sliding Door/s on a Stem Wall with Drop Door Kit…………………19
UPGRADE OPTION: Hinged Door/s on a Stem Wall with Drop Door Kit………….……..20
Packing List………………………………………………………………………………………..…21-22
Glazing Specs…….………………………………………………………………………………….23-24
Diagram of Greenhouse Extrusions/Profiles………………………………………………….………25
Assembling your Greenhouse Frame
Foundation Frame and Side Walls…………….……………………………………..……26-32
Building the Roof……………………………………………………………………………23-44
Retro Greenhouse Assembly…………………………………………….……………………45
Gutter Downspouts and Roof Decorations……………………………..…………………….46
2

Installing the Glazing………………………………………………………………………………...47-53
Important Glazing Installation ………………….………………………………….……..……47
Polycarbonate Glazing Procedures………………………………………………...…………48
Glazing and Gasket Installation……………………………………………………………49-53
Door Assembly and Installation……………………………………………………………….……55-78
Standard Kit Sliding Door Assembly and Information………………………………......55-60
UPGRADE: Sliding Door on a Wall with Drop Door Kit………….………………………..…61
UPGRADE OPTION: Sliding Door Low Threshold Installation…………………………62-66
UPGRADE OPTION: Hinged Door Installation………..…………………………………64-79
UPGRADE OPTION: Door Fly Screen……………………………………………………….80
Window and Vents…………………………………………………………………………………..81-85
Roof Window/Vent Assembly/Installation……………………………………………............81
Roof Vent Openers………………………………………………………………………....82-84
UPGRADE OPTION: Roof Vent Fly Screen…………………………………………………85
Louvered Window Assembly/Installation ………………………………………...………86-88
Louvered Window Cover……………………………………………………………………….89
UPGRADE OPTION: Louver Vent Fly Screen………………………………………………90
UPGRADE OPTION: Push Out Window Assembly……………………………………...91-93
Shelving Options
OPTIONAL ACCESSORY: Narrow Top Shelf Assembly……………………………….......94
OPTIONAL ACCESSORY: 2 Slat Shelf Assembly…………………………………………..95
OPTIONAL ACCESSORY: 5 Slat Shelf Assembly…………………………………………..96
OPTIONAL ACCESSORY: Seed Bed/Tray Assembly………………………...……………97
UPGRADE OPTION: Shade Cloth Assembly………………………………………....…...……98-100
Misting System…………………………………………………………………………………………101
UPGRADE OPTION: Exhaust Fan Installation……………………………………………...………102
Customer Service Information………………………………………………….…………………….104
3

Customer Service or Assembly Questions?
Give us a call: 1-877-760-8500
customerservic[email protected]
www.EXACO.com
Please watch our animated assembly videos on our
Exaco YouTube Channel.
Find the link at www.exaco.com
OR
Scan the code below:
4

Thank you for purchasing a Janssens’ Royal Victorian Greenhouse, imported and
distributed in North America by Exaco in Austin, TX. Exaco will provide all the North
American based customer support for you greenhouse. Please feel free to reach to
Exaco customer service with any questions you may have during assembly!
Questions? Need Assembly Support?
Please call Exaco at 877-760-8500 or email customerservice@exaco.com.
Introduction
In this manual, you will find the assembly instructions for all basic/standard-model greenhouses.
However, this manual also contains pages which apply to optional accessories that may not be
included with your kit. Victorian greenhouse “kits” vary by retailer. Some retailers may bundle
additional accessories with their greenhouses - please check your order closely so you
understand which accessories your greenhouse includes before building.
This greenhouse is designed for cultivation of plants/flowers. Therefore leakage, water drops
and condensation inside the building are allowed. The building may only be entered by
competent persons during cultivation or maintenance. Painted aluminum profiles/extrusions are
powder-coated for a durable finish. The rubber strips have been treated with oil/silicone on the
interior to facilitate the assembly. The building should be mounted on a solid concrete
foundation deep enough to get a solid and frost-free ground. Anchoring of the foundation is vital
and should be checked periodically. During winter, the roof will need to be cleared of snow or
supported in a suitable way. The greenhouse should be built in a location protected from strong
winds. Protective gear (such as protective gloves) should be used during assembly in order to
avoid injuries. One should at all times pay attention to the local building regulations.
The Royal Victorian greenhouse has been engineered and manufactured in Belgium using the
metric system. We strongly recommend having a metric or combination tape measure on hand
during assembly. We have converted and added inches to the manual when feasible – however
for the most accurate and precise measurements some do still remain in metric. Conversion of
metric to inches result in unusual fractional increments or decimals that become difficult to
measure on a standard US customary ruler/tape measure. Using the metric system keeps your
measurements more precise. If you prefer to work only in inches, you may use a converter tool
available in app stores for smart phones.
Basic Assembly Order of Greenhouse
xPreparing your site – must be level and accommodate anchoring of the structure
xSorting of the profiles/extrusions according to the model/size of greenhouse. The
aluminum profiles (extrusions) are identified by their cross-section and length. It is
helpful to have a metric or combination tape measure for this.
xAssembly of the complete aluminum framework
xLeveling of the construction using a level
xAnchoring/securing of the greenhouse to the ground
5

xGlazing installation
Required/Recommend Tools
x Metric or Combination Measuring Tape (highly recommended)
x Socket wrench or spanner - 10mm (it is helpful to have multiple)
x Needlenose or other pliers (helpful when installing corner posts)
x Level
x Screwdrivers (Phillips and Flathead)
x Drill + drill bits
x Impact driver and 1/2” drill bit (useful to notch channel to insert missed bolts)
x Scissors (to cut the rubber)
x Stable Ladder at least 6’ tall
Safety Considerations
xGlass safety
oKeep your glass pallet dry! Moisture can cause the panes of glass to stick
together and may be difficult to separate.
oImportant! Please follow glazing removal instructions on the pallet for steps to
safely remove glass panes from the pallet. Contact Exaco if you have not seen
these steps!
oTempered glass is surprisingly strong. The corners are the most vulnerable –
please be aware of the corners when handling and installing glass.
oUse a quality glass suction cup when handling glass, gloves are recommended.
xWatch your step! Be sure ladders are securely placed before climbing them.
Helpful Suggestions
xUnderstand what accessories your greenhouse came with and where they will be
placed. There will be prompts throughout the manual to insert bolts during assembly for
doors, window, shelves, shadecloth, misting system, etc.
xIf you forget to add a bolt where one is needed, you may create an insertion point in the
channel with a ½” drill bit and an impact driver. If possible, do it in a place that will be
covered by the piece you will be attaching. We do also have hammerhead/T bolts
available for purchase that may be added later.
xLook through the entire manual and watch the assembly video to help you prepare and
understand the greenhouse assembly process.
xYou may start by assembling your doors and roof windows if desired. This helps create
some familiarity with the materials and construction process and gives a head start when
it comes to assembly time.
Please thoroughly read the email that was sent to you from Exaco customer service for
additional addendums to the manual and other important information.
6

Refer to the Exaco YouTube Playlist for the Victorian Greenhouse for
animated assembly videos as well as specific installation videos
regarding your greenhouse. This playlist is also accessible via the QR
code to the left.
Questions? Need Assembly Support?
Please call Exaco at 877-760-8500 or email
customerservice@exaco.com.
K
KKKKK
Royal Victorian Greenhouses come standard with the following:
(additional accessories/kits may be added)
VI 23 (7’8” x 10’2”) - Foundation frame/base, single sliding door, two roof vents (1 automatic
opener, 1 spindle opener), one louvered window (with optional auto opener and winter cover),
misting system, gutters and downspouts.
7

VI 34 (10’2” x 15’) - Foundation frame/base, single sliding door, three roof vents (2 automatic
openers, 1 spindle opener), one louvered window (with optional auto opener and winter cover),
misting system, gutters and downspouts.
VI 36 (10’2” x 19’10”) - Foundation frame/base, double sliding door, four roof vents (2
automatic openers, 2 spindle openers), one louvered window (with optional auto opener and
winter cover), misting system, gutters and downspouts.
8

VI 46 (12’7” x 19’10”) - Foundation frame/base, double sliding door, six roof vents (4 automatic
openers, 2 spindle openers), one louvered window (with optional auto opener and winter cover),
and misting system.
Doors
Royal Victorian doors may be placed on the long or short side of the greenhouse in any bay.
Exceptions apply for corner placement, please call Exaco to discuss if you are considering this
placement. Upgrades to additional single or double sliding doors and/or hinged doors are
available.
Door Options:
ƔSliding Doors: Single or double options are available. The sliding door/s of the
greenhouse hang/slide along the outside of the greenhouse and feature brush
weatherstripping. Keyed locks attached at the bottom of the door. Double doors will
have no center support. For standard kits, the sliding door threshold will be the 4 ½”
high base frame unless a low threshold kit (see below) is purchased. If you are building
on a stem wall - please note special considerations for sliding doors on stem walls
before building your stem wall.
ƔLow Threshold Kits: Standard greenhouse sliding doors will have the 4 ½” base frame as
the threshold for the doorway. The upgrade to a low threshold kit requires cutting the
base frame at the doorway to allow installation of a 1” high threshold to secure the
sliding door guide and make walking in and out of the greenhouse easier. The premium
9

low threshold kit now includes a full 4 sided frame for the door opening with lock at a
more comfortable height. Available for single or double sliding doors.
ƔHinged Doors: These are a very handsome upgrade. They are inset into the frame of
the greenhouse and are further weatherproofed with rubber gaskets. The doors feature
their own door jamb including low threshold and high-quality adjustable hinges for easier
hanging. Traditional handles with a keyed lock will keep your greenhouse secure.
Double or single hinged doors are available. A hinged door can be easier to work with if
the greenhouse is placed on a stem wall. It is preferable to order a hinged door with the
greenhouse as the hinged doors must be sent via freight truck and shipping costs can be
prohibitive if shipped at a later date.
Number of doors vary by size of greenhouse:
żVI 23 standard greenhouse includes one single sliding door. This model has 3 wall
panes on the gable end and 4 on the longer side. A single door may be easily centered
on the gable end, but will be placed off center on the long side.
żVI 34 standard greenhouse includes one single sliding door. This model has 4 wall
panes on the gable end and 6 on the longer side. A single door will not be centered on
either wall. Upgrades to a double door are available if desired.
żVI 36 standard greenhouse includes a double sliding door. This may be placed as a
double door opening (with no center support) OR as two single sliding doors. This
model has 4 wall panes on the gable end and 8 on the longer side. A double door
opening may be centered on either side, a single door opening will not be centered. If
placing a double door on the long side, please see note below regarding “Special
Considerations for VI36 and VI46”.
żVI 46 standard greenhouse includes a double sliding door. This may be placed as a
double door opening (with no center support) OR as two single sliding doors. This
model has 5 wall panes on the gable end and 8 on the longer side. A double sliding
door may be centered on the long side (please see notes below on “Special
considerations for VI 36 and VI46”), but can only be centered on the gable end with
additional parts and customization on site (please see notes on “Customizing Door
Placement”).
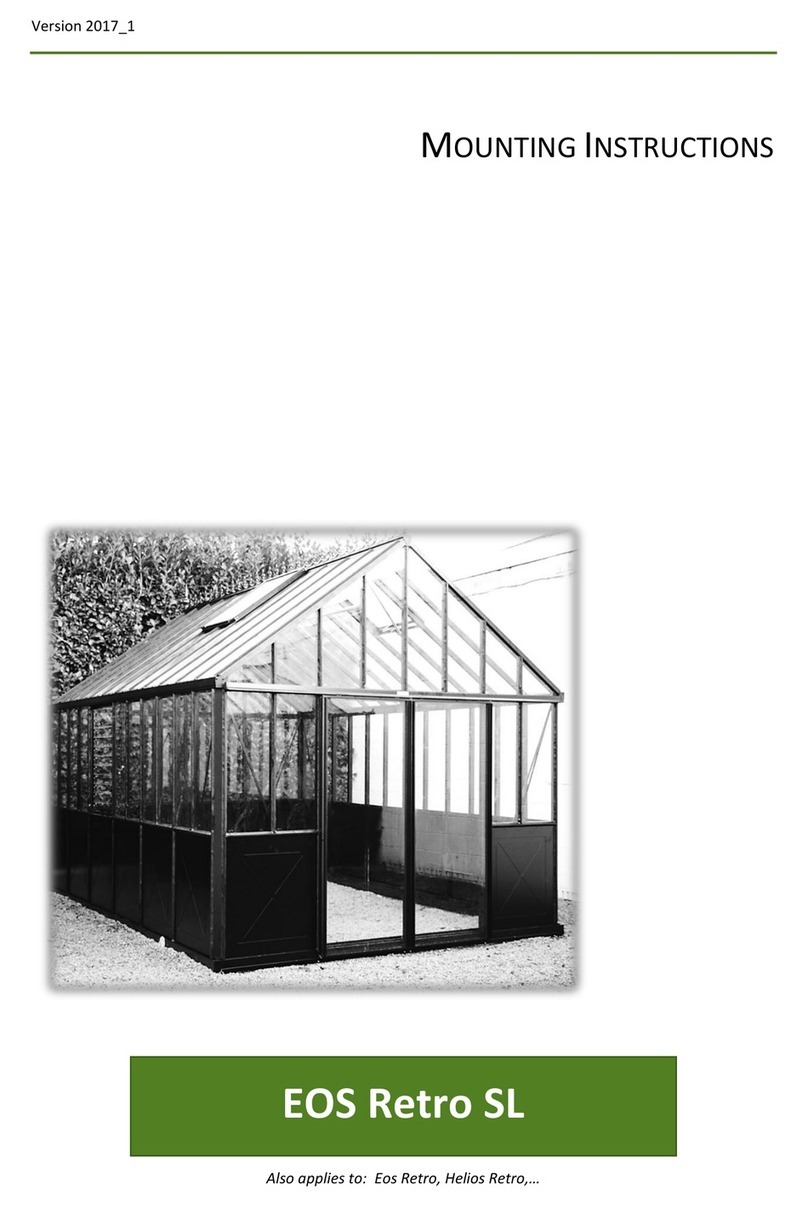
żRetro Victorian Greenhouses come standard with hinged double doors regardless of
size and will also include push-out (top hang) window/s rather than a louvered window.
Special Consideration for VI 36 and VI46 Door Placement: These two models
include a set of 3 Spandrels/Deco Scroll Supports to help support the long
profiles/extrusions of the greenhouse. These attach at the gutters and ridge beam at the
midpoint of the greenhouse. They will interfere with centering a double door on the long
side of the greenhouse as the spandrel at the gutter needs to attach to the rafter and the
vertical glazing bar. Find information on the spandrels in the table of contents.
There are a few options to remedy this while still centering the double door on the long
wall:
ƔPurchase one additional spandrel to have a pair that may be installed to the left
and the right of the door. The spandrel for the ridge and opposite gutter will
10

remain at the midpoint. This option looks nice, provides sufficient support and
will minimally interfere with a shadecloth. The shadecloth will still meet at the
midpoint at the opposite gutter and ridge beam but will be separated at the
doorway due to the spandrels.
ƔPurchase an additional set of three spandrels, install one set of three to the right
of your doorway (at gutters and ridge) and the other set of three to the left of your
doorway (at gutters and ridge). This is a good option for areas with heavier
snow/wind requirements, but will interfere with the shadecloth - as it will not slide
past the spandrels. See shadecloth diagrams in the table of contents. If
desired, you may purchase additional narrow panels of shadecloth to cover the
sections where the doorway is.
Please note if you have your greenhouse on a stem wall with a “drop door” kit, the above
methods are still recommended as it is best to shift the weight down to the glazing bars
to the right and left of your double doorway rather than down the header (which is not
supported).
Custom Centering a Door on a Wall
With additional parts and on-site customization, you may center a single door on a wall
with an even number of bays - or a double door on a wall with an odd number of bays by
creating narrow side lights on either side of your doorway. Please order one additional
PRO1456 from Exaco to frame this extra pane. Once completed, you will need to
purchase the narrower side light glass locally as this is a custom size that Exaco does
not stock.
Windows
Each greenhouse will have a combination of roof vents and a louver side wall window. The roof
vents allow hot air up at the ridge to escape, while the louver side wall window acts as an intake
for cooler air. The roof vents are usually staggered and some placed on both sides of the ridge
beam. Occasionally if there is prevailing wind from one direction, more windows may be placed
on that side. We recommend the manual spindle opener be used for windows facing strong
gusts of wind. The windows cannot be placed side by side. There are a variety of openers
available for roof vent windows.
ƔRoof Vent Openers
żManual Stick openers - these will be packaged in every roof window kit. They
are entry level openers that work on a peg/notch system. Not recommended for
daily use but may be used to “lock down” the window if needed (auto openers
must be disengaged or your piston will burst).
żManual Spindle openers - a high-quality stainless steel threaded rod to securely
crank the window to desired open position with use of a removable long handle.
These are heavy-duty and will hold up well to strong winds if needed.
żAutomatic Opener (Ventomax) - this opener utilizes a piston that is filled with oil
that expands between 68 to 70 degrees. The oil pushes out the rod of the piston
to open the window. When the piston is engaged, there is no manual control of
11

the window. If there is rain when the temperature is above 68 in the greenhouse,
it is likely that the roof vent will be open and rain will come in. During the cold
months the pistons may be disengaged if heating the greenhouse.
ƔLouver/Jalousie Side Wall Window
żPlaced in a sidewall bay, often opposite the door for a cross breeze
żComes with a manual opener installed or included auto opener (Sesam Liberty)
may be installed
żIf you are installing an exhaust fan, the louvered window with auto opener may
act as your intake vent.
ƔPush Out/Top Hang Side Wall Window - optional upgrade that is included with Retro
Victorian models. It hangs from a hinge at the top and the bottom pushes out. An auto
opener may be used.
Optional Accessories
There are a variety of optional accessories available, some of which are listed below. Some
retailers may bundle a shadecloth/shelves with their greenhouse kits.
ƔShadecloth - interior shade curtains hang from the gutters and ridge beam. Sliders
installed in these channels allow the curtains to be pulled open/closed.
ƔShelves
żSeed tray/Seedbed - in Royal Victorians the seed tray installs along the longest
side of the greenhouse at your preferred height. The seed tray is 20” wide and
has a 4” planting depth with a white polycarbonate bottom to allow for drainage.
It is best to order at the same time as the greenhouse as it has to ship via freight
truck due to the length.
żTop Shelf - is 4” wide and it installs along the longest side of the greenhouse,
either above the seed tray or on its own at your preferred height. It is best to
order at the same time as the greenhouse as it has to ship via freight truck due to
the length.
żSlat shelves - extremely flexible in terms of height, usage, and all around
placement. They are 59” long (across two sections of glass) and may be run end
to end for a long stretch of shelving. They may also be centered across 3 panes
of glass if desired. Slat design works well for holding pots/planters or it may be
used for a work surface. These shelves may be shipped via FedEx or UPS.
Ŷ2 Slat Shelves - 9” wide x 59” long
Ŷ5 Slat Shelves - 21” wide x 59” long
ƔFly Screens are a brand new addition from Janssens
żRoof Window Fly Screen - easily installs into roof vent opening
żLouver Window Fly Screen - clips onto outside of louvered window
żDoor Fly Screen - Slides along the INSIDE of the greenhouse so as not to
interfere with the existing doors. May be used with sliding or hinged door (not
compatible with hinged door auto closers). Not compatible with greenhouses
placed on a wall.
ƔVentilation - An exhaust fan may be installed in the gable of the greenhouse to blow out
the hottest air. Replace a glass pane with a lexan panel into which you can mount the
12

fan (polycarbonate greenhouse panels may be cut to accommodate the fan). Many
exhaust fans will use an external thermostat to control at what temperature it turns on
and off. Place an exhaust fan opposite your louver window to create a cross breeze. For
the most effective cross breeze, it is often recommended to close window vents to force
airflow through your louver window.
ƔHeaters - see below “Heating the Greenhouse”
Placement of the Greenhouse
The placement of the greenhouse varies by intended usage, climate, location, and space
available. There is a wealth of information to be found online on this subject, here are some
considerations:
ƔWill your greenhouse be in full sun or get afternoon shade? Glass greenhouses do what
they are intended to do - heat up quickly on sunny days. Great for the winter, but
depending on your climate, it can be a challenge during summer months. Think about
what you will be growing as well as the seasonal usage of your new greenhouse to
determine appropriate sun exposure. It may help to watch the seasonal variations of
sun angles in your yard to determine the placement.
ƔDepending on what you are growing and where you are located, you may wish to orient
your greenhouse east/west or north/south - many garden bloggers have weighed in on
this and research may help you consider the options. In many areas of the US, we do
get plenty of hours of sunlight. Some users end up placing the greenhouse based on
layout/space available, aesthetics and convenience.
ƔThe site must be level. If it is not, you will need to prepare the area to provide a firm and
level surface to construct your greenhouse. This may include building a retaining wall or
placing your greenhouse on a stem wall - or just leveling out the site. Consider
rainwater flow in your yard if you are in a hilly area.
Foundation and Anchoring
All greenhouses must be securely anchored. All Victorian greenhouses include corner brackets
attached to the foundation/base frame that extend an additional 12” below ground level. The VI
36 and 46 include an additional pair to use at the midpoint of the long wall. If you are in a very
high wind area or are trying to meet the structural specifications for a permit - you may wish to
purchase additional corner anchor posts (PRO210) for use at the vertical members.
The manufacturer recommends an 8” wide concrete strip foundation that extends down to the
frostline in your area. Please consult your local building codes for this information. It is
recommended to leave a 4” diameter hole at the corner for the anchors to be embedded in
concrete after the greenhouse frame is assembled and it is confirmed to be level and square.
Alternatively, you may also choose to anchor the greenhouse by trimming the corner anchors off
at ground level, cutting them in sections to be used as L brackets to secure the greenhouse
frame to your anchoring surface with the appropriate hardware.
13

Some users have chosen a variety of alternative anchoring methods based on their climate,
location, soil composition, and site considerations. These include full concrete slabs, concrete
footers, pier and beam constructions, and even timbers. If you are considering the use of wood
in your construction, be aware that your greenhouse will likely outlast your wood. If you use
pressure treated wood, it is recommended to use a barrier material between the wood and the
aluminum frame. When planning your anchoring method, you should keep in mind frost
line/ground heaving, wind load, greenhouse location, ground composition, weather, climate, and
local building code. If you are unsure, you should consult with a local and experienced builder.
Warranty coverage does not extend to damage resulting from improper anchoring of the
greenhouse outside of manufacturer’s recommendations (see above).
If a permit is needed in your area, we do have structural certification letters and permit sets for
most of our greenhouses. They are Texas stamped. We may be able to obtain other state
stamped documents, however if you need them specific to your state, we do not cover this
expense. Please contact Exaco if structural documents are needed.
Flooring
The greenhouse does not include flooring material, allowing it to be customized to your needs
and use. When planning your flooring, consider the intended use of the greenhouse, the plants
that will be grown, drainage, heat sink benefits of the material, insulation, weed blocking, as well
as aesthetics. If you use a natural flooring option - consider including a weed barrier. Here are
a variety flooring options to consider:
ƔSoil - this is a great option if you have fertile soil and wish to plant directly into the
ground. This can be used in combination with other options below.
ƔPea gravel, crushed stone, etc. - provides natural drainage and some crushed rocks
help with weed control
ƔPavers and bricks - A very nice looking option with natural drainage capabilities. May
also be used for paths in combination with in ground planting areas.
ƔWood - Looks very nice, but requires more maintenance. Keep in mind that the wood
may deteriorate before the greenhouse lifespan is over.
ƔFull concrete slab - This can double as your anchoring surface as well. Keep in mind
that greenhouses can be wet environments so texture and drainage need to be
considered.
ƔTiling - this can be a beautiful option as well. If your greenhouse is a functioning
greenhouse, consider water drainage. Tile may get very slippery when wet.
Water and Electricity
You may choose to bring water and electricity into your greenhouse. If possible, it is
recommended to plan for this ahead of time so that you can plumb/wire underneath the base
frame of the greenhouse. Generally users will bring electricity under the frame at the most
convenient location and then attach conduit to the frame of the greenhouse to the desired
location. Custom matched spray paint is available if needed.
14

The irrigation/misting system (included with Royal Victorians) may be directly plumbed or
attached to a hose with a hose clamp (available at garden stores). The hookup end of the
irrigation pipe will be at one of the gable ends, near the ridge. It is helpful to purchase a hose
timer so watering can be automated.
Ventilation and Cooling of Greenhouse
Glass greenhouses are effective at heating up quickly on summer days. If you discover your
greenhouse is becoming warmer than you desire, here are some options for cooling.
ƔShadecloth - Janssens makes an interior shadecloth system
ƔExhaust Fan - recommended to be installed in the gable of the greenhouse to blow out
the hottest air. Replace a glass pane with a lexan panel into which you can mount the
fan. Many exhaust fans will use an external thermostat to control at what temperature it
turns on and off. Place the exhaust fan opposite your louver window to create a cross
breeze. For the most effective cross breeze, it is often recommended to close window
vents to force airflow through your louver window.
ƔMisting System - in dry environments, a misting system turning on at the hottest point of
the day can cool a greenhouse up to 15 degrees.
ƔTinting - Aftermarket tinting may be applied to the glass panes
ƔWhitewash - available from some greenhouse retailers, this can be washed off when the
hot season is over.
ƔExterior shade cloth - an exterior shade cloth, though not as beautiful, can be highly
effective. An aluminet shade cloth is a metallic woven shade cloth that goes up and over
the outside of the greenhouse. The metallic surface reflects the heat of the sun’s rays
before they get inside the greenhouse, while also providing shade.
Heating the greenhouse
Although the greenhouse heats up quickly during sunny days, you will likely find you will need to
provide supplemental heat during cold winter nights and cold cloudy days.
ƔHeaters - electrical, propane and wood stoves have all been used. Be sure to properly
vent according to manufacturer instructions. Find a BTU calculator online to determine
how powerful a heater you need. This is based on a variety of factors including
greenhouse material, size, location/climate, low temperatures and desired goal
temperature.
ƔHeat Sink - The more mass you have inside your greenhouse, the more heat can be
absorbed during the warm day to release at night. This can help mitigate huge
temperature swings during light frost, but can also reduce your heating costs. Easy
ways to add mass that can retain heat are raised beds, a large dark water tank, or
organic material. There is much information online about planning/designing more in
depth heat sinks in your greenhouse - including flooring choices.
ƔResources on insulated floors and geothermal heat can be found on many garden blogs.
15

Can I Use My Greenhouse as an Additional Living Space?
ƔThese structures are designed to be a greenhouse first and foremost. As packaged, the
greenhouse is not designed to be water/air tight. Greenhouse plants do benefit from a
turn of air. You will need to do some extra sealing with silicone on the roof around the
glass to achieve watertightness.
ƔWe recommend any furniture be indoor/outdoor and that fine wood furniture/electronics
be avoided or sufficiently protected.
ƔThe glass is single pane, so there is a good chance for condensation on the inside that
might drip. The roof windows do have auto openers, so it is likely the roof vents will be
open during a rainstorm if the temperature in the greenhouse is above 68 degrees. You
can switch to all manual openers if preferred.
ƔOn sunny days, glass greenhouses can get warm very quickly. Depending on your
climate, you will likely be fighting the heat in the summer (late spring/early fall).
It has been done, but you will need to make customized adjustments such as extra sealing,
climate control, window tinting and heating. Indoor/outdoor furnishings are strongly
recommended. Exaco will not be held responsible for any damages.
Maintenance of Greenhouse
The following will help keep your greenhouse in tip top shape:
ƔDuring winter, the roof will need to be cleared of snow or supported in a suitable way.
ƔPistons and openers - Several times each year oil your piston rods, threading, and
moving parts of your openers. You may use WD40 or even olive oil. If your pistons stop
opening your windows, you likely need to oil them to loosen them up.
ƔGlass Maintenance
żCleaning Glass - use a gentle cleaner, such as Palmolive dish soap with a soft
cloth. A squeegee with a long handle is helpful as well. Distilled white vinegar
can be used to remove hard water spotting.
żReplacement Glass - if you need to replace a piece of broken glass, please refer
to the glass spec sheet in this manual. Replacement panes of 3/16” standard
tempered safety glass should be ordered from a local glass shop. Exaco will not
ship large pieces of glass, locally ordered replacement panes of standard
tempered safety glass will match the original panes.
ƔPolycarbonate Cleaning - use a gentle cleaner, such as Palmolive dish soap with a soft
cloth.
Questions? Need Assembly Support?
Please call Exaco at 877-760-8500 or email
customerservice@exaco.com.
16

5R\DO9LFWRULDQ)RXQGDWLRQ([WHULRU'LPHQVLRQV
;
LQFKHV
PP
LQFKHV
PP
LQFKHV
PP
LQFKHV
PP
LQFKHV
PP
LQFKHV
PP
LQFKHV
PP
LQFKHV
PP
$
%
$%
$%
,03257$17127(6)2535(3$5,1*<2856,7(
'RQRWVHWDQFKRUVLQFRQFUHWHXQWLOWKHHQWLUHJUHHQKRXVHIUDPH
LVFRPSOHWHOHYHODQGVTXDUH<RXZLOOQHHGVRPHSOD\WRDWWDFK
WKHXSULJKWV
,WLVUHFRPPHQGHGWREXLOG\RXUIRXQGDWLRQGRZQWRWKHIURVWOLQH
LQ\RXUDUHDDQGRUFRQVXOWDORFDOFRQWUDFWRUIRUUHFRPPHQGDWLRQV
*UHHQKRXVHEDVHIUDPHLVZLGH
&RUQHUDQFKRUSRVWVDUH[7KH\DWWDFKDWWKHLQWHULRUFRUQHUVRIWKHEDVHIUDPHWKHQH[WHQG
EHORZJURXQG%ROWVDWWDFKWRWKHERWWRPRIWKHDQFKRUWREHDFDWFKLQWKHFRQFUHWH:H
UHFRPPHQGOHDYLQJDWRKROHLQ\RXUFRQFUHWHIRUWKHDQFKRU'RQRWHPEHGWKHFRUQHUDQFKRUV
LQWRFRQFUHWHXQWLOWKHJUHHQKRXVHVWUXFWXUHLVEXLOWOHYHOHGDQGVTXDUH
(PEHGGLQJWKHFRUQHUDQFKRULQWRFRQFUHWHLVWKHPRVWVHFXUHPHWKRGDOWKRXJK\RXPD\FKRRVHWR
WULPWKHPRIIFXWLQKDOIDQGXVHDV/EUDFNHWVWRDWWFKWRWKHJUHHQKRXVHDQGIRXQGWLRQZLWKWKH
DSSURSULDWHVWDLQOHVVVWHHOVFUHZVLH7DS&RQVFUHZVIRUFRQFUHWH
:$,7'RQRW
SRXUFRQFUHWHLQWR
DQFKRUVXQWLO
IUDPHLV
DVVHPEOHGDQG
OHYHO
9,
9,
9,
9,
17

237,21%XLOGLQJDVWHPZDOOIRU\RXUJUHHQKRXVH
'RRUH[WHQVLRQNLWLVUHTXLUHG
$JDEOH __
%VLGH __
__
& SDQH
SDQHV
SDQHV
SDQHV
' ''
( SDQH
SDQHV
SDQHV
SDQHV
&''(
ůůĚŝŵĞŶƐŝŽŶƐĂƌĞĞdžƚĞƌŶĂůĚŝŵĞŶƐŝŽŶƐŽĨƚŚĞĂůƵŵŝŶƵŵƉƌŽĨŝůĞƐ
$$
$%
&
'
(
$
*DEOHHQGOHQJWKLISODFLQJGRRURQJDEOH
% 6LGHOHQJWKLISODFLQJGRRURQORQJVLGH
& 0HDVXUHPHQWWROHIWRIGRRUEDVHGRQ
RIJODVVSDQHVVHHGLDJUDPVLQLQWUR
IRU\RXUJUHHQKRXVHLIXQVXUH
' 5RXJKRSHQLQJIRU6,1*/(GRRU
'' 5RXJKRSHQLQJIRU'28%/(GRRU
( 0HDVXUHPHQWWRULJKWRIGRRUEDVHGRQ
JODVVSDQHV
%'28%/(&+(&.<2850($685(0(176
&'25''(
0HDVXUHPHQWVDUHLQ
PLOOLPHWHUVIRUSUHFLVLRQ
3OHDVHXVHFRPELQDWLRQ
WDSHPHDVXUHLQ\RXUNLW
1RWHVDERXWVWHPZDOOV
5HDGQRWHVRQSUHYLRXVDQGIROORZLQJ
SDJHVWRXQGHUVWDQGDQFKRULQJ
RSWLRQVDQGPHDVXUHPHQWVRIIUDPH
IRUWKLFNQHVVRI\RXUZDOO
<RXUGRRUZD\PD\EHSODFHGRQWKH
JDEOHHQGRUORQJVLGH
6WHPZDOOKHLJKWLVGHWHUPLQHGE\\RX
PD[LPXPKHLJKWZLWKVWDQGDUGNLWLV
$OOPHDVXUHPHQWVDUHH[WHUQDO
GLPHQVLRQVRIWKHDOXPLQXPSURILOHV
+HLJKWRI
\RXUFKRLFH
6DPSOHGLDJUDP
$25%
25 %
$
$
$
'LDJUDPVIRU
H[DPSOHRQO\
\RXUPRGHOPD\
KDYHJUHDWHU
IHZHUSDQHV
%%
18

19

20
Other manuals for VI23
2
This manual suits for next models
3
Table of contents
Other Exaco Greenhouse Kit manuals

Exaco
Exaco GIGANT User manual

Exaco
Exaco EOS ROYAL User manual

Exaco
Exaco VI23 User manual

Exaco
Exaco VICTORIAN VI 46 User manual

Exaco
Exaco Riga XL VI User manual

Exaco
Exaco HOKLARTHERM Riga XL 5 User manual

Exaco
Exaco EOS JUNIOR VICTORIAN User manual

Exaco
Exaco HELIOS/EOS T User manual

Exaco
Exaco EOS Retro SL User manual

Exaco
Exaco EOS ROYAL MUR User manual