1 Before you begin
Gather the following information from your
network administrator:
• IP address and netmask of the WANJet appliance. The IP address must be in the same subnet as the
WAN router that connects directly to the WAN port on the WANJet appliance.
• IP address of the WAN router (WAN gateway).
• Location for the WANJet appliance within easy reach of two power outlets, a network connection,
and the WAN router.
• IP address for the Management Port, if you are using out-of-band management, and an Ethernet cable to
connect to the management network.
2 Check package contents
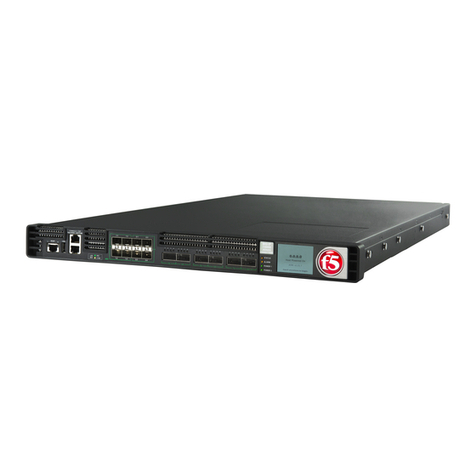
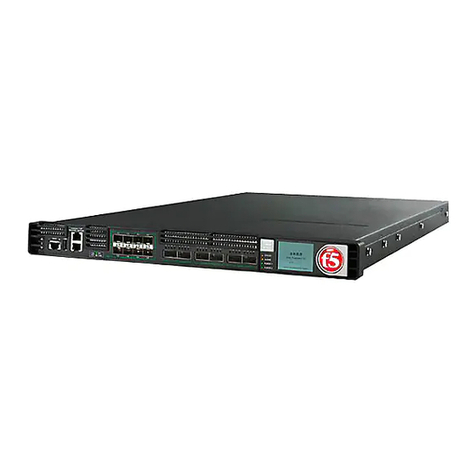
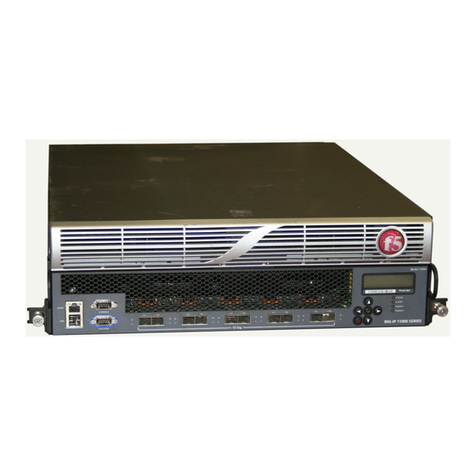
Unpack the WANJet 500 shipping box and verify that it includes the following parts:
• WANJet 500 appliance • Two power cords • Gray CAT-5e Ethernet cable
• Red CAT-5e crossover cable • Rack mount kit (with ear brackets, rails,
and screws for direct or rail mounting)
• Serial console cable
3 Install the unit into a network rack
Mount the unit directly into a rack, use the rack mount rails, or place the unit on a flat surface.
Refer to the Platform Guide: WANJet 500 for details about installing the unit into a rack.
4 Power up the WANJet 500 appliance
a. Insert the two power cords into the two power
supplies on the back of the WANJet appliance.
If a power cord is not connected, or fails, the
unit continuously sounds a warning beep. To
disable this sound, press the alarm cancel switch
(the top rocker switch on the back).
b. Plug each power cord into a separate power
outlet (preferably to different power circuits).
c. Press the power switch on the back of the unit.
The power light on the front illuminates, and
the WANJet appliance performs a self-test.
WANJet®500 | Quick Start Card
To set the addresses using the LCD
If you are using a management network, set the management IP, the management netmask, and the management gateway,
as follows. Then, you need to set the local WANJet IP address, called the bridge IP, the netmask, and the WAN gateway. To
set these addresses, follow the same procedure using the menu selections that are shown below in parentheses.
5 Set the addresses
Use the front panel LCD to set the
management and local WANJet IP addresses,
netmasks, and gateways.
The LCD keypad has the following buttons for setting the addresses:
Displays the menu and selects the current item for configuration.
Moves to the right in an IP address.
ESC
Backs out of the current menu selection to the next level up, and acts like a Cancel key.
Moves to the left in an IP address.
Moves up through the menu items, or increases numbers when editing an IP address.
Moves down through the menu items, or decreases numbers when editing an IP address.
a. Press ESC to display the >LCD Configure menu.
b. Press to navigate to the >System menu.
b. Press to navigate to the >Management menu.
(Then press to navigate to the >Bridge menu.)
c. Press to display >Mgmt IP (>Bridge IP).
d. Set the IP address:
• Press .
• Use and to increase or increase the
numbers in the address.
• Press to move forward to the next digit.
To move backward, press ESC .
• When you have nished setting the IP
address, place the cursor on the rightmost
digit, and press .
e. Set the netmask:
• Press to display >Mgmt Mask (>Bridge Mask).
• Press and set the netmask as you did the
IP address.
• When you have nished setting the netmask,
place the cursor on the rightmost digit, and
press .
f. Set the default gateway:
• Press to display >Mgmt Gateway
(>Gateway).
• Press and set the gateway as
you did the other addresses.
• When you have nished setting the gateway,
place the cursor on the rightmost digit, and
press .
h. Save the values you set:
• Press to display until you see >Commit.
• Press .
The LCD cycles through the addresses you set.
• When OK is blinking on the LCD, press to
save the values.
6 Cable the WANJet 500 appliance
Plug the gray
Ethernet cable into
the LAN 1 port
If you are using a
management network, plug
an Ethernet cable into the
MANAGEMENT Port.
Plug the red
crossover cable into
the WAN 1 port
To cable the WANJet appliance
1. Connect the gray Ethernet CAT-5e cable to the
LAN1 port on the front of the WANJet appliance.
Connect the other end to your LAN switch.
2. Connect the red crossover CAT-5e cable to the
WAN1 port on the front. Connect the other end to
your WAN router.
3. If you are using a management network, connect an
Ethernet cable to the MANAGEMENT port on the front.
Connect the other end to your management network.
