manuals.online logo
Brands
  1. Home
  2. •
  3. Brands
  4. •
  5. FLOS
  6. •
  7. Outdoor Light
  8. •
  9. FLOS TOIO User manual

FLOS TOIO User manual

REV. 2
DATE 25/11/2021
1
TOIO
Designed by Achille and Pier Giacomo Castiglioni, 1962
F7600035
©2021 Flos -All rights reserved -www.flos.com
Flos reserves the right to introduce any changes to its own models, without prior notice.
EN
2
©2021 Flos -All rights reserved -www.flos.com
Flos reserves the right to introduce any changes to its own models, without prior notice.
01. RF02774
–Nickel-plated brass little cage
02. RF04607
–Electric wiring transformer to bulb
03. RF02775
–Rod
04. RF02581
–Red base
05. RF17929
–Autotransformer direct
06. RF05784
–Fuse holder
09. RF7600100
–Wires loop assembly
10. RF06730
–Cable winder support
11. RF06732
–Nickel tap grip
12. RF19850
–Electrical wiring assembly with dimmer
13. RF24160
–Rondò dimmer
TOIO
F7600035
REV. 2
DATE 25/11/2021
EN
3
WARNING! When installing and whenever acting on the appliance, ensure that the power supply has been switched off.
For the installation of the spare-part, it is necessary to consult a qualified electrician.
©2021 Flos -All rights reserved -www.flos.com
Flos reserves the right to introduce any changes to its own models, without prior notice.
RF02774
NICKEL-PLATED BRASS CAGE
REV. 2
DATE 25/11/2021
TOIO F7600035
Toio
p.03 Toio Led
p.03
4
WARNING! When installing and whenever acting on the appliance, ensure that the power supply has been switched off.
For the installation of the spare-part, it is necessary to consult a qualified electrician.
©2021 Flos -All rights reserved -www.flos.com
Flos reserves the right to introduce any changes to its own models, without prior notice.
EN
Fig.1
Fig.2
RF02774
NICKEL-PLATED BRASS CAGE
Unfasten the screw (E) and free the damaged
bulb cage (A) from the rod (B).
Assemble now the new spare-part:
Place the lamp bulb cage (A) on the rod (B),
ensuring that the insert (C) present on the
cage (A) hooks inside the opening (D) of the
rod (B).
Lock the cage (A) to the rod (B) by fastening
the screw (E).
REV. 2
DATE 25/11/2021
TOIO F7600035
E
B
A
D
C
5
WARNING! When installing and whenever acting on the appliance, ensure that the power supply has been switched off.
For the installation of the spare-part, it is necessary to consult a qualified electrician.
©2021 Flos -All rights reserved -www.flos.com
Flos reserves the right to introduce any changes to its own models, without prior notice.
EN
Fig.3
Insert the connector (F) inside the fitting of the lamp-bulb (G).
RF02774
NICKEL-PLATED BRASS CAGE
REV. 2
DATE 25/11/2021
TOIO F7600035
G
F
EN
6
WARNING! When installing and whenever acting on the appliance, ensure that the power supply has been switched off.
For the installation of the spare-part, it is necessary to consult a qualified electrician.
©2021 Flos -All rights reserved -www.flos.com
Flos reserves the right to introduce any changes to its own models, without prior notice.
RF04607
ELECTRICAL WIRING FROM TRANSFORMER TO BULB
REV. 2
DATE 25/11/2021
TOIO F7600035
Toio
p.06 Toio Led
p.06
7
WARNING! When installing and whenever acting on the appliance, ensure that the power supply has been switched off.
For the installation of the spare-part, it is necessary to consult a qualified electrician.
©2021 Flos -All rights reserved -www.flos.com
Flos reserves the right to introduce any changes to its own models, without prior notice.
EN
Fig.1
Insert the connector (D) inside the fitting of the lamp-bulb (C).
RF04607
ELECTRICAL WIRING FROM TRANSFORMER TO BULB
REV. 2
DATE 25/11/2021
TOIO F7600035
C
D
8
WARNING! When installing and whenever acting on the appliance, ensure that the power supply has been switched off.
For the installation of the spare-part, it is necessary to consult a qualified electrician.
©2021 Flos -All rights reserved -www.flos.com
Flos reserves the right to introduce any changes to its own models, without prior notice.
EN
Fig.2
E
Pass the electrical cable through the cable loops (E).
RF04607
ELECTRICAL WIRING FROM TRANSFORMER TO BULB
REV. 2
DATE 25/11/2021
TOIO F7600035
9
WARNING! When installing and whenever acting on the appliance, ensure that the power supply has been switched off.
For the installation of the spare-part, it is necessary to consult a qualified electrician.
©2021 Flos -All rights reserved -www.flos.com
Flos reserves the right to introduce any changes to its own models, without prior notice.
EN
Fig.3
E
Connect the plug (F) to the socket (G) of the transformer.
RF04607
ELECTRICAL WIRING FROM TRANSFORMER TO BULB
E
REV. 2
DATE 25/11/2021
TOIO F7600035
10
WARNING! When installing and whenever acting on the appliance, ensure that the power supply has been switched off.
For the installation of the spare-part, it is necessary to consult a qualified electrician.
©2021 Flos -All rights reserved -www.flos.com
Flos reserves the right to introduce any changes to its own models, without prior notice.
EN
Fig.4
H
Wrap the excess cable around the cable winding support (H).
RF04607
ELECTRICAL WIRING FROM TRANSFORMER TO BULB
REV. 2
DATE 25/11/2021
TOIO F7600035
EN
11
WARNING! When installing and whenever acting on the appliance, ensure that the power supply has been switched off.
For the installation of the spare-part, it is necessary to consult a qualified electrician.
©2021 Flos -All rights reserved -www.flos.com
Flos reserves the right to introduce any changes to its own models, without prior notice.
RF02775
ROD
REV. 2
DATE 25/11/2021
TOIO F7600035
Toio
p.11 Toio Led
p.11
12
WARNING! When installing and whenever acting on the appliance, ensure that the power supply has been switched off.
For the installation of the spare-part, it is necessary to consult a qualified electrician.
©2021 Flos -All rights reserved -www.flos.com
Flos reserves the right to introduce any changes to its own models, without prior notice.
EN
Fig.1
B
Insert the rod (B) in the lamp base by unfasten the knob (A).
A
RF02775
ROD
REV. 2
DATE 25/11/2021
TOIO F7600035
13
WARNING! When installing and whenever acting on the appliance, ensure that the power supply has been switched off.
For the installation of the spare-part, it is necessary to consult a qualified electrician.
©2021 Flos -All rights reserved -www.flos.com
Flos reserves the right to introduce any changes to its own models, without prior notice.
EN
Fig.2
Insert through the rod (B) all the black heat shrink tubes (D).
Collocate the loops (F) between the heat shrink tubes (D) and shrink
the tubes (D) by utilizing a heat gun.
REMARK!!!
Position the loops (F) facing the left hand side of the rod
(B). The loops must stay on the side where present the knob and cable
winder (G).
RF02775
ROD
REV. 2
DATE 25/11/2021
TOIO F7600035
B
F
D
G
7 cm 10 cm
14
WARNING! When installing and whenever acting on the appliance, ensure that the power supply has been switched off.
For the installation of the spare-part, it is necessary to consult a qualified electrician.
©2021 Flos -All rights reserved -www.flos.com
Flos reserves the right to introduce any changes to its own models, without prior notice.
EN
Fig.3
Fig.4
Place the lamp bulb cage (A) on the rod (B),
ensuring that the insert (H) present on the
cage (A) hooks inside the opening (I) of the
rod (B).
REV. 2
DATE 25/11/2021
RF02775
ROD
TOIO F7600035
A
B
IH
15
WARNING! When installing and whenever acting on the appliance, ensure that the power supply has been switched off.
For the installation of the spare-part, it is necessary to consult a qualified electrician.
©2021 Flos -All rights reserved -www.flos.com
Flos reserves the right to introduce any changes to its own models, without prior notice.
EN
Fig.5
Fig.6
Lock the cage (A) to the rod (B) by fastening
the
screw (C).
Insert the connector (K) inside the fitting of
the lamp-bulb (J).
J
K
REV. 2
DATE 25/11/2021
RF02775
ROD
TOIO F7600035
B
E
A
16
WARNING! When installing and whenever acting on the appliance, ensure that the power supply has been switched off.
For the installation of the spare-part, it is necessary to consult a qualified electrician.
©2021 Flos -All rights reserved -www.flos.com
Flos reserves the right to introduce any changes to its own models, without prior notice.
EN
Fig.7
F
Pass the electrical cable through the cable loops (F).
REV. 2
DATE 25/11/2021
RF02775
ROD
TOIO F7600035
17
WARNING! When installing and whenever acting on the appliance, ensure that the power supply has been switched off.
For the installation of the spare-part, it is necessary to consult a qualified electrician.
©2021 Flos -All rights reserved -www.flos.com
Flos reserves the right to introduce any changes to its own models, without prior notice.
EN
Fig.8
Adjust the height of the rod (B) and then fasten the knob (A).
Wrap the excess cable around the cable winding support (H).
B
AH
REV. 2
DATE 25/11/2021
RF02775
ROD
TOIO F7600035
EN
18
WARNING! When installing and whenever acting on the appliance, ensure that the power supply has been switched off.
For the installation of the spare-part, it is necessary to consult a qualified electrician.
©2021 Flos -All rights reserved -www.flos.com
Flos reserves the right to introduce any changes to its own models, without prior notice.
RF02581
LAMP BASE
REV. 2
DATE 25/11/2021
TOIO F7600035
Toio
p.18
Toio Led
p.18
EN
19
WARNING! When installing and whenever acting on the appliance, ensure that the power supply has been switched off.
For the installation of the spare-part, it is necessary to consult a qualified electrician.
©2021 Flos -All rights reserved -www.flos.com
Flos reserves the right to introduce any changes to its own models, without prior notice.
RF17929
TRANSFORMER
REV. 2
DATE 25/11/2021
TOIO F7600035
20
WARNING! When installing and whenever acting on the appliance, ensure that the power supply has been switched off.
For the installation of the spare-part, it is necessary to consult a qualified electrician.
©2021 Flos -All rights reserved -www.flos.com
Flos reserves the right to introduce any changes to its own models, without prior notice.
EN
Fig.1
L
Disconnect the power supply plug (I) from the transformer socket (L).
I
RF17929
TRANSFORMER
REV. 2
DATE 25/11/2021
TOIO F7600035

This manual suits for next models

1

Other FLOS Outdoor Light manuals

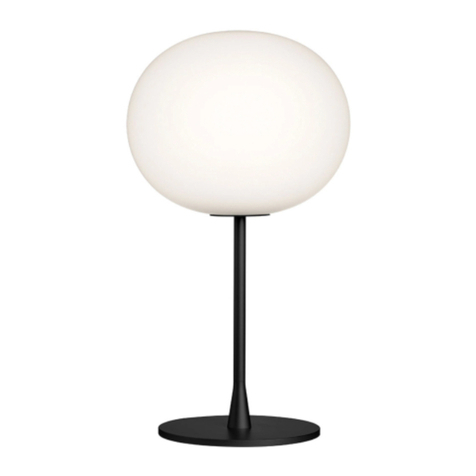
FLOS JASPER MORRISON GLO-BALL F Series User manual

FLOS

FLOS JASPER MORRISON GLO-BALL F Series User manual

FLOS KELVIN LED F User manual

FLOS

FLOS KELVIN LED F User manual

FLOS Romeo Outdoor C3 User manual

FLOS

FLOS Romeo Outdoor C3 User manual
FLOS Michael Anastassiades COPYCAT F1952030 User manual
FLOS

FLOS Michael Anastassiades COPYCAT F1952030 User manual

FLOS KELVIN LED F3301030 User manual

FLOS

FLOS KELVIN LED F3301030 User manual

FLOS ARES Pan User manual

FLOS

FLOS ARES Pan User manual

FLOS Belvedere Spot F1 User manual

FLOS

FLOS Belvedere Spot F1 User manual
FLOS ROMEO MOON/SOFT F User manual

FLOS

FLOS ROMEO MOON/SOFT F User manual

FLOS Melrie User manual

FLOS

FLOS Melrie User manual

FLOS SERENA F6582054 User manual

FLOS

FLOS SERENA F6582054 User manual
FLOS CAPTAIN FLINT User manual

FLOS

FLOS CAPTAIN FLINT User manual

FLOS Landlord User manual

FLOS

FLOS Landlord User manual

FLOS IC F Outdoor User manual

FLOS

FLOS IC F Outdoor User manual
FLOS Clessidra User manual

FLOS

FLOS Clessidra User manual
FLOS NOCTAMBULE F User manual

FLOS

FLOS NOCTAMBULE F User manual
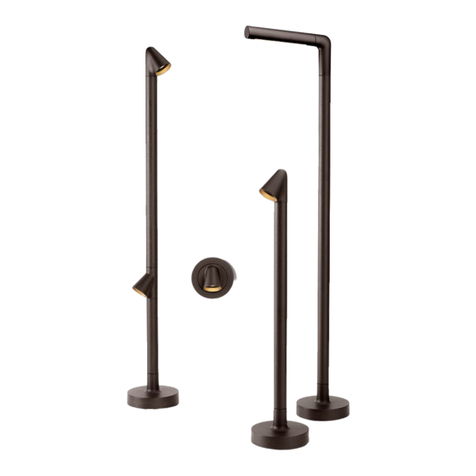
FLOS Walkstick Pipe 1 User manual

FLOS

FLOS Walkstick Pipe 1 User manual
FLOS F1583018 User manual

FLOS

FLOS F1583018 User manual

FLOS SUPERLOON F6630057 User manual

FLOS

FLOS SUPERLOON F6630057 User manual

FLOS SUPERARCHIMOON OUTDOOR User manual

FLOS

FLOS SUPERARCHIMOON OUTDOOR User manual

FLOS OK F4640009 User manual

FLOS

FLOS OK F4640009 User manual

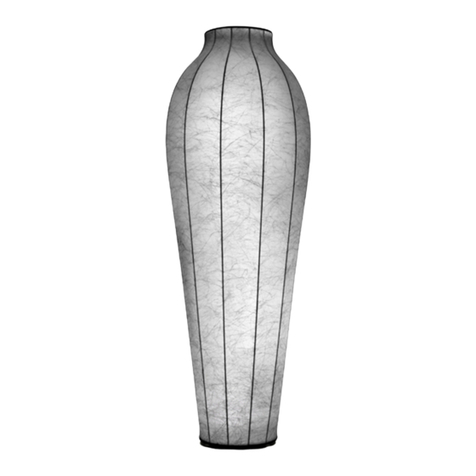
FLOS CHRYSALIS User manual

FLOS

FLOS CHRYSALIS User manual

FLOS 45 ADJ User manual

FLOS

FLOS 45 ADJ User manual

FLOS 45 ADJ User manual

FLOS

FLOS 45 ADJ User manual

FLOS PATRICIA URQUIOLA TATOU T1 User manual

FLOS

FLOS PATRICIA URQUIOLA TATOU T1 User manual

Popular Outdoor Light manuals by other brands
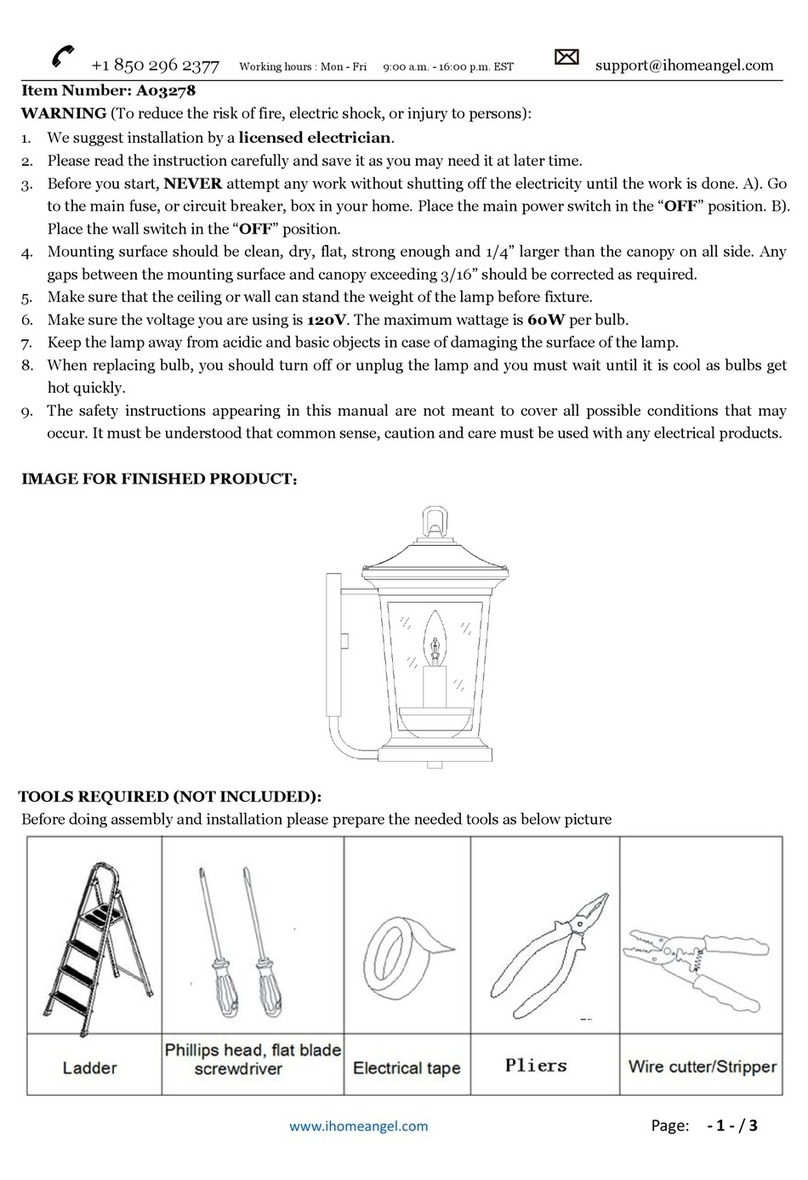
HomeAngel A03278 quick start guide

HomeAngel

HomeAngel A03278 quick start guide

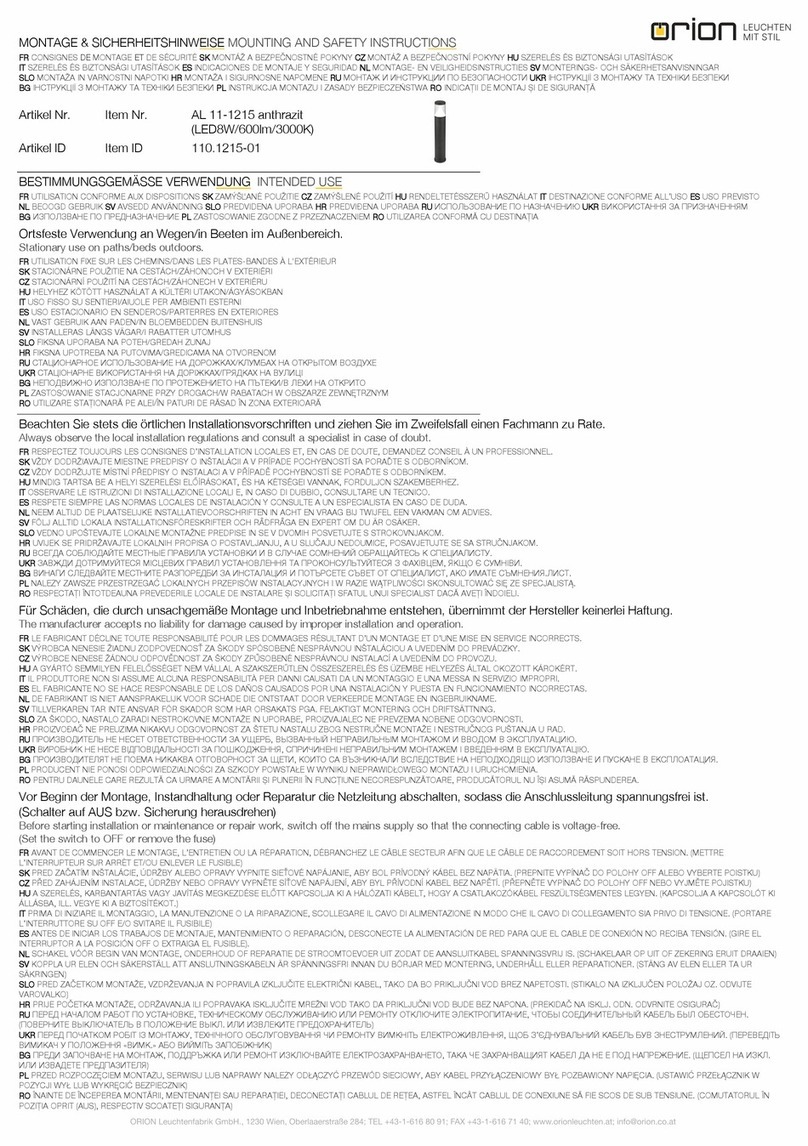
Orion AL 11-1215 Mounting and safety instructions

Orion

Orion AL 11-1215 Mounting and safety instructions

LIGMAN HAMILTON 5 installation manual

LIGMAN

LIGMAN HAMILTON 5 installation manual

Sulion KOA 200677 manual

Sulion

Sulion KOA 200677 manual

Zafferano sister light mini Instructions for use

Zafferano

Zafferano sister light mini Instructions for use

LIGMAN FORREY 28 installation manual

LIGMAN

LIGMAN FORREY 28 installation manual

JONATHAN Y JYL4030A manual

JONATHAN Y

JONATHAN Y JYL4030A manual

XanLite APF5002TN user manual

XanLite

XanLite APF5002TN user manual
Focus Industries FFL-24-T5HO-HE installation instructions

Focus Industries

Focus Industries FFL-24-T5HO-HE installation instructions

HEPER PUNTO S Ex Installation & maintenance instructions

HEPER

HEPER PUNTO S Ex Installation & maintenance instructions

Commercial Electric NOVA150-PC-4K-BZ Use and care guide

Commercial Electric

Commercial Electric NOVA150-PC-4K-BZ Use and care guide

Beurer Janosch JBY 32 Instructions for use

Beurer

Beurer Janosch JBY 32 Instructions for use

Quoizel RPT8411PN Assembly instruction

Quoizel

Quoizel RPT8411PN Assembly instruction

Enchanted Garden METAL SOLAR GECKO instructions

Enchanted Garden

Enchanted Garden METAL SOLAR GECKO instructions

Anslut 014215 operating instructions

Anslut

Anslut 014215 operating instructions

Paradise Datacom M45944848 instructions

Paradise Datacom

Paradise Datacom M45944848 instructions

Melissa 631-145 manual

Melissa

Melissa 631-145 manual

Cult Nau Banksia Oil Lamp instruction manual

Cult

Cult Nau Banksia Oil Lamp instruction manual

manuals.online logo
manuals.online logoBrands
  • About & Mission
  • Contact us
  • Privacy Policy
  • Terms and Conditions

Copyright 2025 Manuals.Online. All Rights Reserved.