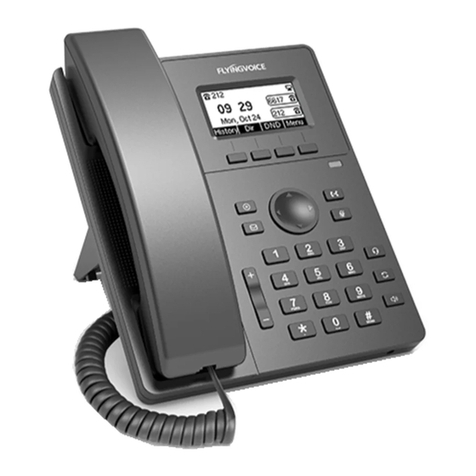
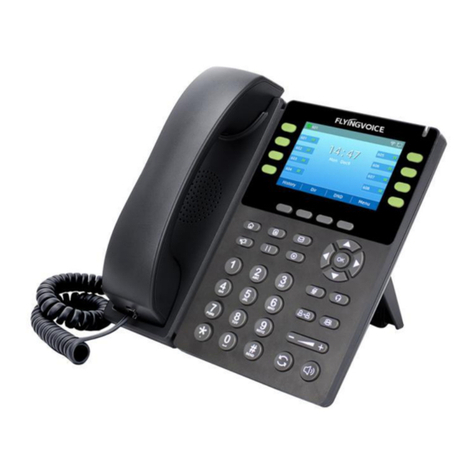
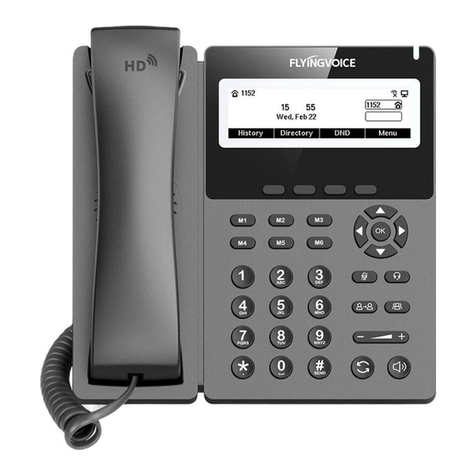
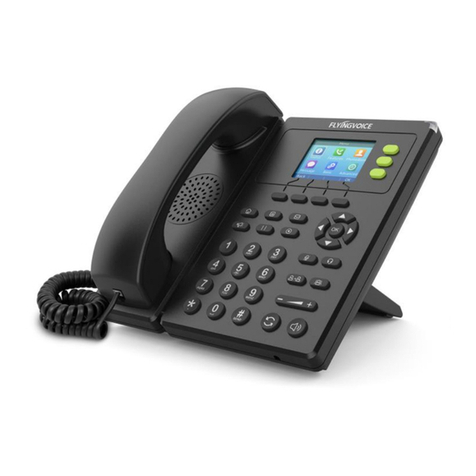
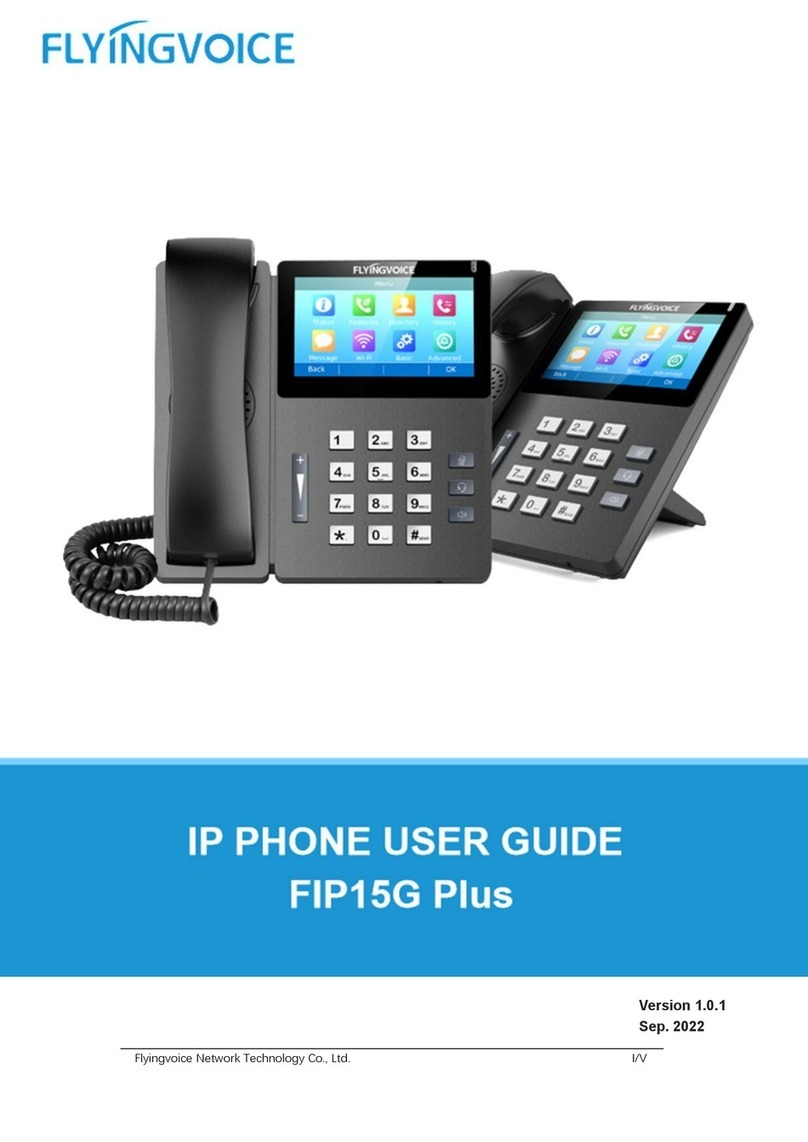
Flyingvoice FIP15G Plus User manual

FIP15G Plus IP Phone
FLYINGVOICE NETWORK TECHNOLOGY CO., LTD.
• Quick Installation Guide
• Guía de Instalación Rápida
• Guide d'Installation Rapide
• Guia de Instalação Rápido
• Руководство по быстрой установке
• 快速安装指南 www.flyingvoice.com
Quick Installation Guide

English
Español
Français
Português
Русский
中文
1
3
6
9
11
14
Content

Step1. Connect the phone to the Internet via the Internet port of the phone, connect your PC to the PC port of the phone with Ethernet cable.
Step2.
Step3. Enter the username (Default: admin) and password (Default: admin) in the login page and click Confirm.
Open web browser on your computer, enter the IP address (find the IP address by pressing Menu >My Status) into the address bar, and then press Enter key.
4.3 Connect via wired network
Step1. Power on the phone.
Step2. Connect the Internet port of phone to the available network adapters (switches or routers) with Ethernet cable.
Step3. If there is DHCP server in network, you can find the IP address by pressing Menu >My Status.
4.2 Accessing the web management
4.4 Connect via Wi-Fi
Step1. Press button, then choose Basic Settings >Wi-Fi via ▲ or ▼ button.
Step2. Choose “Available Network”.
Step3. Use ▲ or ▼ button to select the network and press soft key “Con” to connect with it. Input the password if Wi-Fi authentication is required.
Note: If AP is connected, will appear in the status bar on the main interface.
Input the device's IP address in the address bar of the browser. Then you can login SIP Account configure of the phone. Choose Enable on Line Enable,
input SIP Account parameters.
Configure information
Line Enable Enable
6620
6620
Phone Number
Password
Display Name
Account
6620
**********
Basic Setup
Subscriber Information
192.168.1.1 Proxy Port
Outbound Port
Backup Outbound Port
Proxy Server
Outbound Server
5060
5060
5060
Proxy and Registration
Registering your phone
5
Backup Outbound Server
Allow DHCP Option
120 to Override SIP
Server
Transport
UDP
SIP Account Parameters
Name Description Name Description
Line Enable Enable Line or not
Outbound Server
Proxy Server Domain name or IP address of SIP server
Outbound proxy IP or domain name
Outbound Port Service port of outbound proxy
Phone Number Number of telephone provided by SIP proxy
Account SIP account provided by SIP proxy
Password SIP password provided by SIP proxy
Display Name The number displayed in callee
Proxy Port The port which SIP server supports of VoIP service (Default: 5060)
ENGLISH
If you are installing the device for the first time, please read this manual in advance and configure it step by step. Reboot the device once you finish the
configuration is required, including change the network environments, account number and so on. If you need more info, please go to our website
(www.flyingvoice.com) and download the user manual.
IP Phone Handset
Handset Cord Power Adapter
Stand Ethernet Cable QC PASS Quick Installation Guide
Packaging list
(Optional)
1
About This Guide
ENGLISH
Flyingvoice Network TechnologyCo.,Ltd
Wall mount the phone
Connect the handset
Connect the stand
Fix two appropriate screws on
the wall, and leave them about
1/4 distance from the wall.
Attach the mounting bracket to
the position to be installed, then
align and insert the mounting
hole and slide down, ensuring
the bottom slot has engaged.
If you are using an external power supply, please connect the power supply, and plug the power supply into the DC
5V supply hub on the back of the phone. Note: Only the power supply from Flyingvoice is available.
Assembling the phone
2
4.1 Network Settings
There are two ways to configure the network settings.
DHCP: By default, the phone attempts to contact a DHCP server in your network to obtain its valid network settings. e.g., IP address, subnet mask,
gateway address and DNS address.
Static IP Address: If the phone can’t connect with DHCP server, please configure IP address, subnet mask, gateway address, primary
DNS address and secondary DNS address manually.
After the phone is connected the power supply, it will start the intialization process automatically. After that, the LCD will display “Flyingvoice” logo and
the phone will be ready to use.
Note:
1. If the phone does not show any above
information on the screen, please re-confirm
installation steps and the connections.
If it still doesn’t work, please replug the phone.
If there still no display on screen, please
contact the administrator or service provider.
2. ONLY USB storage devices and USB dongles
can be inserted into the USB port.
DC5V
Power Adapter
PC Internet
Starting the phone
3
Configuring your phone
4
1 2
FIP15G Plus IP Phone
•Quick Installation Guide
•Guía de Instalación Rápida
•Guide d'Installation Rapide
•Guia de Instalação Rápido
• Руководство по быстрой установке
•快速安装指南 www.flyingvoice.com
Quick Installation Guide
4.1 Modo de conexión de red
Por favor, determine a qué modo de acceso a la red pertenece y registre los parámetros relevantes. Generalmente, hay dos formas de acceso a la red:
dirección IP dinámica y dirección IP estática.
DHCP:De forma predeterminada, el teléfono obtiene la configuración de red a través del servidor DHCP. Por ejemplo: dirección IP, máscara de subred,
puerta de enlace y servidor DNS.
Dirección IP estática: Si el teléfono no puede obtener la configuración de red a través del servidor DHCP, debe configurar manualmente la dirección IP,
la máscara de subred, la puerta de enlace, el servidor DNS preferido y el servidor DNS alternativo.
Configurar el teléfono
4
Primer paso: Conecte el puerto del teléfono a Internet a través de un cable de red y conecte el puerto de PC del teléfono a la computadora a través de
un cable de red.
Segundo paso: Abra el navegador web en la computadora, ingrese la dirección IP del teléfono en la barra de direcciones (presione la tecla suave del
teléfono para ingresar al menú> estado) y presione Enter.
Tercer paso: Introduzca "admin" en el cuadro de entrada del nombre de usuario de la interfaz de inicio de sesión, introduzca la contraseña de
administrador "admin" en el cuadro de entrada de la contraseña y haga clic en Enviar.
4.3 Conexión por cable
Primer paso: El teléfono está encendido y se inicia normalmente.
Segundo paso: Conecte un extremo del cable de red al puerto de Internet del teléfono y conecte el otro extremo del cable de red a un adaptador de
red disponible, como un conmutador o enrutador.
Tercer paso: Si hay un servidor DHCP en la red, presione la tecla suave para ingresar a Menú> Estado y podrá ver la dirección IP en el teléfono.
4.2 Acceder a la página de configuración
4.4 Conectar inalámbrica
Primer paso: Haga clic en el botón ,Luego use los botones ▲ y ▼ para seleccionar "Configuración básica> Red inalámbrica".
Segundo paso: Seleccione "Red Wi-Fi disponible" y la red inalámbrica a la que puede conectarse se mostrará en la pantalla LCD.
Tercer paso: Use los botones ▲ y ▼ para navegar, busque la red a la que necesita conectarse y luego presione la tecla suave "Conectar" para
conectarse. Si se requiere autenticación Wi-Fi, complete la verificación de identidad y la contraseña.
La conexión inalámbrica se puede configurar a través de LCD.
Note: Si el AP está conectado, el icono inalámbrico en la interfaz principal de la pantalla LCD se mostrará como
ESPAÑOL
Ingrese la dirección IP del dispositivo en la barra de direcciones del navegador para iniciar sesión en la interfaz de configuración de la cuenta SIP.
Seleccione "Habilitar" para habilitar la cuenta e ingrese los parámetros de registro.
Configuración Básica
Registro telefónico
5
Linea Habilitada Habilitar
6620
6620
Número de Teléfono
Contraseña
Nombre a Mostrar
Cuenta
6620
**********
Configuración Básica
Información del Subscriptor
192.168.80.80 Puerto Proxy
Puerto de Salida
Puerto de Salida de
Respaldo
Servidor Proxy
Servidor de Salida
5060
5060
5060
Proxy Y Registro
Servidor de Salida
de Respaldo
Permitir que la opción
DHCP 120 reemplace
el servidor SIP
Transport
UDP
Para la configuración inicial, lea atentamente la guía de instalación y realícela de acuerdo a los pasos correspondientes. Si necesita cambiar el entorno
de red o la cuenta, puede modificar la configuración correspondiente. Cada modificación debe guardarse y reiniciarse para que surja efecto. Para conocer
más información, visite nuestro sitio web oficial (www.flyingvoice.com) para descargar el manual de usuario del producto correspondiente.
Teléfono IP Auricular
Cable del auricular Adaptador de corriente
Base Cable Ethernet Certificado de conformidad Guía de instalación rápida
Paquete de inspección
(opcional)
1
ESPAÑOL
Acerca de esta guía
Flyingvoice Network TechnologyCo.,Ltd
Si el teléfono está fijado a la pared
Ensamblar el auricular
Ensamblar la base
Clavar dos tornillos apropiados en la pared
manteniendo una cuarta parte de la longitud
de cada uno de los dos fuera de la pared.
Luego ajustar el ángulo de la base del
teléfono y empujarlo hacia arriba para
fijarlo. Después abrochar el agujero para
colgar en la pared en la parte posterior de
la base al tornillo. Por fin empujar hacia abajo
el teléfono para bloquearlo en su lugar.
Si utiliza una fuente de alimentación externa, conecte un extremo del adaptador de corriente al puerto de alimentación
y el otro extremo al puerto DC 5V del teléfono. Nota: solo aplicable al adaptador de corriente original
Ensamblar el teléfono
2
Una vez que el teléfono esté conectado a la fuente de alimentación, iniciará automáticamente el proceso de inicialización. El teléfono se inicia
normalmente cuando ocurren las siguientes condiciones:
Encender el teléfono
3
Primer paso: La pantalla LCD mostrará la interfaz de inicio del logotipo "Flyingvoice".
Segundo paso: Todas las luces del teléfono se encenderán.
Tercer paso: Cuando el teléfono está conectado al puerto de Internet y se puede conectar
a la red, el teléfono mostrará el estado de la dirección IP del puerto de Internet.
Cuarto paso: Fecha y hora, el estado de la línea.
Nota:
1. Si la información anterior no se muestra en la pantalla del teléfono, confirme si la instalación es correcta. Después de la confirmación, si el
teléfono aún no puede iniciarse normalmente, puede intentar desenchufar el cable de alimentación y volver a enchufarlo. Si aún no puede ver la
pantalla, comuníquese con su administrador telefónico o proveedor de servicios.
2. SÓLO se pueden insertar dispositivos de almacenamiento USB y dongles USB en el puerto USB.
DC5V
Adaptador de corriente
PC Internet
3 4
FIP15G Plus IP Phone
•Quick Installation Guide
•Guía de Instalación Rápida
•Guide d'Installation Rapide
•Guia de Instalação Rápido
• Руководство по быстрой установке
•快速安装指南 www.flyingvoice.com
Quick Installation Guide
Pour la configuration initiale, veuillez lire attentivement le guide d'installation et le configurer selon les étapes correspondantes. Si vous devez modifier
l'environnement réseau ou le compte, vous pouvez modifier la configuration correspondante. Chaque modification de configuration doit être enregistrée
et redémarrée pour prendre effet. Pour plus de méthodes d'utilisation, veuillez vous rendre sur notre site officiel (www.flyingvoice.com) pour télécharger
le manuel d'utilisation du produit correspondant.
Téléphone IP Combiné
Cordon du combiné Adaptateur secteur
Pied câble Certificat de conformité Guide d'installation rapide
Paquet d'inspection
(facultatif)
1
À propos de ce guide
Flyingvoice Network TechnologyCo.,Ltd
Si le téléphone est fixé au mur
Assembler le combiné
Assembler la base
Fixez deux vis appropriées sur le mur,
gardez un quart de la longueur de vis
à l'extérieur du mur, réglez l'angle de
la base du téléphone et poussez-la
vers le haut pour la fixer, puis fixez les
trous de fixation murale à l'arrière de
la base au vis, ensuite, poussez le
téléphone vers le bas pour le fixer.
Si vous utilisez une alimentation externe, veuillez connecter une extrémité de l'adaptateur secteur au port d'alimentation
et l'autre extrémité au port DC 5V du téléphone. Remarque : uniquement applicable à l'adaptateur secteur d'origine
Une fois le téléphone connecté à la source d'alimentation, il démarre automatiquement le processus d'initialisation. Le téléphone démarre normalement
lorsque les conditions suivantes se produisent :
Assembler le téléphone
2
Démarrez
3
Noter:
1. Si les informations ci-dessus ne s'affichent pas sur l'écran du téléphone, veuillez confirmer si l'installation est correcte. Après confirmation, si le
téléphone ne peut toujours pas démarrer normalement, vous pouvez essayer de débrancher la prise d'alimentation et de la rebrancher. Si vous
ne visualisez toujours pas l'affichage, veuillez contacter votre administrateur téléphonique ou votre fournisseur de services.
2. Seulement les périphériques de stockage USB et les dongles USB peuvent être insérés dans le port USB.
DC5V
Adaptateur secteur
PC l'Internet
Premier pas: L'écran LCD affichera l'interface de démarrage du logo "Flyingvoice" ;
La deuxième étape : Toutes les lumières du téléphone s'allumeront ;
Troisième étape: Lorsque le téléphone est connecté au port Internet et peut être
connecté à Internet, le téléphone affiche l'état de l'adresse IP du port Internet ;
La quatrième étape : Date et heure, état de la ligne.
FRANÇAIS
Parámetros de registro SIP
nombre del
parámetro
nombre del
parámetro
descripción descripción
Linea Habilitada Ya sea para habilitar línea o no
Servidor de Salida
Servidor Proxy Nombre de dominio o IP del servidor SIP
IP del servidor proxy o nombre de dominio
Puerto de Salida Puerto de servicio del servidor proxy
Número de Teléfono Número de teléfono proporcionado por
el servidor SIP
Cuenta Cuenta SIP proporcionada por el servidor SIP
Contraseña Contraseña SIP proporcionada por el
servidor SIP
Nombre a Mostrar Este carácter se mostrará en la pantalla
LCD del teléfono.
Puerto Proxy El servidor SIP admite el puerto de servicio VoIP, el valor predeterminado es 5060
ESPAÑOL
5 6
FIP15G Plus IP Phone
•Quick Installation Guide
•Guía de Instalación Rápida
•Guide d'Installation Rapide
•Guia de Instalação Rápido
• Руководство по быстрой установке
•快速安装指南 www.flyingvoice.com
Quick Installation Guide
Other manuals for FIP15G Plus
1
Table of contents
Languages:
Other Flyingvoice IP Phone manuals

Flyingvoice
Flyingvoice FIP12WP User manual

Flyingvoice
Flyingvoice FIP12 User manual

Flyingvoice
Flyingvoice FIP15G User manual

Flyingvoice
Flyingvoice P23G User manual

Flyingvoice
Flyingvoice FIP15G Plus User manual

Flyingvoice
Flyingvoice P10W User manual

Flyingvoice
Flyingvoice P10 User manual

Flyingvoice
Flyingvoice P2X Series User manual

Flyingvoice
Flyingvoice P11W User manual

Flyingvoice
Flyingvoice FIP1 Series User manual