manuals.online logo
Brands
  1. Home
  2. •
  3. Brands
  4. •
  5. Forest garden
  6. •
  7. Outdoor Furnishing
  8. •
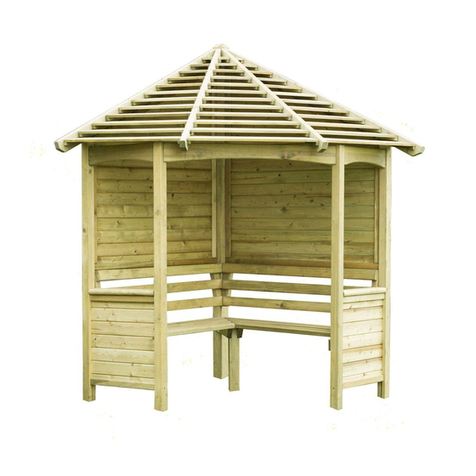
  9. Forest garden Venetian Pavilion User manual

Forest garden Venetian Pavilion User manual

Issue 0117
Forest Garden Ltd. | Unit 288 | Oak Drive | Hartlebury Trading Estate | Hartlebury| Worcestershire | DY10 4JB
This product is pressure to ensure longevity of alltreated
timber components and to protect against rot. This may leave
a colour difference on some parts that will even out as the
moisture content stabilises This will not need additional.
treatment.
nPlease keep all plastic bags and small parts away from
children.
nThe roof of this product is not a load bearing structure.
nTimber is a natural material and will shrink and swell as a
result of varying moisture content.
Assembly of damaged parts may be deemed to be
acceptance and this may affect the remedies you are entitled
to.
If the product is not constructed in accordance with the
instructions, or is altered in anyway (e.g. painted), the
manufacturer cannot be held liable for any resulting damage.
Item
Number
Par t Code Part Description Quantity
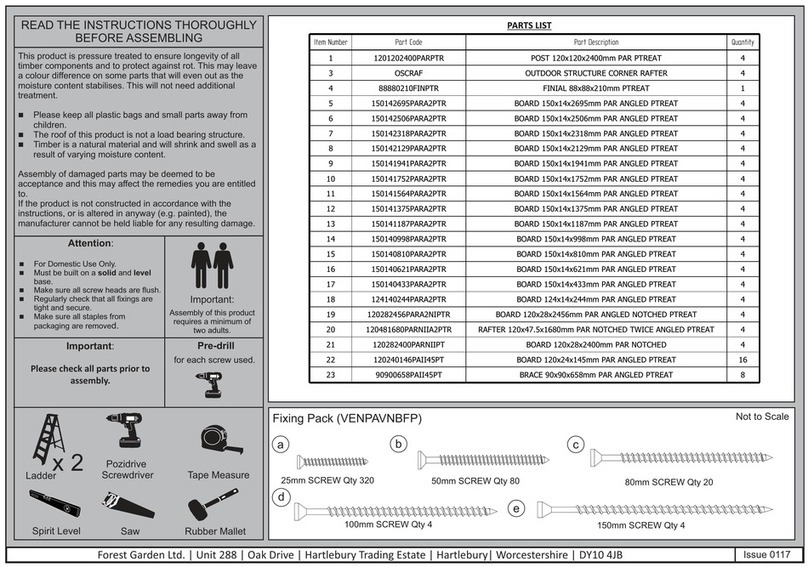
1 1201202400PARPTR POST 120x120x2400mm PAR PTREAT 4
3 OSCRAF OUTDOOR STRUCTURE CORNER RAFTER 4
4 88880210FINPTR FINIAL 88x88x210mm PTREAT 1
5 150142695PARA2PTR BOARD 150x14x2695mm PAR ANGLED PTREAT 4
6 150142506PARA2PTR BOARD 150x14x2506mm PAR ANGLED PTREAT 4
7 150142318PARA2PTR BOARD 150x14x2318mm PAR ANGLED PTREAT 4
8 150142129PARA2PTR BOARD 150x14x2129mm PAR ANGLED PTREAT 4
9 150141941PARA2PTR BOARD 150x14x1941mm PAR ANGLED PTREAT 4
10 150141752PARA2PTR BOARD 150x14x1752mm PAR ANGLED PTREAT 4
11 150141564PARA2PTR BOARD 150x14x1564mm PAR ANGLED PTREAT 4
12 150141375PARA2PTR BOARD 150x14x1375mm PAR ANGLED PTREAT 4
13 150141187PARA2PTR BOARD 150x14x1187mm PAR ANGLED PTREAT 4
14 150140998PARA2PTR BOARD 150x14x998mm PAR ANGLED PTREAT 4
15 150140810PARA2PTR BOARD 150x14x810mm PAR ANGLED PTREAT 4
16 150140621PARA2PTR BOARD 150x14x621mm PAR ANGLED PTREAT 4
17 150140433PARA2PTR BOARD 150x14x433mm PAR ANGLED PTREAT 4
18 124140244PARA2PTR BOARD 124x14x244mm PAR ANGLED PTREAT 4
19 120282456PARA2NIPTR BOARD 120x28x2456mm PAR ANGLED NOTCHED PTREAT 4
20 120481680PARNIIA2PTR RAFTER 120x47.5x1680mm PAR NOTCHED TWICE ANGLED PTREAT 4
21 120282400PARNIIIPT BOARD 120x28x2400mm PAR NOTCHED 4
22 120282456PARAIIPTR BOARD 120x28x2456mm PAR ANGLED PTREAT 4
23 90900658PAII45PT BRACE 90x90x658mm PAR ANGLED PTREAT 8
24 VPBFT VENPAV CORNER FOOT (BROWN) 4
25 75752214PTR BEARER 75x75x2214mm PTREAT 4
26 1001002400NPARPTR POST 100x100x2400mm NOTCHED PARPTREAT 3
27 PATDB1PTR PATIO DECK BOARD - PROFILED 20
Attention:
nFor Domestic Use Only.
nMust be built on a andsolid level
base.
nMake sure all screw heads are flush.
nRegularly check that all fixings are
tight and secure.
nMake sure all staples from
packaging are removed.
PARTS LIST
Pre-drill
for each screw used.
Ladder
Pozidrive
Screwdriver Tape Measure
Spirit Level Saw Rubber Mallet
Not to Scale
Fixing Pack (VENPAVNBFP)
25mm SCREW Qty 320 50mm SCREW Qty 80
150mm SCREW Qty 4
ab
c
e
Important:
Assembly of this product
requires a minimum of
two adults
x 2
80mm SCREW Qty 20
d
READ THE INSTRUCTIONS THOROUGHLY
BEFORE ASSEMBLING
Fixing Pack (VENPAVFP)
b
50mm SCREW Qty 232
Important:
Please check all parts prior to
assembly.
100mm SCREW Qty 4
25
24
26
Attention:
Before you begin construction we recommend that you place
all the parts in the order that you will use them. Read
carefully through the steps of the instructions first.
Working around clockwise place and secure each of the bearers
inside the corner feet using 4x50mm screws at each end.
Turn the base over and secure the notched bearers using
2x50mm screws for each end.
(Measure and position the bearers, starting with the middle so
that they are all spaced equally.)
Turn the base back over.
b
b
b
1
1
19
21
The internal ring is interlocking.
Start by positioning and lining up the back and sides first. Fix the back
section using 2x50mm screws at both ends screwing into the posts.
Using a rubber mallet gently tap the boards until the notches are
locked.
Use a spirit level along the length of each post to make sure the product
is still level and square.
When all of the sections are in place secure them to the posts with
2x50mm screws for each end.
Slot each of the posts into the top of corner feet. You may need to
use a rubber mallet to make sure these are in tight and flush.
Fix the top ring of fascias so that they sit on the lip of the posts
and all meet up at the ends.
Fix the boards using 2x50mm screws at each end.
b
b
x2
level
2
3
b
x2
Issue 0117
Forest Garden Ltd. | Unit 288 | Oak Drive | Hartlebury Trading Estate | Hartlebury| Worcestershire | DY10 4JB
Help line: 08:30 to 17:00 Monday to Friday0333 7777 089
23
4
3
Place the braces so that they are flush and tight against the
post and level with the top of the fascia as shown. Fix the brace
to the post using 2 x 80mm screws and to the fascias using
1x50mm screw through each side.
Again use a spirit level and adjust as required.
b
C
x2
b
level
level
d
e
4
d
Fix two of the rafters to the finial at right angles, screwing through the finial into
the end of the rafters with a single 100mm screw for each.
Lift the rafters on top of the pavilion and line the notches up. You will need a
person on a ladder in the middle of the structure to keep the rafters in place and
use small adjustments to make sure they are level and at the correct pitch.
Fix these in place screwing down through each rafter into the post using a 150mm
screw.
Place and fix the two remaining rafters against the finial fixing them by screwing,
at an angle ,through the top of the rafter into the finial using 1x100mm screw for
each.
5
20
27
Slide the stepped rafters into position. Use a rubber mallet to tap
the rafter in place making sure that it is sat correctly in the
notches.
Fix the middle stepped rafters to the other corner rafters using an
80mm screw, through the top step.
Measure and mark the centre line on the two outer bearers. Fix a
deck board in line with this and using 2x50mm screws for each end.
Slide the boards up against this so that they are flush on each end
and secure every fourth board just using 2 x 50mm screws for each
end. Don't secure the last two boards from the end of the deck at this
point.
You will need to measure up and notch the last board.
Repeat this procedure for the opposite side before fixing down each
board properly using 2x50mm screws for each bearer they cross.
Remove this board to slot
the notched board in place
c
6
7
Hint: Use the smaller of the
roof boards to line up the top step
of the stepped rafter against the
top step of the corner rafters.
centre line
Issue 0117
Forest Garden Ltd. | Unit 288 | Oak Drive | Hartlebury Trading Estate | Hartlebury| Worcestershire | DY10 4JB
Help line: 08:30 to 17:00 Monday to Friday0333 7777 089
22
Place the bottom fascia boards against the outside of the deck
so that they are tight under the notch, flush with the deck and
line up at the corners. Fix each board in place using 8x50mm
screws.
Starting from the top and working down secure each of the
boards to the rafters and the stepped rafter using 2x25mm
screws.
The top, smallest board will only need 1x25mm screw for each
end.
aa
b
x2
9
8
a
a
b
x2
b
x2
b
x2

This manual suits for next models

2

Other Forest garden Outdoor Furnishing manuals

Forest garden Venetian Corner Arbour User manual

Forest garden

Forest garden Venetian Corner Arbour User manual

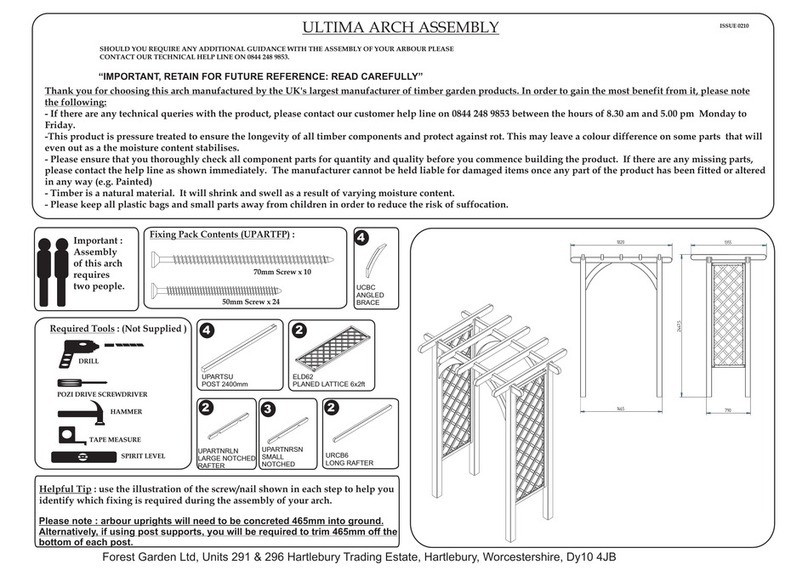
Forest garden Ultima Arch User manual

Forest garden

Forest garden Ultima Arch User manual

Forest garden MTGSH86 User manual

Forest garden

Forest garden MTGSH86 User manual

Forest garden VENPAVNB User manual

Forest garden

Forest garden VENPAVNB User manual

Forest garden UPK01 User manual

Forest garden

Forest garden UPK01 User manual

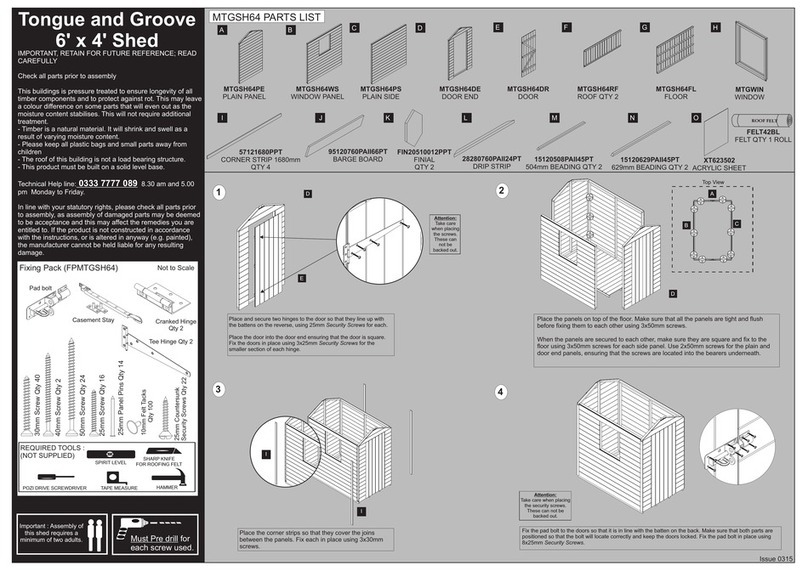
Forest garden MTGSH64 User manual

Forest garden

Forest garden MTGSH64 User manual

Forest garden ULTIMA PERGOLA UPK01 User manual

Forest garden

Forest garden ULTIMA PERGOLA UPK01 User manual

Forest garden UPK02FP User manual

Forest garden

Forest garden UPK02FP User manual

Forest garden Burford Extended Pavilion User manual

Forest garden

Forest garden Burford Extended Pavilion User manual

Forest garden UPK02FP User manual

Forest garden

Forest garden UPK02FP User manual

Forest garden Burford BFBGMHD User manual

Forest garden

Forest garden Burford BFBGMHD User manual

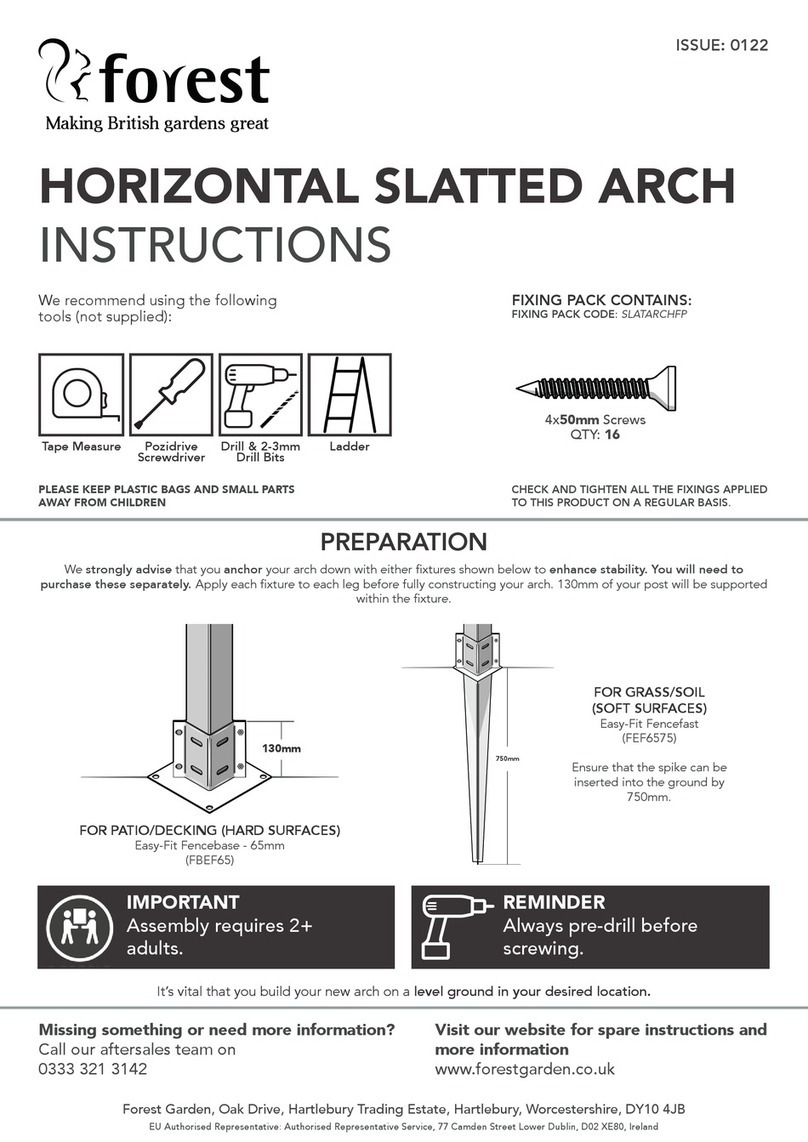
Forest garden FGSLATARCHHD User manual

Forest garden

Forest garden FGSLATARCHHD User manual

Forest garden RPK90FP User manual

Forest garden

Forest garden RPK90FP User manual

Popular Outdoor Furnishing manuals by other brands

coastshade Andrea1018#2 Assembly instruction

coastshade

coastshade Andrea1018#2 Assembly instruction

Factoryfurniture TREE Operation & maintenance manual

Factoryfurniture

Factoryfurniture TREE Operation & maintenance manual

Polywood Modern PWS1514-1 Assembly instructions

Polywood

Polywood Modern PWS1514-1 Assembly instructions

Polywood 4410X Assembly instructions

Polywood

Polywood 4410X Assembly instructions

Dura-Max DuraMate owner's manual

Dura-Max

Dura-Max DuraMate owner's manual

Polywood ECD16 Assembly instructions

Polywood

Polywood ECD16 Assembly instructions

HAMPTON BAY FDS50249-2PK-CA Operation guide

HAMPTON BAY

HAMPTON BAY FDS50249-2PK-CA Operation guide

HAMPTON BAY STATESVILLE FRS60696AS-ST Use and care guide

HAMPTON BAY

HAMPTON BAY STATESVILLE FRS60696AS-ST Use and care guide

LuxenHome WHOF882 instruction manual

LuxenHome

LuxenHome WHOF882 instruction manual

GoPlus OP70569 Instruction booklet

GoPlus

GoPlus OP70569 Instruction booklet

Members Mark AAX08801-8SC Assembly instructions & user manual

Members Mark

Members Mark AAX08801-8SC Assembly instructions & user manual

FLORABEST 313785 Assembly, operating and safety instructions

FLORABEST

FLORABEST 313785 Assembly, operating and safety instructions

Polywood ECC76 Assembly instructions

Polywood

Polywood ECC76 Assembly instructions

Members Mark GB-11449-4PC Assembly instructions & user manual

Members Mark

Members Mark GB-11449-4PC Assembly instructions & user manual

FLORABEST 317230_1904 Assembly, operating and safety instructions

FLORABEST

FLORABEST 317230_1904 Assembly, operating and safety instructions

Polywood ECU16 Assembly instructions

Polywood

Polywood ECU16 Assembly instructions

Dura Trel Melrose Trellis 11191 Assembly instruction

Dura Trel

Dura Trel Melrose Trellis 11191 Assembly instruction

TREX TXRCT248 Assembly instructions

TREX

TREX TXRCT248 Assembly instructions

manuals.online logo
manuals.online logoBrands
  • About & Mission
  • Contact us
  • Privacy Policy
  • Terms and Conditions

Copyright 2025 Manuals.Online. All Rights Reserved.