manuals.online logo
Brands
  1. Home
  2. •
  3. Brands
  4. •
  5. Forest garden
  6. •
  7. Outdoor Furnishing
  8. •
  9. Forest garden Venetian Corner Arbour User manual

Forest garden Venetian Corner Arbour User manual

Venetian Corner Arbour
Fixing Pack (ACARBFP) Not to Scale
POZI DRIVE SCREWDRIVER
DRILL
HAMMER
Important :
Assembly of this
arbour requires a
minimum of two
adults.
B C E
A
ACARBLHORA
LEFT HAND RAFTER Profile
Profile
Profile
ACARBSL
BENCH LEG
ACARBRHPA
RIGHT HAND PANEL
ACARBTINS
TOP INSERT Qty 2
ACARBRHORA
RIGHT HAND RAFTER
ACARBIRA
INNER RAFTER Qty 2
ACARBLHPA
LEFT HAND PANEL
ACARBBI
BACK INSERT Qty 2
ACARBCPTS
LARGE CORNER POST TOP
ACARBRB10 Qty 3
ACARBRS
ROOF SUPPORT
ACARBRB1 Qty 3
ACARBRB9 Qty 3
ACARBRB8 Qty 3
ACARBRB7 Qty 3
ACARBRB6 Qty 3
ACARBRB4 Qty 3
ACARBRB11 Qty 3
ACARBRB3 Qty 3
ACARBRB5 Qty 3
ACARBRB12 Qty 3
ACARBRB2 Qty 3
CARB PARTS LIST
F
G
D
HI J K
M
R2
R3
R4
R5
R6
R7
R8
R9
R10
R1
R11
R12
ROOF PACK
2
Issue 0214
1
ACARBCPBS
LARGE CORNER POST
ACARBRHBB
RIGHT HAND BENCH BACK
ACARBLHBB
LEFT HAND BENCH BACK
ACARBRHB
RIGHT HAND BENCH
ACARBLHB
LEFT HAND BENCH
L N O
IMPORTANT, RETAIN FOR FUTURE REFERENCE;
READ CAREFULLY
- Always pre-drill the timber to avoid splitting.
- The timber in this product is pressure treated to
ensure longevity and protection against rot. This may
leave colour variations, but these will even out as the
moisture content stabilises
- Timber is a natural material and will shrink and swell
as a result of varying moisture content.
- Please keep all plastic bags and small parts away
from children
- Warning. Only for domestic use
- This product must be built on a solid level base.
Technical Help line: 0333 7777 089 8.30 am and 5.00
pm Monday to Friday.
In line with your statutory rights, please check all parts
prior to assembly, as assembly of damaged parts may
be deemed to be acceptance and this may affect the
remedies you are entitled to. If the product is not
constructed in accordance with the instructions, or is
altered in anyway (e.g. painted), the manufacturer
cannot be held liable for any resulting damage.
Fix the back insert to the left hand panel using 2 x 70mm screws, screwing through the back insert’s
framework into the post. (Make sure the insert is inline with the back and top of the left hand panel.)
Place the assembled post against the back insert and fix the insert to the post using 2 x 70mm
screws.
(USE A TAPE MEASURE TO MAKE SURE THE POST IS IN LINE WITH THE BOTTOM OF THE SIDE PANEL.)
Slot the two posts together and fix using the two coach bolts.
I
H
A
C
H
Forest Garden Ltd, Unit 288 Hartlebury Trading Estate, Hartlebury, Worcestershire, DY10 4JB
A
C
MUST PRE DRILL
TAPE MEASURE SPIRIT LEVEL
120mm SCREW Qty 4
M8 x 70mm COACH BOLT Qty 2
M8 x 70mm NUT Qty 2
M8 Washer Qty 2
25mm SCREW Qty 138
70mm SCREW Qty 36
90mm SCREW Qty 4
100mm SCREW Qty 4
60mm SCREW Qty 8
Panel flush with
the top of the
angled post
Profile
68
43 5
Fix the rafters to the post using a 90mm screw for each.(Only partially fix the screw to allow movement of
the rafters)
Using the smallest and largest roof boards positioned at the top and bottom, adjust the rafters so that all
the boards sit flush. Once flush fully secure the rafters.
Fix the bottom of the rafters to the assembly using a 120mm screw for each.
Fix all of the boards to the rafters using 4 x 25mm screws for each board but only 2 x 25mm screws for
the smallest boards at the top.
Fix the top insert to the rafters using 2 x 70mm screws
for each screwing from underneath as illustrated.
Place the left hand bench into the arbour so the bottom of the bench is 380mm
from the floor.
Fix the bench to the left hand panel using 2 x 70mm screws for both the front and
back ends of the bench frame. Make sure that the screws locate into the vertical
posts of the side panel.
Fix the other end of the bench to the back post using another 2 x 70mm screws.
Repeat step 2 for the right hand panel.
Stand the assemblies up and position the completed right hand side against the left. Fix the
right hand panel to the post using 2x70mm screws, screwing through the framing into the
post.
Fit the arched roof support so that it slots in to the notches on both panels. Fix this in place by
screwing through the post into the end of the support using 2 x 70mm screws for each end.
J
R1
R12
F
G
E
GG
DD
DH
DL
DL
DN
DA
DO
DN
DK
DN
DK
Hint:
You may wish to add a
small bead of silicon to
seal the ends of each
board. (not supplied)
380mm
Panel flush to the
outside
Place the bench leg so that it fits in between the two
bench sections.
Fix the bench sections to the leg using 2 x 60mm screws
for each.
Place a top insert on to the back insert. Make sure that these are both in line before
fixing the top insert to the post using 2 x 70mm screws screwing through the
framework into the post.
Further secure the top insert by screwing up through the back insert’s framework
into the top insert using 2 x 60mm screws.
Note: Please
take care
when
working at
Height. The
roof is not
load bearing.
2 x 25mm
SCREWS ONLY
7
Position the bench backs so that they fit between the panels
and post and they are pushed up tightly against the back insert.
Fix each bench back in place using 2 x 100mm screws to fasten
the bench to the post and 2 x 70mm screws through opposite
batten into the panel.
9
D
M
Back
Front

Other Forest garden Outdoor Furnishing manuals
Forest garden FGSLATARCHHD User manual

Forest garden

Forest garden FGSLATARCHHD User manual

Forest garden MTGSH86 User manual

Forest garden

Forest garden MTGSH86 User manual

Forest garden UPK02FP User manual

Forest garden

Forest garden UPK02FP User manual

Forest garden VENPAVNB User manual

Forest garden

Forest garden VENPAVNB User manual

Forest garden MTGSH64 User manual

Forest garden

Forest garden MTGSH64 User manual

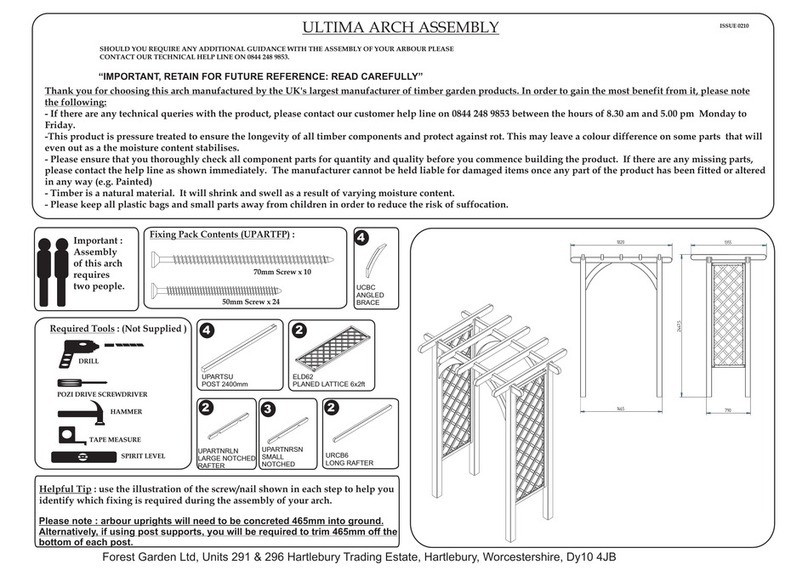
Forest garden Ultima Arch User manual

Forest garden

Forest garden Ultima Arch User manual
Forest garden RPK90FP User manual

Forest garden

Forest garden RPK90FP User manual

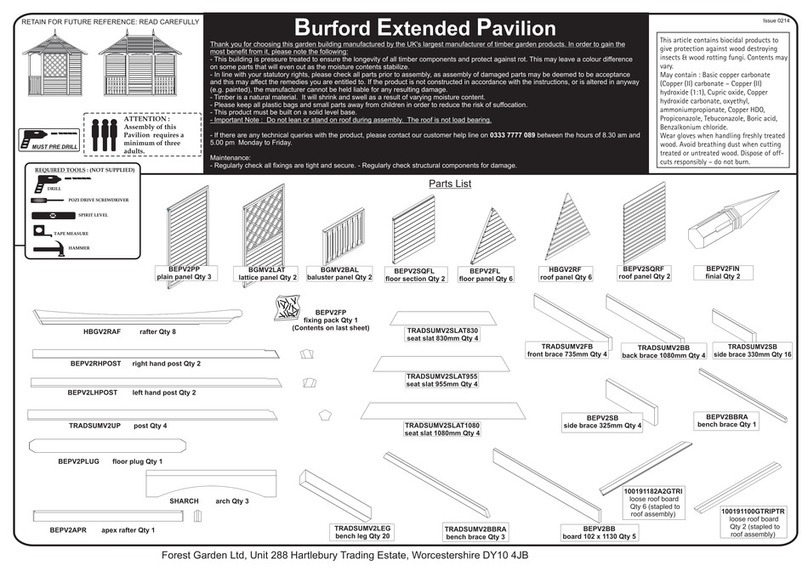
Forest garden ULTIMA PERGOLA UPK01 User manual

Forest garden

Forest garden ULTIMA PERGOLA UPK01 User manual

Forest garden UPK02FP User manual

Forest garden

Forest garden UPK02FP User manual

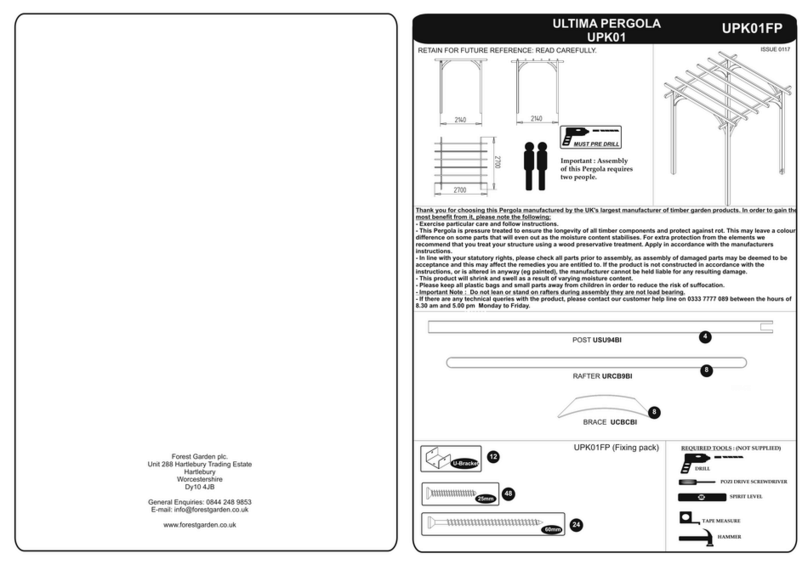
Forest garden Burford Extended Pavilion User manual
Forest garden

Forest garden Burford Extended Pavilion User manual

Forest garden Venetian Pavilion User manual

Forest garden

Forest garden Venetian Pavilion User manual

Forest garden Burford BFBGMHD User manual

Forest garden

Forest garden Burford BFBGMHD User manual

Forest garden UPK01 User manual

Forest garden

Forest garden UPK01 User manual

Popular Outdoor Furnishing manuals by other brands

Broyhill MADISON BS21126C Assembly instructions

Broyhill

Broyhill MADISON BS21126C Assembly instructions

Woodshaw TANSLEY Assembly instructions

Woodshaw

Woodshaw TANSLEY Assembly instructions

Sealey GSS1515 instructions

Sealey

Sealey GSS1515 instructions

Costway OP70853BK user manual

Costway

Costway OP70853BK user manual

BENITO Urban Kube PA672SM Anchoring instructions

BENITO

BENITO Urban Kube PA672SM Anchoring instructions

PHI VILLA THD7-201-351 Use and care guide

PHI VILLA

PHI VILLA THD7-201-351 Use and care guide

sweeek. GAIA AFTXDECKX2 manual

sweeek.

sweeek. GAIA AFTXDECKX2 manual

Santa & Cole Urbidermis TRAPECIO manual

Santa & Cole Urbidermis

Santa & Cole Urbidermis TRAPECIO manual

TENTCO Junior Care and maintenance instructions

TENTCO

TENTCO Junior Care and maintenance instructions

TRIBU 01811 Assembly instructions

TRIBU

TRIBU 01811 Assembly instructions

Home Decorators Collection BOLINGBROOK D13106-RO-B Use and care guide

Home Decorators Collection

Home Decorators Collection BOLINGBROOK D13106-RO-B Use and care guide

Hartman ROMA PERGOLA Assembly instructions

Hartman

Hartman ROMA PERGOLA Assembly instructions

Safavieh Outdoor Curacao CPT1010A Assembly

Safavieh Outdoor

Safavieh Outdoor Curacao CPT1010A Assembly

YOTRIO FSS60586BLST Assembly instructions

YOTRIO

YOTRIO FSS60586BLST Assembly instructions

GARTEN VERSAND 179075-15 manual

GARTEN VERSAND

GARTEN VERSAND 179075-15 manual

Gazebo penguin 43226MR-22 Assembly instructions

Gazebo penguin

Gazebo penguin 43226MR-22 Assembly instructions

BENITO Iris PA687AZ instructions

BENITO

BENITO Iris PA687AZ instructions

HOMCOM 839-779V00 manual

HOMCOM

HOMCOM 839-779V00 manual

manuals.online logo
manuals.online logoBrands
  • About & Mission
  • Contact us
  • Privacy Policy
  • Terms and Conditions

Copyright 2025 Manuals.Online. All Rights Reserved.