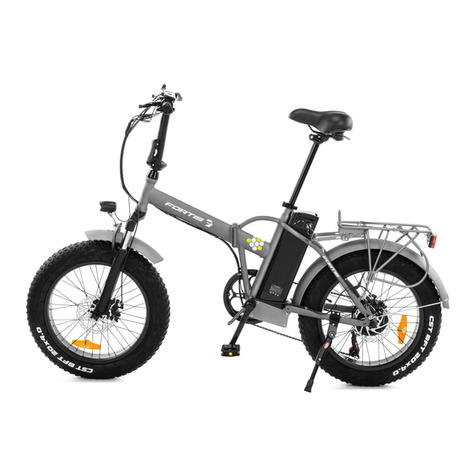
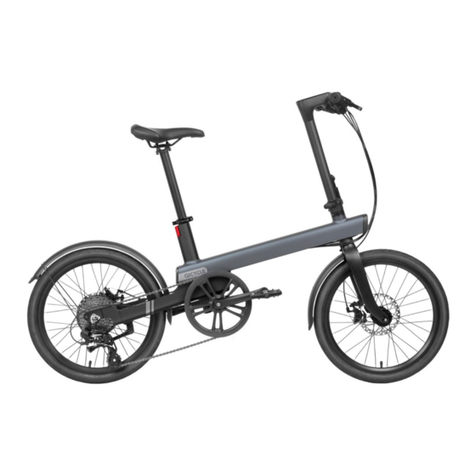
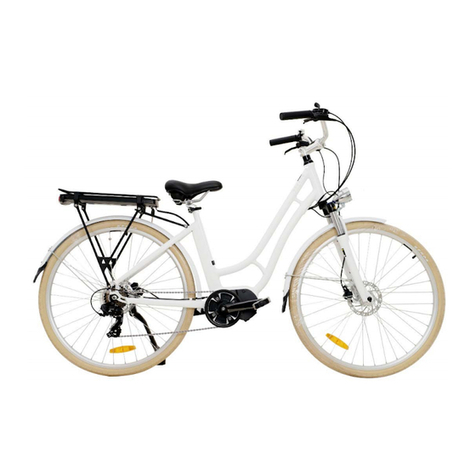
Fortis FS36V16EBKA User manual

CAUTION READ THIS MANUAL BEFORE USING YOUR EQUIPMENT

CONTENTS
1.Safety Introduction………………………………………1-6page
2.E BIKE Introduction…………………………………………7pages
2.1.Parts diagram of Ebike
2.2.Ebike Specification
3.Battery Introduction…………………………………………8pages
4.Displayer Introduction………………………………………9pages
5.Battery Protection………………………………………… 10page
6.E BIKE Ridding Operation………………………………… 11page
7.Installation Of Ebike Parts…………………………… 12-15pages
7.1.Parts In Carton
7.2.How To Fold The Ebike
7.3.The Handlebar Stem Installation
7.4.The Saddle Installation
7.5.The Pedal Installation

1
1.SAFETY AND WARNING
1.1 Safety
1. Thank you for purchasing the FORTIS E-BIKE. The E-BIKE features
the most recent innovation in technology.
2. For Safety reasons, it is most important that you read this user’s
manual before you operate the bike. Improper handling can
reduce its riding performance and most importantly, cause danger
to your safe and healthy.
3. For handling and maintenance of the bicycle, please refer to the
E-BIKE user’s manual which is an integral part of this e-bike user’s
manual!
4. Do not dismantle or disassemble any of the above e-bike
components at any time!
5. Please check all parts are tighten and locked before riding.
6. Please make sure that the battery charger and charging plug are
always kept dry and never get wet.
7. The charger should only be cleaned with a dry cloth. Never use a
wet cloth, oil or any other liquid.
1.2 Warning
Always Wear A Helmet
Helmets can significantly reduce the possibility and severity of
head injuries. Always wear a
helmet that complies with your state laws when riding the Electric
Bike.
Check with your local police department for requirements in your

2
community.
Do not wear loose clothing that can become tangled in the
moving parts of the Electric Bike.
Wear sturdy shoes and eye protection. Check your state laws
concerning other protective
wear that may be required when riding the Electric Bike.
Know Your Electric Bike
Your new Electric Bike incorporates many features and functions
that have never been built
into a bicycle before. Read this manual thoroughly to understand
how those features enhance
your riding pleasure and safety.
Ride Defensively
One of the most common cycling accidents is when the driver of a
parked car opens his door
into a rider's path. Another common occurrence is when a car or
another cyclist moves
suddenly into your path.
Always be aware of other vehicles around you. Do not assume
that drivers or other cyclists
see you. Be prepared to take evasive action or stop suddenly.
Make Yourself Easy to See
Make yourself more visible by wearing bright reflective (high
visibility) clothing. Keep your
reflectors (not included) clean and properly aligned. Signal prior
to turning so that drivers and
other cyclists can anticipate your actions.
Ride Within Your Limits

3
Take it slow until you are familiar with conditions that you
encounter. Be very careful in wet
conditions as traction can be greatly reduced and brakes become
less effective.
Never ride faster or beyond your riding abilities. Remember that
alcohol, drugs, fatigue and
inattention can significantly reduce your ability to make good
judgments and ride safely.
Keep Your Electric Bike in a Safe Condition
Follow the inspection and maintenance guidelines beginning on
page 12. Check critical safety
equipment before each ride.
Know the Law
Cyclists are required to follow the traffic rules. Additionally, some
communities regulate the
use of motorised bicycles regarding minimum age requirements
and necessary equipment.
Check with your local police department for specific details.
Correct Frame Size
When selecting a new bicycle, the frame size is a very important
safety consideration. Most
full-sized bicycles come in a range of frame sizes. These sizes
usually refer to the distance
between the centre of the bottom bracket and the top of the
frame seat tube.
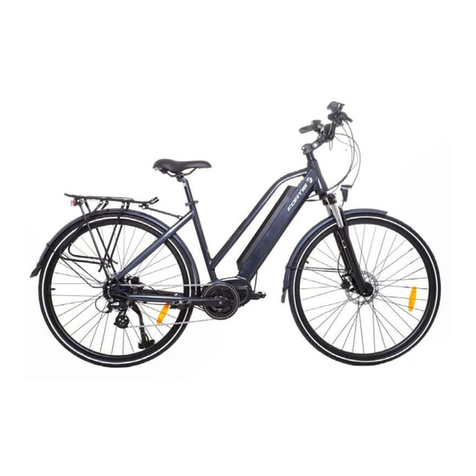
For safe and comfortable riding, , there should be clearance of
not t less than 3 3- - 5cm
between the groin area of the intended rider and the top tube of
4
the bicycle frame, while
the rider straddles the bicycle with both feet flat on the ground.
The ideal clearance will vary depending on the type of bicycles
and rider preference. This
makes straddling easier when off the seat and safer in situations
such as sudden stops.
Chec king the Battery Pack B B efore Using for the First Time
The battery pack is partially charged. To ensure full battery pack
capacity, completely charge
the battery pack before using it for the first time.
Battery c are: :
• Even with proper care, rechargeable batteries do not last
forever. Every time the
battery is discharged and subsequently recharged, its relative
capacity decreases
by a small percentage. You can maximise the life of your battery
by following the
instructions. Battery should be fully charged till recommended
charge times
immediately when they are received.
Li- - LON recommended charge time : 5- - 6 hours
• For a complete, 100% charge, leave the battery on the charger
for one full hour
after the charger indicator light turns green.
• Never charge batteries for more than 18 hours straight.
• Li-ion batteries do not have a “memory”. Partial
discharge/charge cycles will not
harm the batteries' capacity or performance.

5
• The rated output capacity of the battery is measured at 25°C.
Any variation in this
temperature will alter the performance of the battery and shorten
its expected life.
High temperatures especially reduce overall battery life and run
time.
• Always be sure to turn the bike power switch to “OFF” after
every use. If you leave
the power switch in the “ON” position or your product has not
been charged for a
long period of time, then the battery may reach a stage at which
they will no
longer hold power.
Many Electric Bike service and repair tasks require special
knowledge and tools. Do not begin
to perform any adjustments/modifications or services on your
Electric Bike if you are not
qualified or authorised to perform them. Improper adjustment or
service may result in
damage to the Electric Bike or an accident which can cause serious
injury or death.
Helmets
Always wear a helmet fitted properly, which covers the forehead
when riding a bicycle.
Many states require specific safety devices. It's your responsibility
to familiarise yourself with
the laws of the state where you ride and to comply with all

6
applicable laws, including properly
equipping yourself and your bike as the law requires.
Bicycle safety helmet should always be worn while riding your
bicycle.
The correct helmet should:
•Be comfortable
•Be lightweight
•Have good ventilation
•Fit correctly
•Cover your forehead

7
2.E BIKE INTRODUCTION
2.1 Parts Diagram of E BIKE
2.2 E BIKE Specification
Model No:16”skylark
Frame :Steel
Motor:36V 250W Brushless
Battery:36V 8AH Lithium
Charging time:4-6hours
Max Loading:110KG
W/G.W:20KG/22KG

8
3.BATTERY DETAILS
3.1 Battery Charging
A: Plug in the charger, When
the light is red, it’s charging,
When the light is green,
the battery is fully charged.
Red light show
3.2 Charger
Green light show
Adaptor
Connector with battery
Australia standard plug

9
4.DISPLAYER INTRODUCTION
4.1 The details for displayer
Displayer off
Displayer on
A: Voltage for showing the power level for battery
B: Three assist levels, the biggest one third level, add the assist
level by press the button “up”, “down” button for decreasing assist
level
C: Speed for showing the current speed by pedal assist
D:Mileage for recording the distance which ebike covers, when it
is full of one miles, the displayer showing the figure

10
5.Battery Protection
For maximizing the life of your battery and protection,please read
the following instructions in this guide.
▲Charging the battery 100% fully at first time for the new e bike
before ridding, the time should not more than 12hours
▲Even with proper care, rechargeable batteries do not last
forever. Every time the battery is discharged and subsequently
recharged. Its relative capacity decreases by a small percentage.
▲LI-LON recommended charging time:4-6 hours.
▲For a complete, 100% charging, leave the battery on the charger
for one full hour after the charger indicator light turns green.
▲Never charge batteries for longer than 12 hours.
▲Li-ion batteries do not have a “memory.”Partial
discharge/charge cycles will not harm the batteries capacity or
performance.
▲The rated output capacity of a battery is measured at 77”F(25”C).
Any variation in this temperature will alter the performance of the
battery and shorten its expected life. High temperatures especially
reduce overall battery life & running time.
▲Always be sure to turn the bike power switch to “OFF” after each
use. If you leave the power switch on the “ON” position, or your
product has not been charged for a long period of time, the
battery may reach a stage at which they will no longer hold a
charging.

11
6.E BIKE RIDDING OPERATION
A: Insert the key to the battery and turn on to power up the
battery, turn to “ON” status, then long press the middle botton of
displayer to switch on power.
Key status The button on display
B: Pedal one circle and half by feet to start the motor.
C:
C: When start to move, pay attention to both sides, or press
speaker for reminding in case crashing

12
7.INSTALLATION OF E BIKE PARTS
7.1 After open the carton, take out all the parts
Saddle pedal handlebar stem
charger tools
All parts together

13
7.2 How to Fold the Bike
1. Turn the key switch to OFF.
2. Unlock the handlebar quick release lever (A, Picture 1) and push
down the handlebar
to the lowest position, then lock the handlebar quick release lever.
3. Unlock the handlebar quick release lever (A, Picture 2) and
rollover the handlebar.
4. Rotate the pedal upward so it is perpendicular to the ground. (A,
Picture 3)
5. Release the lock lever from its clasp on the right side of the
Electric Bike. (A, Picture4)
6. Rotate the lock lever (A, Picture 4) clockwise until it points
backward, pull the locknut
and rotate the lock nut (A, Picture 4) out from the Electric Bike
until the nut clears the
lock plate (B, Picture 4).
7. Grasp the seat and the handlebar. Pivot the front half of the
frame rearward around
the hinge until the front wheel is beside the rear wheel.

14
7.3 The Handlebar Stem Installation
A: Take up the handlebar stem into the frame
B: Lifting the quick-release then close to lock it.
A B
7.4 The Saddle Installation
A: Insert the seat post into the seat post tube
B: Rotate the quick-release latch by hand and tight
A B

15
7.5 The Pedal installation
A: Pedals are a pair with “R” & “L” ,“R” for right, “L” for left.
B: Rotate the pedals into pedal arm.
C: Tighten by wrench.
Left pedal and right pedal
Rotate the pedal into pedal arm
Rotate to front to fasten the pedal

16
Other manuals for FS36V16EBKA
1
Table of contents
Other Fortis Scooter manuals

Fortis
Fortis FS36V16EBKA User manual

Fortis
Fortis FS14IEBIKEA User manual

Fortis
Fortis FS20FATEBKB User manual

Fortis
Fortis FS20ELBIKEB User manual

Fortis
Fortis 700C BAFANG User manual

Fortis
Fortis FS20ELBIKEC User manual

Fortis
Fortis CITY BREEZE+ User manual

Fortis
Fortis FS20FATEBKC User manual

Fortis
Fortis QiCYCLE 20 User manual

Fortis
Fortis FS7MDLDBWMA User manual