manuals.online logo
Brands
  1. Home
  2. •
  3. Brands
  4. •
  5. Free Spirits
  6. •
  7. Motorcycle Accessories
  8. •
  9. Free Spirits 302506 User manual

Free Spirits 302506 User manual

ISTRUZIONI - INSTRUCTION - ANLEITUNG - INSTRUCCIONES - INSTRUCTIONS
Tel. 0039 (0)445-390437
Fax 0039 (0)445-395539
302506
Kit conversione (Tracker bar) per Triumph Thruxton Std.
Tracker bar conversion kit for Triumph Thruxton Std.
(Tracker bar) Umbaukit für Triumph Thruxton Std.
Kit de conversión (Tracker bar) para Triumph Thruxton Std.
Kit de conversion (Tracker bar) pour Triumph Thruxton Std.
Email [email protected]
Site: www.freespirits.it
Free Spirits Genuine Parts to be tted by trained technician only
2
ATTENZIONE ! - ATTENTION ! - ACHTUNG ! - ATENCIÓN ! - ATTENTION !
1
Per le operazioni di smontaggio e rimontaggio di parti originali attenersi scrupolosamente al manuale di ofcina.
For disassemble and replacement OEM parts use the workshop manual
Für den Ausbau und den Einbau den OEM Teilen muss man das Werkstatthandbuch aufmerksam befolgen.
Para las operaciones de desmontaje y remontaje de partes originales usar escrupolosamente el manual de taller.
Pour le démontage et le remontage des pièces d’origine suivre attentivement le manuel d’atelier.
IT) Issare stabilmente il motociclo.
Prima di iniziare l’installazione scollegare il polo negativo dalla batteria.
Smontare la parabola del faro e scollegare la lampada.
EN) Support the bike.
Before installing you must rst disconnect negative lead from the battery.
Remove beam of the stock headlight and unplug the lamp.
S) Levantar establemente la moto.
Antes de iniciar la instalación desconectar el polo negativo de la batería.
Desmontar la parábola del faro y desconectar la lámpara.
F)
Lever la moto.
Avant de commencer l’installation, débrancher la borne négative de la batterie.
Démonter le réecteur de phare et débrancher l’ampoule.

3
2
IT) Scollegare i connettori come da foto.
EN) Disconnect connectors as on photo.
S) Desconectar los conectores como en la foto.
F)
Débrancher les connecteurs comme sur les photos
.
4
3
IT) Scollegare i connettori e slarli dalla calotta come da foto.
EN) Disconnect connectors and slide off from the shell as on photo.
S) Desconectar los conectores y deshilarlos de la tapa como en la foto.
F)
Dégager les connecteurs du cuvelage de phare comme sur les photos.
5
4
IT) Rimuovere il guscio e scollegare lo spinotto come da foto.
EN) Remove the cover and disconnect the plug as on photo.
S) Remover la caja y desconectar el enchufe como en la foto.
F) Retirer la coque et débrancher la che comme sur les photos.
5
IT) Rimuovete il cruscotto.
EN) Remove instrument panel.
S) Remover el salpicadero.
F) Retirer le tableau de bord.
6
IT) Rimuovere i comandi dal manubrio destro.
EN) Remove the controls on right handlebar.
S) Quitar los controles en el manillar derecho.
F) Retirer les commandes sur le guidon droit.
6
7
7
IT) Rimuovere i comandi dal manubrio sinistro.
EN) Remove the controls on left handlebar.
S) Quitar los controles en el manillar izquierdo.
F) Retirer les commandes sur le guidon gauche.
8
IT) Liberare il cavo frizione come da foto.
EN) Release clutch cable as on photo.
S) Liberar el cable de la fricción como en la foto.
F) Libérer le câble d’embrayage comme sur les photos.
8
9
IT) Rimuovere la piastra superiore.
EN) Remove OEM top yoke.
S) Remover la placa superior.
F) Enlever le té supérieur.
10
IT) Rimuovere i semimanubri.
EN) Remove OEM clip-ons.
S) Remover los semi-manubrios.
F) Démonter les demi-guidons.
9
11
IT) Creare una tacca sul bullone come da foto.
Fate ruotare il bullone in senso antiorario come da foto.
EN) Create a notch on the bolt as on photo.
Rotate the bolt counterclockwise as on photo.
S) Crear un diente en el tornillo como en la foto.
Hacer girar el tornillo en sentido antihorario como en la foto.
F) Créer une encoche sur l’écrou comme sur la photo.
Tournez l’écrou dans le sens antihoraire comme sur la photo.
10
12
13
IT) Ripetere l’operazione no a rimuovere i bulloni come da foto.
EN) Repeat until you have removed bolts as on photo.
S) Repetir la operación hasta remover los tornillos como en la foto.
F)
Enlever tous les écrous comme sur la photo.
IT) Rimuovere il blocchetto accensione e le boccole in gomma.
EN) Remove ignition switch and rubber bushes.
S) Remover el interruptor de encendido y los cojinetes de goma.
F) Retirer le neiman et les douilles en caoutchouc.
11
14
IT) Fissare il blocchetto accensione come da foto.
EN) Secure the ignition switch as on photo.
S) Fijar el interruptor de encendido como en la foto.
F) Monter le neiman comme sur les photos.
12
15
IT) Lubricare e Inserire le boccole in gomma.
EN) Lubricate and Insert rubber bushes.
S) Lubricar e Insertar los cojinetes de goma.
F) Lubrier et
insérer
les douilles en caoutchouc.
16
IT) Inserire la piastra superiore e avvitare il dado come da foto.
EN) Insert top yoke and screw nut as on photo.
S) Insertar la placa superior y atornillar la tuerca como en la foto.
F)
Insérer le té supérieur et visser l’écrou comme sur les photos.
13
17
IT) Fissare i bulloni a 25 Nm, come da foto.
EN) Secure bolts to 25 Nm, as on photo.
S) Fijar los tornillos a 25 Nm, como en la foto.
F) Serrer les écrous à 25 Nm, comme sur les photos.
18
IT) Rimuovere il coperchio riser e ssare il dado a 50 Nm.
EN) Remove top riser and fasten nut to 50 Nm.
S) Remover la tapadera riser y jar la tuerca a 50 Nm.
F) Retirer le couvercle du riser et serrer l’écrou à 50 Nm.
14
IT) Installare il manubrio e provate la posizione.
EN) Place the handlebar and try the position.
S) Instalar el manubrio y probar la posición.
F) Placer le guidon et tester la position.
19
IT) Forare il manubrio a 187mm dalla parte terminale del manubrio per
consentire l’inserimento del pin di sicurezza
EN) Drill the handlebar to 187mm from the end of the handlebar to allow
the insertion of the safety pin.
S) Perforar el manubrio a 187mm de la parte nal del manubrio para
permitir la inserción del pasador de seguridad.
F) Percer le guidon à 187mm de son extrémité pour permettre le passage
de la goupille.
20
15
IT) Installare il comando acceleratore e ssare il coperchio a 20 Nm
EN) Install the throttle control and secure the cover at 20 Nm
S) Instalar el manubrio y jar la tapadera a 20 Nm.
F) Installer le guidon et serrer le couvercle à 20 Nm.
21
22
IT) Fissare il comando al manubrio.
EN) Secure handlebar controls.
S) Montar los controles del manillar.
F) Monter les commandes au guidon.
16
23
IT) Inserire il comando nel manubrio.
EN) Insert the control on the handlebar.
S) Montar los controles del manillar.
F) Monter les commandes au guidon.
24
IT)
Inserire la manopola e mantenerla a 17/18mm dall’estremità del manubrio.
EN) Insert the knob and keep it 17/18mm from the end of the handlebar.
S)
Insertar la empuñadura y mantenerla a 17/18mm del extremo del manillar.
F) Placer la poignée et la maintenir à 17/18mm de l’extrémité.
17
25
IT) Fissare il comando al manubrio.
EN) Secure handlebar control.
S) Fijar los controles del manillar.
F) Serrer les vis de commandes.
26
IT) Posizionare il tubo freno come da foto.
EN) Position the brake hose as on photo.
S) Posicionar el tubo de freno como en la foto.
F) Positionner la durite de frein comme sur la photo.
18
27
IT) Sostituire il cavo frizione.
EN) Replace clutch cable.
S) Sustituir el cable de fricción.
F) Remplacer le câble d’embrayage.
19
28
IT) Portare i cavi nella zona anteriore.
EN) Bring the cables to the front area.
S) Llevar los cables a la zona delantera.
F) Ramener les câbles dans la partie supérieure.
IT) Fissare il cruscotto con frenaletti medio.
EN) Secure instrument panel with medium strength Loctite.
S) Fijar el salpicadero de instrumentos con Loctite medio.
F) Serrer le tableau de bord avec de la Loctite moyenne.
29
20
30
IT) Collegare il cruscotto e ssare la cover.
EN) Connect the instrument panel and secure the cover.
S) Conectar el tablero de instrumento y jar la cubierta.
F) Connecter le tableau de bord et serrer le cuvelage.
31
IT) Inserire gli spinotti e ssare la calotta faro.
EN) Insert plugs and secure headlamp shell.
S) Insertar los enchufes y jar la tapa del faro.
F) Insérer les connecteurs et visser le cuvelage de phare.

Other Free Spirits Motorcycle Accessories manuals

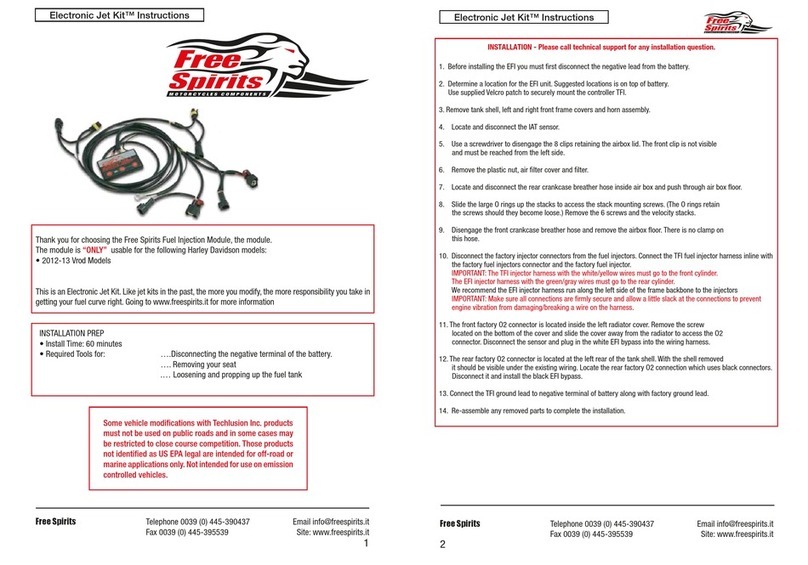
Free Spirits Electronic Jet Kit User manual

Free Spirits

Free Spirits Electronic Jet Kit User manual

Free Spirits 309022 User manual

Free Spirits

Free Spirits 309022 User manual

Free Spirits 202302 User manual

Free Spirits

Free Spirits 202302 User manual

Free Spirits 307595 User manual

Free Spirits

Free Spirits 307595 User manual

Free Spirits 207550 User manual

Free Spirits

Free Spirits 207550 User manual

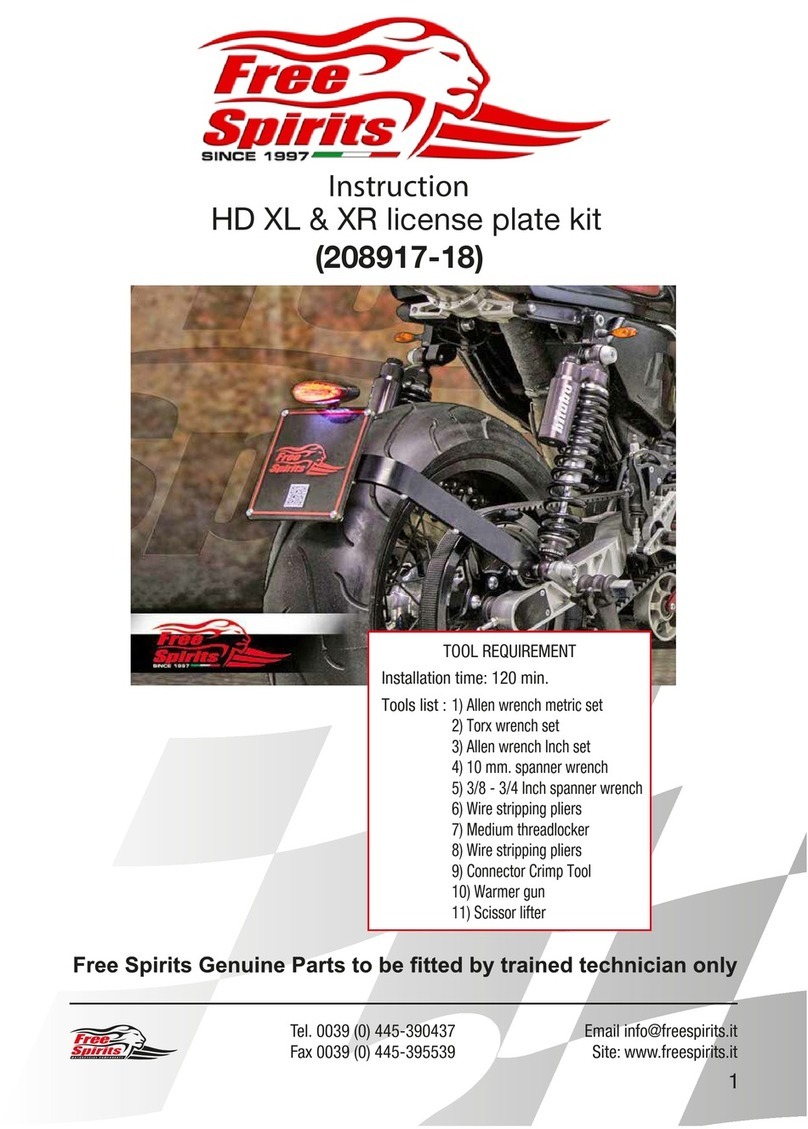
Free Spirits HD XL User manual

Free Spirits

Free Spirits HD XL User manual

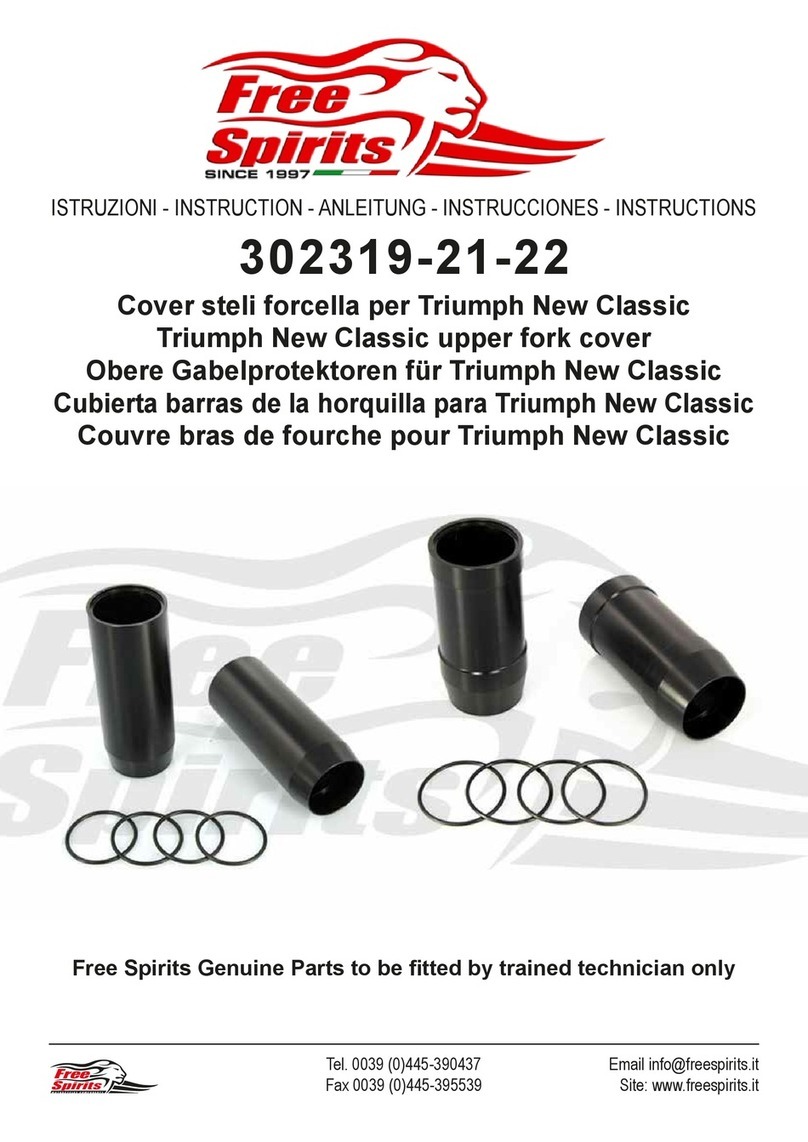
Free Spirits 302319 User manual

Free Spirits

Free Spirits 302319 User manual

Free Spirits 208928 User manual

Free Spirits

Free Spirits 208928 User manual

Free Spirits 088305 User manual

Free Spirits

Free Spirits 088305 User manual

Free Spirits 308926 User manual

Free Spirits

Free Spirits 308926 User manual

Free Spirits 308927 User manual

Free Spirits

Free Spirits 308927 User manual

Free Spirits 208921 User manual

Free Spirits

Free Spirits 208921 User manual

Popular Motorcycle Accessories manuals by other brands

SHINE SPARX SINGLE instruction manual

SHINE

SHINE SPARX SINGLE instruction manual

Dynojet Power Commander III EX installation instructions

Dynojet

Dynojet Power Commander III EX installation instructions

SUOMY ARMOR User instructions

SUOMY

SUOMY ARMOR User instructions

hepco & becker 630303 00 01 manual

hepco & becker

hepco & becker 630303 00 01 manual

Palm SHUCK 12130 manual

Palm

Palm SHUCK 12130 manual

Thunderbike STEEL installation instructions

Thunderbike

Thunderbike STEEL installation instructions

VMT S25T Mounting instructions

VMT

VMT S25T Mounting instructions

B&G electronics MPA-30A Installation and operation manual

B&G electronics

B&G electronics MPA-30A Installation and operation manual

hepco & becker 6509502 00 01 Mounting instructions

hepco & becker

hepco & becker 6509502 00 01 Mounting instructions

Toolland TL73103 user manual

Toolland

Toolland TL73103 user manual

SW-Motech GPS.06.525.10200/B Mounting instructions

SW-Motech

SW-Motech GPS.06.525.10200/B Mounting instructions

hepco & becker 506006-5 quick start guide

hepco & becker

hepco & becker 506006-5 quick start guide

hepco & becker C-Bow 6307503 00 01 manual

hepco & becker

hepco & becker C-Bow 6307503 00 01 manual

Sealey VS1830.V2 instructions

Sealey

Sealey VS1830.V2 instructions

RDMOTO H8S quick start guide

RDMOTO

RDMOTO H8S quick start guide

Ohlins KA 216 owner's manual

Ohlins

Ohlins KA 216 owner's manual

DYNATEK D2K-HD2E User instructions

DYNATEK

DYNATEK D2K-HD2E User instructions

Dynojet Power commander V installation instructions

Dynojet

Dynojet Power commander V installation instructions

manuals.online logo
manuals.online logoBrands
  • About & Mission
  • Contact us
  • Privacy Policy
  • Terms and Conditions

Copyright 2025 Manuals.Online. All Rights Reserved.