GDZX ZXJYD-II User manual

ZXJYD-II Insulating Oil
Breakdown Voltage Tester

- 1 -
Contents
Ⅰ、Product Description.............................................................................................................. - 2 -
Ⅱ、Features................................................................................................................................. - 2 -
Ⅲ、Technical parameter............................................................................................................. - 2 -
Ⅳ、Panel introduction................................................................................................................. - 3 -
Ⅴ、Operating Steps.................................................................................................................... - 4 -
Ⅵ、Precautions............................................................................................................................- 8 -
Ⅶ、Fault code and removal....................................................................................................... - 9 -
Ⅷ、Cup cleaning..........................................................................................................................- 9 -
Ⅸ、Annex list............................................................................................................................. - 10 -

- 2 -
Ⅰ、Product Description
ZXJYD-II Portable Transformer Oil Breakdown Test Set easy to oprate, fully automatic
digital computer control. With high precision anti-interference ability, safe and reliable.
Ⅱ、Features
1. Controlled by large-capacity single-chip, stable and reliable;
2. Offers a wide range watchdog circuit, eliminate the phenomenon of dead halt
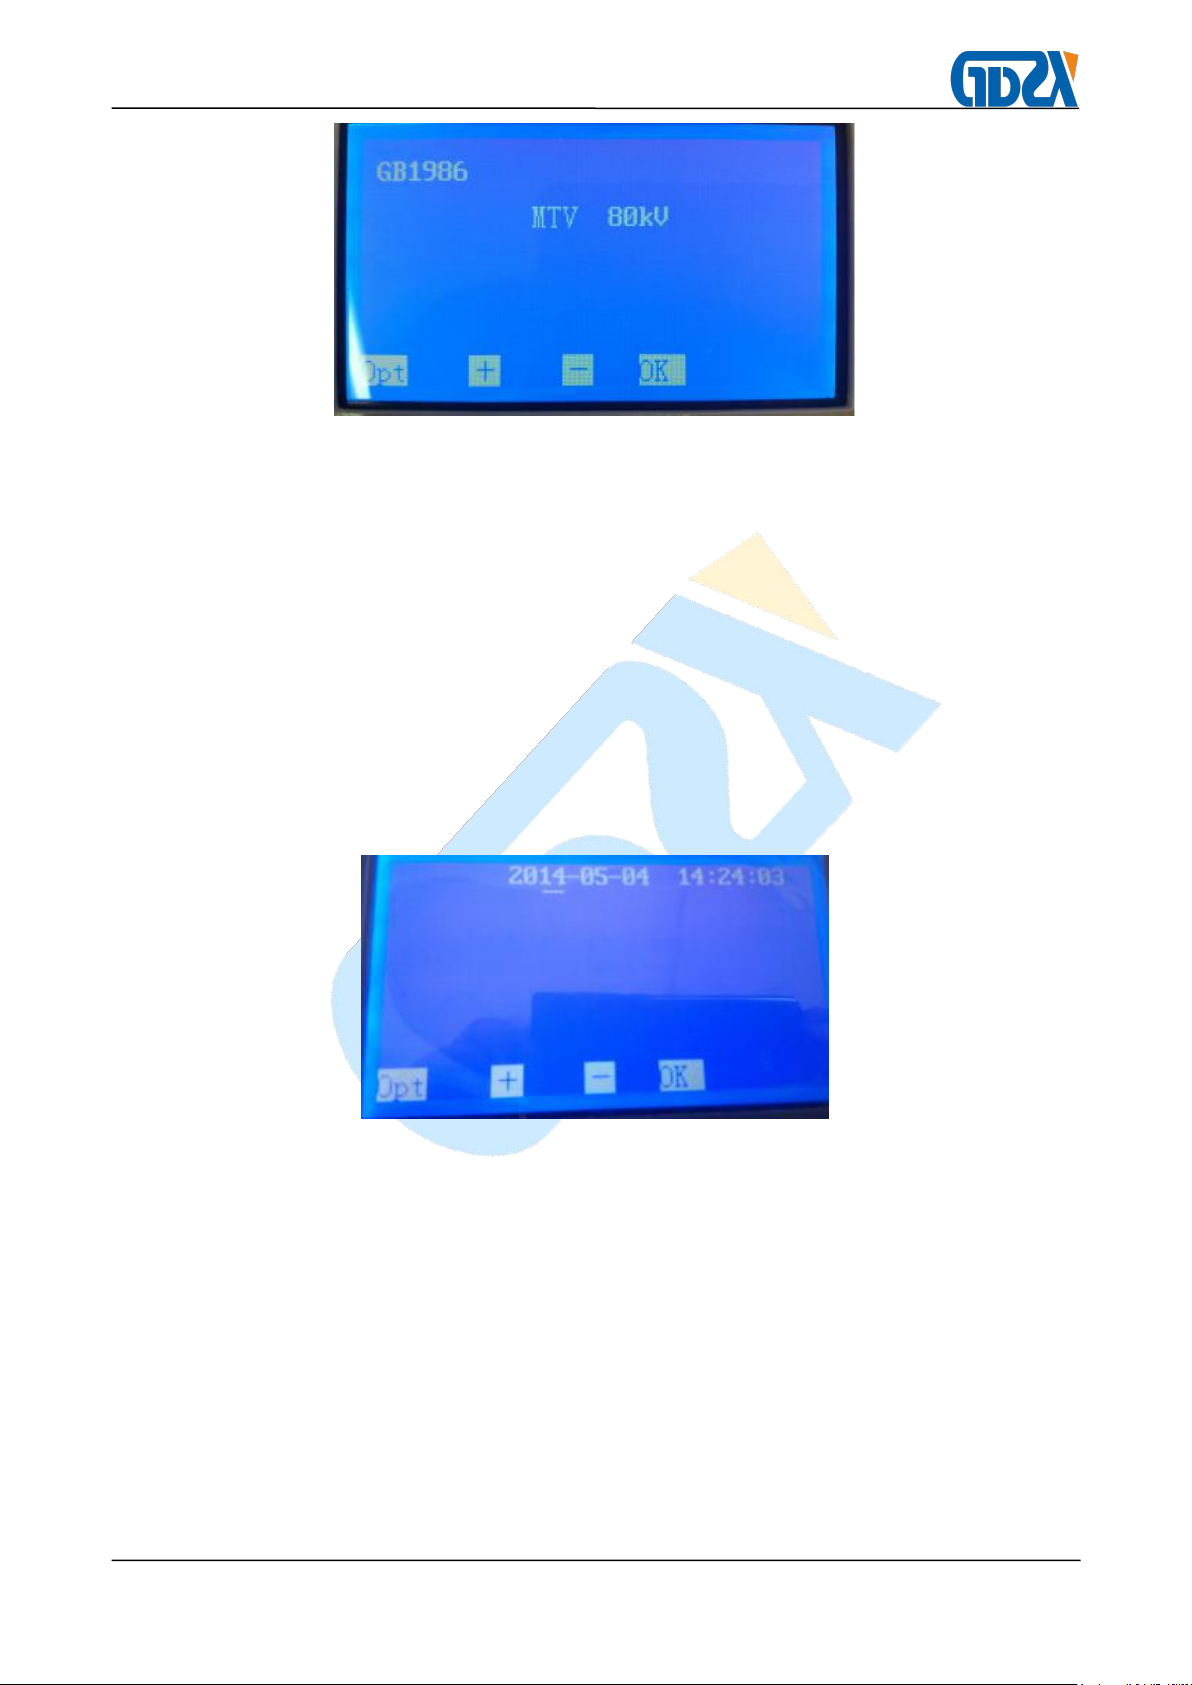
3. A variety of operation choices, two national standard GB1986/GB2002 method and
customized operation to meet different needs of users
4. One-time-forming glass cup, no oil leakage
5. Unique high voltage sampling instrument design allows test values directly into the A/D
converter, to avoid errors in analog circuits, and measurement results more accurate
6. Over voltage, over current, limit and grounding alarm functions
7. Portable, easy to carry, convenient to use inside or outside doors
Ⅲ、Technical Parameter
1. Booster capacity:1.5 kVA
2. Booster speed :0.5 kV/s,1kV/s ,2.0kV/s,3.0kV/s , 5.0kV/s five gears
3. Output voltage:0~100 kV
4. Voltage distortion:<1%
5. Display : LCD display
6. Inter-electrode space:2.5 mm
7. Dimension : 409 mm×393 mm×388 mm
8. Weight:29 kg
9. Work temperature:0~40℃
10. Humidity:≤85%
11. working power supply:AC 220V ± 10%
12. Frequency:50 ± 5 Hz
13. power consumption:<200 W

- 3 -
Ⅳ、Panel Introduction
Figure 1
1.LCD
2.Function keys
3.Print
4.Trigger switch of boost speed
5.Pilot light
6. Cup lid of the test
cell
7.Temperature and humidity
sensor
8.Ground column
9.power supply
10.power switch
11. Safety sign of high
voltage
1) LCD: show date, time, operating parameter, test result, menu
2) Function keys :select and set up operating parameter
3) Print: print test result and average value test result

- 4 -
4) Trigger : switch to select rate of voltage booster speed
5) Pilot light : light indicates that the operating procedure is in progress
6) Cup lid of the test cell: put in or put out test cup, can be tested after close lid;
7) Temperature and humidity sensor: measurement of centigrade degree and relative
humidity and show on LCD.
8) Ground column: connect ground column of reliability
9) power supply : plug in power cord of AC 220V 50Hz
10) power switch: control tester power on-off
11) safety sign of high voltage: a triangle
Ⅴ、Operating Steps
1. Plug the power cord in and turn the power switch on, LCD display start work(Figure 2)
Figure 2 boot screen
2. figure 2: On the boot screen , press “setup” ,and enter into lower level frame (Figure 3)
Figure3 select subframe
3. Figure 3, press “Opt” to move the cursor √ to “GB1986”, press the “OK” to enter the GB
1986 set subpage (Figure 4).

- 5 -
Figure 4 GB1986 subpage
Figure 4, press the “Opt” to move the cursor to “MTV 80KV”, press “+” or “-” to set the
stop voltage. 80kV is default value, the optional range of 10kV ~ 100kV (incremental Δ =
10kV). After select, press the “OK” to return to the start page and press the “OK” to test.
4. In the Figure 3, press “Opt” to move the cursor √ “to GB2002”, press “OK” to enter the
GB 2002 settings subpage. The operation is the same as the GB1986 subpage, refer to
the relevant content of Article 3.
5. In the Figure 3, move the cursor “√” To “14”, press “OK” to enter the time setting
subpage (Figure 5).
Figure 5 Time setting subpage
To press “Opt” , and move cursor to the year, month and day location, press “+” or “–”
to choise the right time. Press “OK” , to return boot screen (Figure 2).
6. In Figure 3, press “Opt” to move cursor “√” to “User’s Set” and press “OK” will enter
into the subframe of user’s set. (Figure 6)

- 6 -
Figure 6 the subframe of user’s set
In Figure 6 Choise which one you need to change and move cursor “√” to there ,
then press “+” or “-” to Change.
1) Wait : Default 15min, range 1-15 min ( the increment Δ=1)
2) Pause: Default 5min, range 1-10 min ( the increment Δ=1)
3) Stir: Default 10s, range 5-90s ( the increment Δ=5s)
4) MTV: Default 80KV, range 10-100KV ( the increment Δ=10KV )
when voltage has been raised MTV (maximun test voltage) and keep 50 seconds with
no breakdown, the result of MTV will be the breakdown voltage of the electric insulating oil.
5) Breakdowns: Default 6, rang 1-6 ( the increment Δ=1)
After the choice press “OK” to start testing.
7. In (Figure 3) press”Opt” move cursor to “manual” press “OK” you will see need
password, you can contact with us to tell you.
press the "print" or "display" button, enter the oil sample single hit (Figure 2), press the
"OK" button, The storage record shows the subpage (Figure 7) by storing the voltage value
and the average value.
Figure 7 shows the subpage
8. The breakdown voltage and the number of cycles are automatically stored each time.

- 7 -
After test, you can press “OK” to back Figure 2, press “Print” or “OK”, you will see the result
in the LCD.
Press "Print" your will see the last test result date. Press “Opt”, No.1 test result date will
show on the LCD (Figure 8).
In the Figure 8, press “Opt”, No.2 result date will show on the LCD (Figure 9)
Other data display (Figure 10,11,12) are in accordance with the above operation on the
line.
Figure 8
Figure 9
Figure 10

- 8 -
Figure 11
Figure 12
In the Figure 8-12, press "Print" key will print the LCD test result date. Press "OK" will
back to the boot screen (Figure 2).
Note: ZXJYD-II uses the same reverse data storage system as the PC. You can see in
Figure 8 -12. The Number.1 shows the lastest test data, the Number 2 is late than No.1.
So the data exceeds 35 groups, the system will automatically put the past data will be
miss.
press "Print" key will print the LCD test result date. Press "OK" will back to the boot
screen (Figure 2).
Ⅵ、Precautions
1. Please read the operation manual carefully before sart test.
2. The operators should know the knowledge of the electrical equipment and the
analytical instrument.
3. Instrument can be used inside and outside the door, but must to avoid the rain,
corrosive gas, dusts of high concentration, high temperature, the sun.
4. Keep test cells clean. After testing, please put teste cells in electric insulating oil .
5. The electrodes must be check-out and maintenance after 1 month.

- 9 -
Check and adjust the gap between the electrodes make it back to standard values.
Observe surface of the electrodes with the magnifying glass. If derty, should scrub them
with cloths make them rehabilitate.
6. Instrument maintenance and debugging must be done by professionals
7. Before power on, you must check out the ground wire fastener fast and secure and
shell of instrument must be connected the ground wire!
8. After power on, Don’t touch the case cover of test cells to refrain dangerous shock.
9. Shut off power, During woking abnormal.
Ⅶ、Fault code and removal
1. No work: Check the power wire and protective tube
2. No Voltage boot : Check the lip of test cell is or isn’t shut
3. No breakdown, voltage boot normally : Check the MTV opt(maximun test voltage)
4. No show after breakdown: Check test cell, clean the cell
5. No Print : Check if there is paper in printer.
6. Put on paper : we have put the paper in the printer. If paper is done , you must put new.
Operating instruction:
1Press circle key on the printer front lip.
2Put paper into printer. Keep enough paper out of the printer.
3Close the lid.
Ⅷ、Cup cleaning
1. Clean Cup
1Use clean cloth wipes the surface of the electrode and the electrode rod;
2Adjust electrode clearance with standard gauge;
3Wash it 3~4 times with absolute alcohol and blow dry with a blower. Then use the
test oil to clean 2~3 times;
2. Clean stirring paddle
1Use clean cloth wipes the surface of impeller. Don’t touch it by hand.
2Use tweezers put the padddles in anhydrous alcohol for 2~3 times, and then blow
dry with blower

- 10 -
3Use tweezers put the padddles in the oil sample to be washed, and wash for 2~3
times.
Ⅸ、Annex list
No.
Name
Quantity
1
Host
1
2
Oil cup
1
3
Stirring paddle
2
4
Standard gauge
1
5
Power cord
1
6
3A fuse
2
7
Tweezers
1
8
Printing paper
1
9
Manual
1
10
Test Report
1
11
Certificate / warranty card
1
Table of contents
Other GDZX Test Equipment manuals