manuals.online logo
Brands
  1. Home
  2. •
  3. Brands
  4. •
  5. gefran
  6. •
  7. Controllers
  8. •
  9. gefran eView BOX User manual

gefran eView BOX User manual

eView BOX
Inside Control Panel Controller
QUICK INSTALLATION GUIDE
Side 1 Warnings and safety
Technical data
Mounting
Side 2 Connections
Dimensions
code 81673 - 04/2019 - ENG
WARNING and SAFETY
MOUNTING
GEFRAN spa
via Sebina, 74 - 25050 Provaglio d’Iseo (BS)
Tel. 03098881 - fax 0309839063- Internet: http://www.gefran.com
While all the information contained in this manual has been carefully checked, Gefran S.p.A. accepts
no responsibility for the possible presence of errors or for damage to persons and/or property caused
by the improper use of the manual.
Gefran S.p.A. also reserves the right to make changes to the contents and form of this manual and to the charac-
teristics of the devices illustrated at any time and without prior warning.
The installation of the devices illustrated in the manual must be carried out by qualied technicians in compliance with
the laws and standards in force and in agreement with the instructions contained in the manual.
If the eView BOX is used in applications with the risk of damages to persons, machinery or materials, its use in con-
junction with alarms is essential.
It is advisable to envisage the possibility of checking the intervention of the alarms during regular operation.
Before interacting with the Inside Control Panel Controller, the operator must receive full training in the procedures of
operation, emergency, diagnostics and maintenance of the system.
More information on the device and its installation, maintenance and use procedures can be found in the product’s
Installation and User Manual, available for download on the website www.gefran.com.
Graphic simbol
Indicates contents of sections, general instructions, notes, and other points to which the reader’s attention needs to be
called.
Indicates a particularly delicate situation that could affect the safety or correct operation of the controller, or an instruction
that MUST be followed to prevent hazards.
TECHNICAL DATA
NOTES ON ELECTROMAGNETIC COMPATIBILITY:
CE: Conformity EMC (electromagnetic compatibility) in compliance with Directive 2014/30/EU.LV
EN61131-2: Programmable controllers
Part 2: Equipment requirements and test.
eView BOX
POWER SUPPLY
Operating voltage 24 VDC ±25%
Current draw (at 24 VDC) 500 mA max
Power dissipation 12 W max
Protections Polarity inversion
Short circuit
Connection 3-pin polarized removable connector
Screw terminals, max cable section 2.5 mm2
CONNECTIONS
Ethernet port (ETH) Number of channels: 2 max (1 optional)
Connector: RJ45
Velocity: 10 / 100 / 1000 Mbit/s
Signals: green connection LED, yellow data LED
KEY & LED port Connector: RJ45
Standard: USB2.0
RS-232 port (optional) Connector:: DB9 M
Speed: 1.2kbit/s…115kbit/s
RS-485 port (optional) Optically isolated
Connector: DB9 M
Speed: 9 kbit/s … 19 kbit/s
Terminations and polarization: internal, selectable with
jumper
CAN port (optional) Optically isolated
Connector: DB9 M
Speed: 20, 50, 100, 125, 250, 500, 1000 kbit/s, default
500 kbit/s
Termination: internal, selectable with jumper
USB port
Number of ports: 2 max
Connector: type A
Standard: USB 2.0
Protection: overload
COMMUNICATION
PROTOCOLS
Ethernet FTP (File Transfer Protocol) Modbus TCP/IP Master/
Slave
Ethercat Master
GDNET Master
CAN CANopen Master
Modbus Modbus RTU Master/Slave
CONFIGURATION
ELEMENTS Access to software procedures 16-position rotary switch
CONTROL
ELEMENTS Touch screen 4-wire resistive technology
VIEWING ELEMENTS
Diagnostics PW LED (yellow): power supply on
RN LED (green): PLC program state
LED E1 (red): HW Watchdog state
LED E2 (red): PLC program error
MICROPROCESSOR Type and frequency ATOM E620, 0.6 GHz
ATOM E660, 1.3 GHz
MEMORY
System 512 MB, DRAM type DDR II
Mass 2 GB Flash memory
Mass extension SD Card Slot *
AMBIENT
CONDITIONS
Operating temperature 0 ... +55 °C (as per IEC 68-2-14)
Storage temperature -20 ... +70 °C (as per IEC 68-2-14)
Relative humidity max 95% RH non condensing (as per IEC 68-2-3)
Vibrations 5 to 9 Hz: sine constant 3.5 mm
10 to 150 Hz: sine acceleration 1G
ASSEMBLY Mounting inside the control panel, horizontally with the
DIN bar or vertically with xing screws.
PROTECTION LEVEL IP 20 (as per IEC 68-2-3)
WEIGHT 1.250 kg
EC REGULATIONS
EMC conformity
(Electromagnetic compatibility)
Compliance with the 2014/30/EU Directive
EN61131-2: Programmable controllers
Part 2: Equipment requirements
* SD card not supplied. Available as accessory
Fig. 2
18
26.6
217
15
5.5
Hole dimensions
For correct installation, comply with the dimensions
of the drilling templates shown in Fig.1 and the
dimensions of the space requirements in Fig.12.
Installation note
The plate on which the Inside Control Panel
Controller is mounted must:
•be sufciently stiff and strong to support the
device and not bend during use;
• have a minimum thickness of 2 mm to allow the
holes to be threaded properly;
• have an M5 threading.
Protection against inltrations of water
The Inside Control Panel Controller offers a degree
of protection of IP20.
When it is necessary to use the product in
environments that require a protection rating greater
than IP20, that rating must be guaranteed by the
control panel where the controller is installed.
Vibration
The Inside Control Panel Controller can support
vibrations up to 150 Hz:
• from 5 to 9 Hz: sinusoidal 3.5 mm constant;
• from 9 to 150 Hz: sinusoidal with acceleration
equal to 1 G.
Should the device be mounted on a support that
exceeds these limits it is necessary to envisage
a system for the suspension and mitigation of the
vibration.
Minimum spaces for ventilation
The temperature of the compartment that
houses the Control Panel must not exceed,
55 °C.
Figure 2- Free spaces for ventilation shows the
minimum free distances recommended in the
installation of the device in a closed compartment.
Positioning
The Inside Control Panel Controller must be
positioned to guarantee the following conditions:
• there must be no sudden temperature changes;
• there must be a low explosion risk: it can
be connected to elements that operate in
environments with a hazardous atmosphere
(ammable or explosive) only through appropriate
and suitable types of interface, compliant to the
safety standards in force;
• low presence of magnetic elds.
Fastening
The Inside Control Panel Controller can be installed
in two ways:
• horizontal on DIN 35 mm track, Fig.4A.
• vertical, Fig.4B.
• Horizontal mounting:
Install the 2 brackets for the DIN 35 track as shown
in Fig.3. Fasten the product and press hard to
complete the operation, rotating downwards.
• Vertical mounting:
Prepare the M5 threaded holes, done with the
template as shown in Fig.1, position the product
and screw in place as shown in Fig.4. Warning:
install locking washers to prevent the screws from
loosening!
Fig. 1
WEEE Information
Pursuant to Article 26 of Italian Legislative Decree no. 49 of 14 March 2014 “Implementation of
Directive 2012/19/EU on waste electrical and electronic equipment (WEEE)”.
The symbol showing a crossed-out wheeled bin on equipment or its packaging indicates that the product must be
collected separately from other waste at the end of its useful life.
The manufacturer is responsible for organising and managing the separate collection of this piece of equipment
at the end of its useful life.
Users wishing to dispose of the equipment must therefore contact the manufacturer to obtain instructions from the
same on how to have the equipment collected separately at the end of its useful life.
By collecting the disused equipment separately, it can be recycled, treated or disposed of in an environmentally
friendly manner, thus helping to prevent the environment and public health from being affected negatively and
enabling reuse and/or recycling of the materials forming the same equipment.
Fig. 3
Fig. 4
CONNECTIONS DIMENSIONS
Inputs, ports and signals
12345678
9101112
1314
No Description Connector / indicator Notes
124 VDC ± 25% power supply input Removable polarized terminal block
2LED PW (yellow): power ON
RN (green): PLC program status
E1 (red): local I/O bus error
E2 (red): HW Watchdog status
3Supplemental Ethernet port RJ45 optional
4Ethernet port RJ45
5KEY & LED RJ45 For GEFRAN Keypad
6RS232 DB9 M (D-sub 9-pin male) optional
7RS485 DB9 M (D-sub 9-pin male) optional
8CAN DB9 M (D-sub 9-pin male) optional
9Porta USB Type A
10 Porta USB Type A
11 J2 Jumper Conguration of RS485
polarization and termination
12 J1 Jumper Conguration of CAN termination
13 Rotary 16-position Rotary
14 SD Card Slot Standard SD Card SD card not supplied. Available
as accessory
Power
The Inside Control Panel Controller must be connected
to a 24 Vdc power supply unit.
The same 24 Vdc power supply can power more than
one device.
Make sure that the current issued by the power supply
is higher than the total maximum current absorbed by all
the devices connected.
Considering that the device has no switch, it is necessary
to install one before it, with a protective fuse.
The switch has to be positioned in the immediate vicinity of
the device and be easy for the operator to reach (Fig. 6).
230 VAC 24 VDC
-
+
For the 24 Vdc power supply, use a separate line
from that used for electromechanical power devices
such as relays, contactors, solenoids, etc. If there
are considerable changes in the mains voltage, use a
voltage stabiliser.
Near to high frequency generators or arc welders, use
adequate grid lters. Connect the power cables to the
power connector.
Fit the ferrite core, supplied with the product, as close
as possible to the device to limit the susceptibility of the
device to electromagnetic disturbance (Fig. 7).
The 24 Vdc power cables must follow a separate route
from the power cables of the system or the machine.
Make sure that the earth connection is efcient. A
non-existent or inefcient earth connection can make
the operation of the device unstable, due to excessive
environmental.
In particular, check that:
• the voltage between ground and earth is < 1 V;
• the ohm resistance is < 6 Ω.
1.1 A max
Fig. 5
Fig. 6
Fig. 7
Fig. 8
CAN
The CAN port is optional.
Connect the cable for the CAN eld bus (CANopen
protocol). The maximum length of the cable depends
on the transmission speed. (See the manual for further
information).
Considering that the CAN port is opto-isolated, it is not
necessary to disconnect the power to the device before
connecting it.
Warning: The CAN port has a line termination.
If the CPU module is the last or the rst device on
the CAN line, you have to insert the termination (120 Ω
resistance, ¼ W, 5%) by setting jumper J1 as shown in
gure 8.
Remember that the CAN bus must be terminated at both
ends.
The CAN line termination is settable with jumper J1 as
shown gure 9.
RS485
The RS485 port is optional.
Considering that the RS485 is optically isolated, it is not
necessary to disconnect power to the Inside Control
Panel Controller and to the device to be connected before
connecting them.
The maximum length of the cable depends on the
transmission speed. (See the manual for further
information).
The RS485 port is equipped with internal
termination and polarization, as shown in the
gure 10
The RS485 line polarizations and termination are settable
with jumper J2 as shown gure 11.
Ethernet
The Ethernet port allows the connection of the Inside
Control Panel Controller to a computer or a corporate
LAN or, if the product has the option, to an Ethercat
network. The connection cable to use (either straight or
crossover) depends on the type of device that has to be
connected.
For the connection, use a CAT6 UTP cable or superior,
You can also use a CAT5e cable (only for ETHERCAT).
The maximum length of the Ethernet cable is 100 metres.
Do not run the Ethernet cable alongside the machine
power cables, to avoid interference with data transmission.
USB
The USB port is optional and is used to connect external
devices compliant to the USB standard.
The connector is Type A and the port supports version
USB 2.0, with speed up to 480 Mbit/s.
The port is able to issue a current of 500 mA at 5 Vdc to
power USB devices.
The maximum length allowed for the USB cable is 5
metres. It is possible to directly access the USB port of
the controller from the panel using the transfer cable
(accessory to order separately). To t the socket of this
cable, the panel thickness, in the position chosen, should
INTERNAL TERMINATION
Fig. 10
INTERNAL POLARIZATIONS AND TERMINATION
not exceed 2 mm.
SD Card
The SD Card mass memory lets you store data and applications.
SD Card function is dened by position of the rotary selector
(use positions 0 to 9 only; unless otherwise instructed, do not use positions A to F).
RS232
The RS232 port is optional. Considering that the RS232 port is not isolated, it is necessary to disconnect
the power to the Inside Control Panel Controller and to the device to be connected before connecting them.
The connection cable must be screened and not exceed a length of 3 metres.
Entry into service
For the entry in service of the device (conguration and loading the application program) Please refer to the
installation manual and use GF_Project Vx, freely downloadable from the site www.gefran.it.
Dimensions in mm
Fig. 12
Fig. 9
Fig. 11

Other manuals for eView BOX

1

Other gefran Controllers manuals

gefran GFW Series User manual

gefran

gefran GFW Series User manual

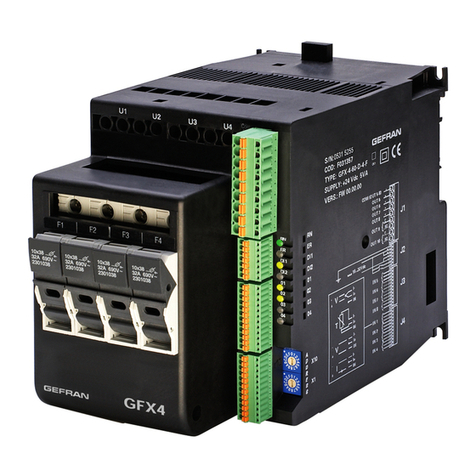
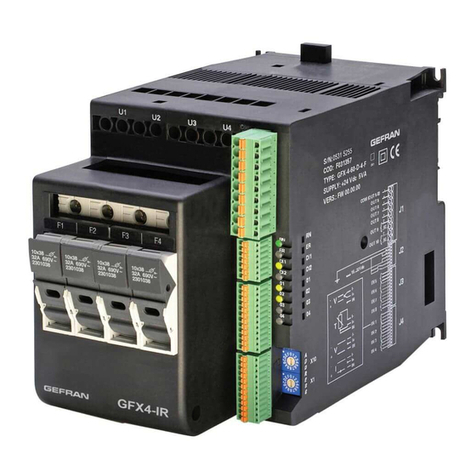
gefran GFX4-IR User manual

gefran

gefran GFX4-IR User manual

gefran 3850T Technical specifications

gefran

gefran 3850T Technical specifications

gefran GF_LOOPER 3.5” User manual

gefran

gefran GF_LOOPER 3.5” User manual

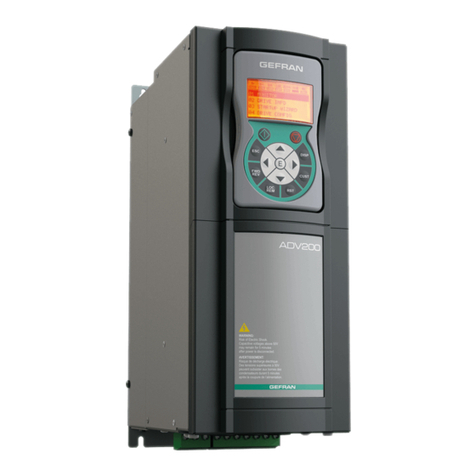
gefran ADV200 Series User manual

gefran

gefran ADV200 Series User manual

gefran GPC Owner's manual

gefran

gefran GPC Owner's manual

gefran Zapper User manual

gefran

gefran Zapper User manual

gefran GTF Owner's manual

gefran

gefran GTF Owner's manual

gefran ADV20 series Operator's manual

gefran

gefran ADV20 series Operator's manual

gefran GF LOOPER User manual

gefran

gefran GF LOOPER User manual

gefran 1600P User manual

gefran

gefran 1600P User manual

gefran SIEIDrive ADV200-x-6 Series Troubleshooting guide

gefran

gefran SIEIDrive ADV200-x-6 Series Troubleshooting guide

gefran GSLM User manual

gefran

gefran GSLM User manual

gefran GFW ADV Instruction sheet

gefran

gefran GFW ADV Instruction sheet

gefran 1200-RD00-00-0 Series User manual

gefran

gefran 1200-RD00-00-0 Series User manual

gefran 650 Series Quick guide

gefran

gefran 650 Series Quick guide

gefran SIEIDrive ADV50 Series Operator's manual

gefran

gefran SIEIDrive ADV50 Series Operator's manual

gefran 450-R-R-1 User manual

gefran

gefran 450-R-R-1 User manual

gefran GEFLEX GFX-M1 Series Product manual

gefran

gefran GEFLEX GFX-M1 Series Product manual

gefran GFX4-IR Owner's manual

gefran

gefran GFX4-IR Owner's manual

gefran GFW 400A User manual

gefran

gefran GFW 400A User manual

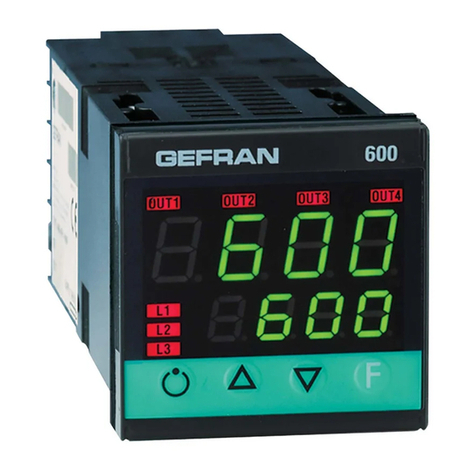
gefran 600 User manual

gefran

gefran 600 User manual

gefran SIEIDrive LIFT AGy -L User manual

gefran

gefran SIEIDrive LIFT AGy -L User manual

gefran WATTCOR W312 User manual

gefran

gefran WATTCOR W312 User manual

Popular Controllers manuals by other brands

CMZ FCT640 Short guide

CMZ

CMZ FCT640 Short guide

Cattron SCU32 user manual

Cattron

Cattron SCU32 user manual

Toro Wireless RainSensor 53770 user guide

Toro

Toro Wireless RainSensor 53770 user guide

FlowLine Switch-Pro LC4 Series manual

FlowLine

FlowLine Switch-Pro LC4 Series manual

GE SX Series Installation and operation manual

GE

GE SX Series Installation and operation manual

Yamaha ENSPIRE Controller Operation manual

Yamaha

Yamaha ENSPIRE Controller Operation manual

Parker ADAPTOMODE A4AS Installation, Service and Parts Information

Parker

Parker ADAPTOMODE A4AS Installation, Service and Parts Information

Autonics TR1D Series Communications manual

Autonics

Autonics TR1D Series Communications manual

NOVAK HAVOC PRO SC - BASIC Setup guide

NOVAK

NOVAK HAVOC PRO SC - BASIC Setup guide

innoFADER PNP3 quick start guide

innoFADER

innoFADER PNP3 quick start guide

Rompa 20259 manual

Rompa

Rompa 20259 manual

Emerson Dixell XR03CH Installing and operating instructions

Emerson

Emerson Dixell XR03CH Installing and operating instructions

ICP GDT7523RN specification

ICP

ICP GDT7523RN specification

IPAS Power Block Series Operating and mounting instructions

IPAS

IPAS Power Block Series Operating and mounting instructions

Smartscape DALI-RD20-M installation manual

Smartscape

Smartscape DALI-RD20-M installation manual

micro-trak MT-3405  LR F Reference manual

micro-trak

micro-trak MT-3405 LR F Reference manual

modec MC89 Series instruction manual

modec

modec MC89 Series instruction manual

Becker Centronic SunWindSet SWS42 Assembly and operating instructions

Becker

Becker Centronic SunWindSet SWS42 Assembly and operating instructions

manuals.online logo
manuals.online logoBrands
  • About & Mission
  • Contact us
  • Privacy Policy
  • Terms and Conditions

Copyright 2025 Manuals.Online. All Rights Reserved.