Connect the Inclinometer Probe
to the Remote Module
The Remote Module is part of the reel
assembly which the inclinometer cable
is spooled onto. The inclinometer cable
terminates with a large stainless steel
cable fitting that attaches to the Digital
Inclinometer. Connect the cable fitting to the
Digital Inclinometer as follows:
01. Remove the two protective black
anodized metal caps (one on the
cable fitting and the other on the
probe) and store them in a safe place.
Replace the caps when the inclinom-
eter unit is not being used.
02. Ensure that the O-ring on the face of
the Inclinometer Probe exists and is
free of cuts, nicks or cracks.
03. Align the keys of the cable fitting
with the keyways of the Inclinometer
Probe and gently mate the two
halves of the connector.
04. Tighten the knurled clamp nut on the
cable fitting. Do not over-tighten,
hand tight is sufficient.
Launch the GK-604D
Inclinometer Readout
Application (IRA)
If the FPC-2 and Inclinometer system was
purchased together from GEOKON then
all the Bluetooth®wireless technology
settings should pre-configured and should
need no modification, otherwise, please
see section 2.2, (establishing Contact
with the Remote Module), of the GK-604D
User’s Manual.
Launch the GK-604D IRA by tapping on
from the FPC-2 main window, tap
“Programs,” then tap:
If the GK-604D Inclinometer Readout
Application has not been installed, please
see section 2.3, (Installing the GK-604D
IRA), of the GK-604D User’s Manual. If
at launch, the IRA asks for a workspace
name, please see section 2.4, (Starting
the Inclinometer Readout the First Time),
of the GK-604D User’s Manual.
Adding a Project to a
Workspace
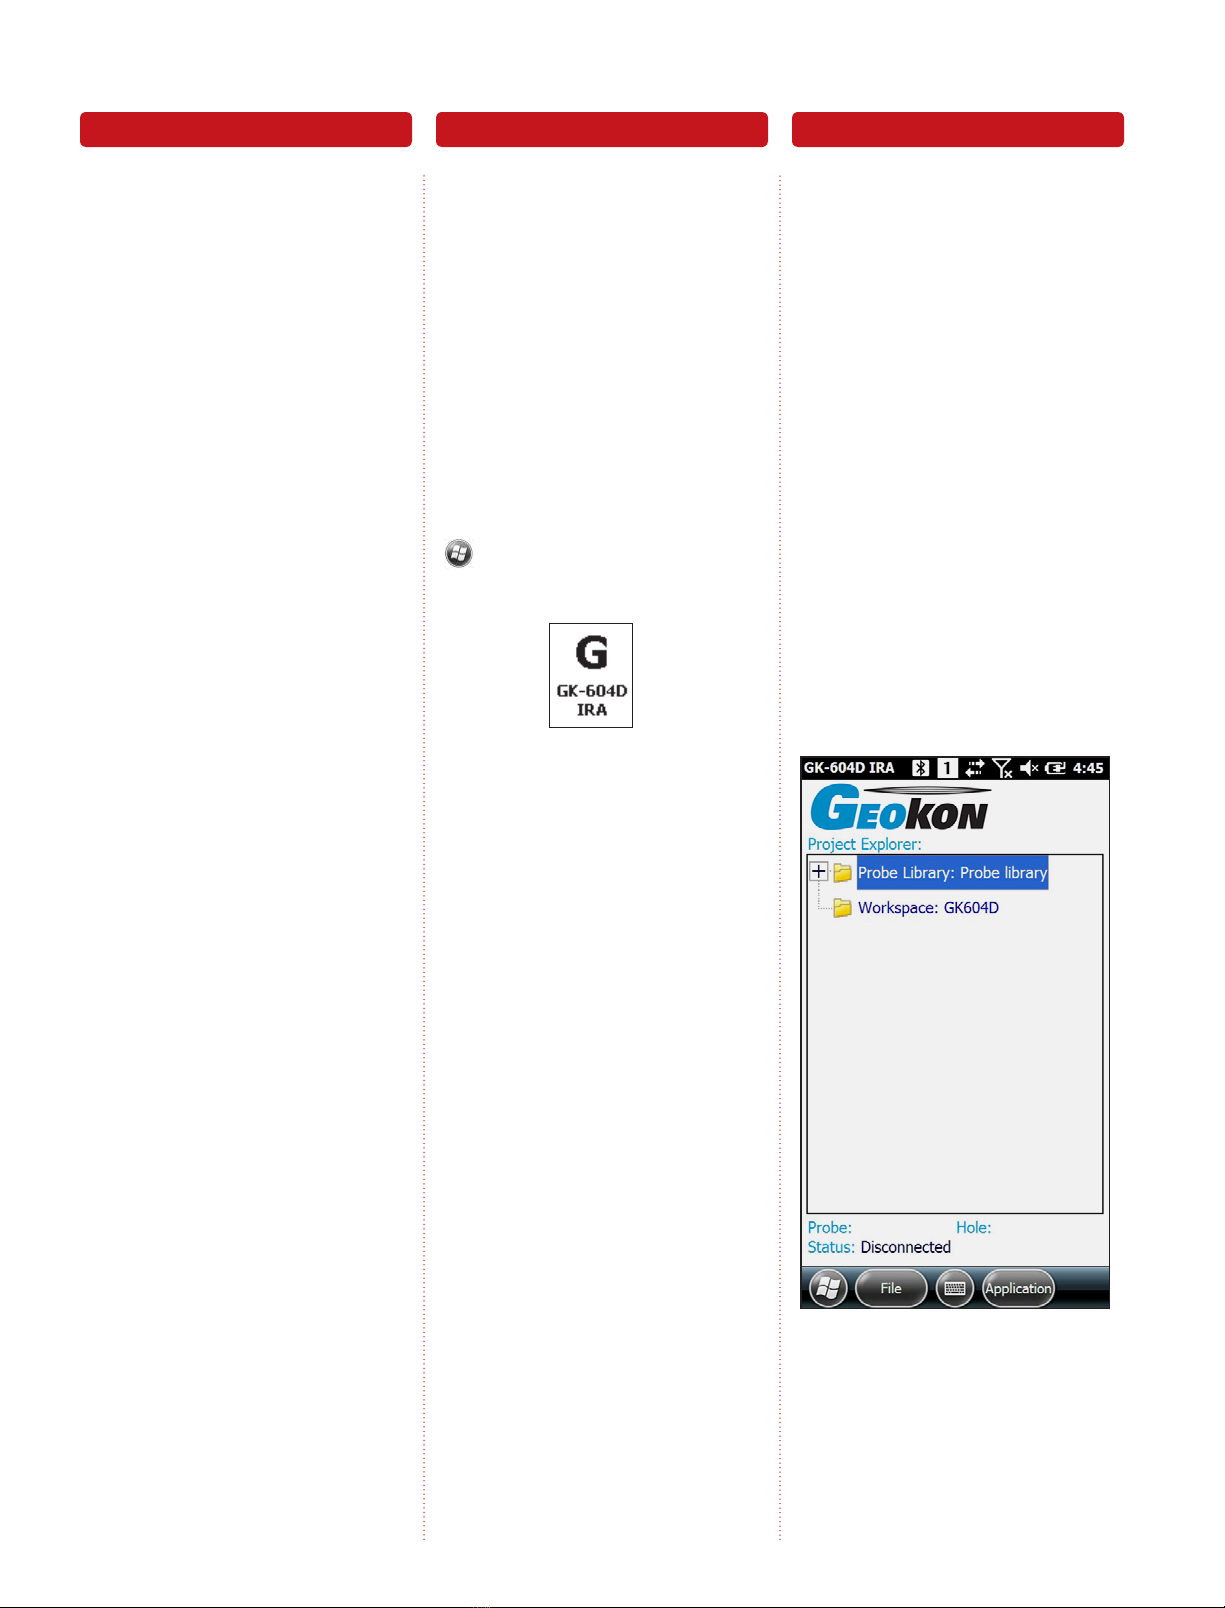
After launching the IRA, the “Main”
window will be displayed (see Figure
1). Tap and hold the Workspace
“GK-604D” to display the context
menu. From the context menu, select
“Add Project.” From the “A d d
Project” screen, enter a name and
description for the new project, then
tap, “Menu->Save Settings.” The
“Main” window will now display the
Workspace with the new project just
below it.
A “Hole” must be defined before a sur-
vey can be taken. Like adding a project,
a “Hole” can be added by tapping and
holding the “Project” icon then select-
ing “Add Hole” from the context menu.
Connect Launch Add a Project
Figure 1 | Main Window


