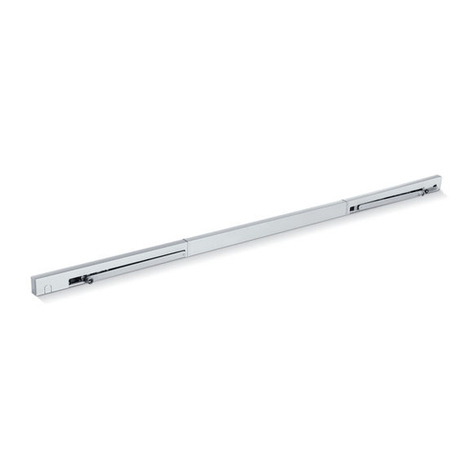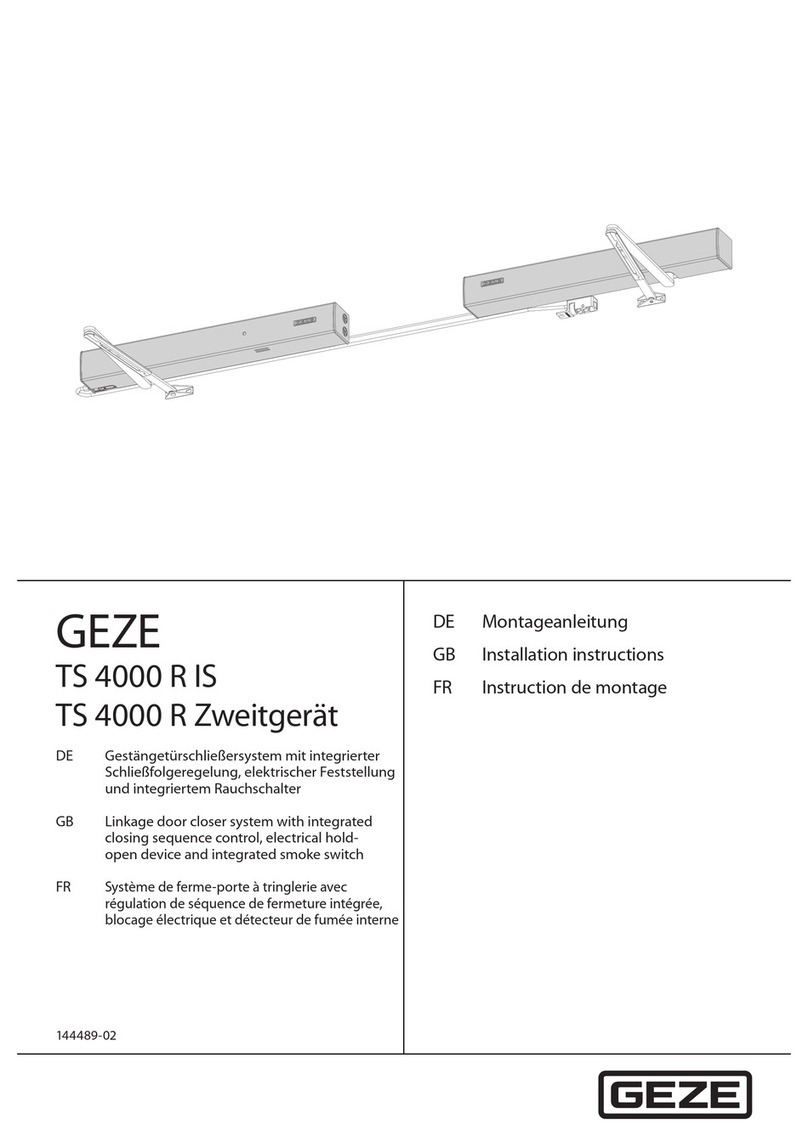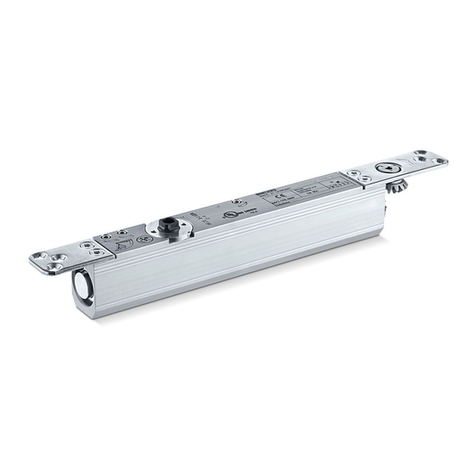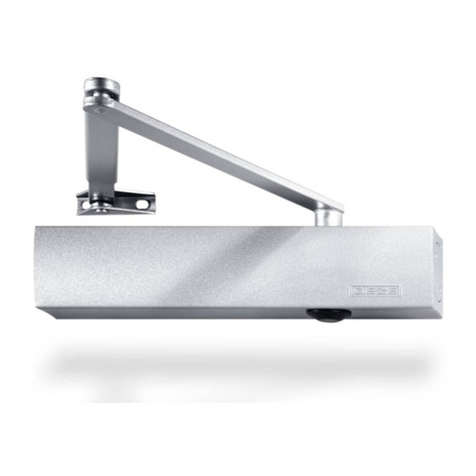
Slimdrive EMD Invers
2
Contents
1 Introduction...............................................................................................................................................................4
1.1 Symbols and illustrations ..............................................................................................................................................................................4
1.2 Product liability.................................................................................................................................................................................................4
1.3 Reference documents.....................................................................................................................................................................................4
2 Fundamental safety precautions .......................................................................................................................5
2.1 Intended use.......................................................................................................................................................................................................5
2.2 Safety notices.....................................................................................................................................................................................................5
2.3 Safety-conscious working.............................................................................................................................................................................6
2.4 Inspection of the installed system .............................................................................................................................................................6
2.5 Environmentally conscious working.........................................................................................................................................................6
3 Overview.....................................................................................................................................................................6
3.1 Tools and aids.....................................................................................................................................................................................................6
3.2 Consumables......................................................................................................................................................................................................6
4 Supplied by GEZE and completeness...............................................................................................................7
4.1 The Slimdrive EMD Invers door drive with roller guide rail or link arm........................................................................................7
4.2 Accessories (optional).....................................................................................................................................................................................7
4.2.1 Mechanical accessories ..................................................................................................................................................................................7
4.2.2 Electrical accessories.......................................................................................................................................................................................7
5 Transportation and storage .................................................................................................................................7
6 Product description ................................................................................................................................................8
6.1 System description and technical data ....................................................................................................................................................8
6.1.1 Max. range of use Slimdrive EMD Invers..................................................................................................................................................8
6.1.2 Mechanical data................................................................................................................................................................................................9
6.1.3 Electrical data.....................................................................................................................................................................................................9
6.2 Basic structure and extension......................................................................................................................................................................9
6.2.1 Drive ......................................................................................................................................................................................................................9
6.2.2 Roller guide rail with roller lever.................................................................................................................................................................9
6.2.3 Link arm............................................................................................................................................................................................................. 10
6.2.4 Mounting plate for drives (option).......................................................................................................................................................... 10
6.2.5 Door transmission cable ............................................................................................................................................................................. 10
6.2.6 Activation devices (accessories)............................................................................................................................................................... 10
6.3 Installation, types of door stop .................................................................................................................................................................11
7 Preparing installation...........................................................................................................................................13
7.1 General installation information...............................................................................................................................................................13
7.1.1 Preparations to be made on site...............................................................................................................................................................13
7.1.2 Position the tting template ......................................................................................................................................................................13
7.2 Fitting dimensions for the installation types.......................................................................................................................................14
7.2.1 Transom installation hinge side with roller guide rail (single leaf)..............................................................................................14
7.2.2 Transom installation opposite hinge side with roller guide rail (single leaf).......................................................................... 16
7.2.3 Transom installation opposite hinge side with link arm (single leaf) .........................................................................................18
7.2.4 Door leaf installation hinge side (single leaf)...................................................................................................................................... 20
7.2.5 Transom installation hinge side with roller guide rail (double leaf)........................................................................................... 22
7.2.6 Transom installation opposite hinge side with roller guide rail (double leaf)........................................................................ 23
7.2.7 Transom installation opposite hinge side with link arm (double leaf)...................................................................................... 24
7.2.8 Door leaf installation hinge side with roller guide rail (double leaf) ......................................................................................... 26
8 Installation............................................................................................................................................................... 27
8.1 Fitting mounting plate (option)............................................................................................................................................................... 27
8.2 Exchanging the side panel for split or continuous cover (option).............................................................................................. 27
8.3 Cable guide via door transmission cable for door leaf installation (option)........................................................................... 28
8.4 Installing the drive ........................................................................................................................................................................................ 29
8.5 Mounting the roller guide rail................................................................................................................................................................... 29

