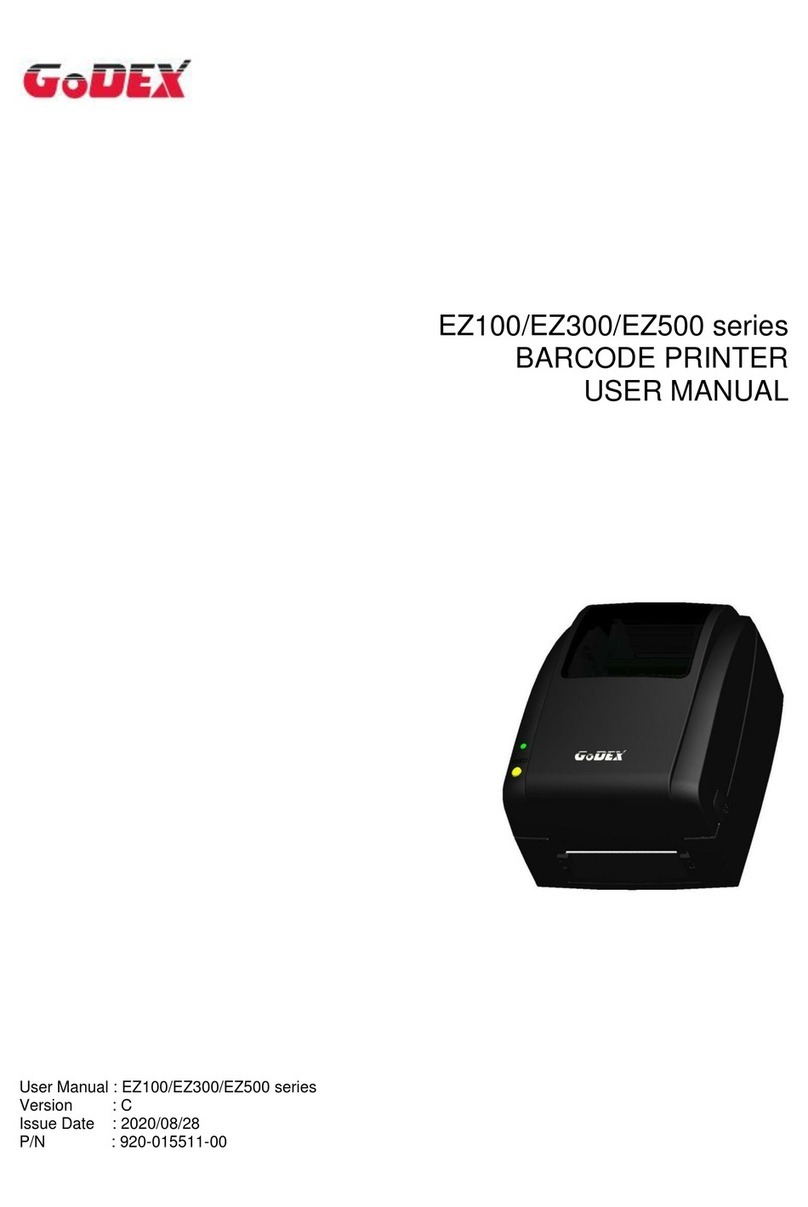
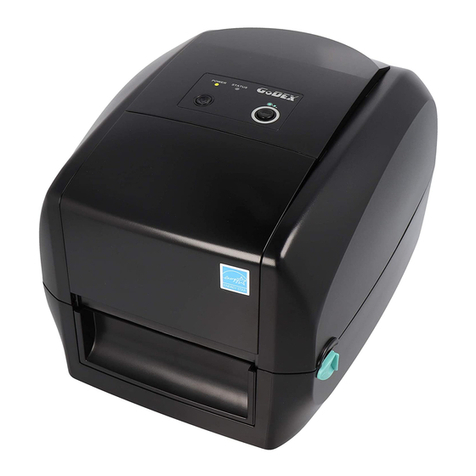
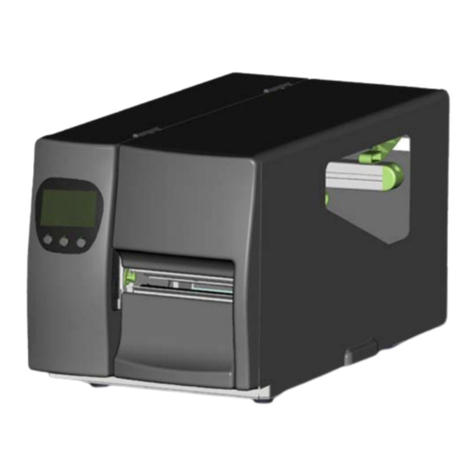
Godex RT800i Series User manual

RT800i SERIES
BARCODE PRINTER
USER MANUAL
User Manual
Version
Issue Date
P/N
: RT800i SERIES
: Rev. E
: 2019.11.11
: 920-015411-01

RT800i Series USER MANUAL
CONTENTS
1 Barcode Printer 001
1.1
1.2
Box Content
Getting to Know Your Printer
001
002
2 Printer Setup
he Ribbon
Module
Connecting
Wizard CD Standard Installation
Wizard CD Other Choice Installation 019
006
007
012
014
016
006
2.6
2.1
2.2
2.3
2.4
2.5
Open the Printer
Loading t
Loading the Label Roll
the Printer to the Host Computer
3 Printer Setting and Control 022
3.1
3.2
3.3
3.4
3.5
3.6
022
023
028
033
035
037
LCD Interface Function
Label Calibration and Self Test
Appendix
Product Specifications
Interface
File Manipulation When Using USB Stick
6 Maintenance and Adjustment 065
6.1
6.2
Cleaning the Print Head
Troubleshooting
065
066
Operation Panel
LCD Toucn Panel Introduction
Error Alerts
USB Host
4
NetSetting
for Ethernet
0
40
4.1
4.2
Installing the NetSetting Software
The Interface of NetSetting
040
041
5
Accessories
049
5.1
5.2
5.3
Preparation Steps
Installing the Label Dispenser
Installing the Cutter
049
051
057
5.4 Installing the Bluetooth Module 061
5.5 Installing the WiFi Module 063
3.7 Dump Mode Begin 039

RT800i Series USER MANUAL
FCC COMPLIANCE STATEMENT
FOR AMERICAN USERS
This equipment has been tested and found to comply with the limits for a CLASS A digital device,
pursuant to Part 15 Subpart B of the FCC Rules. These limits are designed to provide reasonable
protection against harmful interference when the equipment is operated in a commercial
environment. This equipment generates, uses, and can radiate radio frequency energy and, if not
installed and used in accordance with the instructions, may cause harmful interference to radio
communications.
Operation of this equipment in a residential area is likely to cause harmful interference in which case
the user will be required to correct the interference at own expense.
EMS AND EMI COMPLIANCE STATEMENT
FOR EUROPEAN USERS
This equipment has been tested and passed with the requirements relating to electromagnetic compatibility
based on the standards EN55032:2012/AC 2013 Class A, EN61000-3-2:2014 EN 61000-3-3:2013 and
EN55024:2010, IEC 61000-4-2:2008 series The equipment also tested and passed in accordance with
the European Standard EN55032 for the both Radiated and Conducted emissions limits.
RT860i
TO WHICH THIS DECLARATION RELATES
IS IN CONFORMITY WITH THE FOLLOWING STANDARDS
IEC 60950-1:2005(2nd Edition)+Am 1:2009 Am2:2013 ; GB17625. 1-2012 , GB4943.1-2011, GB17625.1-2012.
EN55032:2012/AC 2013 Class A, EN61000-3-2:2014 EN 61000-3-3:2013 and EN55024:2010, IEC 61000-4-
2:2008 series, UL 60950-1, 2nd Edition, 2011-12-19, CSA C22.2 No. 60950-1-07, 2nd Edition,
2011-12, CFR 47, part 15 subpart B
WARNING
This is a Class A product. In a domestic environment this product may cause radio interference
in which case the user may be required to take adequate measures.
此为Class A产品,在生活环境中,该产品可能造成无线电干扰,在这种情况下,可能需要用户对其干扰采取切实可行
的措施。
警告使用者: 這是甲類的資訊產品,在居住的環境中使用時,可能會造成射頻干擾,在這種情況下,使用者會被要求
採取某些適當 的對策。
이 기기는 업무용으로 전자파적합등록을 한 기기이오니 판매자또는 사용자는 이점을 주의하시기 바라며, 만약 잘못 판매 또는구입하였을 때에는 가정용으로 교환하시기 바랍니다.

RT800i SERIES USER MANUAL
SAFETY INSTRUCTIONS
Please read the following instructions carefully.
1. Keep the equipment away from humidity.
2. Before you connect the equipment to the power outlet, please
check the voltage of the power source.
3. Make sure the printer is off before plugging the power connector
into the power jack.
4. It is recommended that you connect the printer to a surge
protector to prevent possible transient overvoltage damage.
5. Be careful not to get liquid on the equipment to avoid electrical
shock.
6. For safety and warranty reasons, ONLY qualified service personnel
should open the equipment.
7. Do not repair or adjust energized equipment under any
circumstances.
**** Danger of explosion if battery is incorrectly replaced. Replace only with the equivalent type recommended by
the manufacturer.
**** Dispose of used batteries according to the manufacturer’s instructions.
****Only use with designated power supply adapter model.
**** Changes or modifications not expressly approved by the party responsible for compliance could void the user's
authority to operate the equipment.
Specifications are subject to change without notice.
Caution

1Ba rc o d e Printe r
1.1 Bo x C o nte nt
Ple a se c he c k tha t a ll o f the fo llo w ing ite ms a re inc lud e d with yo ur p rinte r.
USB C a b le
RT800i Ba rc o d e Printe r
C D
Inc lud ing G o La b e l so ftwa re
a nd use r’ s ma nua l.
La b e l Sto c k
Rib b o n Mo d ule
Emp ty Rib b o n C o re
Rib b o n
Rib b o n Hub s
Se t o f 2.
Po we r Ad a p te r
Po we r C o rd
AC Ad a p te r
Q uic k G uid e
RT800i Se rie s

Fro nt Vie w
1Ba rc o d e Printe r
1.2 G e tting to Kno w Yo ur Printe r
De vic e O ve rvie w
Re a r Vie w
C O VER RELEASE C ATC HES
Pull c a tc he s fo r o p e ning the p rinte r c o ve r
FRO NTC O VER
PRINTER C O VER
ETHERNETPO RT
SERIALPO RT
PO WER JAC K
USB PO RT
C ALIBRATIO N BUTTO N
PARALLEL PO RT
FAN-FO LD LABEL INSERT
Fe e d slo t fo r o utsid e c o ntinuo us la b e ls
PO WER BUTTO N
FEED BUTTO N
TO UC H PANEL
USB HO ST

1Ba rc o d e Printe r
Bo tto m Vie w
C O VER O F THE MO DULE C O NNEC TIO N JAC KS
**** C ut-o uts a re no t inte nd e d fo r wa ll-mo unt use . Ple a se ma ke sure tha t the ma c hine a nd p e rso nne l p ro te c tive
me a sure s in c a se yo u ne e d to use the wa ll-m o unt.

1Ba rc o d e Printe r
The Inte rna l Vie w o f Printe r
RELEASE C ATC H
Re le a se c a tc h fo r c lo sing
the p rinte r c o ve r
LABEL SENSO R
MO DULE
G UIDE TRAC K
LABEL SENSO R
PLATEN MO DULE
PLATEN
PLATEN LO C KERS
LABEL
SUPPLY
MO DULE
RELEASE C ATC H
Re le a se c a tc h fo r o p e ning
the la b e l sup p ly hub
LABELSUPPLY HUB
Se t o f 2
LABEL G UIDE
Se t o f 2
LABEL G UIDE PLATE
Se t o f 2

1Ba rc o d e Printe r
The Printing Me c ha nism
RIBBO N REWIND MEC HANISM
C O VER
The c o ve r fo r Rib b o n re wind m e c ha nism
NO TC H O F RIBBO N REWIND WHEEL
RIBBO N REWIND WHEEL
PRINTHEAD
RIBBO N
SUPPLY
MEC HANISM
NO TC H O F RIBBO N SUPPLY WHEEL
PAPER PRESS BAR
RIBBO N SUPPLY WHEEL

2Printe r Se tup
2.1 O p e n the Printe r
O pe n the Printe r C o ve r a nd the Printing Me c ha nism
Pla c e the p rinte r o n a fla t surfa c e . O p e n the p rinte r c o ve r b y p ulling the c o ve r re le a se c a tc he s o n b o th sid e s o f the
p rinte r a nd lift the p rinte r c o ve r.
Pull the c a tc he s to w a rd the d ire c tio n
C O VER RELEASE C ATC HES
Pull the c a tc he s fo r o p e ning the p rinte r c o ve r
Pull the c a tc he s to wa rd the d ire c tio n
The p rinting me c ha nism is lifte d up
with the p rinte r c o ve r

2Printe r Se tup
2.2 Lo a d ing the Rib b o n
A Ne w Rib b o n Mo d ule Insta lla tio n
1. Atta c h the rib b o n to the e mp ty rib b o n c o re with the a d he sive strip a t the e nd o f the rib b o n.
2. Inse rt the rib b o n hub into e mp ty rib b o n c o re a nd ne w rib b o n. Wind the rib b o n a ro und the e mp ty rib b o n c o re
fo r 2 to 3 c irc le s.
3. A rib b o n m o d ule is a sse m b le d a s b e lo w .
A NEW RIBBO N MO DULE
RIBBO N HUB
EMPTY RIBBO N C O REA NEW RIBBO N
Stic k o n e mp ty rib b o n c o re
Wind the rib b o n a ro und the c o re
Inse rt the rib b o n hub
RIBBO N REWIND
RIBBO N SUPPLY

2Printe r Se tup
Lo a d the Rib b o n o n the Printe r
Fo r Rib b o n Sup ply Mo d ule
RIBBO N SUPPLY MEC HANISM
NO TC H O F RIBBO N SUPPLY WHEEL
RIBBO N SUPPLY WHEEL
Pla c e
RIBBO N SUPPLY
MO DULE
1. Pla c e the rib b o n sup p ly m o d ule into the p rinting m e c ha nism. Ple a se the le ft-ha nd sid e o f rib b o n hub first.
Ma ke sure the ho ld e r o f rib b o n hub is inse rte d into the no tc h. The n p la c e the rig ht-ha nd sid e o f rib b o n hub .
放入Le ft sid e
HO LDER
NO TC H O F
RIBBO N SUPPLY WHEEL
Pla c e
Rig ht sid e
HO LDER
Pla c e
NO TC H

2Printe r Se tup
2. Unlo c k the re le a se c a tc h to c lo se the p rinte r c o ve r. Push the re le a se c a tc h fo rwa rd to unlo c k it.
The rib b o n sup p ly m o d ule lo a d ing is c o mp le te d .
Lo a d the Rib b o n o n the Printe r
Fo r Rib b o n Re wind Mo dule
C lo se the p rinte r c o ve r
2
Push
1
RELEASE C ATC H
Re le a se c a tc h fo r c lo sing
the p rinte r c o ve r
RIBBO N REWIND MEC HANISM
NO TC H O F RIBBO N REWIND WHEEL
RIBBO N REWIND WHEEL
C O VER
The c o ve r fo r Rib b o n re w ind m e c ha nism

2Printe r Se tup
1. O p e n the c o ve r o f rib b o n re wind me c ha nism.
2. Pla c e the rib b o n re wind mo d ule into the rib b o n re wind me c ha nism .
Ple a se the le ft-ha nd sid e o f rib b o n hub first. Ma ke sure the ho ld e r o f rib b o n hub is inse rte d into the no tc h.
The n p la c e the rig ht-ha nd sid e o f rib b o n hub .
O p e n the c o ve r
Pla c e
RIBBO N REWIND
MO DULE
Le ft sid e
Pla c e
HO LDER
NO TC H O F
RIBBO N REWIND WHEEL
Pla c e
Rig ht sid e
Pla c e
HO LDER NO TC H

2Printe r Se tup
3. Turn the rib b o n re wind whe e l to tig hte n the rib b o n until it ha s no wrinkle s.
4. C lo se the c o ve r o f rib b o n re wind me c ha nism.
The rib b o n lo a d ing is c o mp le te d o nc e the rib b o n sup ply mo d ule a nd rib b o n re wind mo d ule a re a sse mb le d
c o rre c tly.
C lo se the c o ve r
RIBBO N REWIND WHEEL
Ro ta te b a c kwa rd

2Printe r Se tup
2.3 Lo a d ing the La b e l Ro ll Mo d ule
Lo a d ing the La b e l Sto c k o n the Printe r
LABEL STO C K
LABEL
SUPPLY
MO DULE
RELEASE C ATC H
Re le a se c a tc h fo r o p e ning
the la b e l sup p ly hub
LABELSUPPLY HUB
Se t o f 2
LABEL G UIDE
Se t o f 2
LABEL G UIDE PLATE
Se t o f 2
1. Unlo c k the rib b o n c a tc h a nd p ull to o p e n the la b e l g uid e p la te .
2. Pla c e the la b e l sto c k o n la b e l sup p ly hub s. Ma ke sure the la b e l sto c k is a lig ne d to b o th hub s.
Ad just the la b e l g uid e p la te s to fix the la b e l wid th.
Re me mb e r to p ush the re le a se c a tc h whe n mo ving the la b e l g uid e p la te s.
C lo se the p la te s
1
2
2
RELEASE C ATC H
Re le a se c a tc h fo r o p e ning the la b e l sup p ly hub
LABEL G UIDE PLATE
Se t o f 2
Pull to o p e n
Pla c e

2Printe r Se tup
3. Fe e d the La b e l thro ug h the la b e l g uid e s. The la b e l g uid e s will he lp to p re ve nt the la b e l swa ying .
Thro ug h the la b e l g uid e s
LABEL G UIDE
Se t o f 2
4. Unlo c k the re le a se c a tc h to c lo se the p rinte r c o ve r.
5. Pre ss the FEED ke y a nd ma ke sure the la b e l is fe d smo o thly. The la b e l lo a d ing is c o m p le te d no w.
2
1
RELEASE C ATC H
Re le a se c a tc h
fo r c lo sing the p rinte r c o ve r
C lo se the p rinte r c o ve r
**** Ple a se ke e p s the ra c k g e a r c le a n to e nsure the smo o thne ss o f la b e l ho ld e r.
No te

2Printe r Se tup
2.4 C o nne c ting the Printe r to the Ho st C o mp ute r
1. Ple a se ma ke sure tha t the p rinte r is switc he d o ff.
2. C o nne c t the p o we r c o rd to the AC a d a p te r.
AC ADAPTER
PO WER C O RD
C o nne c t the ja c k o f the p o we r a d a p te r to the p rinte r a nd c o nne c t the p lug o f the p o we r a d a p te r to the so c ke t
o f the wa ll.
RT860i BARC O DE PRINTER
PO WER ADAPTER
THE WALL
SO C KET
SLO T
JAC K
PLUG

2Printe r Se tup
3. C o nne c t the USB/ se ria l c a b le to the p rinte r a nd ho st c o mp ute r.
4. Pre ssing the p o we r b utto n. The To uc h Pa ne l LC D will lig hts up .
RT860i BARC O DE PRINTER
USB C ABLE
PC
SO C KET
USB PO RT
PLUG
PLUG
Pre ssing the p o we r b utto n
TO UC H PANEL LC D

2Printe r Se tup
2.5 Wiza rd C D Sta nd a rd Insta lla tio n
* If the Sup e r Wiza rd p ro g ra m d id no t run a uto ma tic a lly, yo u c a n e ithe r turn o n the “ Auto -run” se tting fo r
yo ur CD/ DVD d rive r o r d o ub le -c lic k the ic o n o f C D/ DVD d rive r to run the p ro g ra m m a nua lly.
No te
1. Inse rt the Sup e r Wiza rd C D in the C D/ DVD d rive o f the ho st c o mp ute r a nd the insta lla tio n p ro g ra m sho uld p o p up
a uto m a tic a lly.
Yo u will se e the We lc o me sc re e n first. O n the We lc o me sc re e n, c ho o se “ STANDARD INSTALLATIO N” .
2. The wiza rd will the n a sk yo u to ma ke sure yo ur USB a nd p o we r c a b le s a re c o nne c te d a nd tha t the p o w e r is
turne d o n. The n c lic k “ NEXT” .
3. The ne xt sc re e n yo u w ill se e is, “ Insta ll the G o La b e l So ftwa re a nd Wind o ws d rive r”. C lic k “ NEXT” to c o ntinue .
Other manuals for RT800i Series
1
This manual suits for next models
3
Table of contents
Other Godex Barcode Reader manuals

Godex
Godex EZ-1000 Plus User manual

Godex
Godex G525 User manual

Godex
Godex G500 User manual

Godex
Godex RT200i User manual

Godex
Godex RT800i Series User manual

Godex
Godex DT2 User manual

Godex
Godex EZPi1000 Series User manual

Godex
Godex EZ-1100Plus User manual

Godex
Godex RT700i User manual

Godex
Godex GS220 User manual

Godex
Godex GS500 Operating and maintenance instructions

Godex
Godex BP300 User manual

Godex
Godex GS520 User manual

Godex
Godex GS550 User manual

Godex
Godex RT700i User manual

Godex
Godex G300 User manual

Godex
Godex EZ-1105 User manual

Godex
Godex EZ-2000 PLUS User manual

Godex
Godex GS550 User manual

Godex
Godex ZX1200i User manual