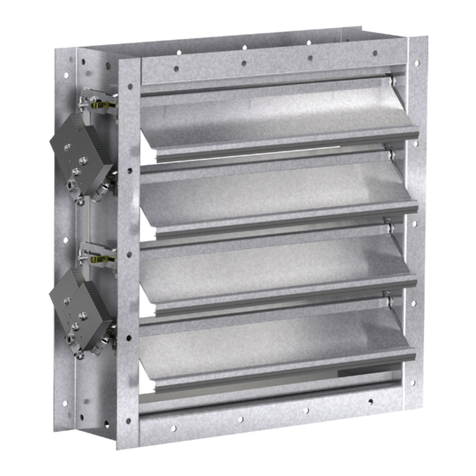
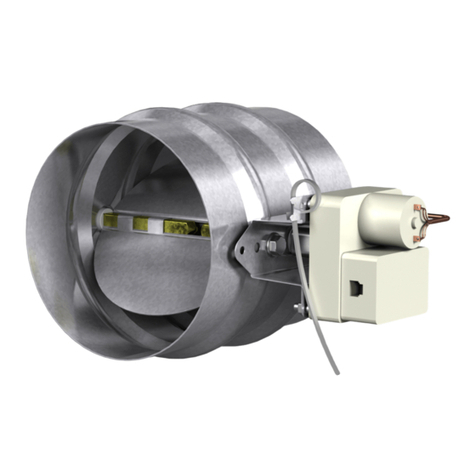
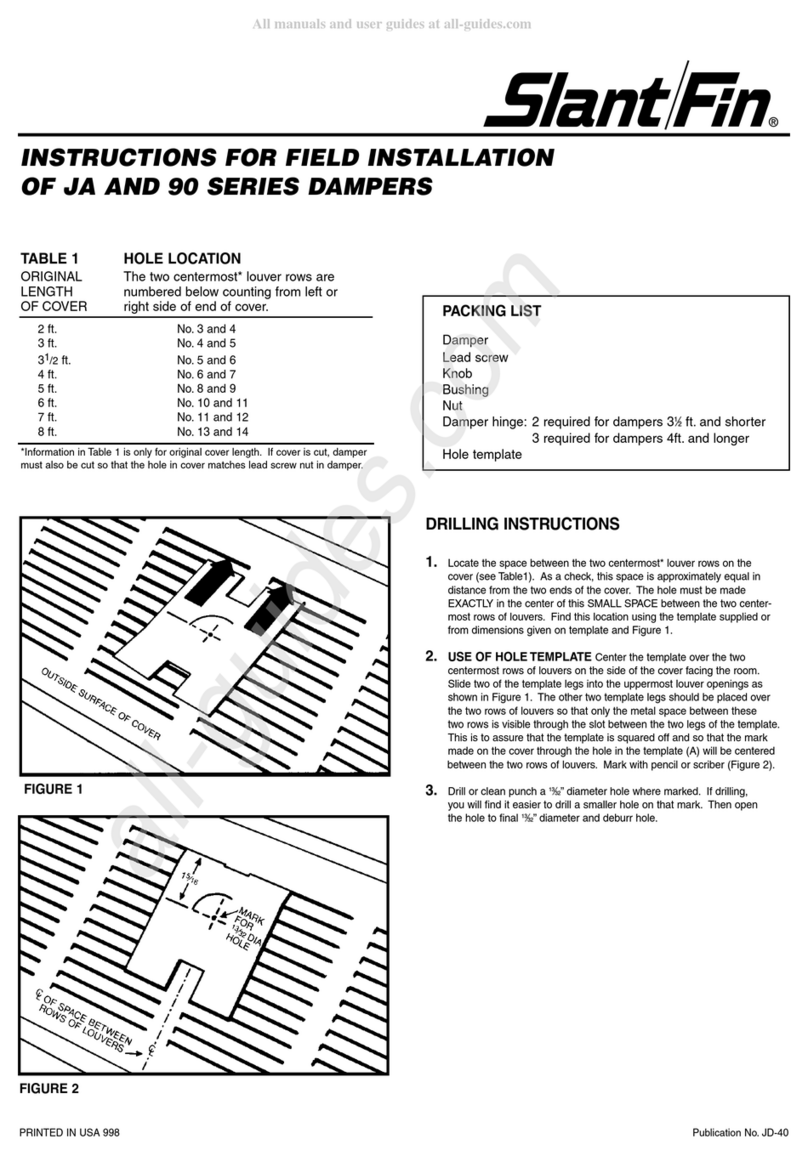
Greenheck HSD-401 Manual
Other Greenheck Fire And Smoke Damper manuals
Greenheck
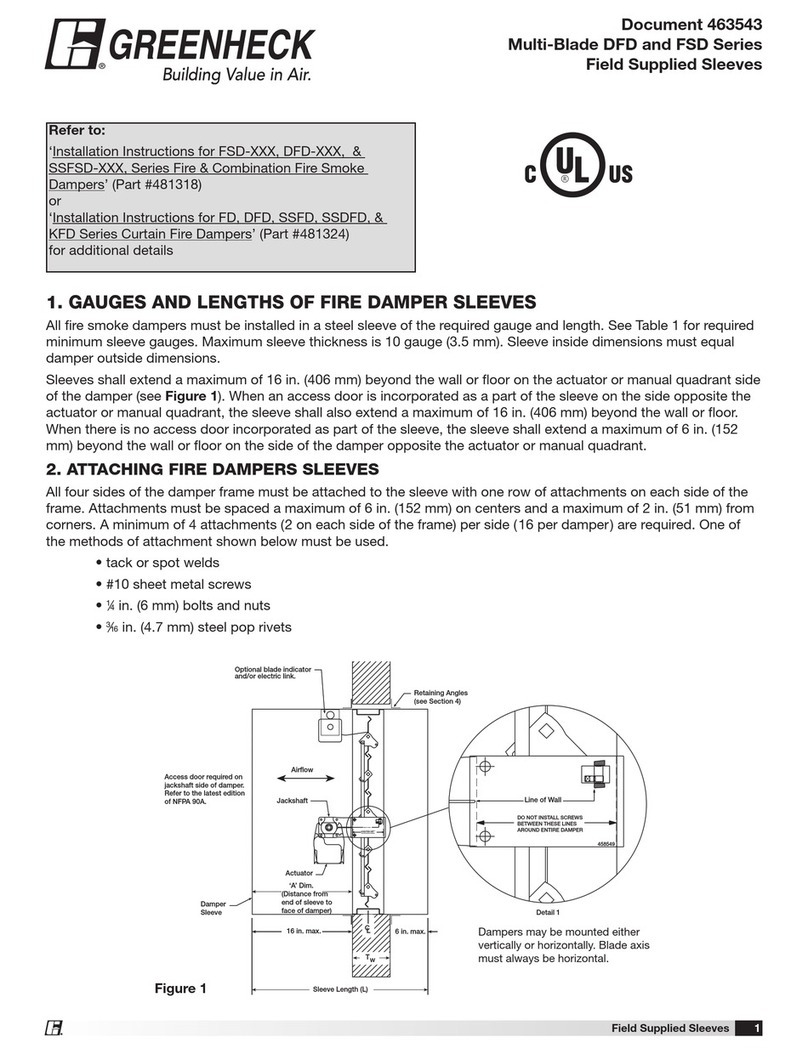
Greenheck DFD Series User manual
Greenheck
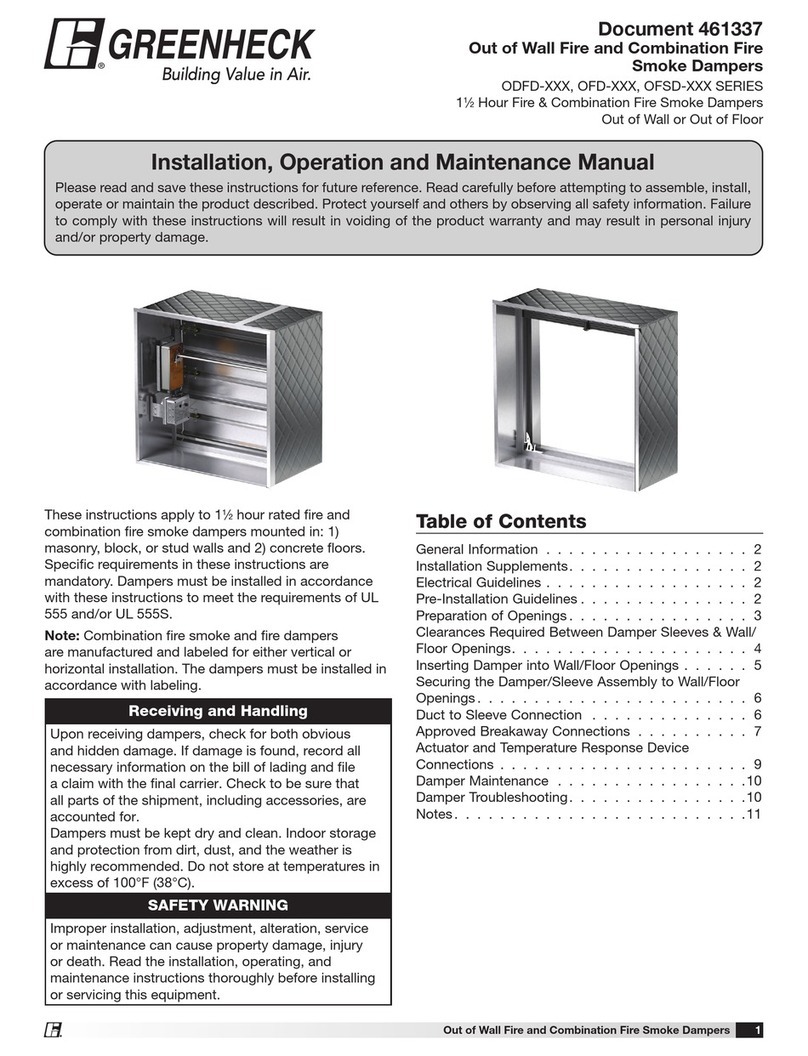
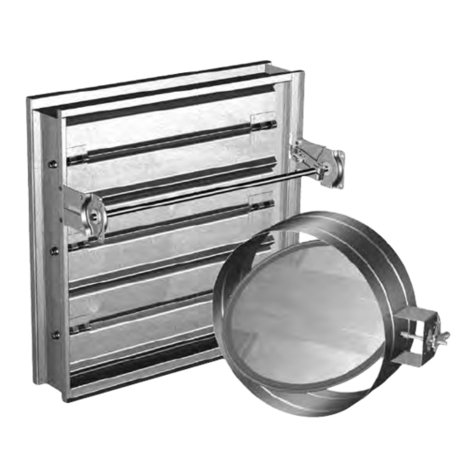
Greenheck FSD Series Owner's manual
Greenheck
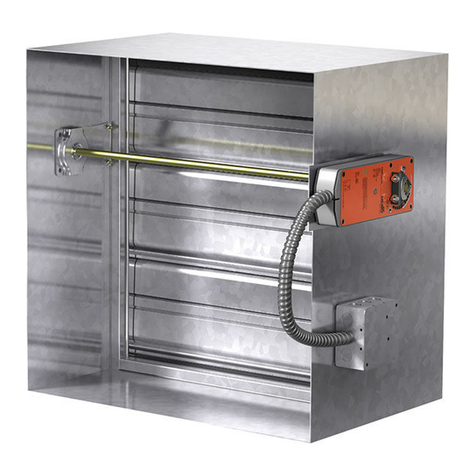
Greenheck FSD Series Manual
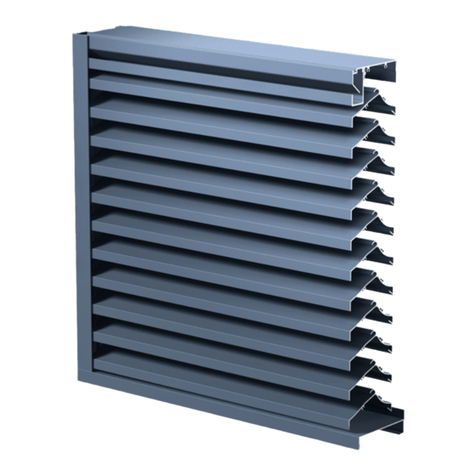
Greenheck
Greenheck EHM-601 User manual

Greenheck
Greenheck FSD Series User manual
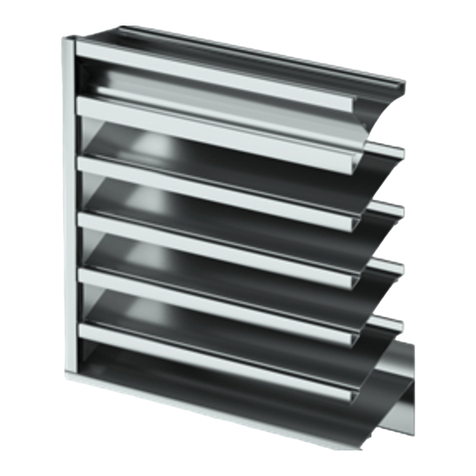
Greenheck
Greenheck ESD-603 User manual
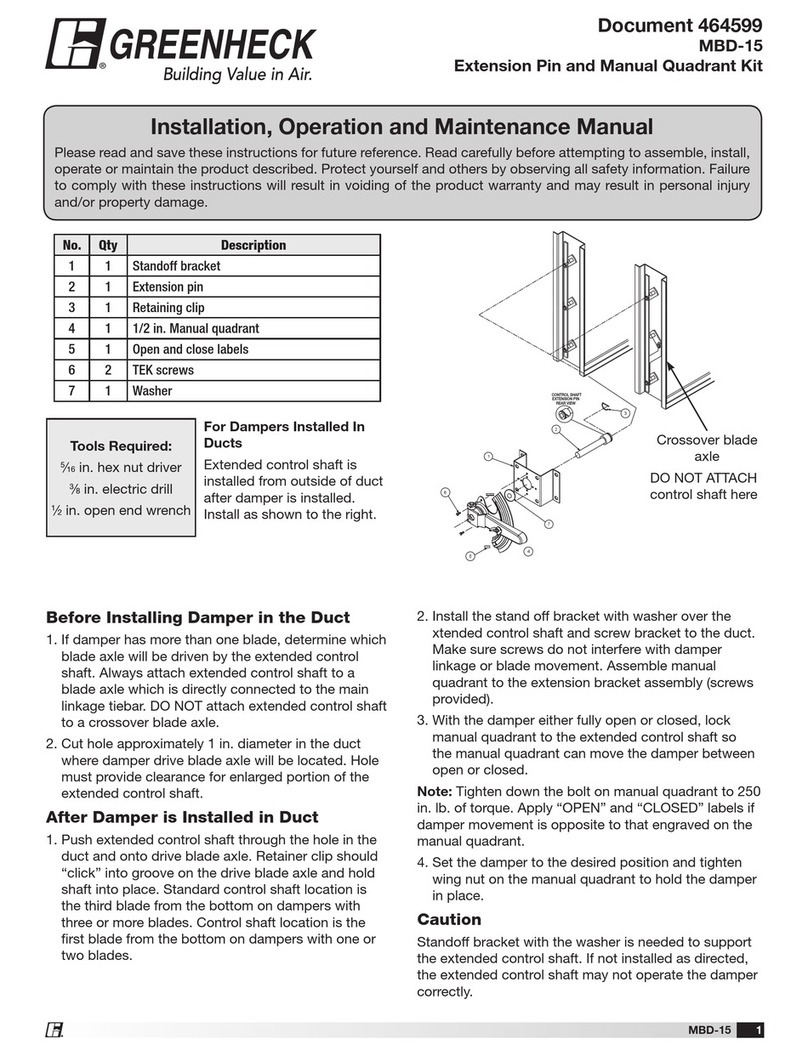
Greenheck
Greenheck MBD-15 User manual

Greenheck
Greenheck MBD-15 User manual
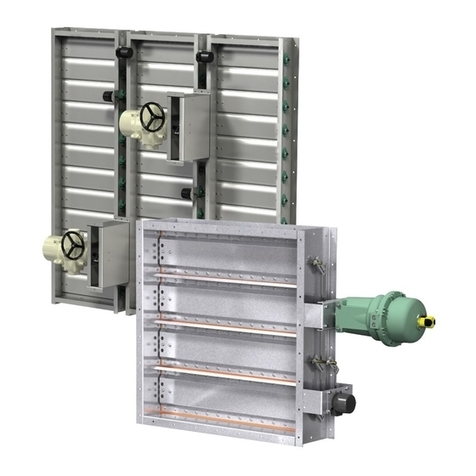
Greenheck
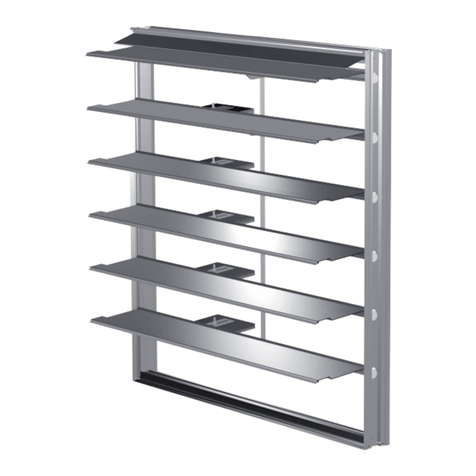
Greenheck HTD Series User manual
Greenheck
Greenheck ES Series User manual

Greenheck
Greenheck FSDR Series User manual

Greenheck
Greenheck SMD Series User manual
Greenheck
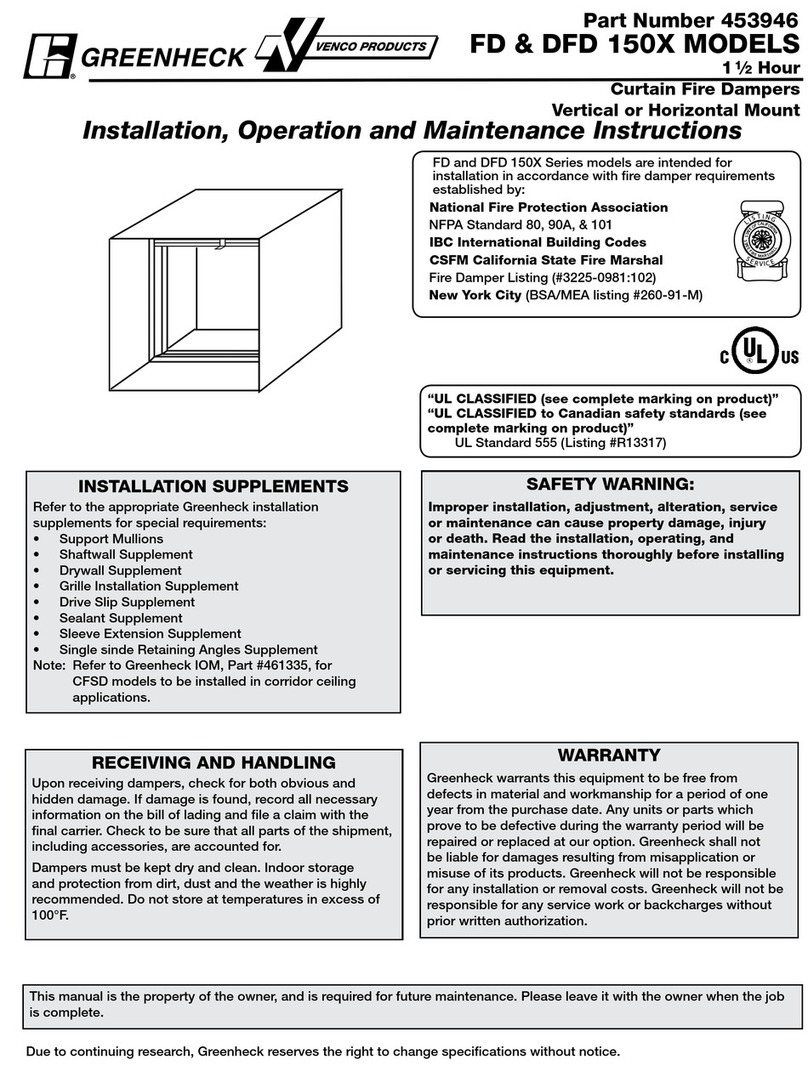
Greenheck FD150X Manual
Greenheck
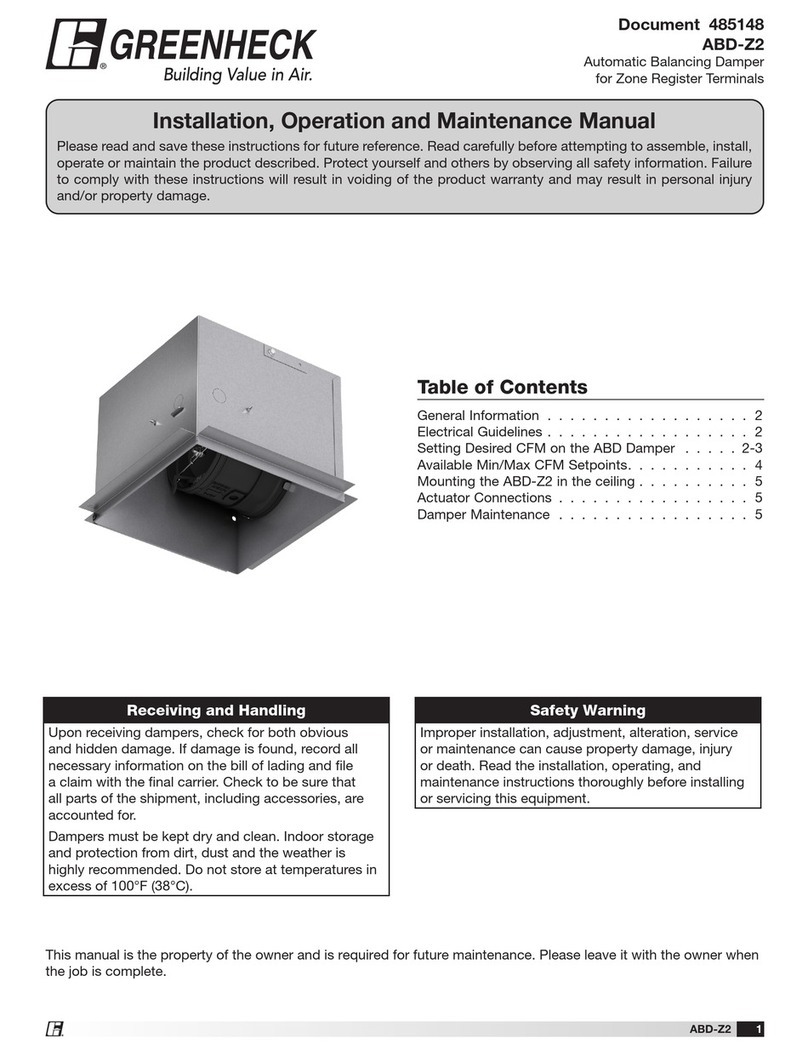
Greenheck ABD-Z2 User manual

Greenheck
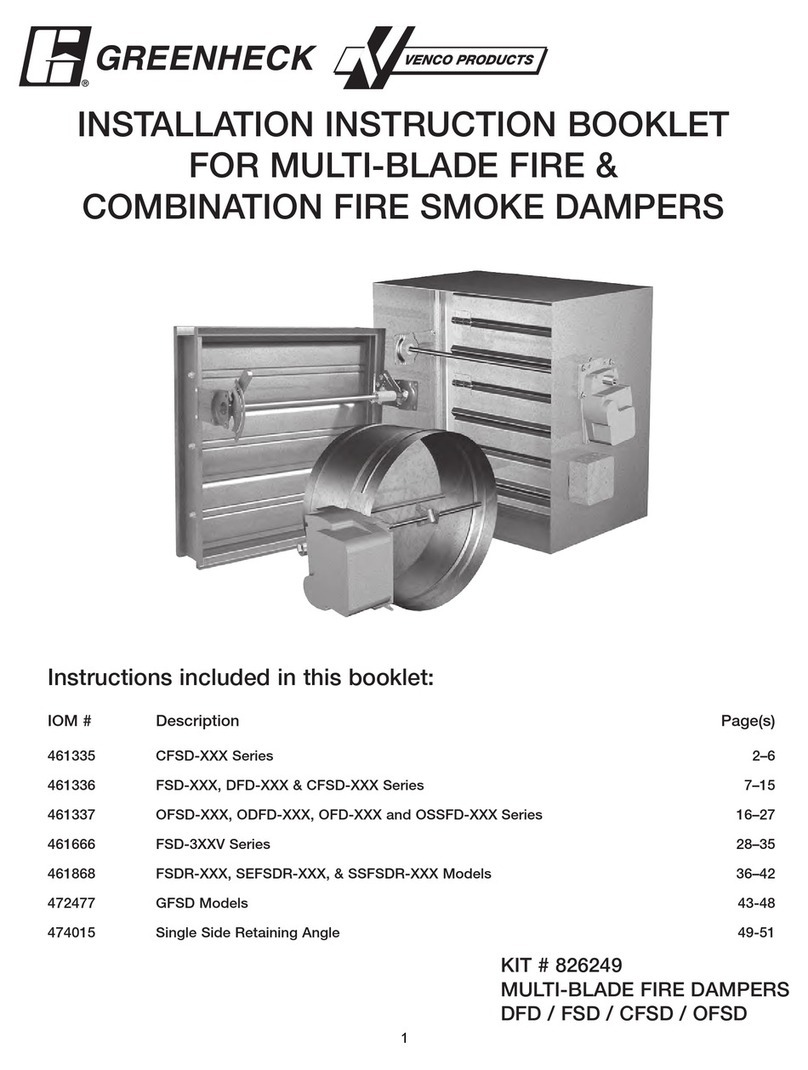
Greenheck FSD Series Owner's manual
Greenheck
Greenheck CFSD Series User manual

Greenheck
Greenheck DFD Series User manual

Greenheck
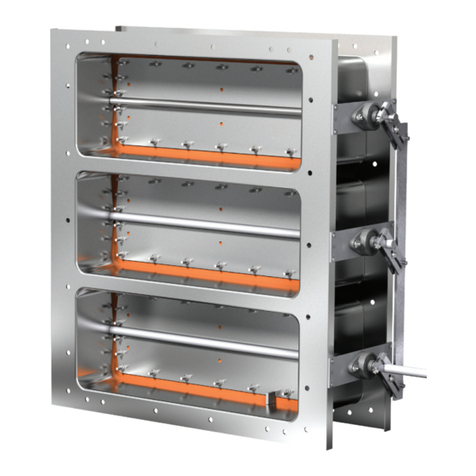
Greenheck Vektor-MD User manual
Greenheck
Greenheck HBT Series User manual

Greenheck
Greenheck VCD Series User manual
Popular Fire And Smoke Damper manuals by other brands

HVC
HVC NCA 700 Series Operation and maintenance manual

Wildeboer
Wildeboer FR90 user manual

FläktGroup
FläktGroup ETCE Instructions for installation, operation and maintenance

Tamco
Tamco 1000 SM Series manual

Lindab
Lindab FBC2 Installation booklet

EKOVENT
EKOVENT EKO-SRB1 Installation, operating and maintenance instructions

Advanced Air
Advanced Air 0160 Series Installation, operation and maintenance manual
Swegon
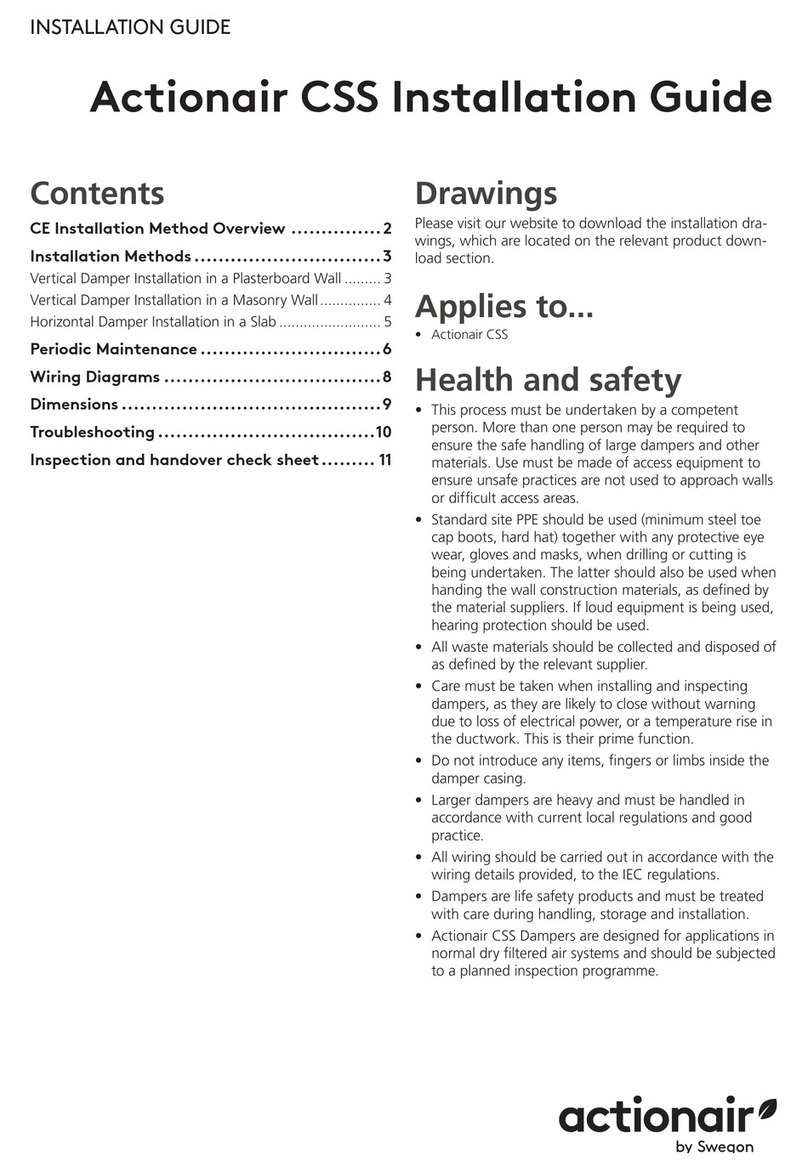
Swegon Actionair CSS Series installation guide
TAKACHIHO
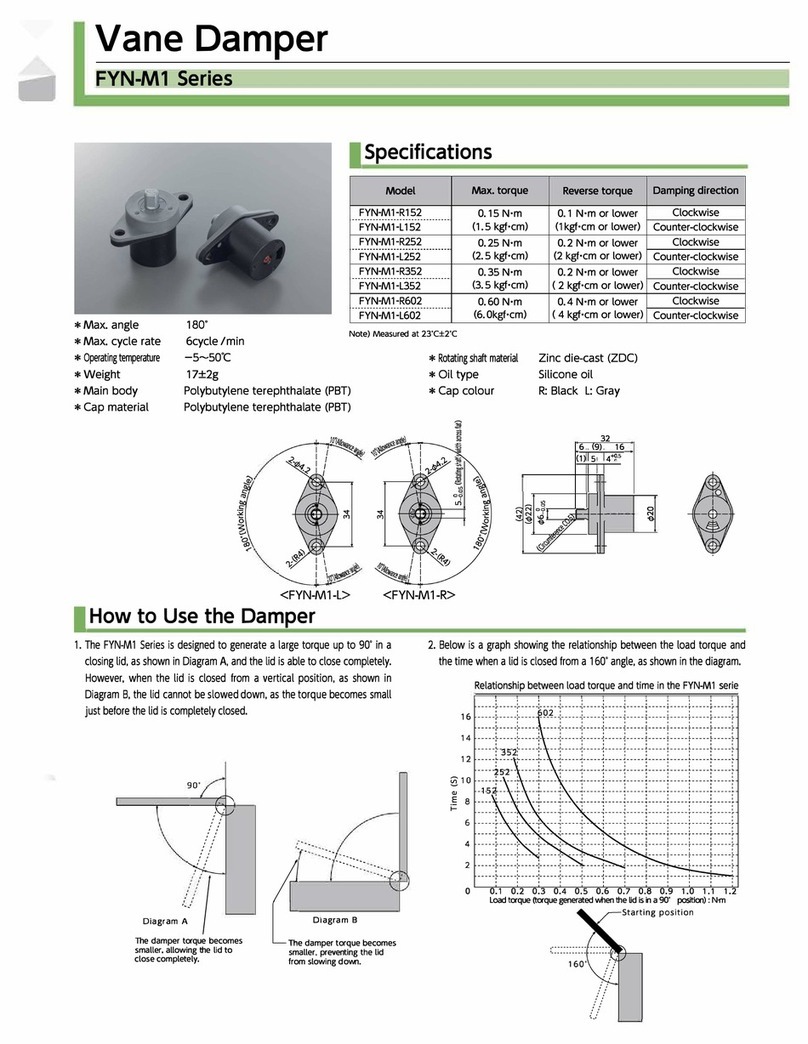
TAKACHIHO FYN-M 1 Series manual

Valmet
Valmet Flowrox Expulse Series Installation, operation and maintenance instructions

ETS NORD
ETS NORD NORDfire FDMB manual

Mandik
Mandik MSD manual
