1
Welcome to "GVM-50RS". This product is specially designed for senior
photography enthusiasts. The product is suitable for live / outdoor / studio
photography, and also for youtube video shooting. The main features of
the product are:
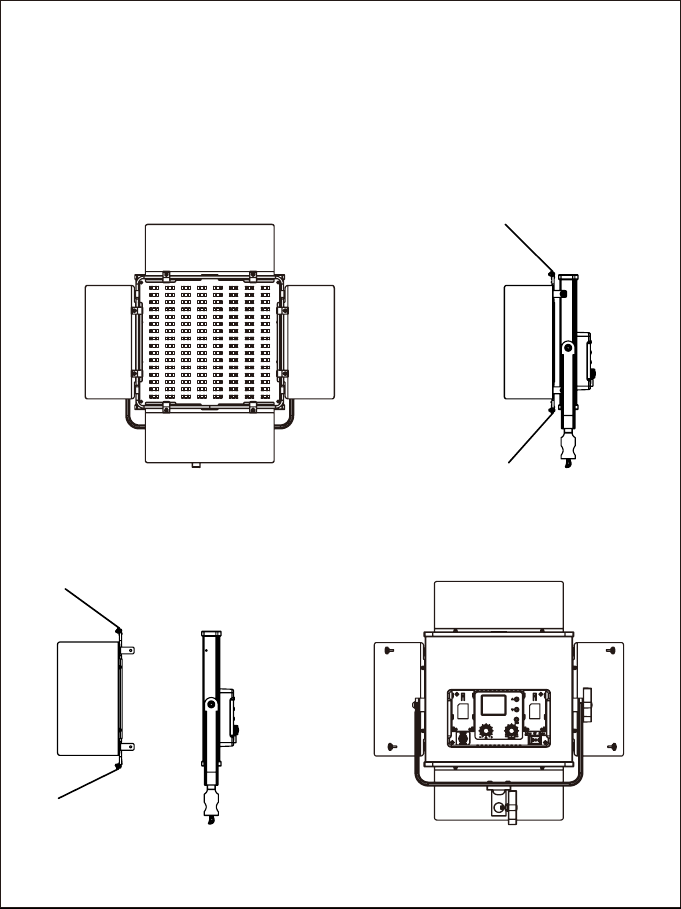
Pengenalan Produk
①
②
step-less adjustable RGB color and dual color temperature feature, color
range 3200K ~ 5600k, with 384 LED bulbs, which is helpful to restore and
enrich the color of objects and provide you with natural and vivid shooting
effect.
App intelligent control system, which can be controlled by your intelligent
mobile device.
③LCD screen display and stable system, which can support 360 ° rotation
and effectively control the light Line. You can also install folding and
external soft light board to avoid redundant light and make the light softer.
You can customize the control of fill light, so that you can easily shoot the
desired results.
We believe that once using our product correctly, you can make huge progress
when shooting. Before using the product, you are strongly recommended to
read the instructions below carefully.