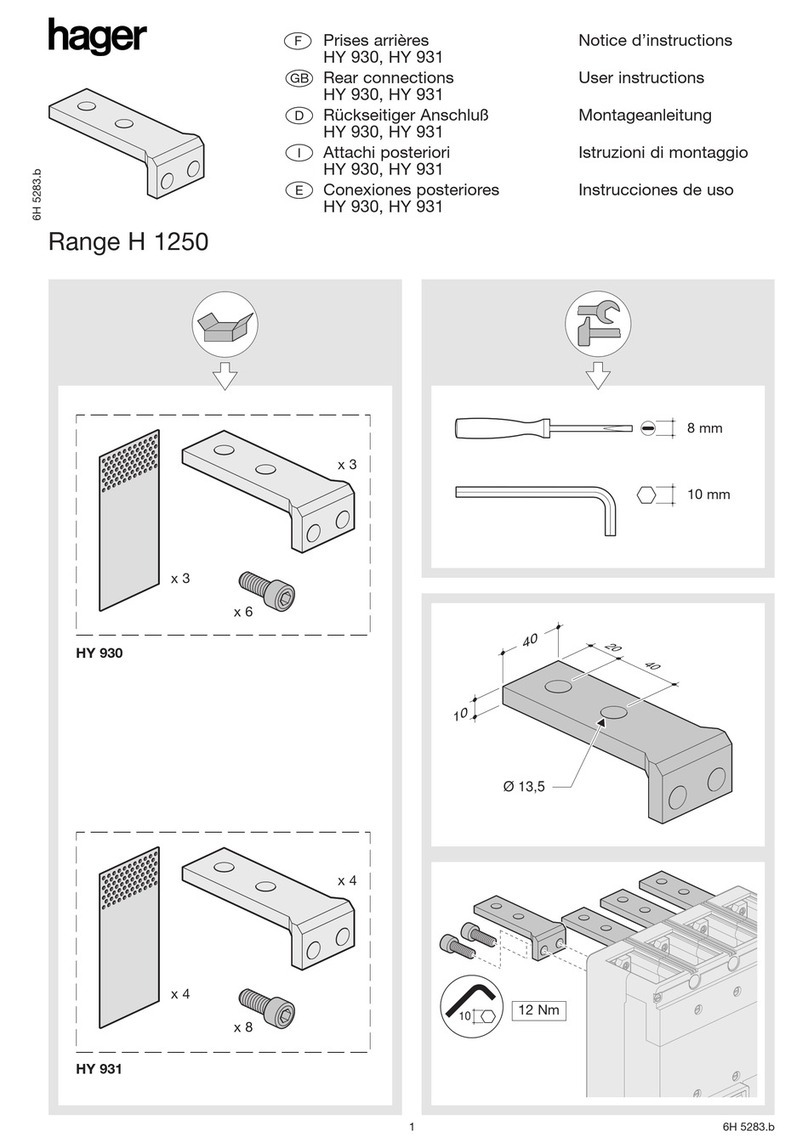
Hager SAS - 132 bld d’Europe - BP 78 - 67 212 Obernai cedex (FRANCE) - Tél. +333 88 49 50 50 - www.hagergroup.net2
Hager 10.2009
6W 5301.b
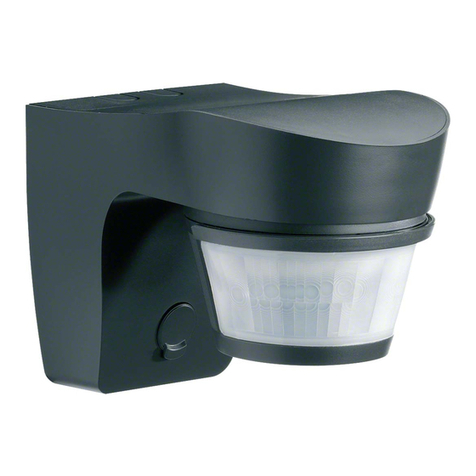
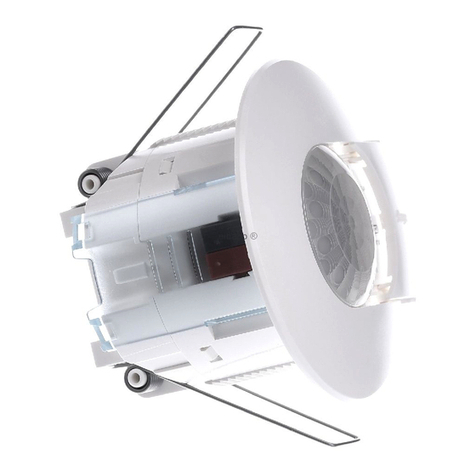
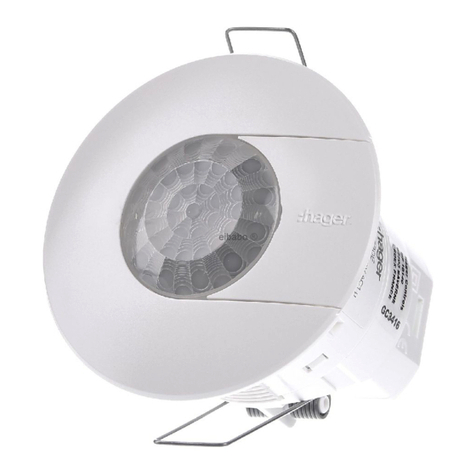
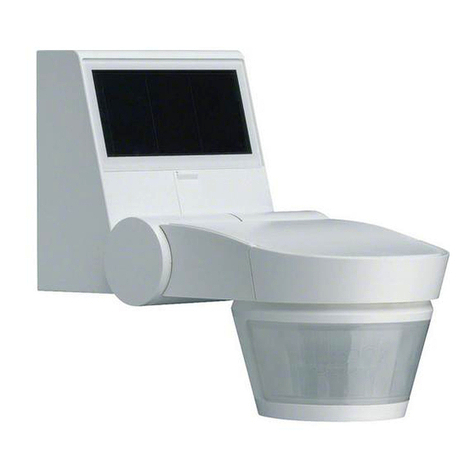
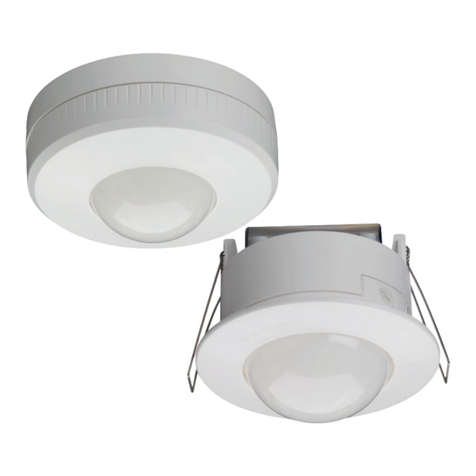
Product description :
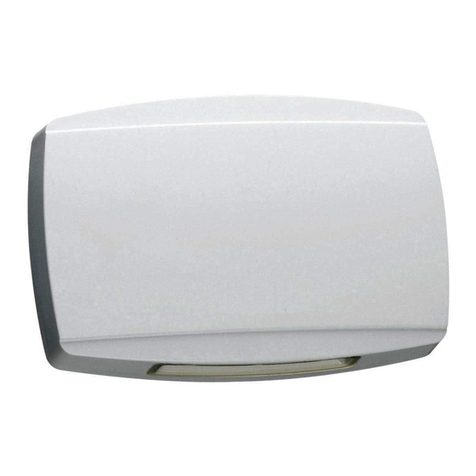
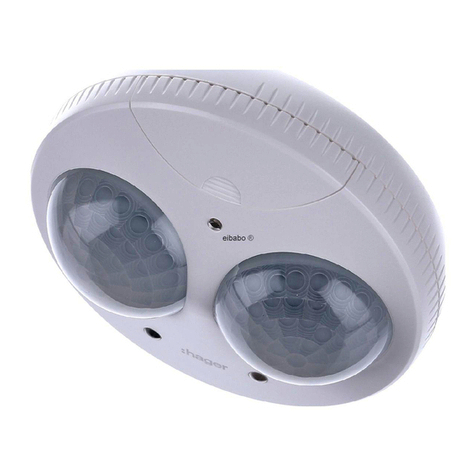
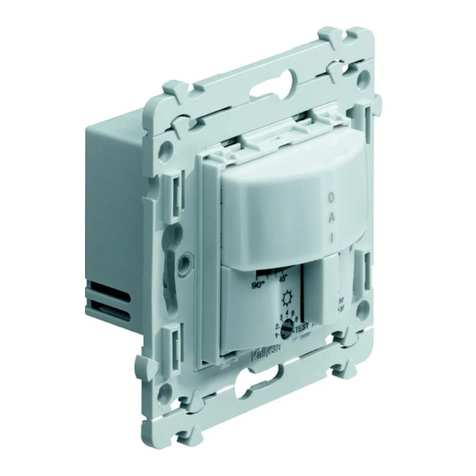
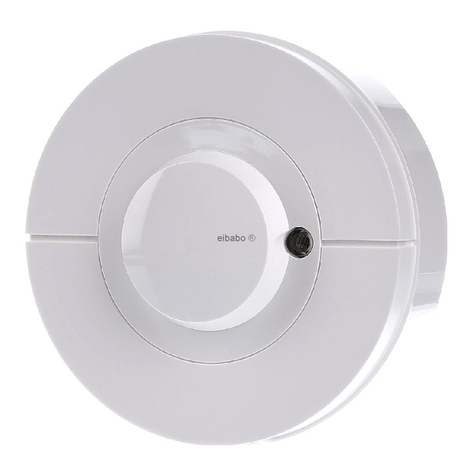
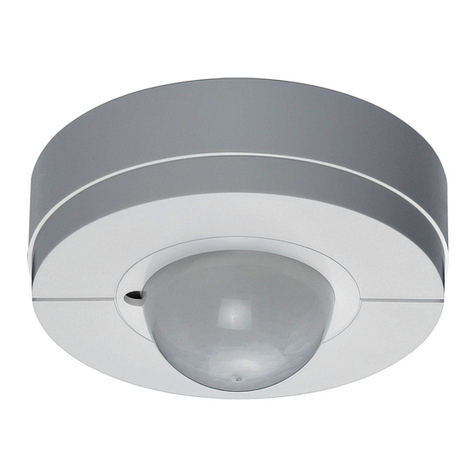
Motion detectors WE050 / WE051 meant for indoor appli-
cations : corridors, reception halls...
Extension of detection area through detectors
WE051 (master / slave working).
Implementation :
Limitation of detection area :
Use both adjusting knobs (5).
To make easier the adjustment, put the
potentiometers (3) & (6) at "Test" (brightness
threshold deactivated, time delay = 2s).
Adjustment of brightness threshold :
- Manual : through potentiometer (3).
- Automatic : long press (6s) on button (2), release when
yellow indicator is blinking. The threshold corresponds
to the current room brightness.
(not accessible in position " AUX " for the WE051).
Extension of detection area :
Master/slave working (ex : corridor).
The WE050 / WE051 can be used as master
by connecting 3 wire-motion detectors WE051
on their input.
Caution :
- Put the potentiometer (6) at "AUX" when the WE051
is used as slave (see wiring).
- In the mode "AUX", the button (2) of the WE051
is no more active.
Carried off switching on :
Possibility to connect closing push buttons on input E
to force the switching on (see wiring).
Use :
Selection of mode through short presses on button (2) :
Forced switching off : red indicator (0) switched on.
Automatic mode : yellow indicator (A) switched-on, relea-
se when passage detection, and brightness lower than
threshold.
Forced switching on : green indicator (1) switched on.
Other functions :
Temporary forcing : light on during 2h then return
to automatic mode.
- Long press (3s) on button (2), release when red indica-
tor is blinking ; green indicator (1)
becomes blinking. Also accessible by pressing 3
seconds on push button connected on input E.
- Return to automatic mode though short press on button
(2) or on push button connected to input E (not 3s).
Security : This mode enables to deactivate the button (2)
- ex : public place.
- Select working mode Switching off/Auto/Forced swit-
ching on.
- Long press (10s) on (2), release when green indicator
is blinking.
- To cancel security mode : long press (10s) on (2),
release when green indicator is blinking.
Precautions for use :
- After switching on, the sensors are inhibited during 30s
and the light is switched on during 2 minutes.
- The push buttons (slaves) can be luminous
when the indicators are connected to the neutral.
- Conservation of mode of operation and of brightness
threshold after circuit-breaking.
GB
Description du produit :
Interrupteurs automatiques WE050 / WE051
adaptés à des applications intérieures de type
circulation : couloirs, hall d’entrée…
Extension de la zone de détection à l’aide
d’un deuxième détecteur de type WE051 (fonc-
tionnement maître / esclave).
Mise en oeuvre :
Limitation de la zone de détection :
Utiliser les 2 molettes de réglage (5).
Pour faciliter ce réglage, placer les potentiomètres
(3) et (6) sur “TEST” (seuil de luminosité désactivé,
temporisation = 2s).
Réglage du seuil de luminosité :
- Manuel : par potentiomètre (3).
- Automatique : appui long sur le bouton (2) ;
relâcher quand le voyant jaune clignote. Le seuil
correspond à la luminosité ambiante du moment
- (pas accessible en position “AUX” sur le WE051).
Extension de la zone de détection :
Fonctionnement maître / esclave (exple : couloir).
Les WE050 et WE051 peuvent être utilisés
en tant que maître en connectant sur leur entrée E
des interrupteurs automatiques 3 fils WE051.
Attention : placer sur “AUX” le potentiomètre (6)
quand le WE051 est utilisé en esclave
(voir câblage).
Dans le mode “AUX” le bouton (2) du WE051
n’est plus actif.
Allumage déporté :
Possibilité de connecter sur l’entrée E
des boutons poussoirs à fermeture pour forcer
l’allumage (voir câblage).
Utilisation :
Choix du mode par appuis brefs sur le bouton (2) :
- Arrêt forcé : voyant rouge (0) allumé.
- Mode automatique : voyant jaune (A) allumé,
déclenchement si détection de passage
et luminosité inférieure au seuil.
- Marche forcée : voyant vert (1) allumé.
Autres fonctions :
- Forçage temporaire : lumière active 2h
puis retour en mode automatique.
- Appui long (3s) sur le bouton (2),
relâcher quand le voyant rouge clignote ;
le voyant vert (1) devient clignotant. Egalement
accessible par un appui de 3 secondes
sur le poussoir connecté sur l’entrée E.
- Retour au mode automatique par un appui bref
sur le bouton (2) ou sur le poussoir connecté
sur l’entrée E.
- Sécurité : ce mode permet de désactiver
le bouton (2) (exple : lieu public).
1 : Choisir le mode de fonctionnement
Arrêt / Auto / Marche forcée.
2 : Appui long (10s) sur (2),
relâcher quand le voyant vert clignote.
3 : Pour annuler le mode sécurité : appui long (10s)
sur (2), relâcher quand le voyant vert clignote.
Précaution d’emploi :
- Après la mise sous tension, les capteurs
sont inhibés pendant 30s et la lumière est active
durant 2 minutes.
- Les boutons poussoirs (esclaves) peuvent
être lumineux si les voyants sont connectés
au neutre.
- Conservation du mode de fonctionnement
et du seuil de luminosité après coupure d’ali-
mentation électrique.
A
0
I
TEST
90˚ 45˚ 45˚ 90˚
30''
1' 3'10'
TEST 30'
10''
30''
1' 3'10'
AUX 30'
1''
(WE050) (WE051)
1
Voyants
Indicator
Controlelampjes
2
Bouton changement de mode
Button to change mode
Omschakelaar gebruikswijze
3
Réglage du seuil de luminosité
Brightness threshold adjustment
Instelling van de belichtingswaarde
4
5
6
Lentilles de détection
Detection lenses
Detectielenzen
Réglage de l'angle de détection
Detection angle adjustment
Instelling van de detectiehoek
Réglage de la temporisation
Time-delay adjustment
Instelling van devertraging
Beschrijving :
Automatische schakelaars WE050 / WE051 bes-
temd voor toepassing in passages binnen zoals
gangen, hallen, enz.
Uitbreiding van de detectiezone met behulp van
detectoren type WE051 (meester/slaaf- schakeling).
Inbedrijfstelling :
Beperking van de detectiezone :
Gebruik de 2 kartelknoppen (5).
Zet, om de instelling te vergemakkelijken,
de potmeters (3) & (6) op " test " (verlichtingsdrem-
pelwaarde uit, vertraging = 2”).
Instelling van de verlichtingsdrempelwaarde :
- Handmatig : met potmeter (3).
- Automatisch : druk lang (6”) op knop (2), totdat
het gele controlelampje knippert ; knop loslaten.
De drempelwaarde komt dan overeen met het
omgevingslicht van dat moment.
(Niet mogelijk wanneer de WE051 in de stand
"AUX" geschakeld is).
Uitbreiding van de detectiezone :
Meester/slaaf-opstelling (bijv. : gang).
De WE050 en de WE051 kunnen beide als meester
worden gebruikt door op hun ingang E 3-draads
automatische schakelaars WE051 aan te sluiten.
Nota bene :
- Zet, wanneer de WE051 als slaaf gebruikt wordt
(zie aansluitschema) potmeter (6) op "AUX".
- In de stand "AUX" is knop (2) van de WE051
buiten werking.
Geforceerde inschakeling :
Het is mogelijk om op ingang E drukschakelaars
aan te sluiten om de inschakeling te forceren
(zie aansluitschema).
Gebruiksaanwijzing :
Instellingskeuze door kort op knop (2) te drukken:
Geforceerde uitschakeling :
het rode controlelampje (0) brandt.
Automatisch bedrijf : geel controlelampje (A)
brandt, uitschakeling bij detectie van beweging
en lichtsterkte onder de drempelwaarde.
Geforceerde werking : groen controlelampje (1) brandt.
Andere functies :
Tijdelijke geforceerde werking :
verlichting werkt gedurende 2 uur, waarna terug-
keer naar automatische werking.
- Druk lang (3”) op knop (2), totdat het rode
controlelampje knippert ; het groene controle-
lampje (1) gaat knipperen.
Deze functie is ook in te schakelen door
3 seconden op een op ingang E aangesloten druk-
schakelaar te drukken.
- Om naar automatisch bedrijf terug te keren,
kort op knop (2) of de op ingang E aangesloten
drukschakelaar drukken (niet 3”).
Beveiliging (Sécurité) : met deze instelling kan
knop (2) buiten werking worden gesteld
– bijv. in een publieke ruimte.
- Kies de instelling Uit /Auto/ Geforceerde werking.
- Druk lang (10”) op knop (2), totdat het groene
controlelampje knippert.
- Om de beveiligingsinstelling uit te schakelen :
lang (10”) op knop (2) drukken, totdat het groene
lampje knippert.
Aangaande ingebruikstelling :
- Na het inschakelen van de voedingsspanning
zijn de detectiesondes gedurende 30 seconden
geblokkeerd en gaat het licht voor 2 minuten aan.
- De drukschakelaars (van de slaven) kunnen ver-
licht zijn wanneer de controlelampjes
op de 0-leiding zijn aangesloten.
- De ingestelde functies en de verlichtingsdrempel-
waarde blijven, na afsluiten van de voedingss-
panning, behouden.
1 2
FR NL


