ABRI SPA
2
6. Vérifiez si les pièces des arches sont bien emboîtées les unes dans les autres. (Fig.
C, E)
7. Cet abri doit être installé sur une platefor me de bois ou de béton d’une superficie
minimum de 12’x12’ et doit être au niveau (surface solide et très uniform e). Si la
structure principale n’est pas au niveau, les sections mobiles ne seront pas
entièrement fonctionnelles
Étape 1 : Assemblage de la structure principale
1. Assemblez toutes les ar ches au so l avec le s poteaux en r espectant la p osition de
chacune des pièces illustrée à la feuille SPA-100. Attention : As semblez la
première et la dernière arche avec de ux poteaux 3 trous #8 pour l’installation des
diagonales #5, puis installer la deuxièm e et quatrième arche avec les poteaux 2
trous #7 et les poteaux #9 pour la dem i-arche au centre. Important : placez
l’extrémité avec le protecteur vers le haut (Fig. A)
2. Reliez le bas des poteaux de la prem ière arche avec le bas des poteaux de la
deuxième arche à l’aide de deux tubes # 4, et du même coup fixez les diagonales
#5 au bas des poteaux de la deux ième arche. Note : installez l’équerre qui sert
d’ancrage au bas des arches #15 (Fig.F,G,I,K)
3. Soulevez la prem ière arche et boulonnez les diagonales #5 aux poteaux de la
première arche
(Fig. L)
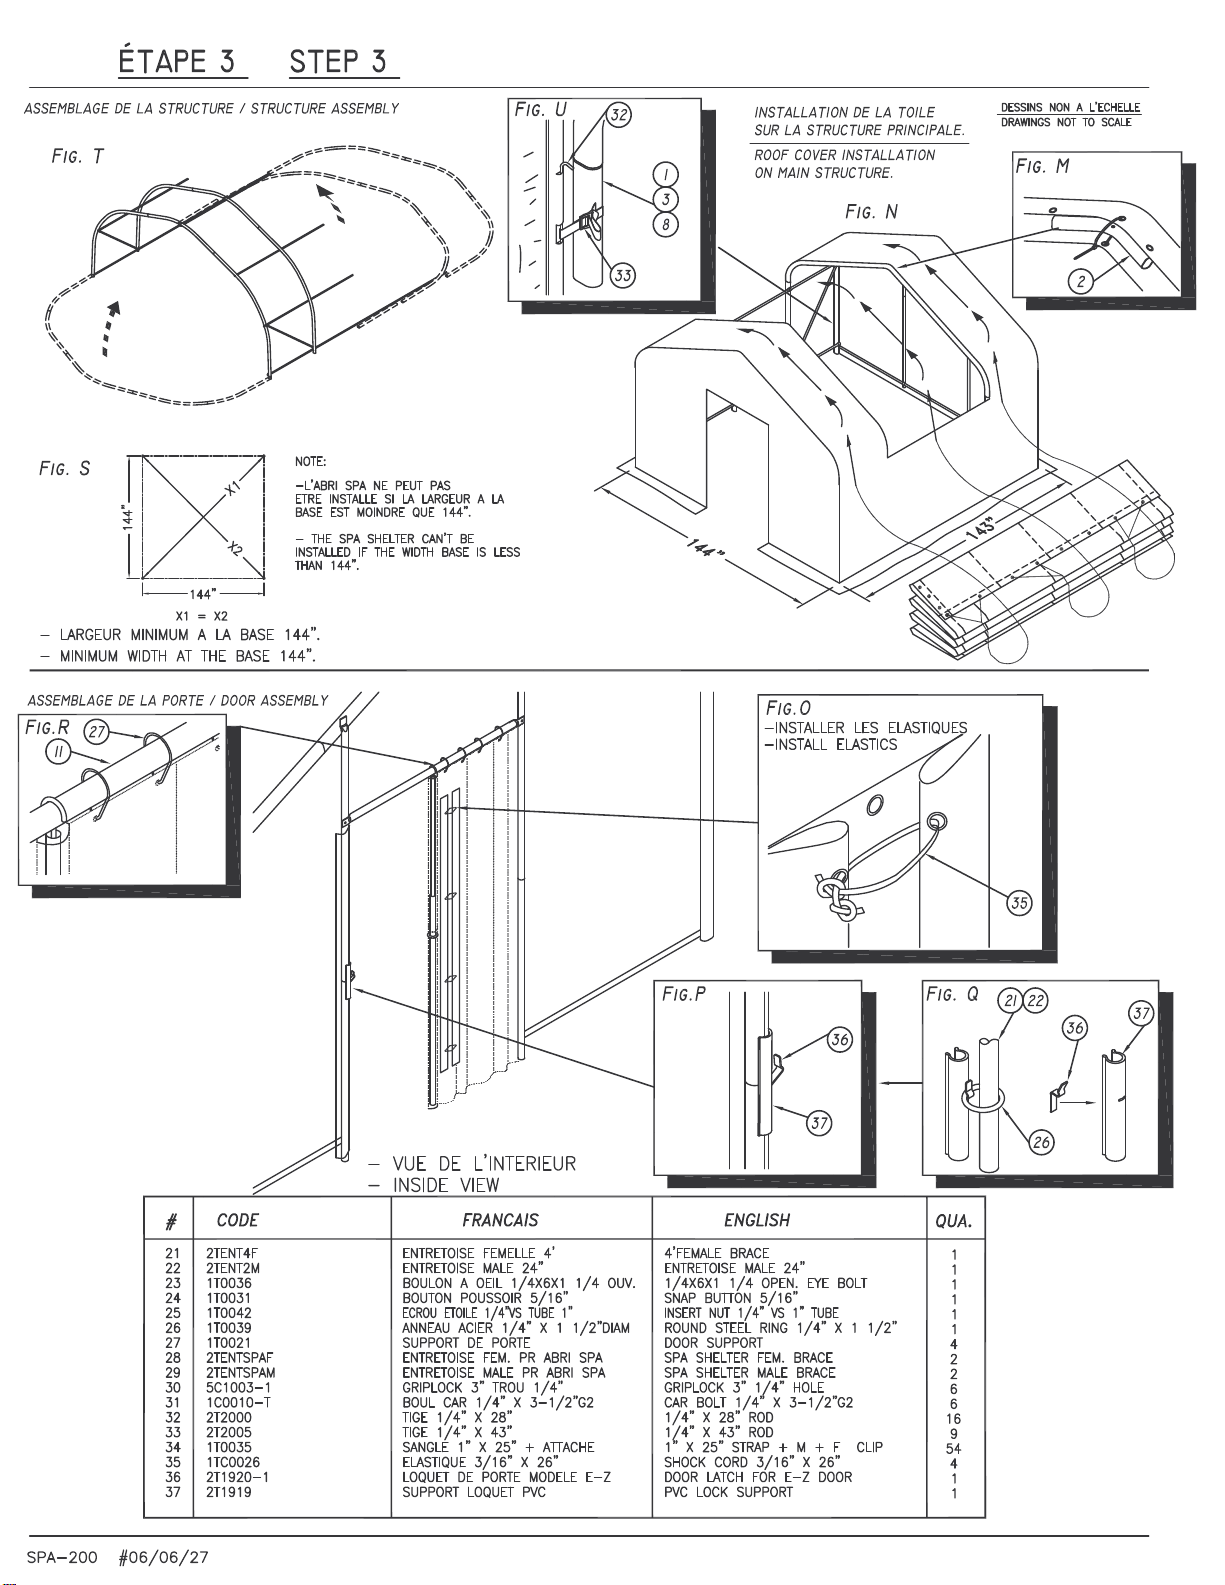
4. Soulevez la deuxièm e arche (Fig. T) et s écurisez les deu x arches en reliant les
poteaux, les coins et les centres avec les t ubes #4 (Fig. B, D, G, L, M). Pour
assembler les autres arches, reliez le bas des poteaux de la dernière arche soulevée
avec le bas des poteaux de l’arche suivante. Soulevez l’arche et sécurisez celle-ci
en reliant les poteaux, les coins et les cen tres avec les tubes appropriés selon les #
de pièces su r le schém a à la page SPA-100. Important: Tous les écrous à ailes
doivent être bien serrés et orientés vers l’intérieur de façon à ce qu’ils ne touchent
pas la toile
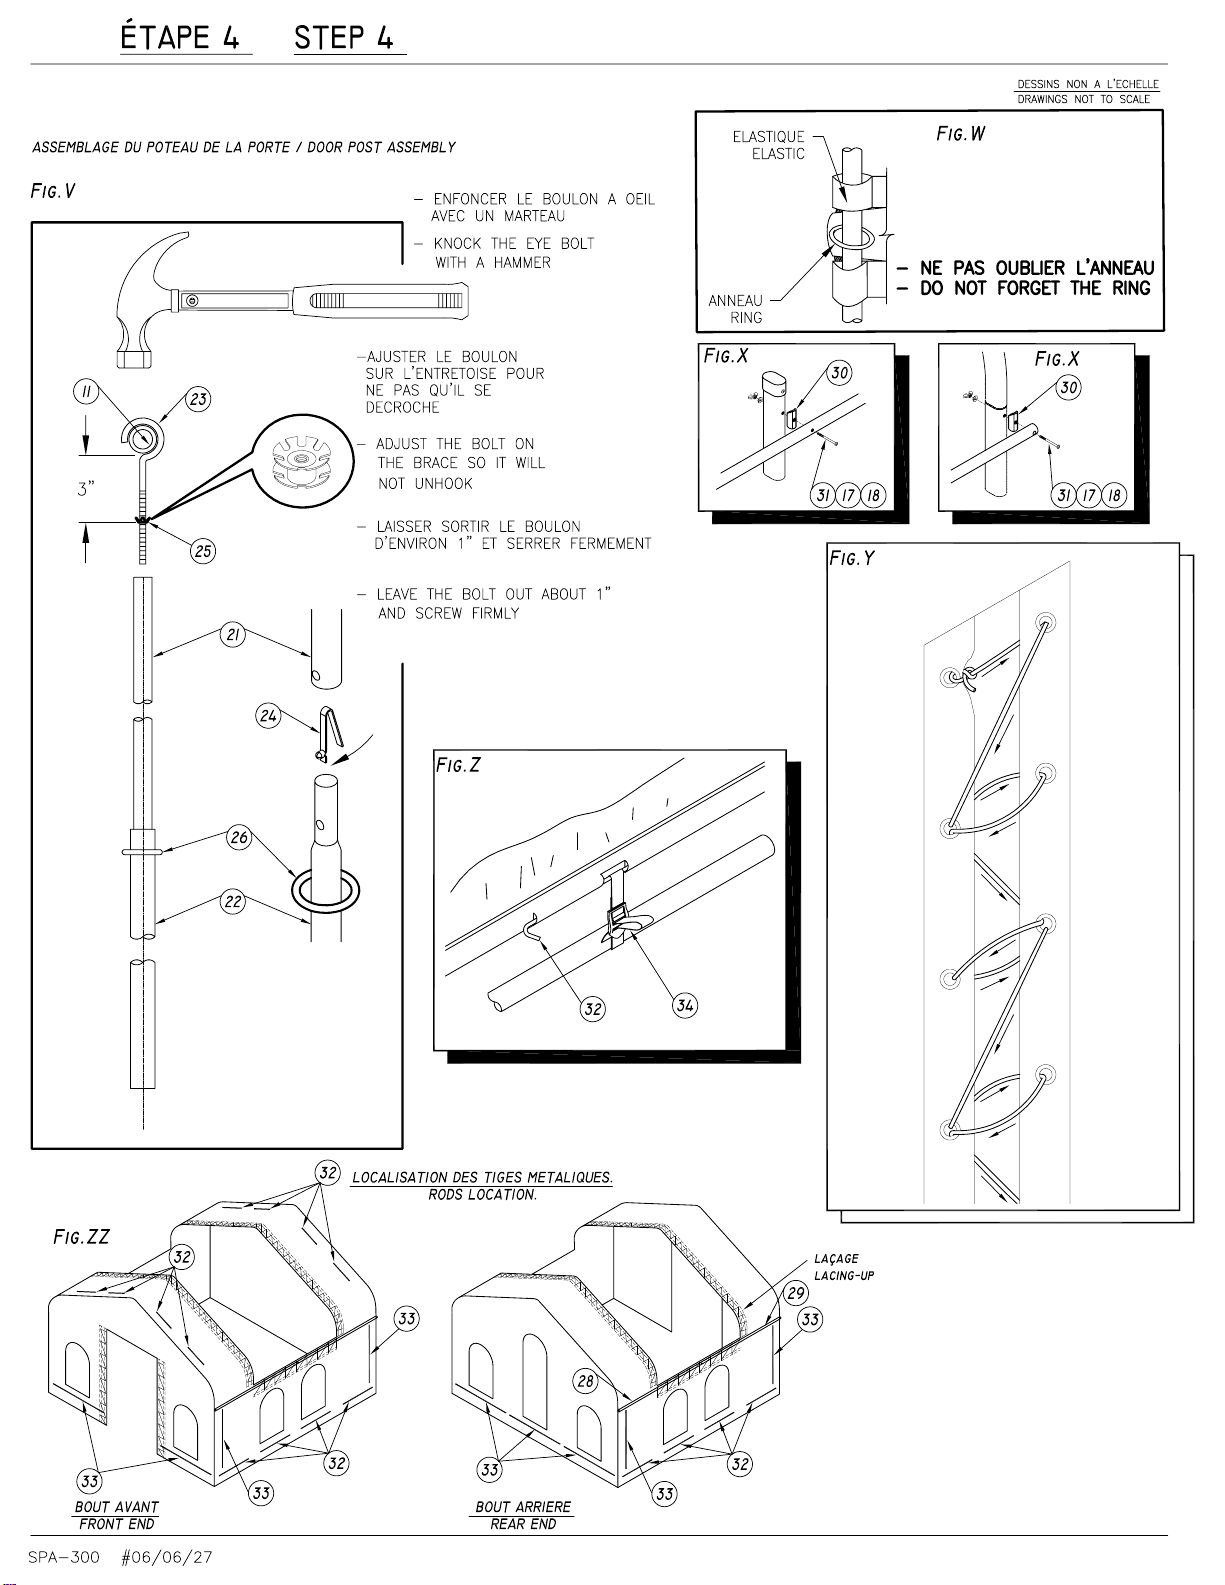
Étape 2 : Assemblage des poteaux pour les extrémités
1. Insérez les poteaux #12 dans les potea ux #13, et boulonnez-les aux centres #1 de
la première et de la dernière arche. (Fig. J, H)
2. Fixez le renfort #11 au poteau #13 de la première arche (Fig. H) et du même coup,
fixez les équerres au bas des poteaux (Fig. I) pour fixer la structure au p lancher,
sans toutefois les visser. L’ancrage final se fera à la toute fin de l’assemblage
3. Pour l’autre extrémité, répétez la même méthode, sauf que le renfort d’arche #11
doit être fixé au #12 au bas de la structure.