manuals.online logo
Brands
  1. Home
  2. •
  3. Brands
  4. •
  5. Helvex
  6. •
  7. Plumbing Product
  8. •
  9. Helvex TV-121 User manual

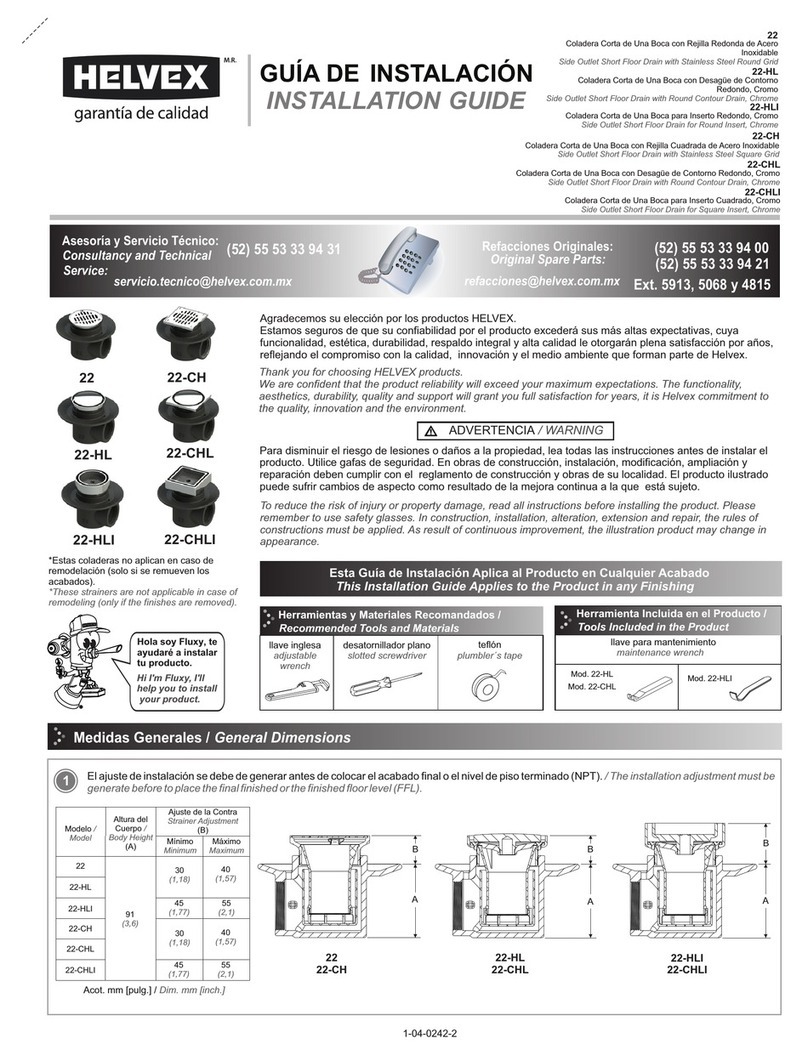
Helvex TV-121 User manual

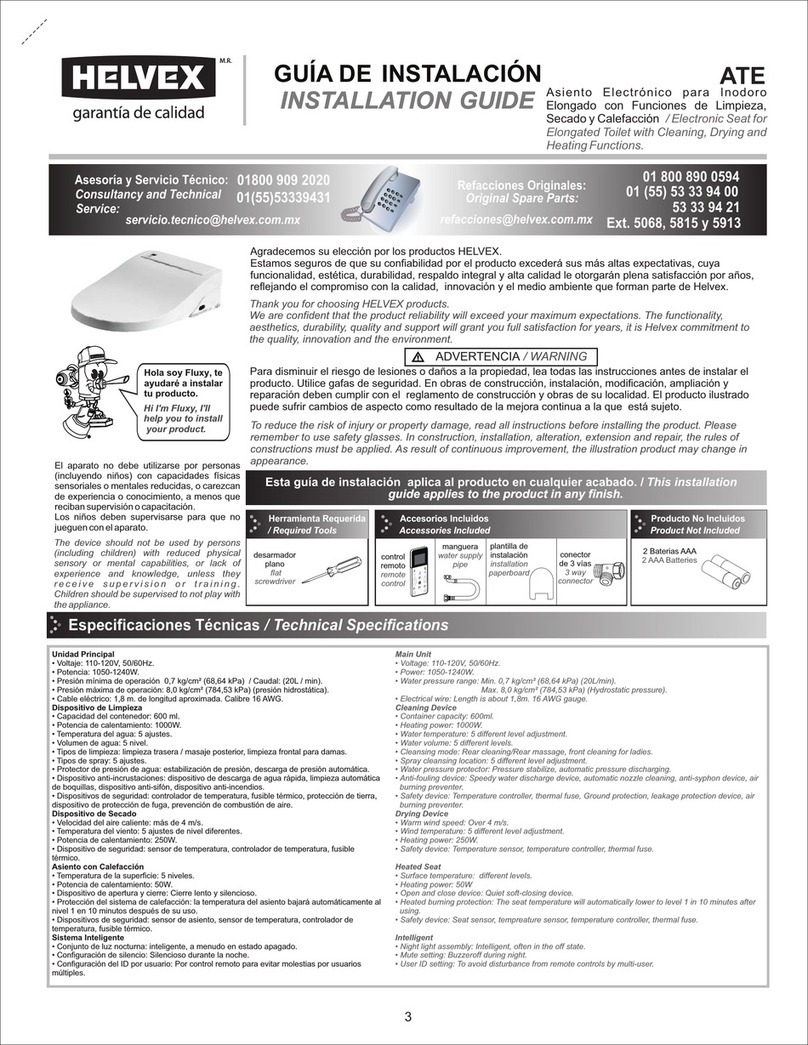
Hola soy Fluxy, te
ayudaré a instalar
tu producto.
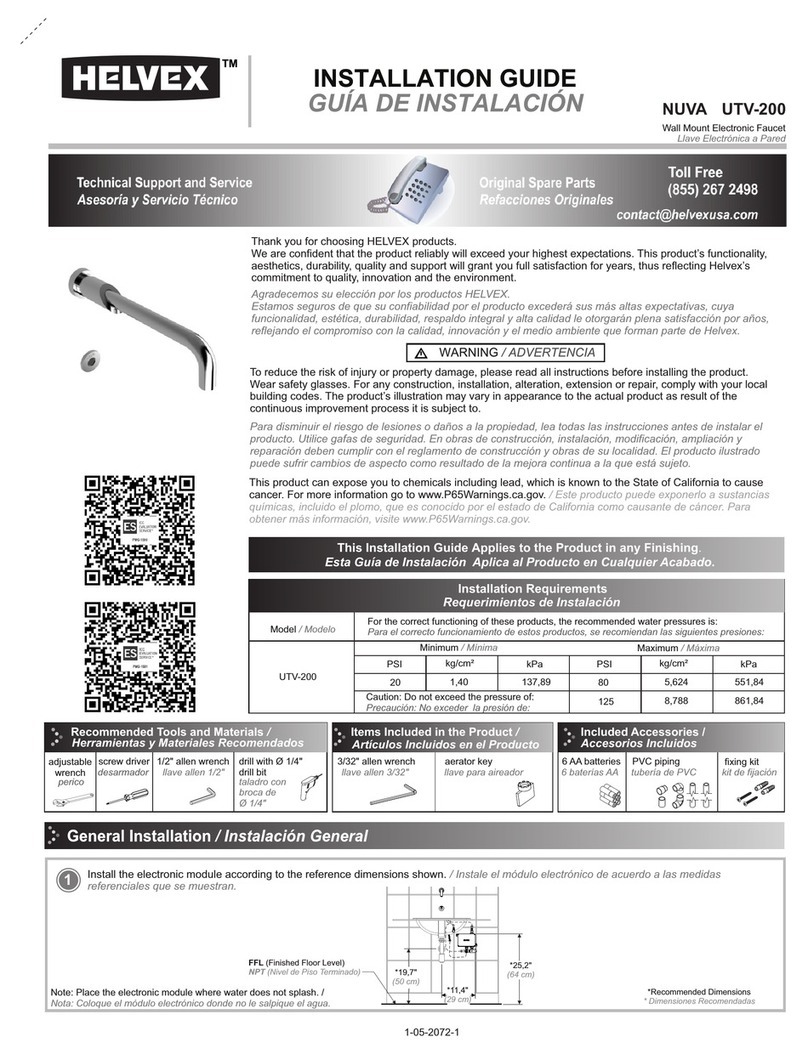
INSTALLATION GUIDE
GUÍA DE INSTALACIÓN
Hi I'm Fluxy, I'll
help you to install
your product.
1-05-1665-3
Cada metro de altura de
su producto a la base
del tinaco equivalen a
(0,1 kg/cm²) [1,42 PSI].
Meter of height of your
product to the base of
the tub is equivalent to
(0,1 kg/cm²) [1,42 psi].
[email protected]
Original Spare Parts:
Consultancy and Technical
01(55)53339431
01800 909 2020 01 (55) 53 33 94 00
Refacciones Originales:
Asesoría y Servicio Técnico:
Ext. 5068, 5815 y 5913
Service:
53 33 94 21
01 800 890 0594
[email protected]
1
* Medidas Recomendadas
*Recommended Dimmentions
Nivel de Piso Terminado
Finish Floor Level
TV-121
Esta guía de instalación aplica al producto en cualquier acabado. / This installation
guide applies to the product in any finish.
ADVERTENCIA / WARNING
Para disminuir el riesgo de lesiones o daños a la propiedad, lea todas las instrucciones antes de instalar el
producto. Utilice gafas de seguridad. En obras de construcción, instalación, modificación, ampliación y
reparación deben cumplir con el reglamento de construcción y obras de su localidad. El producto ilustrado
puede sufrir cambios de aspecto como resultado de la mejora continua a la que está sujeto.
Agradecemos su elección por los productos HELVEX.
Estamos seguros de que su confiabilidad por el producto excederá sus más altas expectativas, cuya
funcionalidad, estética, durabilidad, respaldo integral y alta calidad le otorgarán plena satisfacción por años,
reflejando el compromiso con la calidad, innovación y el medio ambiente que forman parte de Helvex.
Thank you for choosing HELVEX products.
We are confident that the product reliability will exceed your maximum expectations. The functionality,
aesthetics, durability, quality and support will grant you full satisfaction for years, it is Helvex commitment to
the quality, innovation and the environment.
To reduce the risk of injury or property damage, read all instructions. Before installing the product, please
remember to use safety glasses. Apply building normative for any construction, installation, alteration,
extension or repair. As result of continuous improvement, the product illustration may change in appearance.
El aparato no debe utilizarse por personas (incluyendo niños) con capacidades físicas sensoriales o mentales
reducidas, o carezcan de experiencia o conocimiento, a menos que reciban supervisión o capacitación.
Los niños deben supervisarse para que no jueguen con el aparato.
The device should not be used by persons (including children) with reduced physical sensory or mental
capabilities, or lack of experience and knowledge, unless they receive supervision or training.
Children should be supervised to not play with the appliance.
Requerimientos de Instalación
Installation Requirements
0,25 3,5 24,5
Requerimientos de Instalación
Installation Requirements
Modelo / Model
Presión / Pressure
Mínima / Minimum Máxima / Maximum
kg/cm² PSI kPa kg/cm² PSI kPa
TV-121 6,0 85,3 588,3
Herramienta Incluida en su Producto / Tools Included in your Product
5/64" allen wrench
llave allen 5/64" llave para
aireador
aireator
service key
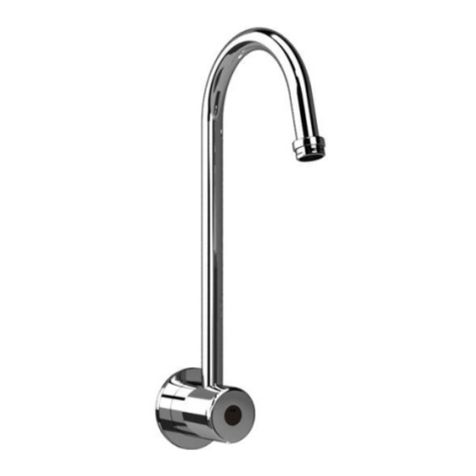
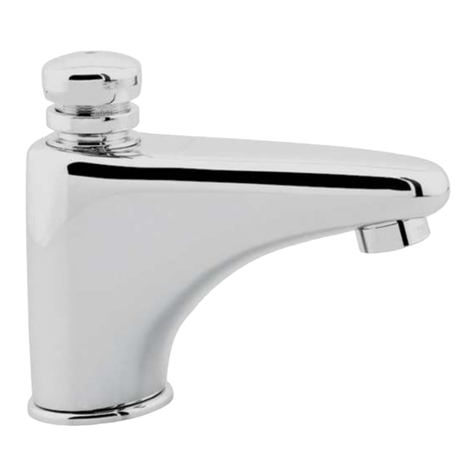
Llave de Lavabo Temporizadora a Pared /
Timed Wall Washer Faucet
TV121-1.9
Llave de Lavabo Temporizadora a Pared 1,9 l. /
0,5 gal Timed Wall Washer Faucet.
*19 cm
7,5”
*105 cm
17,3”
Antes de realizar su instalación asegúrese que su red de alimentación en pared esté totalmente rígida. / Before installing, make sure your wall
power supply is fully rigid.
Dimensiones para la Instalación / Dimmensions for Installation
TV121-1.9 1,00 14,2 98,0 6,0 85,3 588,3
perico
Herramienta Requerida / Required Tools
adjustable
wrench
NPT
FFL
2
2Retire el niple y el empaque de la salida. / Remove the nipple
and gasket from the faucet. 3Purgue la línea de alimentación y enrosque el niple. / Purge the
feedline and screw in the nipple.
4Coloque el empaque y rosque la salida al niple. / Fit the gasket
and screw the faucet to the nipple.
5
Para abrir el flujo de agua, oprima el botón push, la válvula
cerrará automáticamente el flujo según su ajuste previo. / To
open the water flow, press the push button, the valve will
automatically close the flow according to its previous setting.
6Desenrosque y retire la
válvula. / Unscrew and
remove the valve.
7
La salida temporizadora cuenta con una válvula push con ajuste de activación, con
una duración de 5 a 13 segundos . / The timer faucet has a push valve with
activation setting, with a duration of 5 to 13 seconds.
3,5 cm
1,4”
6,9 cm
2,7”
½”-14 NPT
alimentación a pared
feed wall
salida
faucet
empaque
gasket
niple con filtro
nipple with filter
Instalación General / General Installation
niple con filtro
nipple with filter
empaque
gasket
salida
faucet
Ajuste de Tiempo de Activación / Activation Time Setting
* Medidas Recomendadas
*Recommended Dimmentions
Afloje el opresor con la llave allen incluida, después gire el anillo
de ajuste y apriete el opresor./ Loosen the oppressor with the
included allen wrench, then turn the adjustment ring and tighten
the oppressor.
(+) Incrementa el
tiempo
(+) Increase time
Anillo de Ajuste
Adjustment Ring
(-) Disminuye el
tiempo
(-) Decrease time
Mantenimiento de la Válvula / Valve Maintenance
Operación / Operation
vaso
cup
resorte
spring
válvula
valve
8Retire el vaso y el resorte.
/ Remove the cup and
spring.
5/64" allen wrench
llave allen 5/64"
3
Mantenimiento Aireador
/ Aerator Maintenance
16 17
Desenrosque el aireador y limpie a chorro de agua. / Unscrew
the aerator and clean with water
Enrosque nuevamente el aireador en la salida y apriete
firmemente. / Screw the aerator again at the faucet and tighten
firmly.
13 14 15
Desenrosque y retire la
salida. / Unscrew and
remove the faucet.
Desenrosque el niple con
filtro. / Unscrew the nipple
with filter.
Limpie el filtro con cepillo a chorro de agua y vuelva a armar. /
Clean the filter with a water jet brush and reassemble.
válvula
valve
910 1112
Inserte y retire el resorte
tres veces para limpiar el
orificio de la válvula. /
Insert and remove the
spring three times to clean
the valve hole.
Limpie la parte inferior de
la válvula y el vaso con un
cepillo suave a chorro de
agua. / Clean the bottom
of the valve and the cup
with a soft brush with
water jet.
Arme la válvula. /
Assemble the valve.
Enrosque y fije la válvula.
/ Screw and secure the
valve.
verifique que la aguja del
resorte pase por el orificio
lateral verify that the spring
needle passes through the
side hole
orificio
orifice
vaso
cup
vaso
cup
resorte
spring
Mantenimiento del filtro / Filter Maintenance
empaque
gasket
salida
faucet
niple con filtro
nipple with filter
aireador
aereator
llave para aireador
(incluida)
aireator service key
(included)
aireador
aereator
empaque
gasket
TV-121 TV121-1.9 TV121-1.9TV-121
4
01 55 53 33 94 00
Ext. 5804, 5805 y 5806 (0133) 36 19 01 13
Comunícate:
Participa en nuestros
cursos gratuitos
de capacitación.
(0181) 83 33 57 67
(0181) 83 33 61 78
In Guadalajara:
Contact:
Enter our free
training courses.
In Monterrey:
En la Ciudad de México:
In Mexico City:
En Monterrey:
En Guadalajara:
HELVEX, S. A. DE C.V. Calzada Coltongo # 293, Col. Industrial Vallejo, Del. Azcapotzalco, C. P. 02300, Ciudad de México.
Es muy importante seguir las siguientes instrucciones para conservar los
acabados de los productos HELVEX, con brillo y en perfecto estado:
1. Utilice únicamente agua y un paño limpio.
2. No utilice fibras, polvos, abrasivos, ni productos químicos.
3. No utilice objetos punzo-cortantes para limpiar los acabados.
4. Se recomienda realizar la limpieza de su producto diariamente.
Nota: Vea nuestros tips en la pag. www.helvex.com.mx
It is very important to follow the instructions below to preserve HELVEX products
finishes, shiny and in perfect condition:
1. Use only water and a clean cloth.
2. Do not use fibers, powders, abrasives, or chemicals.
3. Do not use sharp objects to clean the finish.
4. It is recommended to clean your product daily.
Note: See our tips on: www.helvex.com.mx
Recomendaciones de Limpieza / Cleaning Recommendations
Posibles Causas y Soluciones / Troubleshooting
Problema / Problem Causa
/ Cause Solución / Solution
Filtro obstruído por impurezas en el agua. / Filter
clogged by impurities in the water.
Limpie el filtro de la válvula check (página 3, paso 15).
/ Clean the solenoid valve filter (page 3, step 15).
Aireador obstruído por las impurezas. / Aerator clogged
by impurities.
Limpie el aireador (página 3, paso 16).
/ Clean the aerator (page 3, step 16).
Poca o nula presión del agua. / Low or no water
pressure.
/ The faucet is not tight.
Apriete firmemente la salida en el niple (página 2, paso 4).
Firmly tighten the faucet to the nipple (page 2, step 4).
La salida está floja. / The
faucet is loose.
No hay flujo de agua.
/ There is not water
flow.
La salida no está apretada.
/ Verify the specifications the minimum pressure (page 1).
Verifique las especificaciones de presión minima (página 1).
La línea de alimentación de agua se encuentra
cerrada. / The water supply line is closed. Abra la línea de alimentación de agua. / Open
the water supply line.

This manual suits for next models

1

Other Helvex Plumbing Product manuals

Helvex 5424 User manual

Helvex

Helvex 5424 User manual

Helvex TV-030 User manual

Helvex

Helvex TV-030 User manual

Helvex 310-32 User manual

Helvex

Helvex 310-32 User manual

Helvex FB-110-38 User manual

Helvex

Helvex FB-110-38 User manual

Helvex TV-105 User manual

Helvex

Helvex TV-105 User manual

Helvex H3303-THD User manual

Helvex

Helvex H3303-THD User manual

Helvex Kubica H-3006 User manual

Helvex

Helvex Kubica H-3006 User manual

Helvex 110-WC-4.8 User manual

Helvex

Helvex 110-WC-4.8 User manual

Helvex Premier H-3005 User manual

Helvex

Helvex Premier H-3005 User manual

Helvex Nuva TV-061-S User manual

Helvex

Helvex Nuva TV-061-S User manual

Helvex Elegance 8148 User manual

Helvex

Helvex Elegance 8148 User manual

Helvex E-45 User manual

Helvex

Helvex E-45 User manual

Helvex SQUADRA E-793 User manual

Helvex

Helvex SQUADRA E-793 User manual

Helvex SQUADRA E-711 User manual

Helvex

Helvex SQUADRA E-711 User manual

Helvex AC10-8 User manual

Helvex

Helvex AC10-8 User manual

Helvex ELITE UE-300-DX User manual

Helvex

Helvex ELITE UE-300-DX User manual

Helvex MAGNA DX User manual

Helvex

Helvex MAGNA DX User manual

Helvex Piura PIU-101 User manual

Helvex

Helvex Piura PIU-101 User manual

Helvex Nuva EP-99 User manual

Helvex

Helvex Nuva EP-99 User manual

Helvex LV CASSINI User manual

Helvex

Helvex LV CASSINI User manual

Helvex TH-063 User manual

Helvex

Helvex TH-063 User manual

Helvex H-13341G User manual

Helvex

Helvex H-13341G User manual

Helvex EP-95 User manual

Helvex

Helvex EP-95 User manual

Helvex EP-3007-EB User manual

Helvex

Helvex EP-3007-EB User manual

Popular Plumbing Product manuals by other brands

SuperKlean DURAMIX 8000 Installation and maintenance manual

SuperKlean

SuperKlean DURAMIX 8000 Installation and maintenance manual

Moen 1224 installation instructions

Moen

Moen 1224 installation instructions

Linki DOC101 quick start guide

Linki

Linki DOC101 quick start guide

Hans Grohe Raindance E 150 AIR 3jet 28518000 Assembly instructions

Hans Grohe

Hans Grohe Raindance E 150 AIR 3jet 28518000 Assembly instructions

Sanela SLZA 58 Mounting instructions

Sanela

Sanela SLZA 58 Mounting instructions

Spectrum Brands Pfister Cantara LF-049-CR Quick installation guide

Spectrum Brands

Spectrum Brands Pfister Cantara LF-049-CR Quick installation guide

Franke F5 F5LT2005 Installation and operating instructions

Franke

Franke F5 F5LT2005 Installation and operating instructions

Creda PW E4ZC Technical specification

Creda

Creda PW E4ZC Technical specification

Gessi OVALE 26937 Bath Mixing Program

Gessi

Gessi OVALE 26937 Bath Mixing Program

Gessi INGRANAGGIO 63561 Bath Mixing Program

Gessi

Gessi INGRANAGGIO 63561 Bath Mixing Program

American Standard Cadet Specifier Round Front Toilet 2783.012 Features & dimensions

American Standard

American Standard Cadet Specifier Round Front Toilet 2783.012 Features & dimensions

Hans Grohe PuraVida 15448000 Instructions for use/assembly instructions

Hans Grohe

Hans Grohe PuraVida 15448000 Instructions for use/assembly instructions

Runtal Solea Owner's Manual & Installation Instructions

Runtal

Runtal Solea Owner's Manual & Installation Instructions

Grohe Euroeco Cosmopolitan E 36 274 manual

Grohe

Grohe Euroeco Cosmopolitan E 36 274 manual

Kohler K-6946 installation guide

Kohler

Kohler K-6946 installation guide

Hans Grohe Raindance E 100 Set Instructions for use/assembly instructions

Hans Grohe

Hans Grohe Raindance E 100 Set Instructions for use/assembly instructions

Sterling Plumbing ENSEMBLE 76120110 Specifications

Sterling Plumbing

Sterling Plumbing ENSEMBLE 76120110 Specifications

Laufen Citypro installation instructions

Laufen

Laufen Citypro installation instructions

manuals.online logo
manuals.online logoBrands
  • About & Mission
  • Contact us
  • Privacy Policy
  • Terms and Conditions

Copyright 2025 Manuals.Online. All Rights Reserved.