manuals.online logo
Brands
  1. Home
  2. •
  3. Brands
  4. •
  5. Helvex
  6. •
  7. Toilet
  8. •
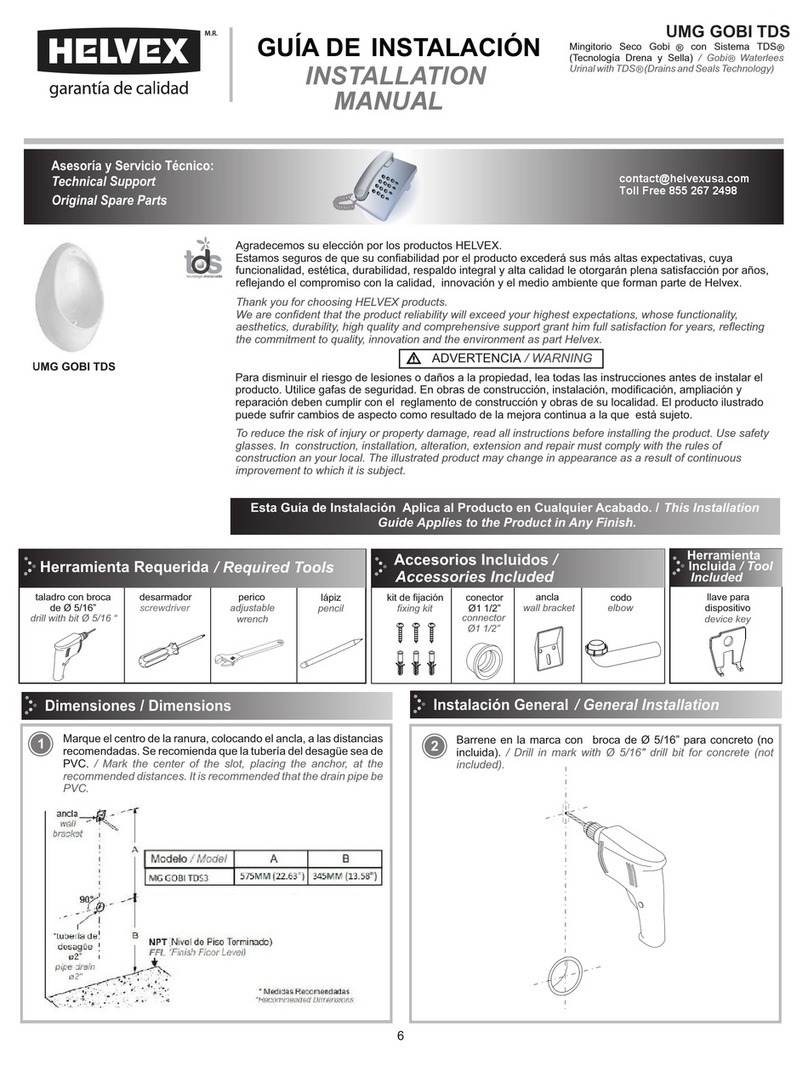
  9. Helvex MG-MOJAVE User manual

Helvex MG-MOJAVE User manual

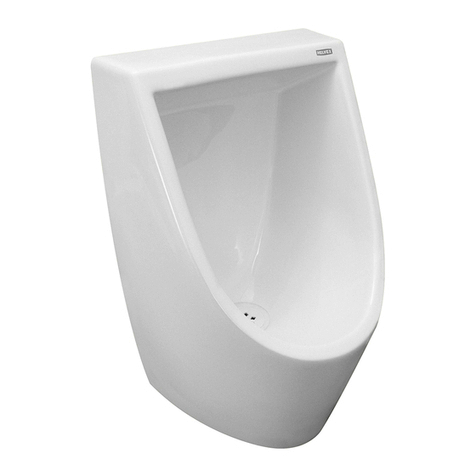
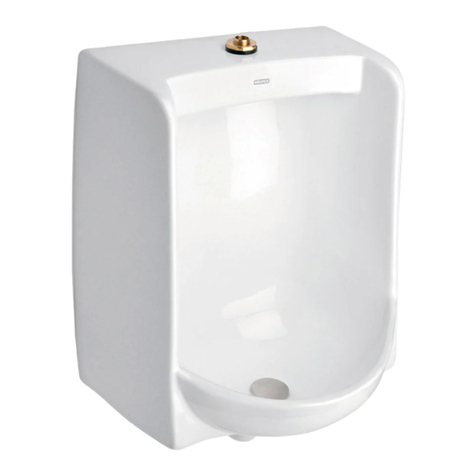
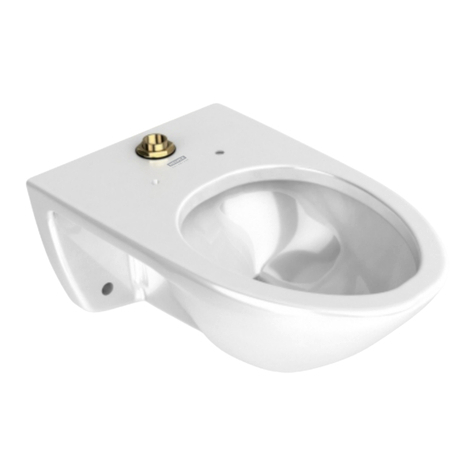
Mingitorio de Flujo Tipo Cascada
Washdown Urinal
S14200052E21-6
MG MOJAVE
MG-MOJAVE
Esta Guía de Instalación Aplica al producto en Cualquier Acabado
This Installation Guide Applies to the Product in any Finishing
taladro con broca
para concreto
de Ø 5/16"
drill with Ø 5/16"
concrete drill bit
desarmador de cruz
phillips screwdriver
perico
adjustable wrench
lápiz
pencil
kit de
fijación
fixing kit
conector
de Ø 1½"-2"
Ø 1½"-2"
trap connector
ancla
wall bracket
trampa para mingitorio
urinal trap
Herramientas y Materiales Recomendados / Recommended Tools and Materials Componentes Incluidos / Included Componentes
flexómetro
tape measure
* Medidas Recomendadas
* Recommended Dimensions
línea de alimentación para el fluxómetro
supply line for flushvalve
90°
Marque el centro de la ranura, colocando el ancla a las medidas recomendadas. Se recomienda
que la tubería del desagüe sea de PVC. / Mark the center of the wall bracket slot, place the wall
bracket at the recommended dimensions. The recomendation is to use PVC sanitary pipe drain.
*41,4 cm
*16,3"
tubería del
desagüe Ø 2"
Ø 2" drain pipe
NPT Nivel de Piso Terminado
FFL Finished Floor Level
*45,0 cm
*17,71"
General Dimensions / Dimensiones Generales
2
Altura del Sello Hidráulico
51 mm
2,0" Hydraulic Seal Height
INSTALLATION GUIDE
GUÍA DE INSTALACIÓN
La sustancia azul de metileno se utiliza en el proceso del aseguramiento de la calidad del producto con el objetivo
de asegurar que el producto no presente alguna grieta o fuga. El alcohol isopropílico se utiliza para limpiar el azul
de metileno. Estas sustancias no representan ningún daño para la salud del ser humano.
The methylene blue substance is used in the quality assurance process of the product in order to ensure that the
product does not show any cracks or leaks. Isopropyl alcohol is used to clean methylene blue. These substances
are not harmful to human health.
ADVERTENCIA / WARNING
Agradecemos su elección por los productos HELVEX.
Estamos seguros de que su confiabilidad por el producto excederá sus más altas expectativas, cuya
funcionalidad, estética, durabilidad, respaldo integral y alta calidad le otorgarán plena satisfacción por años,
reflejando el compromiso con la calidad, innovación y el medio ambiente que forman parte de Helvex.
Thank you for choosing HELVEX products.
We are confident that the product reliably will exceed your highest expectations. This product's functionality,
aesthetics, durability, quality and support will grant you full satisfaction for years, thus reflecting Helvex's
commitment to quality, innovation and the environment.
Para disminuir el riesgo de lesiones o daños a la propiedad, lea todas las intrucciones antes de instalar el
producto. Utilice gafas de seguridad. En obras de construcción, instalación, modificación, ampliación y
reparación deben cumplir con el reglamento de construcción y obras de su localidad. El producto ilustrado
puede sufrir cambios de aspecto como resultado de la mejora continua a la que está sujeto.
To reduce the risk of injury or property damage, please read all instructions before installing the product.
Wear safety glasses. For any construction, installation, alteration, extension or repair, comply with your
local building codes. The product's illustration may vary in appearance to the actual product as result of
the continuous improvement process it is subject to.
ancla
wall bracket
1
[email protected]
Original Spare Parts:
Consultancy and Technical
(52) 55 53 33 94 31
(52) 55 53 33 94 00
Refacciones Originales:
Asesoría y Servicio Técnico:
Ext. 5913, 5068 y 4815
Service:
(52) 55 53 33 94 21
[email protected]
www.refaccioneshelvex.com.mx
Cada metro de altura de
su producto a la base
del tinaco equivalen a
(0,1 kg/cm²) [1,42 PSI].
Every meter of height of
your product to the base
of the tube is equivalent
to (0,1 kg/cm²) [1,42 PSI].
Requerimientos de Instalación
Installation Requirements
MG MOJAVE
MG-MOJAVE 1,0 14,22 98,0
Requerimientos de Instalación
Installation Requirements
Modelo / Model
Mínima / Minimum Máxima / Maximum
kg/cm² PSI kPa kg/cm² PSI kPa
5,0 71,1 490,3
Para el correcto funcionamiento de éste producto, se
recomienda la siguiente presión:
For the correct functioning of these products, the
recommended water pressure is:
Presión óptima de trabajo 3 kg/cm² / Optimum working pressure 42,6 PSI
Hola soy Fluxy, te
ayudaré a instalar
tu producto.
Hi I'm Fluxy, I'll
help you to install
your product.
2
3Inserte el taquete (incluido) en el barreno. / Insert the anchor (included) into the
hole.
taquete
anchor
4
Enrosque el tornillo para fijar el ancla (incluida). /
Screw the screw to fix the wall bracket (included).
tornillo
screw
5
conector ó adaptador para
tubo Ø 2” (incluido)
trap connector or adapter
for Ø 2” pipe (included)
El tubo del desagüe
debe estar rígido y fijo
al muro. / The drain
pipe must be rigid and
fixed to the wall.
tubería del
desagüe Ø 2”
Ø 2" drain pipe
Inserte el conector ó adaptador (incluido), en el tubo de desagüe a tope. / Insert the trap
connector or adapter (included) into the drain pipe.
NOTA: Si la tuberia del desagüe es de un Ø diferente, se recomienda comprar un acoplamiento sanitario o adaptador a
la medida requerida. / NOTE: If the drain pipe is of a different diameter, it is recommended to purchase a sanitary
coupling or adapter as required.
96
Inserte el tubo con la tuerca y el conector al desagüe. / Insert the urinal trap pipe with the nut.
Corte el tubo si es necesario. /
Cut the pipe if necessary.
Barrene en la marca con broca de Ø5/16” para concreto (no
incluida). / Drill on the mark with Ø5/16 " concrete drill bit (not
included).
Instalación General / General Installation
tuerca
nut
conector o adaptador para
tubo de Ø 2" (incluido)
trap connector or adapter
for Ø2" pipe (included)
tubo de la trampa
urinal trap pipe
97
3
tuerca
nut
empaque
gasket
12 Barrene en las marcas con broca de Ø 5/16”
para concreto (no incluida). / Drill in the
marks with Ø 5/16" drill bit for concrete (not
included).
9 Inserte la tuerca en el tubo de la contra. Inserte la trampa mingitorio al tubo de la contra y al tubo de la trampa, enrosque las tuercas para fijar
asegurándose de que se coloque el empaque. / Insert the nut in to the drain tail piece. Insert the urinal trap in the drain tail piece and in the urinal trap
pipe, screw the nuts to fix make sure that the gasket is placed.
910
ancla
wall bracket
Desmonte el mingitorio. / Remove the urinal. Marque los barrenos faltantes y retire
el ancla. / Mark the missing holes and
remove the wall bracket.
Asegúrese de que el tubo de la trampa esté instalado con una inclinación para evitar el estancamiento de líquidos. Si la instalación fue correcta siga con los
pasos de instalación. En caso contrario proceda a ajustar la instalación. / Make sure the urinal trap pipe is installed with an tilt to avoid liquids stagnation. If
the installation was successful follow the installation steps. Otherwise proceed to adjust the installation.
mingitorio
urinal
Monte el mingitorio en el ancla. / Mount the urinal on the wall bracket.
98
11
2%
trampa
mingitorio
urinal trap
tubo de la contra
drain tail piece
tubo de la trampa
urinal trap pipe
tuerca
nut
4
Inserte los taquetes en los barrenos. /
Insert the anchors into the holes.
13 Monte el mingitorio en el ancla. / Mount the urinal
on the wall bracket.
Ajuste de Instalación / Installation Adjustment
Desenrosque la tuerca del tubo céspol y desmonte el mingitorio del
ancla. / Unscrew the nut from the urinal trap pipe and remove the
urinal from wall bracket.
16 17
Coloque el ancla y enrosque los tornillos
para fijar. / Place the wall bracket and
screw the screws to fix.
Afloje el tornillo y recorra el ancla hacia arriba o hacia abajo según se
requiera. / Unscrew the screw and move the wall bracket up or down as
required.
Fije el ancla nuevamente enroscando el tornillo. / Fix the wall bracket
again screwing the screw.
18
14 15
Si se cumple con la correcta instalación y conexión de la trampa mingitorio, proceda a
realizar los pasos del 11 al 16. / If the correct installation and connection of the urinal
trap is met, proceed to follow the steps 11 to 16.
5
*46,86"
(119,0 cm)
Nivel de Piso Terminado
Finished Floor Level
fluxómetro (no incluido)
urinal flushvalve (not included)
NPT
FFL
19
20
Mantenimiento / Maintenance
Desenrosque el tapón para drenar los sedimentos acumulados. / Unscrew the screw cap to drain the acumulated sediments.
empaque
gasket
tapón
screw cap
Verifique que el empaque esté colocado. / Verify that the gasket is placed.
Instalación del Fluxómetro para Mingitorio
Urinal Flushvalve Installation
11,6 - 13,7 cm
(4,56" - 5,39”)
25,3 cm
(9,96”)
2,36" - 3,14"
(6,0 - 8,0 cm)
61,6 cm
(24,25”)
48,7 cm
(19,18”)
45,0 cm
(17,71”)
41,4 cm
a la
perforación
central
(16,3”)
to the center
of the slot
spud
Ø 3/4" - 14 NPSM
Pared con Acabado Final
Finished Wall
2%
Instalación del Fluxómetro (no incluido) / Flushometer (not included) Installation
Instale el fluxómetro marca Helvex (no incluido) de acuerdo al siguiente diagrama. / Install the Helvex flushometer (not included) according to the
following diagram.
Puede instalar cualquier tipo de Fluxómetro de 1 LPD marca Helvex.
You can install any 0,26 GPF Helvex Flushometer type.
Posibles Causas y Soluciones / Troubleshooting
Problema / Problem Causas / Causes Solutions / Soluciones
Existe fuga en las conexiones. /
There is leakage in the connections.
Las conexiones están flojas. /
The connections are loose.
Salpica o desborda al accionar la
descarga. / Splashes or overflows
when make the flush.
Apriete las conexiones firmemente. /
Tigthened the connections firmly.
El volumen de descarga es mayor al especificado. /
The flush volume is larger than specified.
Instalar el Fluxómetro con el volumen de descarga recomendado
(Pág. 5, paso 19). / Install the Urinal Flushometer with the
recommended flush volume (Page 5, step 19).
Realice el mantenimiento de la trampa mingitorio. ( Pág. 5, paso 20). /
Generate the urinal trap maintenance (Page 5, step 20).
Acumulación de sedimentos u objetos en la trampa mingitorio.
/ Sediments or objects accumulation in the urinal trap.
Liquid stagnation. /
Los líquidos se quedan
estancados. Realice el ajuste de instalación (Pág. 4, paso 16 al 18). /
Generate the installation adjustment (Page 4, step 16 to 18).
El tubo de la trampa no cumple con la inclinación del 2%. /
The urinal trap pipe does not meet the 2% tilt.
6
Recomendaciones de Limpieza / Cleaning Recommendations
In Guadalajara:
Contact:
Enter our free
training courses.
In Monterrey:
En la Ciudad de México:
In Mexico City:
En Monterrey: En Guadalajara:
(52) 55 53 33 94 00
Ext. 5804, 5805 y 5806
(33) 36 19 01 13
Comunícate:
Participa en nuestros
cursos gratuitos
de capacitación.
(81) 83 33 57 67
(81) 83 33 61 78
Es muy importante seguir las siguientes instrucciones para conservar los
acabados de los productos HELVEX con brillo y en perfecto estado:
1. Utilice únicamente agua y un paño limpio.
2. No utilice fibras, polvos, abrasivos, ni productos químicos.
3. No utilice objetos punzo-cortantes para limpiar los acabados.
4. Se recomienda realizar la limpieza de su producto diariamente.
Visite nuestras páginas www.helvex.com.mx para México y www.helvex.com
para el mercado Internacional
It is very important to follow the instructions below to preserve HELVEX products
finishings shiny and in perfect conditions:
1. Use only water and a clean cloth.
2. Do not use fibers, powders, abrasives, or chemicals.
3. Do not use sharp objects to clean the finishings.
4. It is recommended to clean your device daily.
Visit our websites www.helvex.com.mx for Mexico and www.helvex.com
for the International market.
HELVEX, S. A. DE C. V. Calzada Coltongo # 293, Col. Industrial Vallejo, Alcaldía Azcapotzalco, C. P. 02300, Ciudad de México.

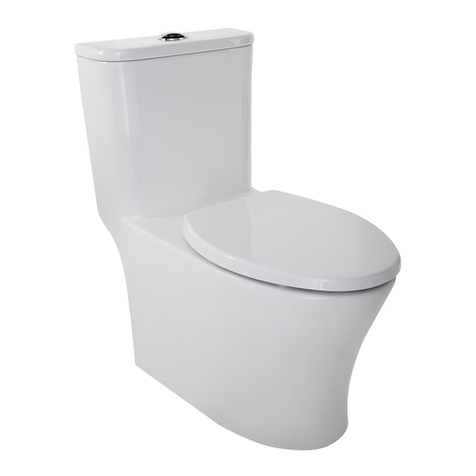
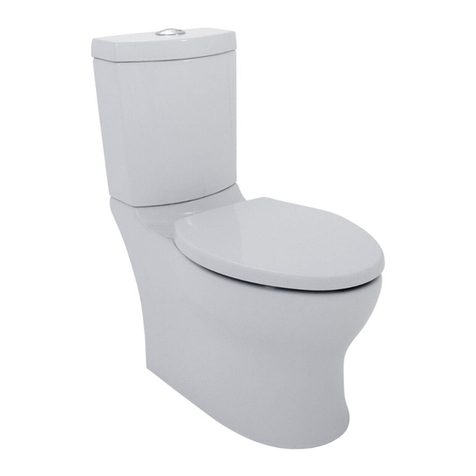
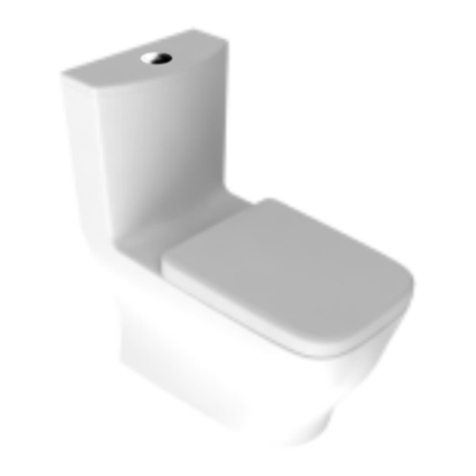
Other Helvex Toilet manuals

Helvex WC Bolmen User manual

Helvex

Helvex WC Bolmen User manual

Helvex NAO W User manual

Helvex

Helvex NAO W User manual

Helvex WC DRAKAR2 User manual

Helvex

Helvex WC DRAKAR2 User manual

Helvex AT-4 User manual

Helvex

Helvex AT-4 User manual

Helvex WC MIURA16 User manual

Helvex

Helvex WC MIURA16 User manual

Helvex ATM User manual

Helvex

Helvex ATM User manual

Helvex WC MIURA User manual

Helvex

Helvex WC MIURA User manual

Helvex OP CAPRI PLUS User manual

Helvex

Helvex OP CAPRI PLUS User manual

Helvex UMG GOBI TDS User manual

Helvex

Helvex UMG GOBI TDS User manual

Helvex WC MURANO User manual

Helvex

Helvex WC MURANO User manual

Helvex BOLMEN2 User manual

Helvex

Helvex BOLMEN2 User manual

Helvex WC AUSTRAL User manual

Helvex

Helvex WC AUSTRAL User manual

Helvex WC MURANO 2P User manual

Helvex

Helvex WC MURANO 2P User manual

Helvex WC 2.5 User manual

Helvex

Helvex WC 2.5 User manual

Helvex OP RIVOLI PLUS User manual

Helvex

Helvex OP RIVOLI PLUS User manual

Helvex WC OP CAPRI User manual

Helvex

Helvex WC OP CAPRI User manual

Helvex OP RIVOLI PLUS User manual

Helvex

Helvex OP RIVOLI PLUS User manual

Helvex AF-1 User manual

Helvex

Helvex AF-1 User manual

Helvex WC ULTRA 2P User manual

Helvex

Helvex WC ULTRA 2P User manual

Helvex WC OPTION User manual

Helvex

Helvex WC OPTION User manual

Helvex WC BOLMEN User manual

Helvex

Helvex WC BOLMEN User manual

Helvex WLU GOBI TDS User manual

Helvex

Helvex WLU GOBI TDS User manual

Helvex WC MIURA 16 TCC User manual

Helvex

Helvex WC MIURA 16 TCC User manual

Helvex TZF NAO PARED User manual

Helvex

Helvex TZF NAO PARED User manual

Popular Toilet manuals by other brands

Porcelanosa Noken URBAN C 100208332 N369225497 manual

Porcelanosa

Porcelanosa Noken URBAN C 100208332 N369225497 manual

Guardian G1-201LBX1 User instructions and warranty

Guardian

Guardian G1-201LBX1 User instructions and warranty

Swiss Madison SM-WT514MB installation instructions

Swiss Madison

Swiss Madison SM-WT514MB installation instructions

BIOLAN BIOLANeco Instructions for use

BIOLAN

BIOLAN BIOLANeco Instructions for use

American Standard Champion 4 owner's manual

American Standard

American Standard Champion 4 owner's manual

MAINLINE ML100W INSTALLATION INSTRUCTIONS CARE AND MAINTENANCE

MAINLINE

MAINLINE ML100W INSTALLATION INSTRUCTIONS CARE AND MAINTENANCE

Geberit AquaClean 4000 user manual

Geberit

Geberit AquaClean 4000 user manual

noken Smart Line 100104495 manual

noken

noken Smart Line 100104495 manual

SFA SANICOMPACT Series installation instructions

SFA

SFA SANICOMPACT Series installation instructions

American Standard Champion 4 MAX Right Height 231AA Series installation instructions

American Standard

American Standard Champion 4 MAX Right Height 231AA Series installation instructions

DURAVIT SensoWash Starck f Mounting instructions

DURAVIT

DURAVIT SensoWash Starck f Mounting instructions

Geberit AQUACLEAN Mera Classic 146240111 installation manual

Geberit

Geberit AQUACLEAN Mera Classic 146240111 installation manual

Toto MS614114CEF installation manual

Toto

Toto MS614114CEF installation manual

Toto CST624 Series installation manual

Toto

Toto CST624 Series installation manual

OVE MICAH 6701001 installation manual

OVE

OVE MICAH 6701001 installation manual

Signature Hardware BURWELL BIDET TOILET SEAT installation instructions

Signature Hardware

Signature Hardware BURWELL BIDET TOILET SEAT installation instructions

SFA SANIMARIN MAXLITE+S installation instructions

SFA

SFA SANIMARIN MAXLITE+S installation instructions

GoBidet 2003 How to install

GoBidet

GoBidet 2003 How to install

manuals.online logo
manuals.online logoBrands
  • About & Mission
  • Contact us
  • Privacy Policy
  • Terms and Conditions

Copyright 2025 Manuals.Online. All Rights Reserved.