manuals.online logo
Brands
  1. Home
  2. •
  3. Brands
  4. •
  5. Henny Penny
  6. •
  7. Commercial Food Equipment
  8. •
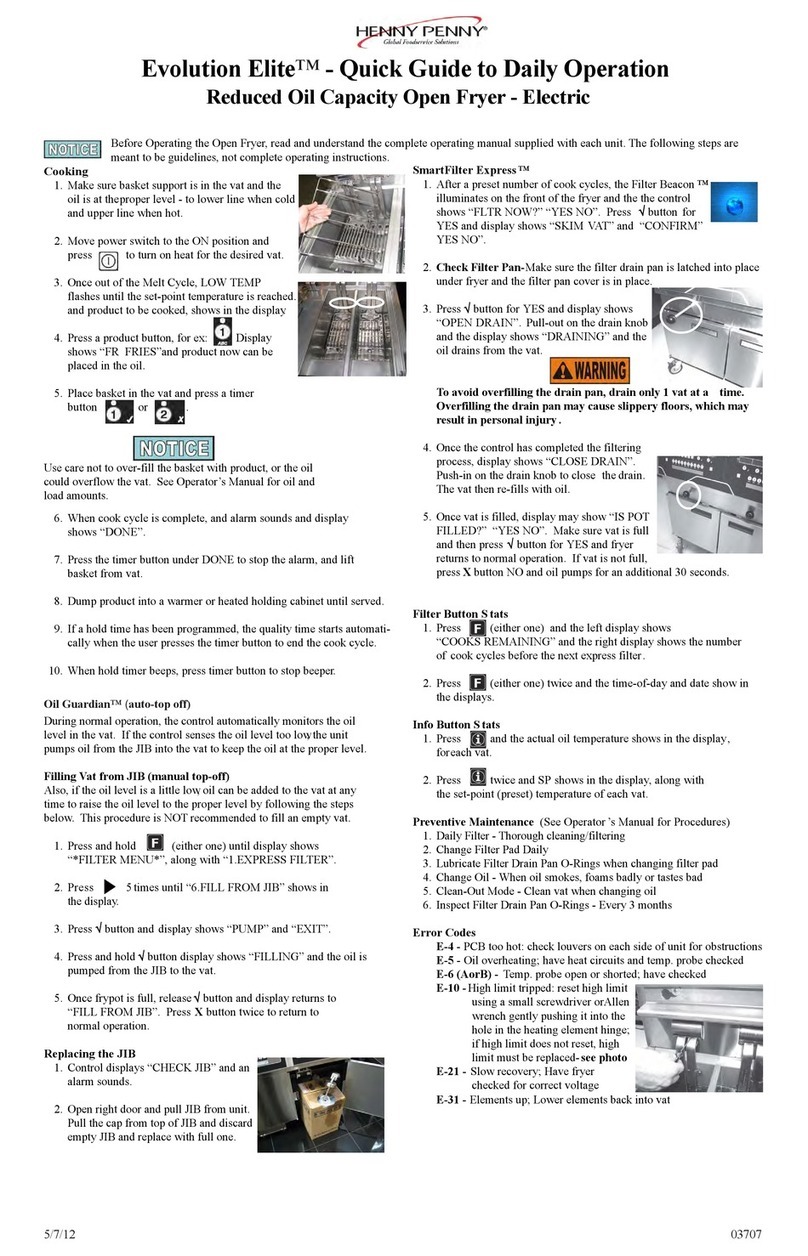
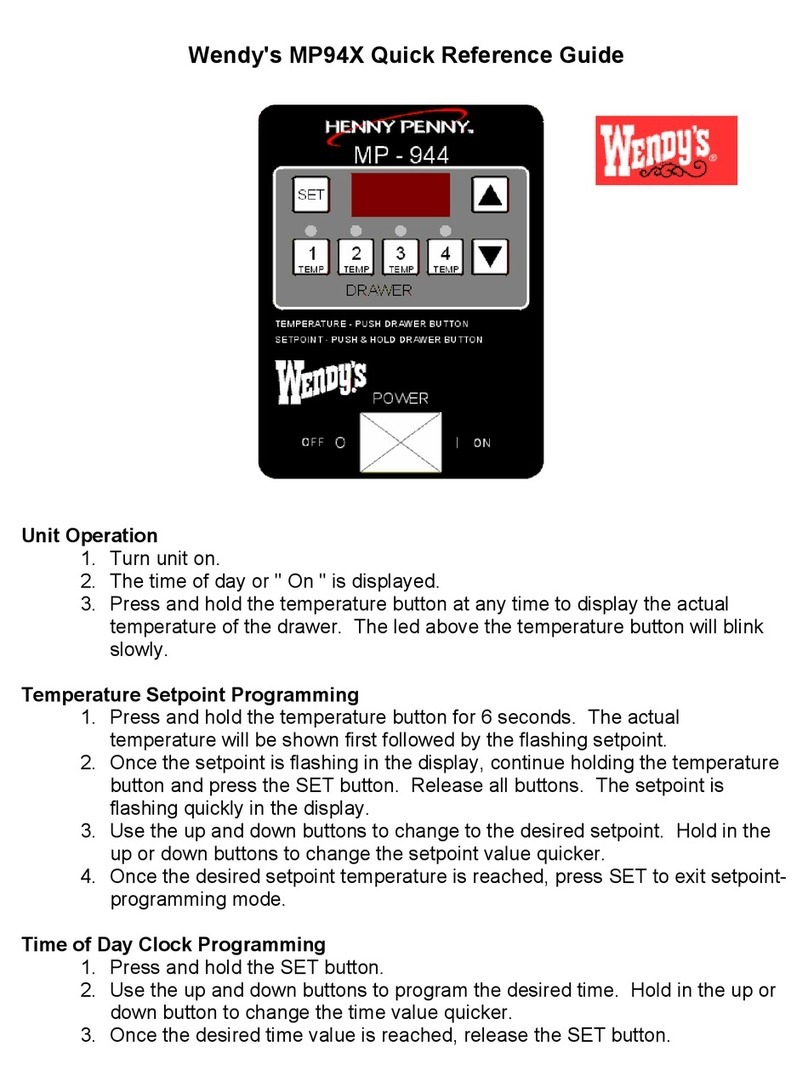
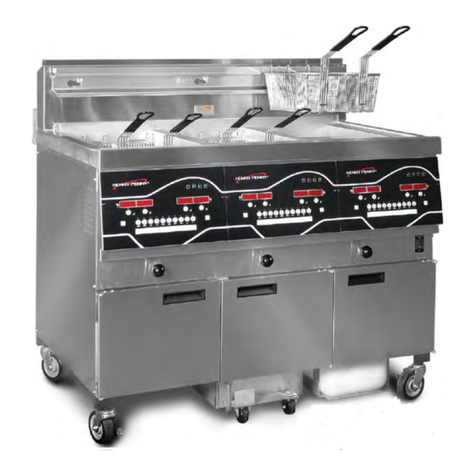
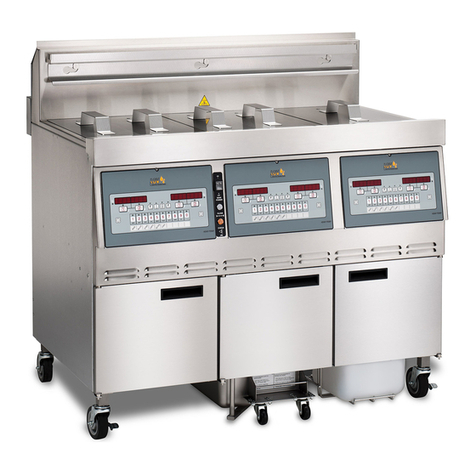
  9. Henny Penny KFC KVE 07X User manual

Henny Penny KFC KVE 07X User manual

KFC’s Alert Guide
HOT OIL WILL CAUSE SEVERE BURNS.
Use the following information to solve errors:
•IS POT FILLED? error = If the vat is full, press the button to resume normal operation. If the vat is not
full, close the drain valve and open the fill valve, and then press the filter button to pump the oil from the
pan back into the vat.
•E-31 error or heating elements are up out of the oil = Heating elements have been left up during
maintenance filter. Lower heating elements.
•E-10 error or the high limit is tripped = Allow the fryer to cool for 15-20 minutes, and then reset the high
limit by pressing down and releasing the raised side of the switch, for the vat that is not operating. A single
reset switch is located behind the door of each well. If the high limit does not reset, call for service.
•E-15 error or the drain is open = Make sure the drain handle is completely closed.
•E-22 error or the fryer is not heating = The vat is unplugged or the circuit breaker is turned off.
Any problems, refer to manual or contact Henny Penny Corp. 1-800-417-8405, or 937-456-8405. These instructions are meant to be
guidelines, not complete operating instructions. Read and understand the complete operator’s manual supplied with each unit.
FM06-075-A 06-01-18
FILTER ROUTINE
HOT OIL WILL CAUSE SEVERE BURNS.
Always put on protective gear: Use all KFC’s approved safety equipment including, apron, face shield and gloves.
1. Oil must be hot, at cooking
temperature. Press the TEMP
button to confirmthe
temperature.
2. Turn black purge handle to FILTER
(CLOSE) position, and make sure
filter pan is in place.
3. Press so the display reads
OFF.
4. Turn red drain handle to open
drain. 5. Once oil is drained, clean vat. 6. Turn yellow return handle to
open position to start pump,
and if performing a polish,
press the polish timer now.
7. Close red drain handle. 8. Press to turn the display
ON.
9. Once vat is full, let oil bubble for
15 seconds and then turn yellow
return handle to closed position to
stop pump.
10. IS POT FILLED and YESNO
displays. Verify vat is full and press
CONFIRM.
11. Repeat steps 1 through 10 to filter
eachvat. IMPORTANT: Once the last vat is
filtered, turn the purge handle to the
COOK (OPEN) position.
Any problems, refer to manual or contact Henny Penny Corp. 1-800-417-8405, or 937-456-8405. These instructions are meant to be
guidelines, not complete operating instructions. Read and understand the complete operator’s manual supplied with each unit.
FM06-074-A 06-01-18
确认
温度
Add or Change Menu Items
POLISH TEMP INFO POLISH
CONFIRM
Level 1
1. Press and hold the TEMP and INFO buttons simultaneously until LEVEL 1 and ENTER CODEdisplays.
2. Type 1, 2, 3, 4. PRODUCT and SELECTN displays.
3. Press the CONFIRM button. SELECT PRODUCT and P1 (FR FRIES or other product name) displays.
4. Use the ◄ and ► buttons to scroll through the products, or press the desired product button.
5. Press the CONFIRM button. A product displays on the left, and MODIFY / YES NO displays on the right.
6. Press the CONFIRM button to change the product, or the HIDDEN button to choose another product.
HIDDEN
A. Use the product buttons to enter a product name. Once the desired letter displays, press the ► button to continue to the next
letter.
B. Press the ▼ button. COOK TIME displays. Press the product buttons to change the time in minutes and seconds, to a
maximum of 59:59.
C. Press the ▼ button. TEMP displays. Press the product buttons to change the temperature. The temperature range is 190°F
(88°C) to 380°F (193°C).
D. Press the ▼ button. COOK ID displays. Press the product buttons to type an abbreviated product name (Ex: NUG).
E. Press the ▼ button. DUTY 1 displays. Press the product buttons to set an alarm (e.g. 0:30 sets an alarm at 30 seconds after the
start of the cook cycle).
F. Press the ▼ button. DUTY 2 display. Press the product buttons to program a second alarm.
G. Press the ▼ button. QUAL TMR display. Press the product buttons to set holding time.
H. Press the ▼ button. AIF DISABLE and YES or NO displays. Press the ◄ and ► buttons to change the display to YES if the
product should not be included in the automatic intermittent filtration counts, or NO if it should be included.
I. Press the ▼ button. ASSIGN BTN displays, along with the product (e.g. NUGGETS). If the selected product already has an
assigned button, an LED illuminates. To assign additional product buttons to that product, press and hold a non-illuminated
product button for 3 seconds, until the LED illuminates. To remove a product from a button, press and hold the illuminated
product button and the LED goes out.
7. To program another product, press the HIDDEN button. SELECT PRODUCT displays. Repeat steps A through I for eachproduct.
8. Press the HIDDEN button three times to end programming.
FM06-073-A 06-01-18
确认
信息
温度
抛光
抛光
Add or Change Menu Items
Level 2
Used to access Load Compensation, Load Compensation Reference, Full Heat and PC Factor.
1. Press and hold the TEMP and INFO buttons simultaneously until LEVEL 2 and ENTER CODE displays.
2. Type 1, 2, 3, 4. PRODUCT and SELECTN displays.
3. Press the CONFIRM button. LD COMP displays.
4. Use the ◄ and ► buttons to scroll through the Load Compensation, Load Compensation Reference, Full Heat and PC Factor options.
5. Press the CONFIRM button. An option displays on the left, and MODIFY / YES NO displays on theright.
6. Press the CONFIRM button to change the selected option, or the HIDDEN button to choose another option:
A. Select LD COMP, and then press the product buttons to change the value from 0 to 20. This automatically adjusts the time to
account for the size and temperature of the cooking load.
B. Press the ▼ button until LCMP REF displays, and then press the product buttons to change the value. This is the average
cooking temperature for each product. The timer speeds up at temperatures above this settingand slows down at temperatures
below this setting. INFO: If load compensation is set to OFF, then _ _ _ displays and the setting cannot be programmed.
C. Press the ▼ button until FULL HT displays, and then press the product buttons to change the value from 0 to 90 seconds. This
is the full heat value in seconds, which means the heat is on as soon as a timer button is pressed for the programmed length of
time.
D. Press the ▼ button until PC FACTOR displays, and then press the product buttons to change the value from 0 to 50. This is the
proportional temperature, which helps to keep the oil from over-shooting the set point temperature.
7. Press the HIDDEN button three times to end programming.
FM06-073-A 06-01-18

Other Henny Penny Commercial Food Equipment manuals
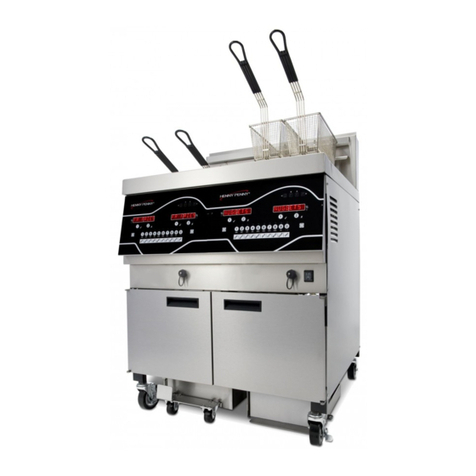
Henny Penny Evolution Elite Gas 14X User manual

Henny Penny

Henny Penny Evolution Elite Gas 14X User manual

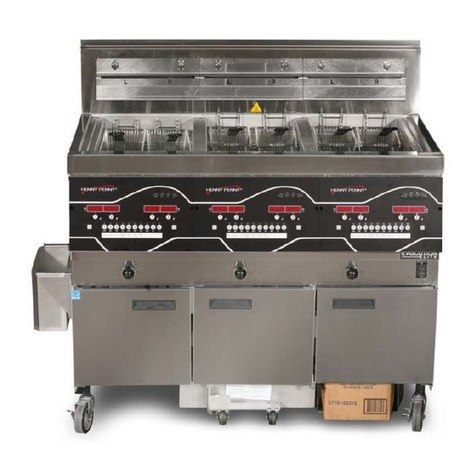
Henny Penny FlexFusion Platinum User manual

Henny Penny

Henny Penny FlexFusion Platinum User manual

Henny Penny FlexFusion ELECTRIC SPACESSAVER Operating instructions

Henny Penny

Henny Penny FlexFusion ELECTRIC SPACESSAVER Operating instructions

Henny Penny LOV3 User manual

Henny Penny

Henny Penny LOV3 User manual

Henny Penny HEC-103 User manual

Henny Penny

Henny Penny HEC-103 User manual

Henny Penny LOV3 User manual

Henny Penny

Henny Penny LOV3 User manual

Henny Penny LOV3 User manual

Henny Penny

Henny Penny LOV3 User manual

Henny Penny 6.15 Operating and maintenance instructions

Henny Penny

Henny Penny 6.15 Operating and maintenance instructions

Henny Penny Evolution Elite Gas 14X User manual

Henny Penny

Henny Penny Evolution Elite Gas 14X User manual

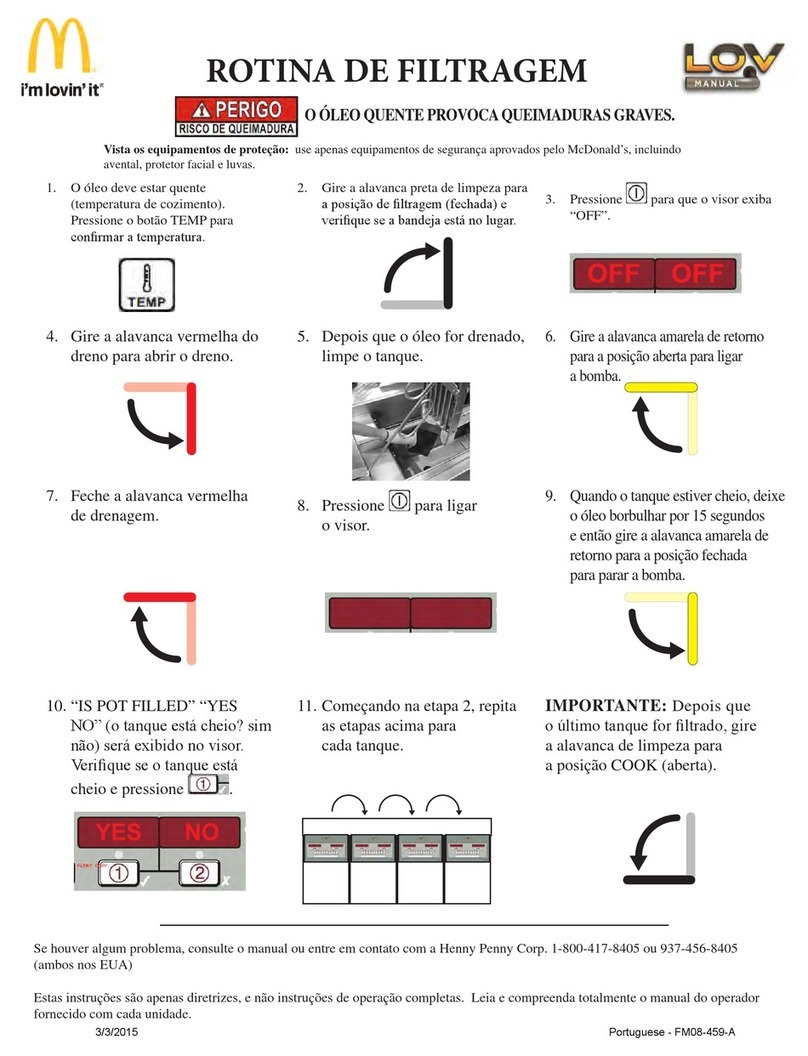
Henny Penny Wendy's EvolutionElite EEG-253 User manual
Henny Penny

Henny Penny Wendy's EvolutionElite EEG-253 User manual

Henny Penny Evolution Elite Gas 14X User manual

Henny Penny

Henny Penny Evolution Elite Gas 14X User manual

Henny Penny Evolution Elite 14X User manual
Henny Penny

Henny Penny Evolution Elite 14X User manual

Henny Penny PFE-590 User manual

Henny Penny

Henny Penny PFE-590 User manual

Henny Penny HHC-98 Series User manual

Henny Penny

Henny Penny HHC-98 Series User manual

Henny Penny LOV3 User manual

Henny Penny

Henny Penny LOV3 User manual

Henny Penny LOV 100 Series User manual

Henny Penny

Henny Penny LOV 100 Series User manual

Henny Penny LOV3 User manual

Henny Penny

Henny Penny LOV3 User manual

Henny Penny FlexFusion ELECTRIC SPACESAVER FSE-610 User manual

Henny Penny

Henny Penny FlexFusion ELECTRIC SPACESAVER FSE-610 User manual

Henny Penny HB-11 User manual

Henny Penny

Henny Penny HB-11 User manual

Henny Penny FlexFusion FPG-615 User manual

Henny Penny

Henny Penny FlexFusion FPG-615 User manual

Henny Penny LVE-102 User manual

Henny Penny

Henny Penny LVE-102 User manual
Henny Penny Evolution Elite Gas 14X User manual

Henny Penny

Henny Penny Evolution Elite Gas 14X User manual
Henny Penny FlexFusion FPE-615 User manual

Henny Penny

Henny Penny FlexFusion FPE-615 User manual

Henny Penny Evolution Elite Gas 16X User manual

Henny Penny

Henny Penny Evolution Elite Gas 16X User manual

Popular Commercial Food Equipment manuals by other brands

Costco 5P-08WT manual

Costco

Costco 5P-08WT manual

Beper BT.651Y manual

Beper

Beper BT.651Y manual

Blue Seal EF30 Installation & operation manual

Blue Seal

Blue Seal EF30 Installation & operation manual

Tecfrigo Snelle 400 GS installation instructions

Tecfrigo

Tecfrigo Snelle 400 GS installation instructions

Follett PFT Series Operation and maintenance manual

Follett

Follett PFT Series Operation and maintenance manual

MEFE CAT 206 PTR User manual and maintenance

MEFE

MEFE CAT 206 PTR User manual and maintenance

Diamond AL1TB/H2-R2 Installation, Operating and Maintenance Instruction

Diamond

Diamond AL1TB/H2-R2 Installation, Operating and Maintenance Instruction

Salva IVERPAN FC-18 User instructions

Salva

Salva IVERPAN FC-18 User instructions

Allure Melanger JR6t Operator's manual

Allure

Allure Melanger JR6t Operator's manual

saro FKT 935 operating instructions

saro

saro FKT 935 operating instructions

Hussmann Rear Roll-in Dairy Installation & operation manual

Hussmann

Hussmann Rear Roll-in Dairy Installation & operation manual

Cornelius IDC PRO 255 Service manual

Cornelius

Cornelius IDC PRO 255 Service manual

Moduline HSH E Series Service manual

Moduline

Moduline HSH E Series Service manual

MINERVA OMEGA DERBY 270 operating instructions

MINERVA OMEGA

MINERVA OMEGA DERBY 270 operating instructions

Diamond OPTIMA 700 Installation, use and maintenance instructions

Diamond

Diamond OPTIMA 700 Installation, use and maintenance instructions

Diamond G9/PLCA4 operating instructions

Diamond

Diamond G9/PLCA4 operating instructions

Cuppone BERNINI BRN 280 Installation

Cuppone

Cuppone BERNINI BRN 280 Installation

Arneg Atlanta Direction for Installation and Use

Arneg

Arneg Atlanta Direction for Installation and Use

manuals.online logo
manuals.online logoBrands
  • About & Mission
  • Contact us
  • Privacy Policy
  • Terms and Conditions

Copyright 2025 Manuals.Online. All Rights Reserved.