manuals.online logo
Brands
  1. Home
  2. •
  3. Brands
  4. •
  5. HiB
  6. •
  7. Indoor Furnishing
  8. •
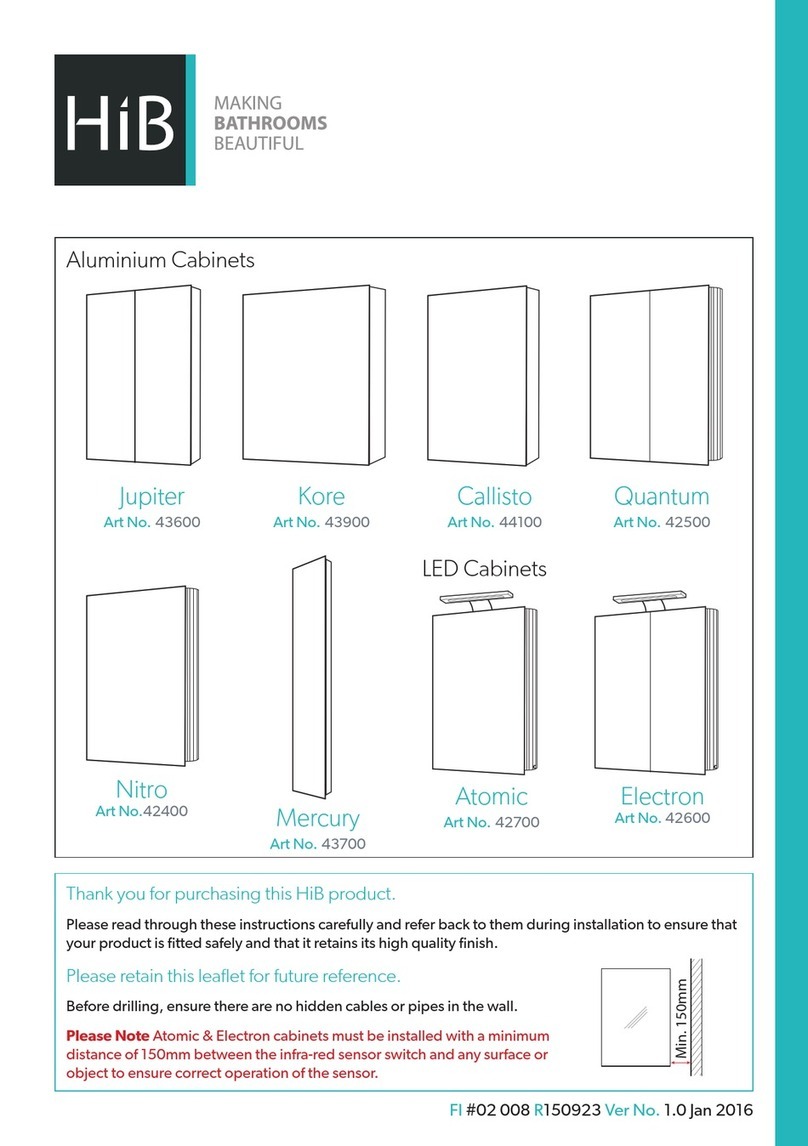
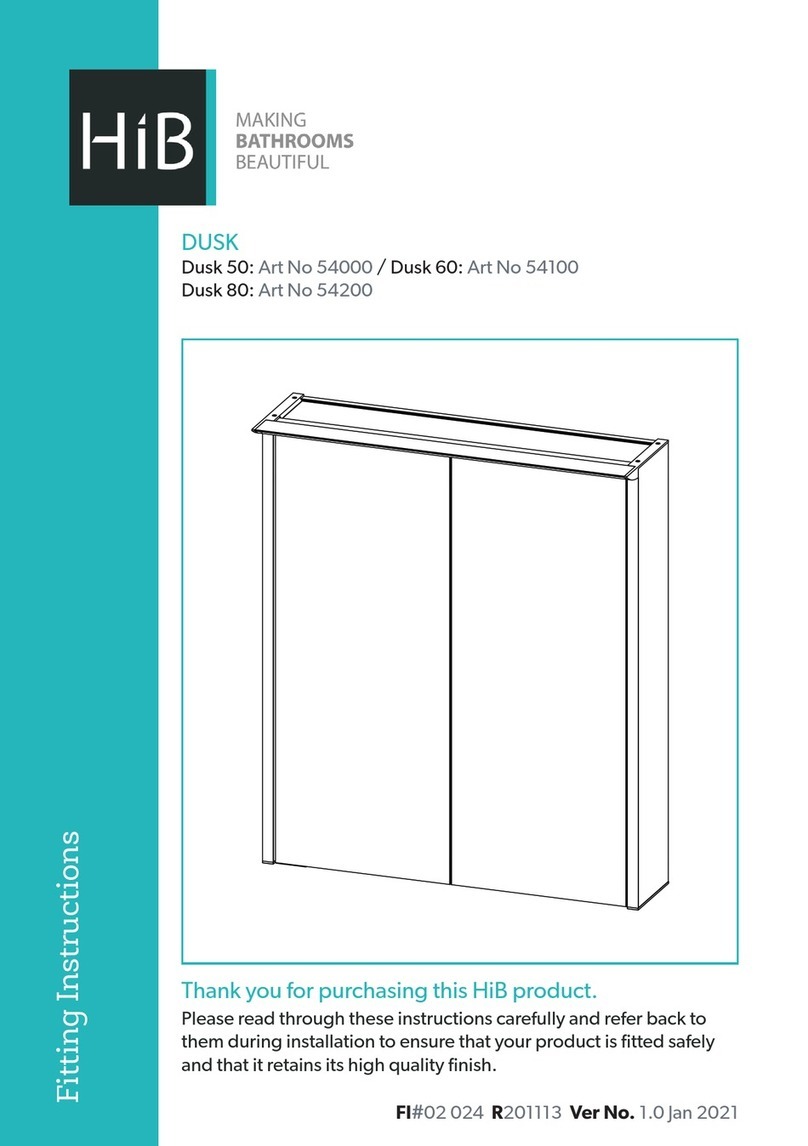
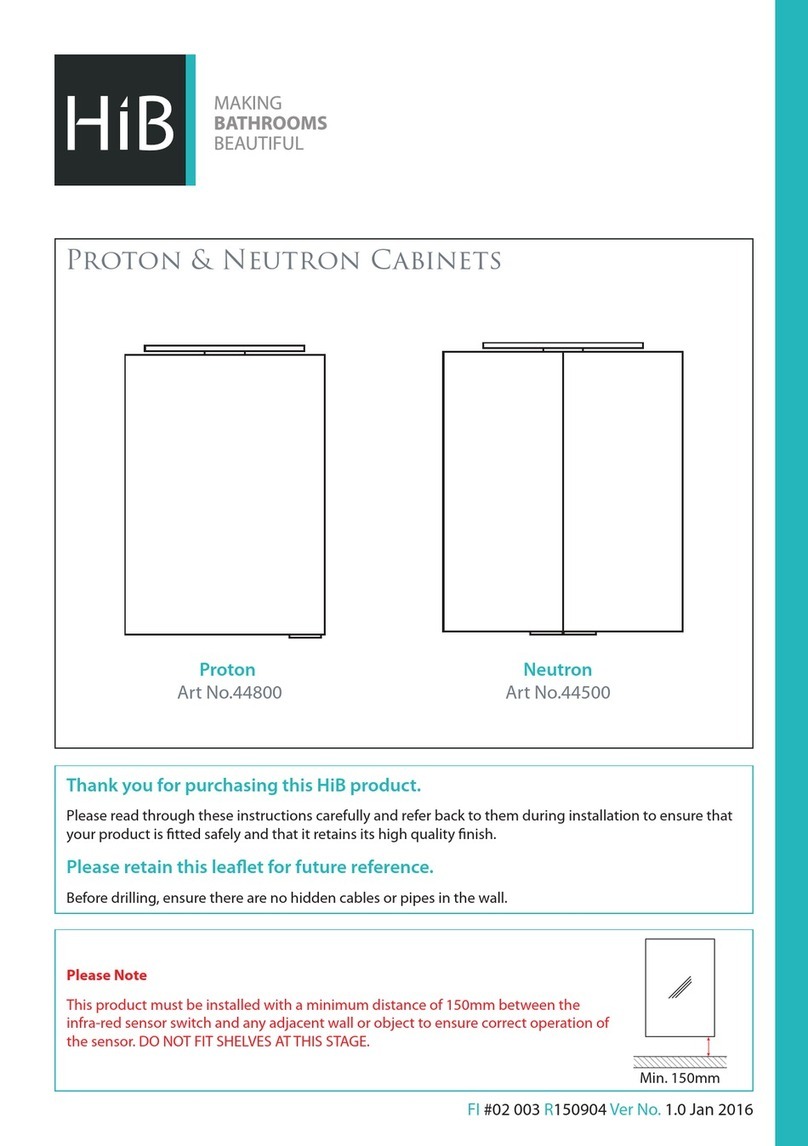
  9. HiB Vanquish 50 User manual

HiB Vanquish 50 User manual

T: +44 (0)20 8441 0352 F: +44 (0)20 8441 0219 E: sales@hib.co.uk hib.co.uk
Building 3, North London Business Park, Oakleigh Road South, New Southgate, London. N11 1GN
©HiB Copyright: No part of this document may be reprinted or duplicated without HiB consent. All sizes and measurements are approximate, but we do try and make sure they are as accurate as possible. In the
interest of continuous product development, HiB reserves the right to alter specifications as necessary. E & OE.
This product is suitable for installation in zones:
FI#02 015 R170201 Ver No. 1.0 Jan 2017
2 &Outside Zone
All installations must comply with guidelines which are based on a zonal
concept. The diagram above illustrates this concept and must be followed
to ensure the safe installation of electrical appliances in the bathroom.
These regulations apply to domestic installations only. Installations must be
made in accordance with the current IEE wiring regulations and relevant
building regulations. HiB recommends that all electrical bathroom
products should only be fitted by a suitably qualified, Part P registered
electrician.
Thank you for purchasing this HiB product.
Please read through these instructions carefully and refer back to them
during installation to ensure that your product is fitted safely and that it
retains its high quality finish.
Please retain this leaflet for future reference.
(Fig. 1)
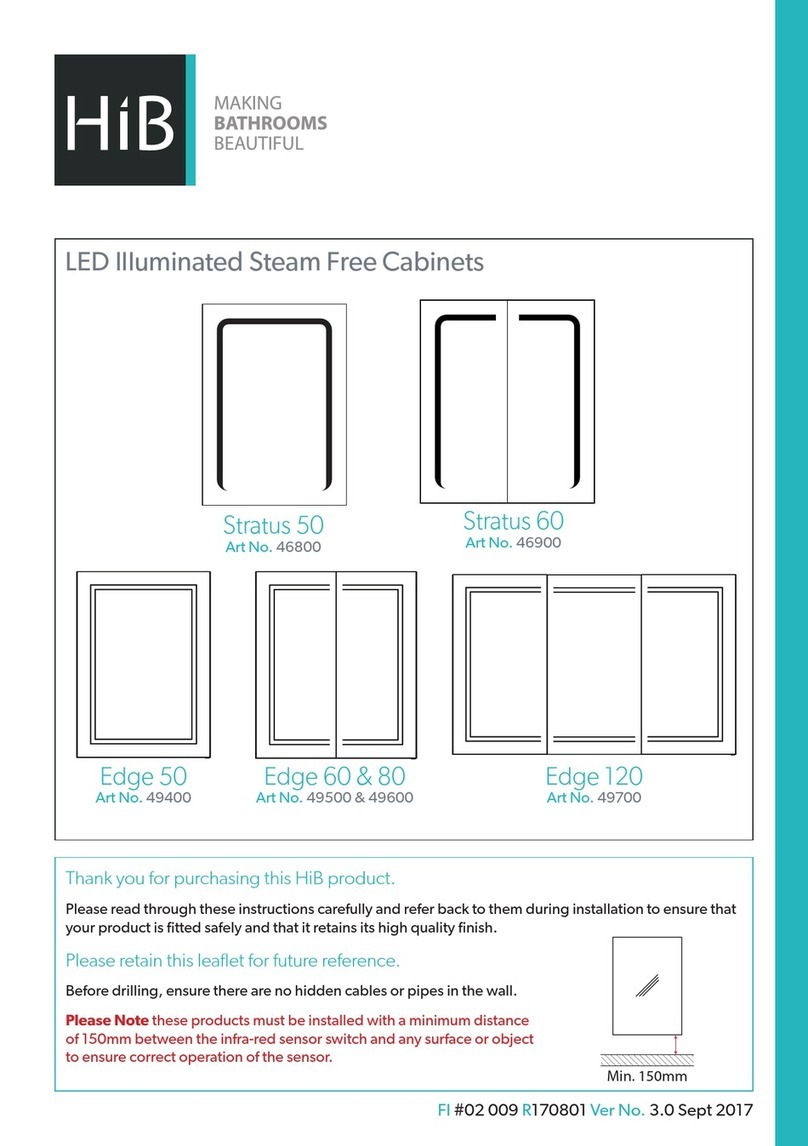
Vanquish Cabinets
Vanquish 50 Art No. 47600
Vanquish 60 Art No. 47700
Vanquish 80 Art No. 47800
Vanquish 120 Art No. 47900
Door Removal (Fig. A)
8. Insert the supplied shelf brackets into the appropriate holes on the inside
of the cabinet, depending on what height each shelf is required. Slide each
shelf into position and secure in place by tightening the small plastic grub
screw on the underside of each shelf bracket.
9. With help from a second person, oer the door up to the cabinet and
carefully connect the wires using the connection blocks - take care to
connect the blocks in the correct orientation, so that the red wire connects
to the red wire and black to black. Once connected, carefully slide any
excess wiring and the connector blocks inside the carcass and reconnect
the hinges. Hinges are reconnected by clipping the front of the hinge in
and then applying pressure on the back of the hinge until an audible‘click’
is heard.
10. If necessary, hinges can be adjusted to reposition the door(s) see Fig. G.
11. Switch mains supply back on.
Installation
This product can only be recessed into a wall. Before installation ensure you
take note of the dimensions of the recessed area and the side xing points
inside the cabinet carcass (See g. B & E). Ensure the construction of the wall
is suitable to accommodate for the size and weight of a recessed cabinet.
The cabinet should be placed in a suitable location, (according to the zonal
diagram (Fig. 1) above). Ensure the domestic electrical mains supply
to which the cabinet is to be connected is turned off. Before drilling,
ensure that there are no hidden cables or pipes in the wall. It is strongly
recommended that the tting of this product is conducted by two people.
1. Before commencing installation, remove the door(s) from the carcass. This
is done by gently pulling at the tab at the back of each hinge, as per Fig. A.
Place the cabinet door(s) carefully onto a soft surface where they will not
get damaged during installation. The door(s) have been intentionally left
disconnected during transport.
2. Measure the dimension of the cabinet carcass (but not the front aluminium
fascia).
3. Using these dimensions, take a soft pencil and mark the outline for the
required aperture in the wall. Take great care to mark this accurately,
straight and level.
4. Using an appropriate tool, cut or channel out the aperture in the wall
where the cabinet will t (Fig. B).
5. If it is necessary, install supporting baton(s) or noggin(s) around the
recessed area (see Fig. C) to which the cabinet can be secured. These
supports must be completely vertical and parallel to the cabinet to prevent
the cabinet twisting when tted.
6. Connect the domestic mains supply according to the wiring diagram (See
Fig. 2) on the back page and manoeuvre the cabinet into the wall aperture
(See Fig. D).
7. Using a suitable screwdriver or drill, secure the cabinet into the wall
aperture with the supplied screws, via the two holes (two on each side) See
Fig. E.
(Fig. B) (Fig. C)
(Fig. E)(Fig. D) (Fig. F)
T: +44 (0)20 8441 0352 F: +44 (0)20 8441 0219 E: sales@hib.co.uk hib.co.uk
Building 3, North London Business Park, Oakleigh Road South, New Southgate, London. N11 1GN
©HiB Copyright: No part of this document may be reprinted or duplicated without HiB consent. All sizes and measurements are approximate, but we do try and make sure they are as accurate as possible. In the
interest of continuous product development, HiB reserves the right to alter specifications as necessary. E & OE.
Wiring Diagram (Fig. 2)
live
earth
neutral
MAINS SUPPLYLUMINAIRE
Live supply can be Red or Brown
Earth supply is Green and Yellow
Neutral supply can be Blue or Black
Live is Brown
Earth is Green andYellow
Neutral is Blue
WEEE compliance
Must not be mixed with general household waste
Move door(s) up/down
Move door away/towards
the cabinet
Move door(s) left/right
After installation, it may be necessary to alter the
alignment of the doors. The small screws on each hinge
must be turned, which will move the door position.
Move door(s) up/down
Move door away/towards
the cabinet
Move door(s) left/right
Move door(s) up/down
Move door away/towards
the cabinet
Move door(s) left/right
Move door(s) up/down
Move door away/towards
the cabinet
Move door(s) left/right
Operation Instructions
This cabinet is tted with colour temperature changing technology.
To turn illumination on, touch the sensor once.
To change the colour temperature, touch and hold the sensor until desired colour is obtained. The colour temperature is then set until changed again.
Heated Pad is only on when mirror is illuminated.
Care Instructions
To preserve the high quality nish of your HiB product, please ensure you regard the following care and cleaning recommendations:
Do not use abrasives or solvents when cleaning this product.
Wipe o all water spillages as soon as possible using a soft cloth.
In the unlikely event that this product should fail please contact HiB customer services, contact detail shown below.
Aercare Service
In the unlikely event that this product should fail please contact HiB customer services, contact detail shown below.
Charging Socket(s)
Charger socket(s) are suitable for charging and powering electric razors, trimmers and toothbrushes. Some cabinets may contain multiple charging sockets.
NB. On rst use of the charger socket, inserting the plug may prove to be sti. Reasonable force may be required to fully insert the plug. After a few uses, stiness will
ease and the socket will function as normal.
Door Adjustment (Fig. G)
If the push to open mechanism does not engage
correctly, small adjustments can be made. Rotating the
small protruding shaft anticlockwise will bring the point
of engagement forward. The opposite can be done if the
doors sit proud of the carcass.
Push-to-Open Mechanism Adjustment (Fig. H)

This manual suits for next models

7

Other HiB Indoor Furnishing manuals

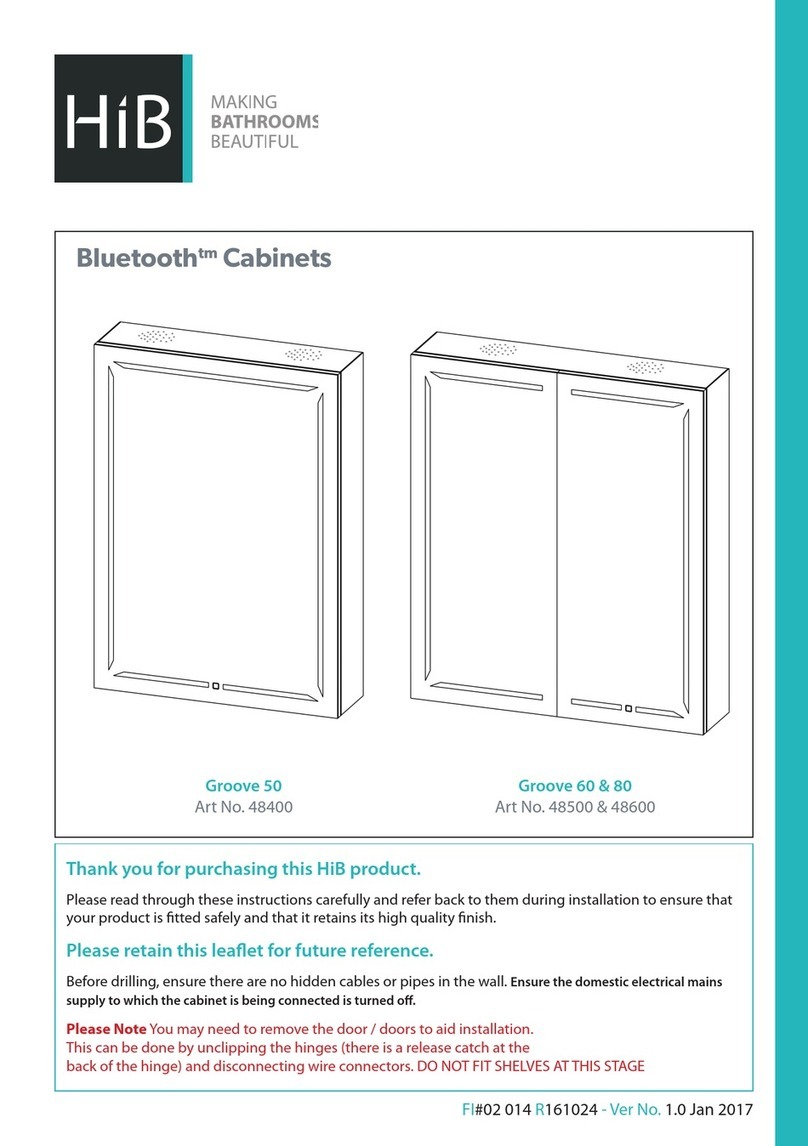
HiB Groove 50 User manual

HiB

HiB Groove 50 User manual

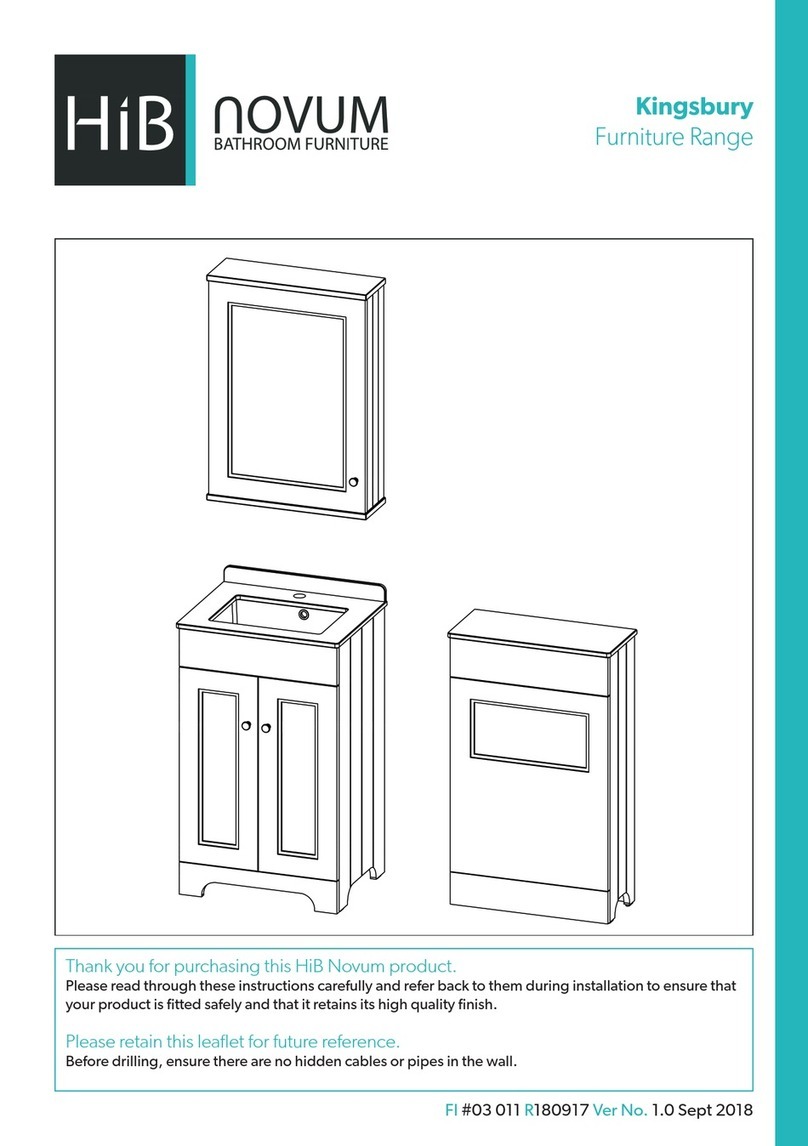
HiB novum N19WH50MBL User manual

HiB

HiB novum N19WH50MBL User manual

HiB NOVUM N18BS60MWH User manual

HiB

HiB NOVUM N18BS60MWH User manual

HiB Jupiter 43600 User manual

HiB

HiB Jupiter 43600 User manual

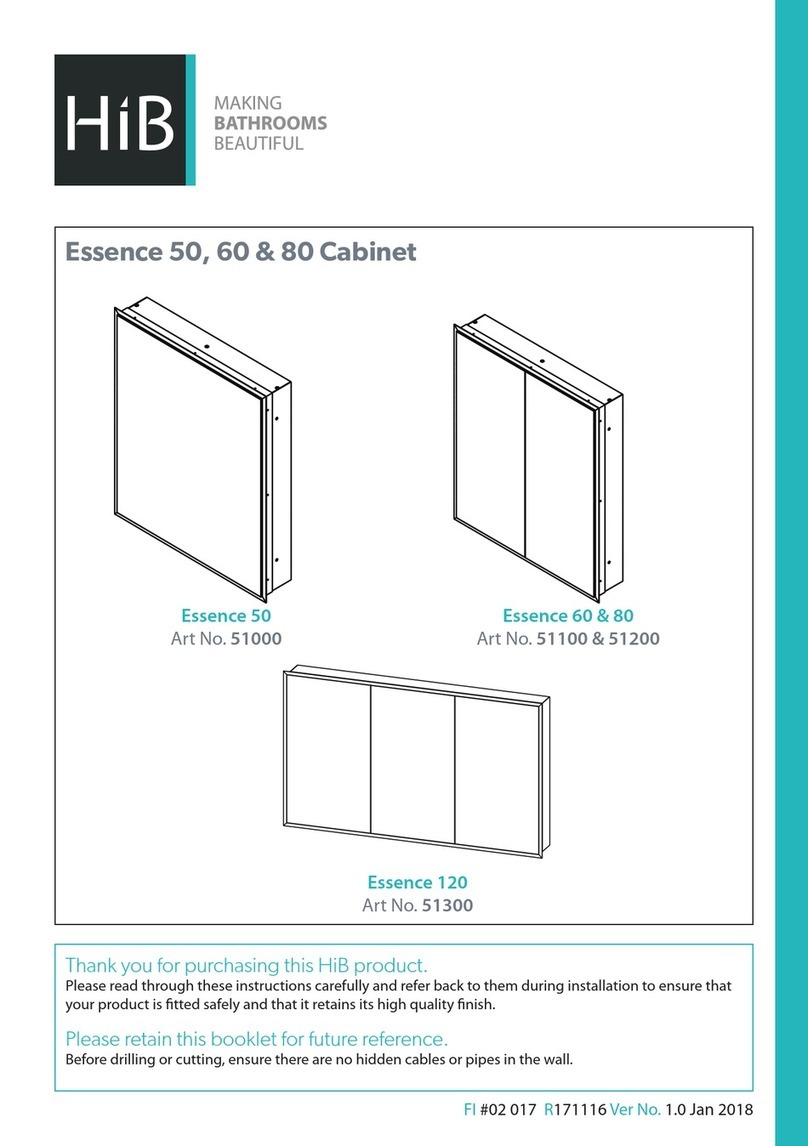
HiB Essence 50 User manual

HiB

HiB Essence 50 User manual

HiB Qubic 50 User manual

HiB

HiB Qubic 50 User manual

HiB novum Prima User manual

HiB

HiB novum Prima User manual

HiB Proton User manual

HiB

HiB Proton User manual

HiB Edge 50 User manual

HiB

HiB Edge 50 User manual

HiB 78721000 Install guide

HiB

HiB 78721000 Install guide

HiB Minnesota User manual

HiB

HiB Minnesota User manual

HiB Trim Curve 40 User manual

HiB

HiB Trim Curve 40 User manual

HiB NOVUM Camber User manual

HiB

HiB NOVUM Camber User manual

HiB Ether 50 50500 User manual

HiB

HiB Ether 50 50500 User manual

HiB Vapor 50 User manual

HiB

HiB Vapor 50 User manual

HiB Novum N19FSCLMBL User manual

HiB

HiB Novum N19FSCLMBL User manual

HiB novum User manual

HiB

HiB novum User manual

HiB Novum Duet User manual

HiB

HiB Novum Duet User manual

HiB Novum NF02SBU50 Series User manual

HiB

HiB Novum NF02SBU50 Series User manual

HiB Mars 43500 User manual

HiB

HiB Mars 43500 User manual

HiB Novum N18DU60MWH User manual

HiB

HiB Novum N18DU60MWH User manual

HiB Laser User manual

HiB

HiB Laser User manual

HiB Vogue User manual

HiB

HiB Vogue User manual

HiB austin 9101900 Manual

HiB

HiB austin 9101900 Manual

Popular Indoor Furnishing manuals by other brands

Donco kids 1200T Assembly instructions

Donco kids

Donco kids 1200T Assembly instructions

Motionwise UP-110 Assembly instructions

Motionwise

Motionwise UP-110 Assembly instructions

vtwonen 8714713134458 manual

vtwonen

vtwonen 8714713134458 manual

LF Style SELECTIONS FRS81131HS Assembly instructions

LF

LF Style SELECTIONS FRS81131HS Assembly instructions

Geberit Option 500207001 user manual

Geberit

Geberit Option 500207001 user manual

Forte Chicory CHRR711 Assembling Instruction

Forte

Forte Chicory CHRR711 Assembling Instruction

modway EEI-3739 quick start guide

modway

modway EEI-3739 quick start guide

DOMPEL ANDES TABLE instruction manual

DOMPEL

DOMPEL ANDES TABLE instruction manual

Ergotron LX Sit-Stand user guide

Ergotron

Ergotron LX Sit-Stand user guide

Walker Edison TW60H Assembly instructions

Walker Edison

Walker Edison TW60H Assembly instructions

Furinno FB21076 Assembly instructions

Furinno

Furinno FB21076 Assembly instructions

Natural Signature 25-4701A quick start guide

Natural Signature

Natural Signature 25-4701A quick start guide

Rauch 66739.8470 Assembly instructions

Rauch

Rauch 66739.8470 Assembly instructions

BluDot MODU-LICIOUS Assembly instructions

BluDot

BluDot MODU-LICIOUS Assembly instructions

Vicinoate 159979.01 Assembling instructions

Vicinoate

Vicinoate 159979.01 Assembling instructions

Backyard Creations 272-8012 instruction manual

Backyard Creations

Backyard Creations 272-8012 instruction manual

Amart Furniture KELLER 60356 Assembly instruction

Amart Furniture

Amart Furniture KELLER 60356 Assembly instruction

BENE STUDIO Workbench Assembly instructions

BENE

BENE STUDIO Workbench Assembly instructions

manuals.online logo
manuals.online logoBrands
  • About & Mission
  • Contact us
  • Privacy Policy
  • Terms and Conditions

Copyright 2025 Manuals.Online. All Rights Reserved.