manuals.online logo
Brands
  1. Home
  2. •
  3. Brands
  4. •
  5. HiB
  6. •
  7. Indoor Furnishing
  8. •
  9. HiB 78721000 Install guide

HiB 78721000 Install guide

T: +44 (0)20 8441 0352 F: +44 (0)20 8441 0219 E: sales@hib.co.uk hib.co.uk
Building 3, North London Business Park, Oakleigh Road South, New Southgate, London. N11 1GN
©HiB Copyright: No part of this document may be reprinted or duplicated without HiB consent. All sizes and measurements are approximate, but we do try and make sure they are as accurate as possible. In the
interest of continuous product development, HiB reserves the right to alter specifications as necessary. E & OE.
This product is IP44 rated and suitable for installation in
zones:
FI#01 028 R191120 Ver No. 1.0 Jan 2020
2 &Outside Zone
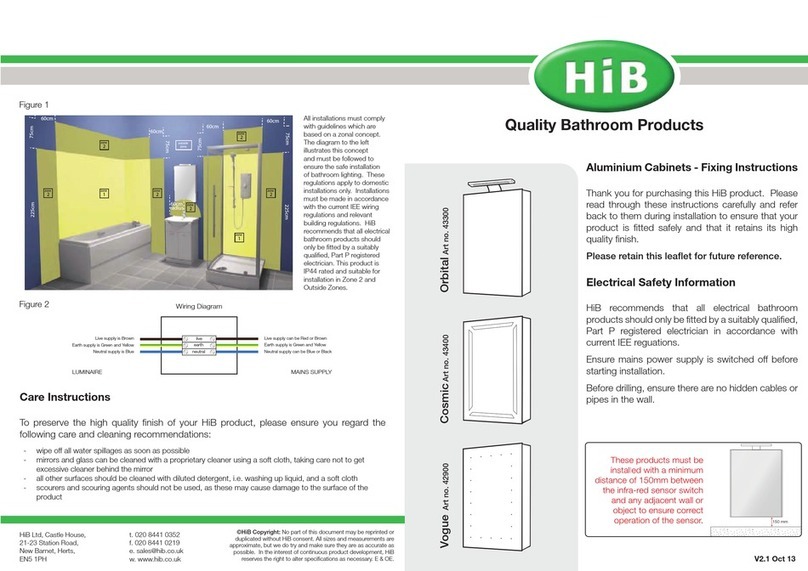
All installations must comply with guidelines which are based on a
zonal concept. The diagram above illustrates this concept and must be
followed to ensure the safe installation of electrical appliances in the
bathroom. These regulations apply to domestic installations only.
HiB recommends that all electrical bathroom products must
be installed in accordance with current building and wiring
regulations. If in doubt please contact an electrician.
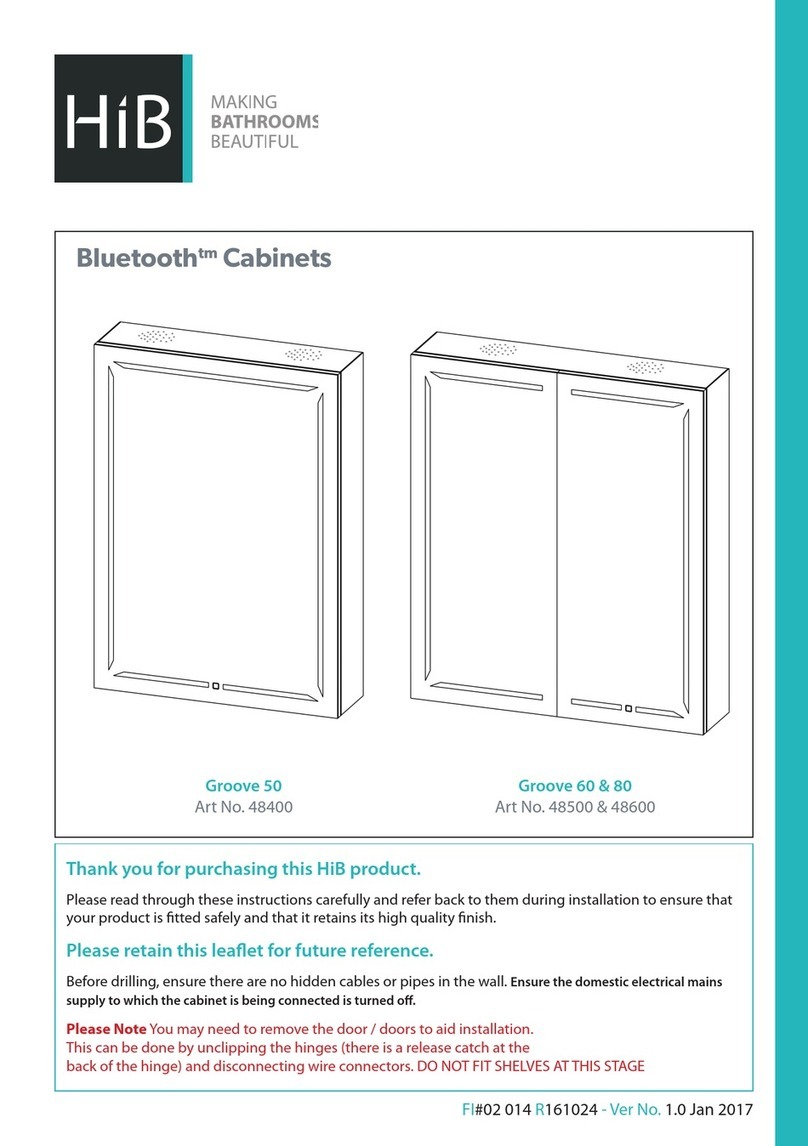
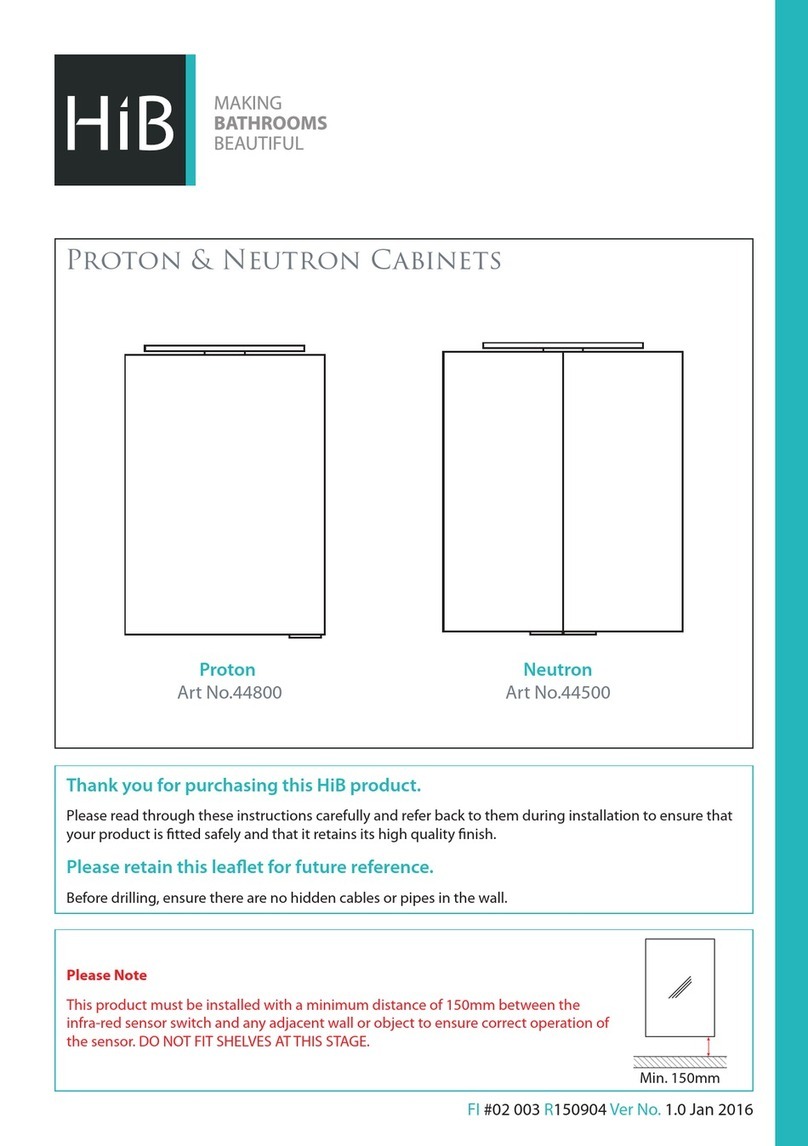
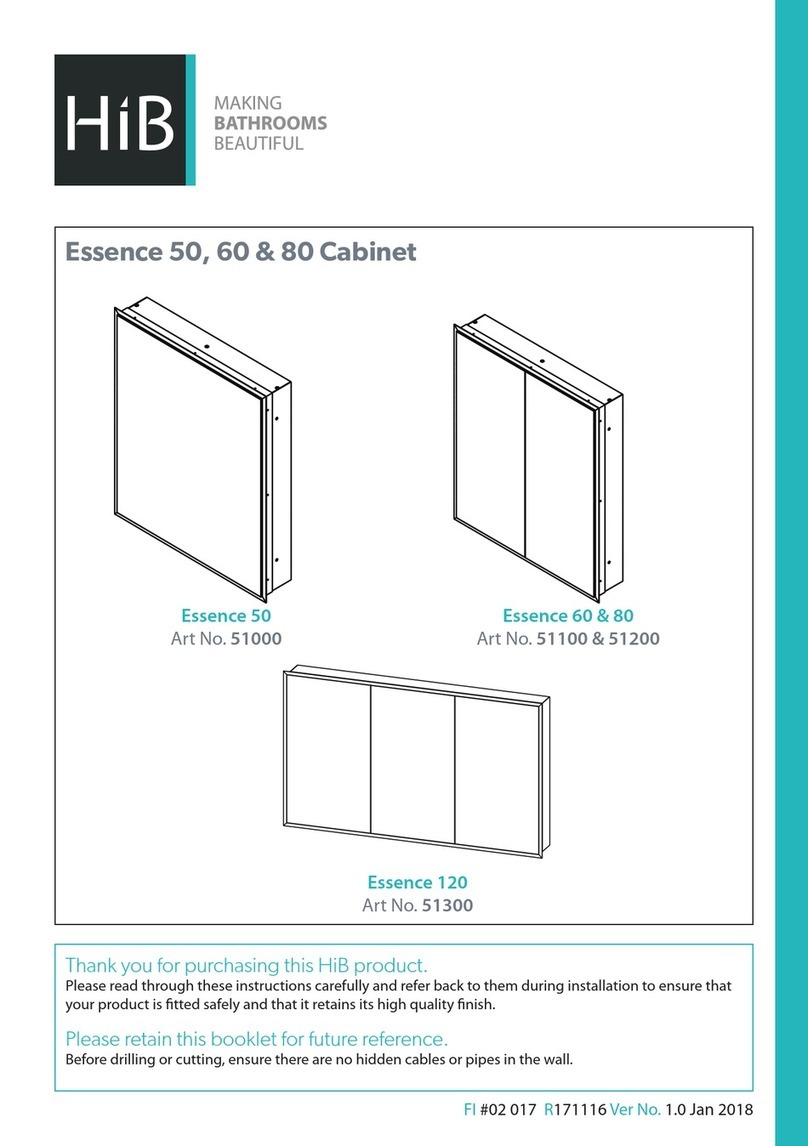
Thank you for purchasing this HiB product
Please read through these instructions carefully and refer back to
them during installation to ensure that your product is fitted safely
and that it retains its high quality finish.
Please retain this leaflet for future reference
Before installation, ensure the domestic electrical mains supply
to which the mirror is to be connected is turned off.
Before drilling, ensure that there are no hidden cables or pipes
in the wall.
Care Instructions
Do not use abrasives or solvents when cleaning this product.
Wipe off all water spillages as soon as possible using a so, damp
cloth.
Aercare Service
In the unlikely event that this product should fail please contact HiB
customer services, details shown below.
(Fig. 1)
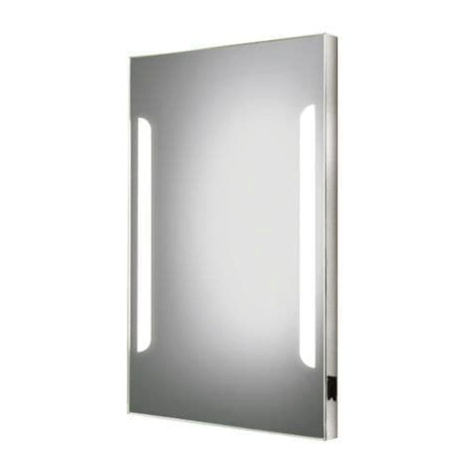
Illuminated Mirrors with Bluetooth®connectivity
Globe Plus 50 Art No. 78721000 / Globe Plus 60 Art No. 78722000 /
Globe Plus 80 Art No. 78723000
Installation
1. Position the mirror in a suitable location (according to the zonal
diagram - Fig. 1), ensuring that the domestic electrical mains
supply is within reach of the electrical entry point of the product.
2. Carefully mark the position of the mirror using a so pencil
ensuring it is level.
3. Remove the mirror and mark the mounting points on the wall
(Fig. A) Please ensure that all marked mounting points
accurately match up with the fixing points on the mirror.
4. Using a suitable drill bit, drill holes in the marked positions to a
suitable depth. If drilling through tile, use a ceramic drill bit.
5. Insert wall plugs level with the surface of the wall. If fitting to a
tiled surface, wall plugs should be inserted below the tile surface
to avoid cracking. NB. For plasterboard walls, specialist fixings
should be purchased, available from any DIY or hardware store.
6. Screw supplied fixings into wall plugs.
7. Ensure the domestic electrical mains supply to which the
mirror is being connected is turned off. Connect the domestic
mains supply to the terminal box according to the wiring diagram
(Fig. B) below.
8. Hang the mirror in position.
9. Switch the domestic electrical mains supply for the mirror back on.
NB. LED Mirrors with charging socket only; On first use of the
charging socket, there may be resistance when inserting the plug.
Make sure that the mirror is held firmly so that it is not pushed off the
wall. Aer a few uses, resistance will ease and the socket will function
as normal.
Mounting Points Diagram (Fig. A)
Hanging landscape
mounting points
REAR VIEW
Live
Earth
Neutral
MAINS SUPPLYLUMINAIRE
Live supply can be Red or Brown
Earth supply is Green and Yellow
Neutral supply can be Blue or Black
Live supply is Brown
Earth supply is Green and Yellow
Neutral supply is Blue
Wiring Diagram (Fig. B)
T: +44 (0)20 8441 0352 F: +44 (0)20 8441 0219 E: sales@hib.co.uk hib.co.uk
Building 3, North London Business Park, Oakleigh Road South, New Southgate, London. N11 1GN
©HiB Copyright: No part of this document may be reprinted or duplicated without HiB consent. All sizes and measurements are approximate, but we do try and make sure they are as accurate as possible. In the
interest of continuous product development, HiB reserves the right to alter specifications as necessary. E & OE.
Bluetooth® Module interface (Fig. D)
CLOCK
hr/min
VOLUME
DATE
(when Bluetooth
isn’t connected)
dd/mm
TEMPERATURE
Degrees celsius
Symptoms Possible Problem Solution
Device not paired Bluetooth®not activated Check Bluetooth®is activated on compatible device & mirror
turned on
Device not
connecting
Only one device can be connected to the mirror at
any one time Disconnect all devices and reconnect only one device
No volume Volume is controlled from device and / or mirror Increase volume on device and / or mirror
No connection Out of range Range is within 8 metres, move device closer to mirror
Play content from device (Fig. E)
Power
On / Off
Clock/Date
control button
Volume UP
Adjust clock/date
Volume DOWN
Adjust clock/date
Operational control buttons (Fig. C)
Trouble shooting guide
WEEE compliance
Must not be mixed
with general
household waste
Operation Instructions
To switch on/off and adjust illumination colour temperature
1. Press the Power button once to turn ON illumination and
Bluetooth®connectivity (Fig. C)
2. If a Bluetooth® device has been paired previously it will
automatically connect and sound a tone to indicate connection
3. To adjust the colour temperature of the illumination press and
HOLD the Power switch
4. Aer a short period of time the illumination will start to change
colour and cycle through the available colour range
5. When the desired colour temperature is obtained simply
release the switch.
6. Press the Power switch again to turn the illumination mirror
OFF.
NB. If a Bluetooth®device is connected it will be maintained and
the screen will remain illuminated.
7. To turn the mirror / screen off completely and disconnect from a
paired device press and HOLD Power switch for 3 seconds.
Pairing and un-pairing a device to the mirror
1. To activate the Bluetooth®, turn the mirror on by pressing the
Power switch (Fig. C).
2. Activate the Bluetooth®on your device. Refer to the device’s
operations manual for details.
3. Search for ‘K3015C’. The mirror will sound a tone to indicate a
successful pairing connection.
4. Once connected the ‘chain-link’ symbol will stop flashing to
indicate that the device is now connected (Fig. D)
5. You can now play music or other media through your
Bluetooth®mirror (Fig. E)
6. When the mirror is turned off the connection to the Bluetooth®
module will be lost.
7. When the mirror is turned on again it will automatically
reconnect to the last connected device if it is still within range
Playback / Volume adjustments
1. When a device is connected and content is playing you can skip
the song by pressing the UP switch.
2. You can play the previous song by pressing the DOWN switch
3. To adjust the volume up PRESS and HOLD the UP switch
4. To adjust the volume down PRESS and HOLD the DOWN switch
To adjust the Clock and Date
1. Press and hold the Clock/Date switch (Fig. C)
2. Aer 3 seconds the display will start ‘blinking’ indicating the
edit mode has been activated
3. Adjust the time or date accordingly by pressing the UP or
DOWN switches
4. When the correct setting has been reached press the Clock/
Date switch again to move to the next editable element
5. The function will cycle through the following:
Time - HOUR
Time - MINUTE
Date - DAY
Date - MONTH
Date - YEAR
6. Press the Clock/Date button again to confirm changes
Mirror paired with
Device symbol

This manual suits for next models

1

Other HiB Indoor Furnishing manuals

HiB Atrium 50 User manual

HiB

HiB Atrium 50 User manual

HiB Vapor 50 User manual

HiB

HiB Vapor 50 User manual

HiB Trim Curve 40 User manual

HiB

HiB Trim Curve 40 User manual

HiB Novum Kingsbury Series User manual

HiB

HiB Novum Kingsbury Series User manual

HiB novum NF02S3DRT30 Series User manual

HiB

HiB novum NF02S3DRT30 Series User manual

HiB NOVUM N18BS60MWH User manual

HiB

HiB NOVUM N18BS60MWH User manual

HiB Eris Slim 50 User manual

HiB

HiB Eris Slim 50 User manual

HiB Mars 43500 User manual

HiB

HiB Mars 43500 User manual

HiB Paragon 50 Operator's manual

HiB

HiB Paragon 50 Operator's manual

HiB Qubic 50 User manual

HiB

HiB Qubic 50 User manual

HiB Vanquish 50 User manual

HiB

HiB Vanquish 50 User manual

HiB NOVUM Camber User manual

HiB

HiB NOVUM Camber User manual

HiB novum Prima User manual

HiB

HiB novum Prima User manual

HiB Ether 50 User manual

HiB

HiB Ether 50 User manual

HiB Essence 50 User manual

HiB

HiB Essence 50 User manual

HiB Maxi 73106100 User manual

HiB

HiB Maxi 73106100 User manual

HiB 54500 User manual

HiB

HiB 54500 User manual

HiB Edge 50 User manual

HiB

HiB Edge 50 User manual

HiB Proton User manual

HiB

HiB Proton User manual

HiB Novum Duet User manual

HiB

HiB Novum Duet User manual

HiB Vogue User manual

HiB

HiB Vogue User manual

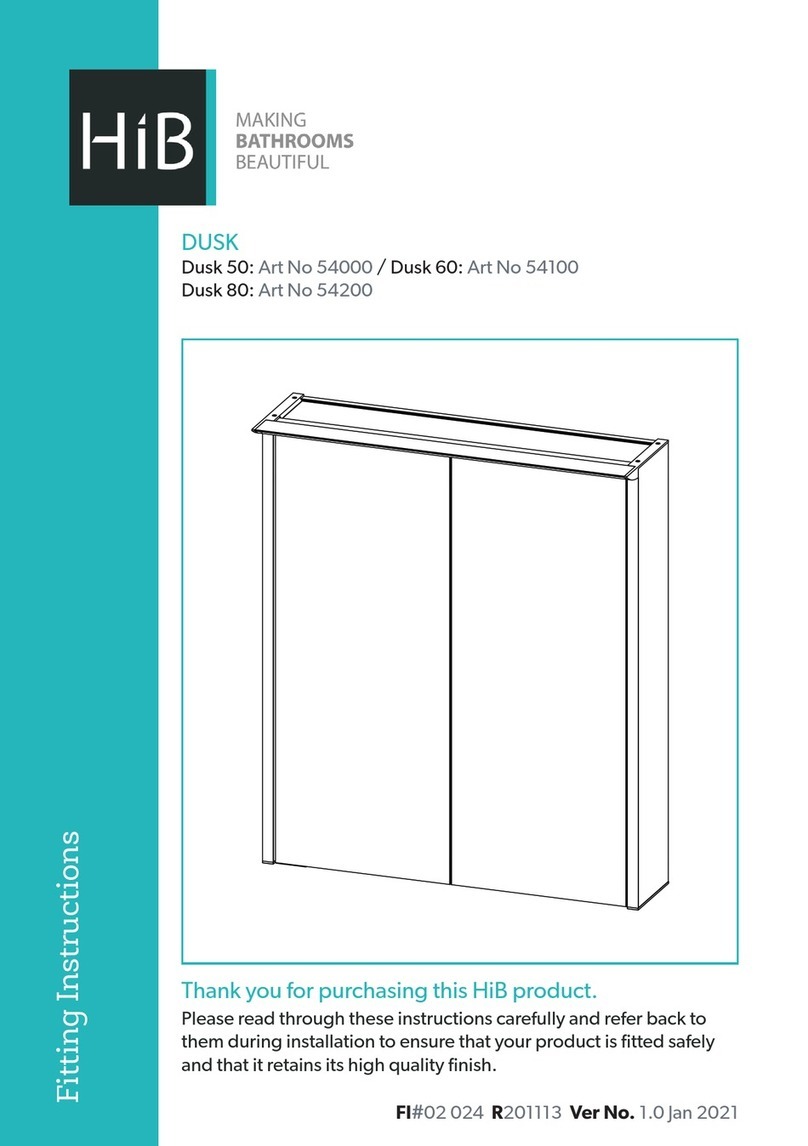
HiB Dusk 50 User manual

HiB

HiB Dusk 50 User manual

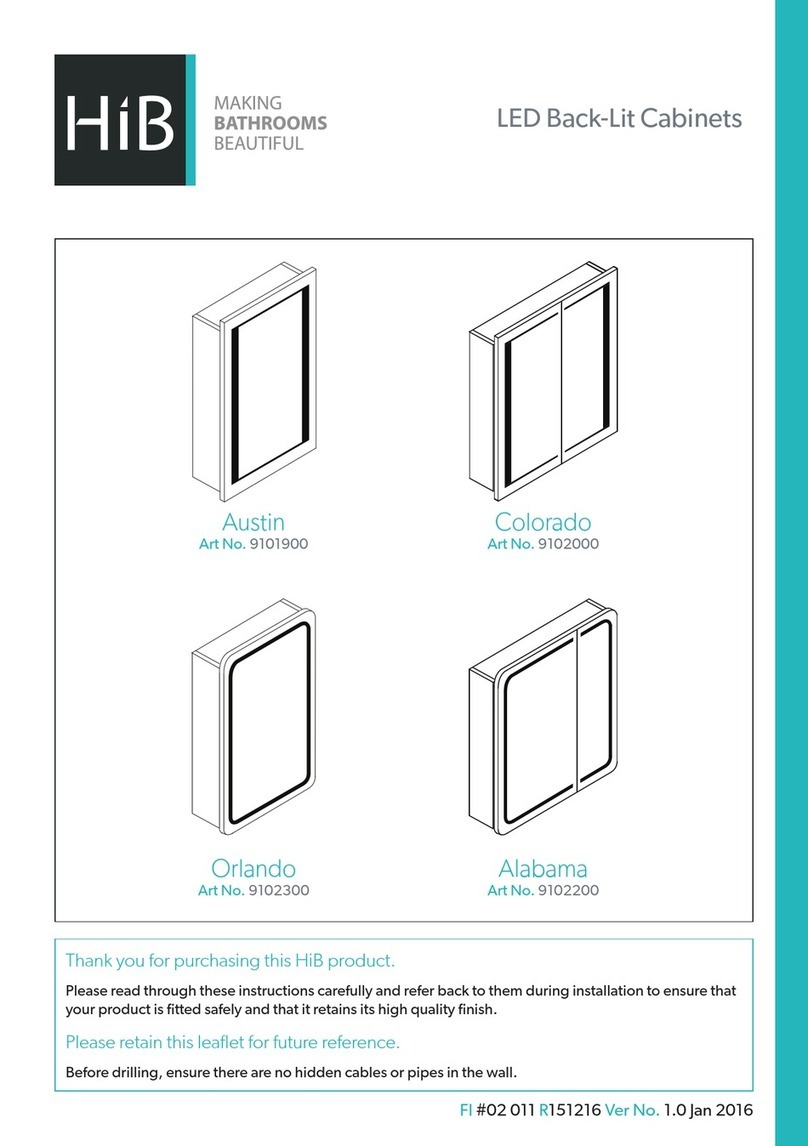
HiB austin 9101900 Manual

HiB

HiB austin 9101900 Manual

HiB Minnesota User manual

HiB

HiB Minnesota User manual

Popular Indoor Furnishing manuals by other brands

West Elm LOGAN Assembly instructions

West Elm

West Elm LOGAN Assembly instructions

Dorel Living DA7202 manual

Dorel Living

Dorel Living DA7202 manual

Coaster Eastern 222871KE B1 Assembly instructions

Coaster

Coaster Eastern 222871KE B1 Assembly instructions

Costway KOMFOTT user manual

Costway

Costway KOMFOTT user manual

Bolton Furniture 4141 Assembly instructions

Bolton Furniture

Bolton Furniture 4141 Assembly instructions

Furniture of America YNJ-18801C13 Assembly instructions

Furniture of America

Furniture of America YNJ-18801C13 Assembly instructions

BORCAD Medical PURA instruction manual

BORCAD Medical

BORCAD Medical PURA instruction manual

Scott Living CALLETANO SL48CTV Assembly instructions

Scott Living

Scott Living CALLETANO SL48CTV Assembly instructions

SEI WS981300TX Assembly instructions

SEI

SEI WS981300TX Assembly instructions

Takara Belmont AUBREY with MAJOLICA PORTO Operation & installation manual

Takara Belmont

Takara Belmont AUBREY with MAJOLICA PORTO Operation & installation manual

Tavolo 411/78.1100.22E Assembly instructions

Tavolo

Tavolo 411/78.1100.22E Assembly instructions

Wellis Coyote WB00371 Coyote WB00372 Instruction guide

Wellis

Wellis Coyote WB00371 Coyote WB00372 Instruction guide

TEMPUR ACTIVEbreeze owner's manual

TEMPUR

TEMPUR ACTIVEbreeze owner's manual

Living Spaces 305-P193260 Assembly instructions

Living Spaces

Living Spaces 305-P193260 Assembly instructions

Ticaa Tolly Instructions for use

Ticaa

Ticaa Tolly Instructions for use

Safavieh Furniture Jeralyn FOX4232 quick start guide

Safavieh Furniture

Safavieh Furniture Jeralyn FOX4232 quick start guide

Furniture of America Atenna I CM3774T Assembly instructions

Furniture of America

Furniture of America Atenna I CM3774T Assembly instructions

HNI Panel System installation instructions

HNI

HNI Panel System installation instructions

manuals.online logo
manuals.online logoBrands
  • About & Mission
  • Contact us
  • Privacy Policy
  • Terms and Conditions

Copyright 2025 Manuals.Online. All Rights Reserved.