manuals.online logo
Brands
  1. Home
  2. •
  3. Brands
  4. •
  5. Home Styles
  6. •
  7. Indoor Furnishing
  8. •
  9. Home Styles 20 05525 0016 User manual

Home Styles 20 05525 0016 User manual

Part List
Hardware List
Home Styles Customer Service: www.homestyles-furniture.com,
servicedesk@homestyles-furniture.com, 888-680-7460, 877-831-0319
Tool(s) required for assembly: Phillips screwdriver
IMPORTANT
Carefully remove all the parts from the carton and
place them individually on a soft cloth to prevent
scratches or other damage.
Carefully and strictly follow these assembly instructions
to ensure a completed product as designed.
Do not use power tools above 8 volts to assemble.
20 05525 0016
Student Desk
B.
Side Frame
1 pc.
D.
Front Frame
1 pc.
E.
Divider
1 pc.
F.
Back Panel
1 pc.
G.
Stretcher
1 pc.
A.
Top
1 pc.
Refer to later page(s) of these
instructions for drawer assembly.
H.
Drawer
1 Pc.
I.
Drawer
1 Pc.
Cam Lock
1 pc. (+2 extra)
Small Hex Wrench
1 pc.
M6x30
Head Cap Bolt
12 pcs. (+1 extra)
Cam Lock Screw
1 pc. (+1 extra)
C.
Side Frame
1 pc.
Handle
2 pcs.
Machine Screw
4 pcs.
M4x25
Wood Screw (long)
M3.5x25
8 pcs. (+1 extra)
M3.5x16
Wood Screw
12 pcs. (+1 extra)
M6x32
Flat Head Screw
2 pcs. (+1 extra)
Hex Wrench
1 pc.
Assembly Instructions 2/6
IMPORTANT
Use a soft cloth between these parts and the floor.
Do not use power tools above 8 volts to assemble.
Do not tighten all the bolts until each part is properly assembled.
The unit must be level to work properly. Use the included adjustable levelers to level.
Keep Hex Wrench as the bolts may need to be tightened in the future.
STEP 1
Insert Cam Lock Screw into pre-drilled hole in Front Frame (D). (See Figure 1)
Attach Divider (E) to Front Frame (D) with Cam Lock. (See Figure 2)
Attach Back Panel (F) to unit with Head Cap Bolt. (See Figure 3)
Figure 1 Figure 2 Figure 3
D
E
F
Cam Lock
Head Cap Bolt
Cam Lock Screw
Assembly Instructions 3/6
STEP 3
Attach Side Frames (B) and (C) to unit with Head Cap Bolts, tightening bolts only halfway.
Attach Stretcher (G) to unit with Flat Head Screws. (See Figure 4)
Tighten all bolts.
Head Cap Bolt
STEP 2
Place Top (A) upside down on a soft cloth.
Attach unit to Top (A) with Head Cap Bolts,
tightening bolts only halfway.
Tighten all bolts.
A
Figure 4
C
Head Cap Bolt
B
Flat Head Screw
Part List
Assembly Instructions 4/6
Part List
Drawer (H)
H2.
Drawer Back
1 pc.
H5.
Drawer Bottom
1 pc.
H3.
Drawer Side
1 pc.
H4.
Drawer Side
1 pc.
H1.
Drawer Front
1 pc.
H2 H4
H1
H3
Wood Screw (long)
Bottom
STEP 5
Slide Drawer Bottom (H5) into groove.
Attach Drawer Bottom (H5)
to unit with Wood Screws.
Roller at back
Handle
Machine Screw
H5
Wood Screw
STEP 6
Attach Handle with Machine Screws.
STEP 4
Attach Drawer Front (H1) and
Drawer Back (H2) to Drawer Side (H3)
with Wood Screws (long).
Attach Drawer Side (H4) to unit
with Wood Screws (long).
Part List
Assembly Instructions 5/6
Part List
Drawer (I)
H2.
Drawer Back
1 pc.
H5.
Drawer Bottom
1 pc.
H3.
Drawer Side
1 pc.
H4.
Drawer Side
1 pc.
I1.
Drawer Front
1 pc.
H3
H4
H2
I1 STEP 7
Attach Drawer Front (I1) and
Drawer Back (H2) to Drawer Side (H3)
with Wood Screws (long).
Attach Drawer Side (H4) to unit
with Wood Screws (long).
Wood Screw (long)
Bottom
STEP 9
Attach Handle with Machine Screws.
STEP 8
Slide Drawer Bottom (H5) into groove.
Attach Drawer Bottom (H5)
to unit with Wood Screws.
H5
Roller at back
Wood Screw
Handle
Machine Screw
Assembly Instructions 6/6
STEP 10
Turn unit to its upright position.
Slide Drawers (H) and (I) into position.
Level unit by adjusting the adjustable levelers on bottom of unit.
(See Figure 5)
H
Figure 5
I
NEVER
use glass cleaners on
finished furniture. Ammonia
chemically attacks the finish.
allow liquids to remain on furniture.
Absorption causes parts to warp
and split and finishes to delaminate.
NEVER
CARE INSTRUCTIONS
Do not use rubber
based placemats.
PREVENT
DISCOLORING
Do not use commercial
waxes and polishes.
PREVENT
YELLOWING
Do not place hot
objects on surface.
PREVENT
FINISH DAMAGE
Do not write
directly on surface.
PREVENT
MARKING
Do not use power tools
above 8 volts to assemble.
PREVENT
CRACKING
Do not place
in direct sunlight.
PREVENT
FADING
with a soft cloth moistened
in lukewarm soap and water.
Buff with a dry clean cloth.
CLEAN
Home Styles will provide replacements free of charge for missing or damaged hardware or parts within 30 days of
purchase. Digital images of the defective parts may be required. If the product was not purchased from an authorized
retail affiliate, Home Styles is under no obligation to provide replacement parts. Parts are not available for fully assembled
items nor are parts available for sale. Replacements for missing or damaged hardware or parts may be requested at:
www.homestyles-furniture.com/customer-service/replacement-parts
Home Styles Customer Service: www.homestyles-furniture.com,
servicedesk@homestyles-furniture.com, 888-680-7460, 877-831-0319

Other Home Styles Indoor Furnishing manuals
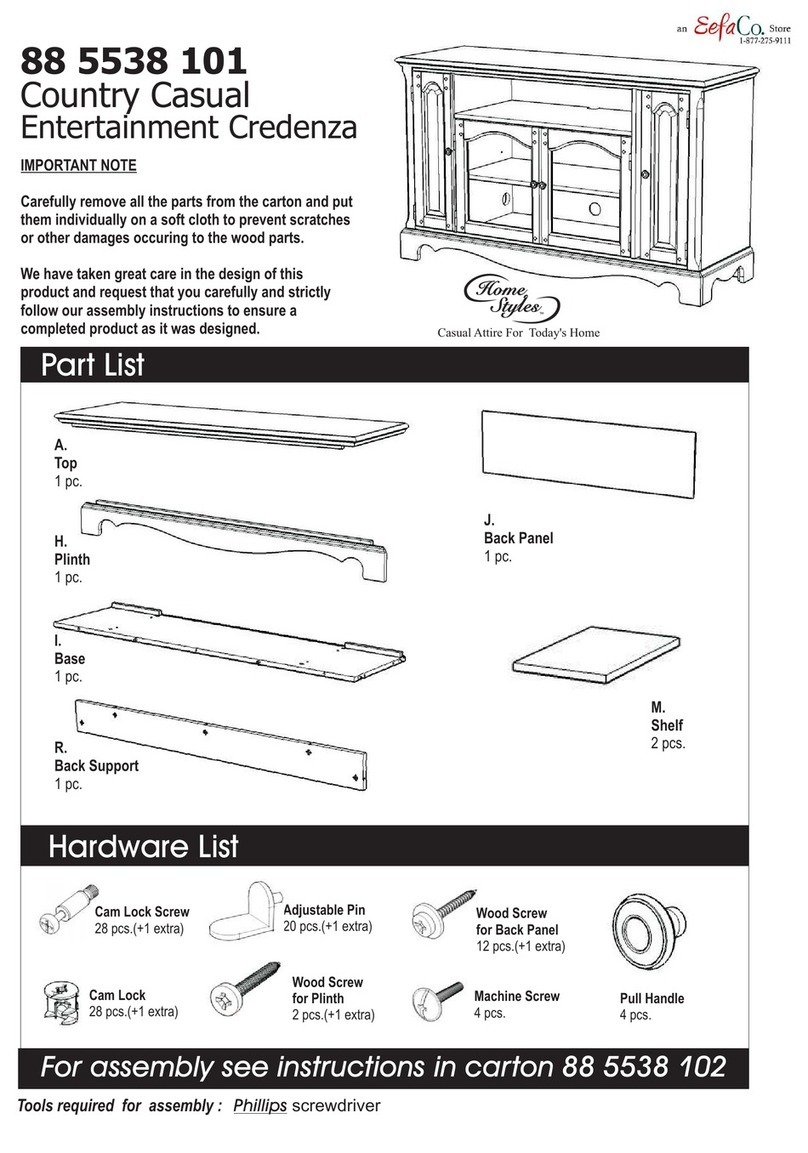
Home Styles KF868 User manual

Home Styles

Home Styles KF868 User manual

Home Styles Blake 2000-301-FB80 User manual

Home Styles

Home Styles Blake 2000-301-FB80 User manual

Home Styles Pantry 88 5549 652 User manual

Home Styles

Home Styles Pantry 88 5549 652 User manual

Home Styles 88 5092 942 User manual

Home Styles

Home Styles 88 5092 942 User manual

Home Styles 88 9001 001C User manual

Home Styles

Home Styles 88 9001 001C User manual

Home Styles 9100-101 User manual

Home Styles

Home Styles 9100-101 User manual

Home Styles 5580-80 User manual

Home Styles

Home Styles 5580-80 User manual

Home Styles 6730-10 User manual

Home Styles

Home Styles 6730-10 User manual

Home Styles 50 942 User manual

Home Styles

Home Styles 50 942 User manual

Home Styles 88 5180 26 User manual

Home Styles

Home Styles 88 5180 26 User manual

Home Styles 20 05506 0692 User manual

Home Styles

Home Styles 20 05506 0692 User manual

Home Styles 5910-501 User manual

Home Styles

Home Styles 5910-501 User manual

Home Styles 5033-89 User manual

Home Styles

Home Styles 5033-89 User manual

Home Styles 20 05008 0941 User manual

Home Styles

Home Styles 20 05008 0941 User manual

Home Styles 20 05320 00SC User manual

Home Styles

Home Styles 20 05320 00SC User manual

Home Styles 6652-53 User manual

Home Styles

Home Styles 6652-53 User manual

Home Styles Stainless Steel Top Kitchen with Wood Breakfast Bar 88508695... User manual

Home Styles

Home Styles Stainless Steel Top Kitchen with Wood Breakfast Bar 88508695... User manual

Home Styles 20 08002 0089 User manual

Home Styles

Home Styles 20 08002 0089 User manual

Home Styles 20 08000 0181 User manual

Home Styles

Home Styles 20 08000 0181 User manual

Home Styles 88 5531 752 User manual

Home Styles

Home Styles 88 5531 752 User manual

Home Styles Bermuda 88 5543 09 User manual

Home Styles

Home Styles Bermuda 88 5543 09 User manual

Home Styles Ponderosa 88 5534 101 User manual

Home Styles

Home Styles Ponderosa 88 5534 101 User manual

Home Styles 5092 942 User manual

Home Styles

Home Styles 5092 942 User manual

Home Styles Monarch Dining Table 88 5020 31 User manual

Home Styles

Home Styles Monarch Dining Table 88 5020 31 User manual

Popular Indoor Furnishing manuals by other brands

Happy Beds Chilton Ottoman Storage Bed 5ft Assembly instructions

Happy Beds

Happy Beds Chilton Ottoman Storage Bed 5ft Assembly instructions

HAMPTON BAY PIN OAK D11309-4PC Use and care guide

HAMPTON BAY

HAMPTON BAY PIN OAK D11309-4PC Use and care guide

SouthShore 3454 Assembly instructions

SouthShore

SouthShore 3454 Assembly instructions

dreambaby Broadway Gro-Gate instructions

dreambaby

dreambaby Broadway Gro-Gate instructions

RIGHT ANGLE NewHeight 4 Series instructions

RIGHT ANGLE

RIGHT ANGLE NewHeight 4 Series instructions

PotteryBarn MADERA DAYBED WITH CANOPY Assembly instructions

PotteryBarn

PotteryBarn MADERA DAYBED WITH CANOPY Assembly instructions

Silver Fox 2246BN manual

Silver Fox

Silver Fox 2246BN manual

System Build 348487341COM9 manual

System Build

System Build 348487341COM9 manual

Herman Miller Noguchi Rudder Coffee Table user manual

Herman Miller

Herman Miller Noguchi Rudder Coffee Table user manual

feather&black Noah Bunk Bed Assembly instructions

feather&black

feather&black Noah Bunk Bed Assembly instructions

Action Assist LTD Princess 5000 Dismantling and Re-assembly Procedures

Action Assist LTD

Action Assist LTD Princess 5000 Dismantling and Re-assembly Procedures

Simpli Home AVINGTON manual

Simpli Home

Simpli Home AVINGTON manual

Lovencare DLX EURO CHANGER CEC 1100 manual

Lovencare

Lovencare DLX EURO CHANGER CEC 1100 manual

Polywood R100 Assembly instructions

Polywood

Polywood R100 Assembly instructions

Polywood GN2301RX Assembly instructions

Polywood

Polywood GN2301RX Assembly instructions

Members Mark 9M222U1-1 Assembly instructions & user manual

Members Mark

Members Mark 9M222U1-1 Assembly instructions & user manual

Simpli Home brooklyn + max WyndenHall AXCOCHR-13 Assembly instructions

Simpli Home

Simpli Home brooklyn + max WyndenHall AXCOCHR-13 Assembly instructions

Simpli Home Connaught AXCCON42-RNAB manual

Simpli Home

Simpli Home Connaught AXCCON42-RNAB manual

manuals.online logo
manuals.online logoBrands
  • About & Mission
  • Contact us
  • Privacy Policy
  • Terms and Conditions

Copyright 2025 Manuals.Online. All Rights Reserved.