manuals.online logo
Brands
  1. Home
  2. •
  3. Brands
  4. •
  5. Home Styles
  6. •
  7. Indoor Furnishing
  8. •
  9. Home Styles 885333762 C User manual

Home Styles 885333762 C User manual

Tools Required For Assembly : Philips screwdriver
Top Unit Part List Hardware
A.
Top
1 pc.
B.
Side Panel
1 pc.
C.
Side Panel
1 pc.
D.
Fixed Shelf
1 pc.
E.
Divider
1 pc.
F.
Divider
1 pc.
G.
Back Panel CD
1 pc.
H.
Back Panel
1 pc.
I.
Back Stretcher
1 pc. J.
Marker Storage
1 pc.
K.
Pencil Box
1 pc.
L.
Paper Box
1 pc.
Cam Lock Screw
12 pcs.
(+1 extra)
Cam Lock
16 pcs.
(+1 extra)
Machine Screw
for Pull Handle
2 pcs.
Wood Screw
for Back Panel
6 pcs.(+1 extra)
Wood Screw
for Magnet
4 pcs.(+1 extra)
Head Cap Bolt
M6 x 35
4 pcs.
(+1 extra)
Wood Screw (long)
for Pencil Box & Tray
6 pcs.(+1 extra)
Pull Handle
2 pcs.
Magnet
2 pcs.
Wood Plug
4 pcs.(+2 extra)
Hex Wrench
1 pc.
Thai Patent Pending Numbers 067952 Casual Attire For Today's Home
885333762 C
Computer Armoire
with writing board and pin board.(Top Unit)
333
23 / ” X 34 / ” X 56 / ”
848
Assembly
Instructions
IMPORTANT NOTE
Carefully remove all the parts from
the carton and put them individually on
a soft cloth to prevent scratches or other
damages occuring to the wood parts.
We recommend that you
completely assemble the base unit before
assembling the top unit.
We strongly recommend that
at least two people be used to lift or
move the unit.
Small scratches can be easily
repaired by using a black or dark brown marker.
We have taken great care
in the design of this product and request
that you carefully and strictly follow our
assembly instructions to ensure a completed
armoire as it was designed.
Assembly Instructions 2/3
STEP 1
STEP 2
Put the Cam Lock Screws into the holes
of the Fixed Shelf (D).
Attach the Divider (E) and (F) to
the Fixed Shelf (D), then insert the Cam Locks
into the Dividers.
Tighten all the Cam Locks.
D
E
F
G
A
C
Tighten Head
Cap Bolt by
Hex Wrench.
IMPORTANT
Do not tighten up all the screws until each part is properly assembled.
You should keep Hex Wrench in the safe place as you may need to tighten up
the Head Cap Bolts in the future.
Cam Lock
Assembly
Cam Lock
Cam Lock Screw
Cam Lock Screw
Cam Lock
Head Cap Bolt
Magnet
Assembly
Magnet
Turn over the Top (A) and place it on the soft material.
Insert Cam Lock Screws into the pre-drilled holes of the Top (A).
Attach The Magnets to the Top (A), using Wood Screws.
Attach the Side Panel (C) to the Top (A) with Cam Locks and Head Cap Bolt.
Slide the Back Panel CD (G) into place.
Assembly Instructions 3/3
Cam Lock
Assembly
A
C
D
B
H
I
Tighten Head
Cap Bolt by
Hex Wrench.
STEP 3
STEP 4
STEP 5
Attach the Pencil Box (K)
to the Side Panel (B), and the
Marker Storage (J) to the
Side Panel (C), using
Wood Screws (long).
Slide the Paper Box (L) into place.
Attach the Pull Handles
at the doors, using Machine Screws.
KJ
L
BC
Pull Handle
Assembly
Pencil Box
Assembly
Marker Storage
Assembly
Wood Screw
Paper Box
Cam Lock
Head Cap Bolt
Attach the unit in step 1 to
the unit in step 2 with Cam Lock.
Slide the Back Panel (H) into place.
Attach the Back Stretcher (I) and Side Panel (B) to the unit with Head Cap Bolts and Cam Locks.
Tighten up all Cam Locks and Head Cap Bolts, then turn the assembled unit back to its
normal position.
Base Unit Part List Hardware
O.
Keyboard Storage
1 pc.
M.
Base
1 pc.
N.
Leg
4 pcs.
P.
Side Panel
1 pc.
Q.
Side Panel
1 pc.
S.
Fixed Shelf.
1 pc.
R.
Back Panel
1 pc.
T.
Divider
1 pc.
U.
Printer Tray
1 pc.
V.
Letter Box
1 pc.
Hex Wrench
1 pc.
Cam Lock Screw
12 pcs.
(+1 extra)
Cam Lock
8 pcs.(+1 extra)
Machine Screw
for Pull Handle
2 pcs.
Wood Screw
for Back Panel
6 pcs.(+1 extra)
Head Cap Bolt
M6 x 45
8 pcs.(+1 extra)
Head Cap Bolt
M6 x 35
6 pcs.(+1 extra)
Pull Handle
2 pcs.
Wood Plug
6 pcs.(+1 extra)
Wood Screw
for Magnet
12 pcs.(+1 extra)
Magnet
6 pcs.
Tools Required For Assembly : Philips screwdriver
Wood Screw
for Letter Box
2 pcs.(+1 extra)
Assembly
Instructions
IMPORTANT NOTE
Carefully remove all the parts from
the carton and put them individually on
a soft cloth to prevent scratches or other
damages occuring to the wood parts.
We recommend that you
completely assemble the base unit before
assembling the top unit.
We strongly recommend that
at least two people be used to lift or
move the unit.
Small scratches can be easily
repaired by using a black or dark brown marker.
We have taken great care
in the design of this product and request
that you carefully and strictly follow our
assembly instructions to ensure a completed
armoire as it was designed.
885333761 C
Computer Armoire
with writing board and pin board.(Base Unit)
333
23 / ” X 34 / ” X 56 / ”
848
Thai Patent Pending Numbers 067952 Casual Attire For Today's Home
Assembly Instructions 2/4
STEP 1
STEP 2
J
R
P
M
Tighten up
Head Cap Bolt
by Hex Wrench.
Cam Lock
Assembly
Leg Assembly Details
Hex Wrench
Turn over the Base (M) and place it
on the soft material.
Attach the Leg (N) with
Head Cap Bolts.
Turn the unit back to
its normal position.
Insert the Cam Lock Screws into the pre-drilled holes
of Base (M), tighten up all Cam Lock Screw.
Attach the Side Panel (P) to the Base (M), using Cam Locks and Head Cap Bolt.
Slide the Back Panel (R) in place.
Attach the Magnets to the Base (M), using Wood Screws.
IMPORTANT NOTE
Do not tighten up all the screws until each part is properly assembled.
You should keep Hex Wrench in the safe place as you may need to tighten up
the Head Cap Bolts in the future.
Head Cap Bolt
Head Cap Bolt
Wood Screw
Magnet
Cam Lock Screw
Cam Lock
Cam Lock Screw
Assembly
Magnet
Assembly
M
N

Other Home Styles Indoor Furnishing manuals
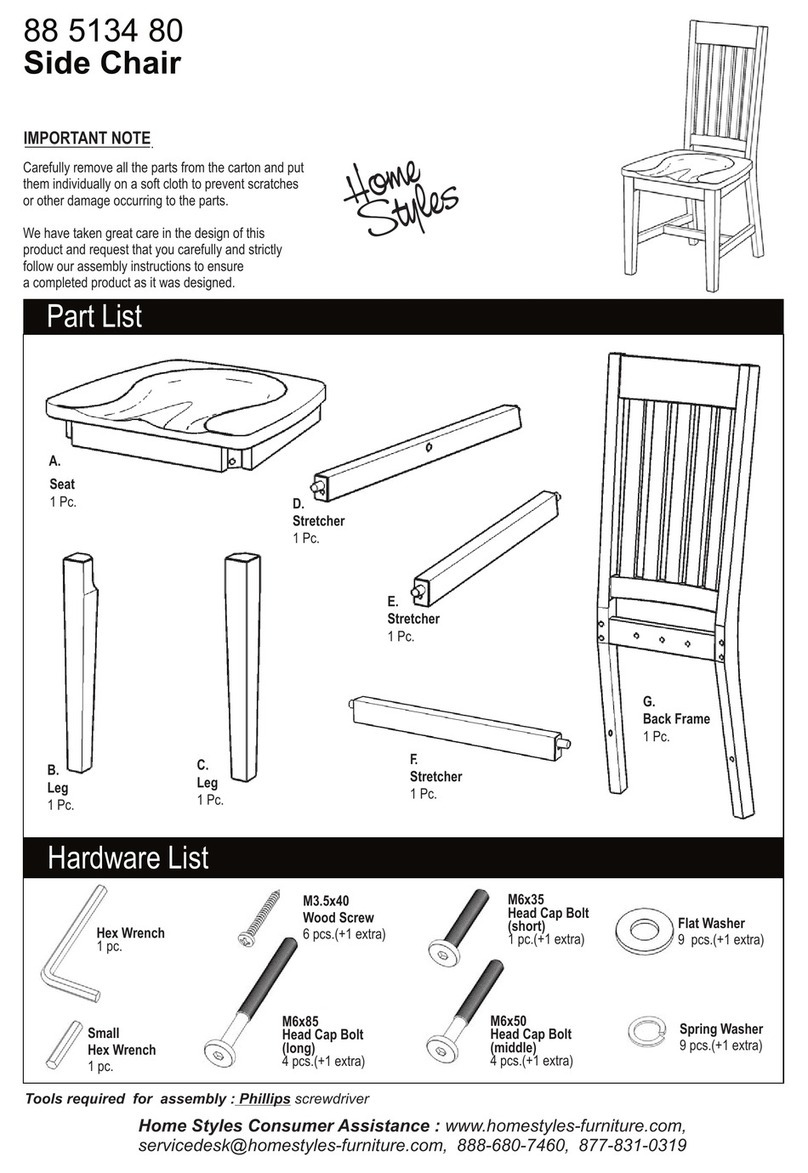
Home Styles 88 5531 752 User manual

Home Styles

Home Styles 88 5531 752 User manual

Home Styles 20 05033 0945 User manual

Home Styles

Home Styles 20 05033 0945 User manual

Home Styles 88 9200 004C User manual

Home Styles

Home Styles 88 9200 004C User manual

Home Styles Arts & Crafts 88 5180 181 User manual

Home Styles

Home Styles Arts & Crafts 88 5180 181 User manual

Home Styles 5580-80 User manual

Home Styles

Home Styles 5580-80 User manual

Home Styles 88 5076 943 User manual

Home Styles

Home Styles 88 5076 943 User manual

Home Styles 20 05700 0081 User manual

Home Styles

Home Styles 20 05700 0081 User manual

Home Styles 20 08001 0095 Quick start guide

Home Styles

Home Styles 20 08001 0095 Quick start guide

Home Styles 88 5053 103 User manual

Home Styles

Home Styles 88 5053 103 User manual

Home Styles 88 9100 006C User manual

Home Styles

Home Styles 88 9100 006C User manual

Home Styles 88 9100 001CN User manual

Home Styles

Home Styles 88 9100 001CN User manual

Home Styles 6801-20 User manual

Home Styles

Home Styles 6801-20 User manual

Home Styles Barnside Pantry 88 5516 653 User manual

Home Styles

Home Styles Barnside Pantry 88 5516 653 User manual

Home Styles Ponderosa 88 5534 101 User manual

Home Styles

Home Styles Ponderosa 88 5534 101 User manual

Home Styles 88 9100 001 C User manual

Home Styles

Home Styles 88 9100 001 C User manual

Home Styles 5061-941 User manual

Home Styles

Home Styles 5061-941 User manual

Home Styles 88 5543 07 User manual

Home Styles

Home Styles 88 5543 07 User manual

Home Styles Hall Tree Stand 88 5530 49 User manual

Home Styles

Home Styles Hall Tree Stand 88 5530 49 User manual

Home Styles Storage Island 88 5530 942 User manual

Home Styles

Home Styles Storage Island 88 5530 942 User manual

Home Styles Bedford 88 5531 952 User manual

Home Styles

Home Styles Bedford 88 5531 952 User manual

Home Styles Pantry 88 5549 652 User manual

Home Styles

Home Styles Pantry 88 5549 652 User manual

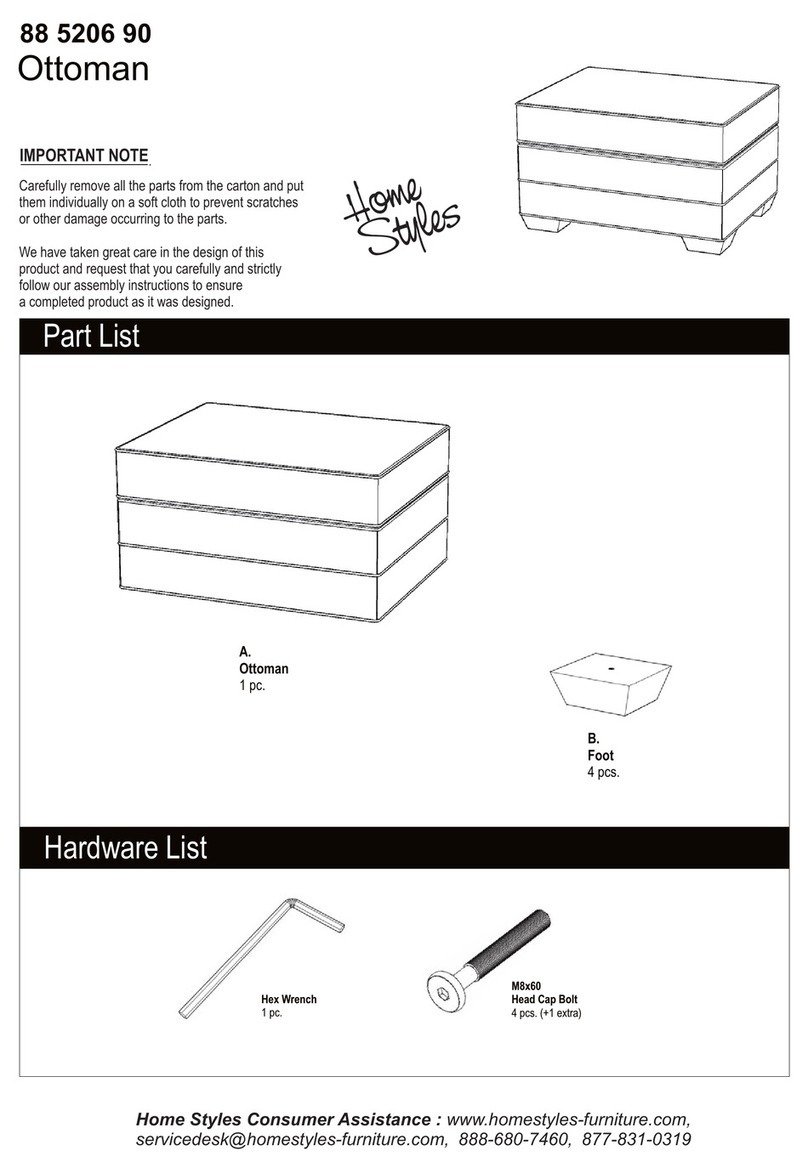
Home Styles Cabana Banana II Ottoman User manual
Home Styles

Home Styles Cabana Banana II Ottoman User manual

Home Styles 88 5013 941 User manual

Home Styles

Home Styles 88 5013 941 User manual

Home Styles 5033 352 User manual

Home Styles

Home Styles 5033 352 User manual

Popular Indoor Furnishing manuals by other brands

Regency LWMS3015 Assembly instructions

Regency

Regency LWMS3015 Assembly instructions

Furniture of America CM7751C Assembly instructions

Furniture of America

Furniture of America CM7751C Assembly instructions

Safavieh Furniture Estella CNS5731 manual

Safavieh Furniture

Safavieh Furniture Estella CNS5731 manual

PLACES OF STYLE Ovalfuss Assembly instruction

PLACES OF STYLE

PLACES OF STYLE Ovalfuss Assembly instruction

Trasman 1138 Bo1 Assembly manual

Trasman

Trasman 1138 Bo1 Assembly manual

Costway JV10856 manual

Costway

Costway JV10856 manual

moss DESIGN Caisson Credenza Assembly instructions

moss DESIGN

moss DESIGN Caisson Credenza Assembly instructions

Aquaglide FULL DECK 15.0 owner's manual

Aquaglide

Aquaglide FULL DECK 15.0 owner's manual

AREBOS AR-HE-SW30 user manual

AREBOS

AREBOS AR-HE-SW30 user manual

Till-Hilft Fulda 87005.330 Assembly instructions

Till-Hilft

Till-Hilft Fulda 87005.330 Assembly instructions

Twoey Outside 2010 quick start guide

Twoey Outside

Twoey Outside 2010 quick start guide

Hettich Easys 200 operating instructions

Hettich

Hettich Easys 200 operating instructions

The bedboss RELAX 404 Series owner's manual

The bedboss

The bedboss RELAX 404 Series owner's manual

Oeseder Möbelindustrie Bern 991 720 Assembly instructions

Oeseder Möbelindustrie

Oeseder Möbelindustrie Bern 991 720 Assembly instructions

Costway HW68469 user manual

Costway

Costway HW68469 user manual

Next ALIX A27743 Assembly instructions

Next

Next ALIX A27743 Assembly instructions

BROSA Hans Assembly guide

BROSA

BROSA Hans Assembly guide

Prodigg MINIKA PBA015T-FUR installation manual

Prodigg

Prodigg MINIKA PBA015T-FUR installation manual

manuals.online logo
manuals.online logoBrands
  • About & Mission
  • Contact us
  • Privacy Policy
  • Terms and Conditions

Copyright 2025 Manuals.Online. All Rights Reserved.