manuals.online logo
Brands
  1. Home
  2. •
  3. Brands
  4. •
  5. Home Styles
  6. •
  7. Indoor Furnishing
  8. •
  9. Home Styles Pedestal Desk User manual

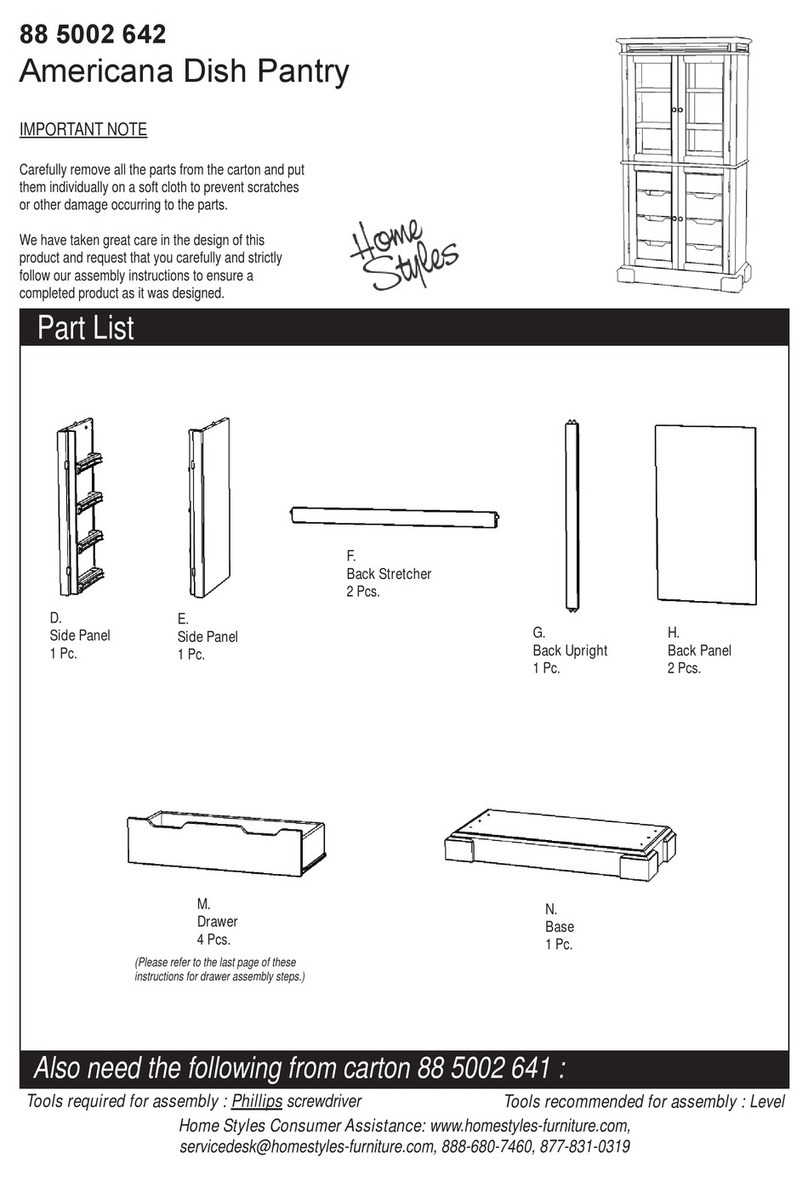
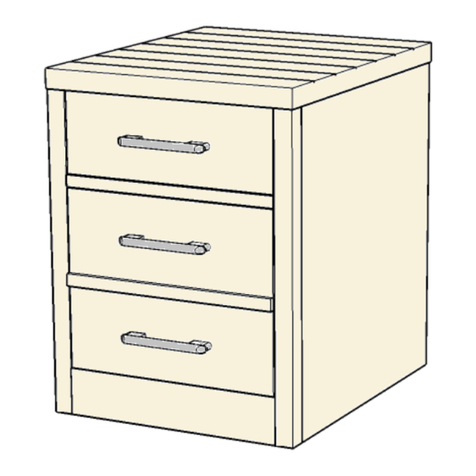
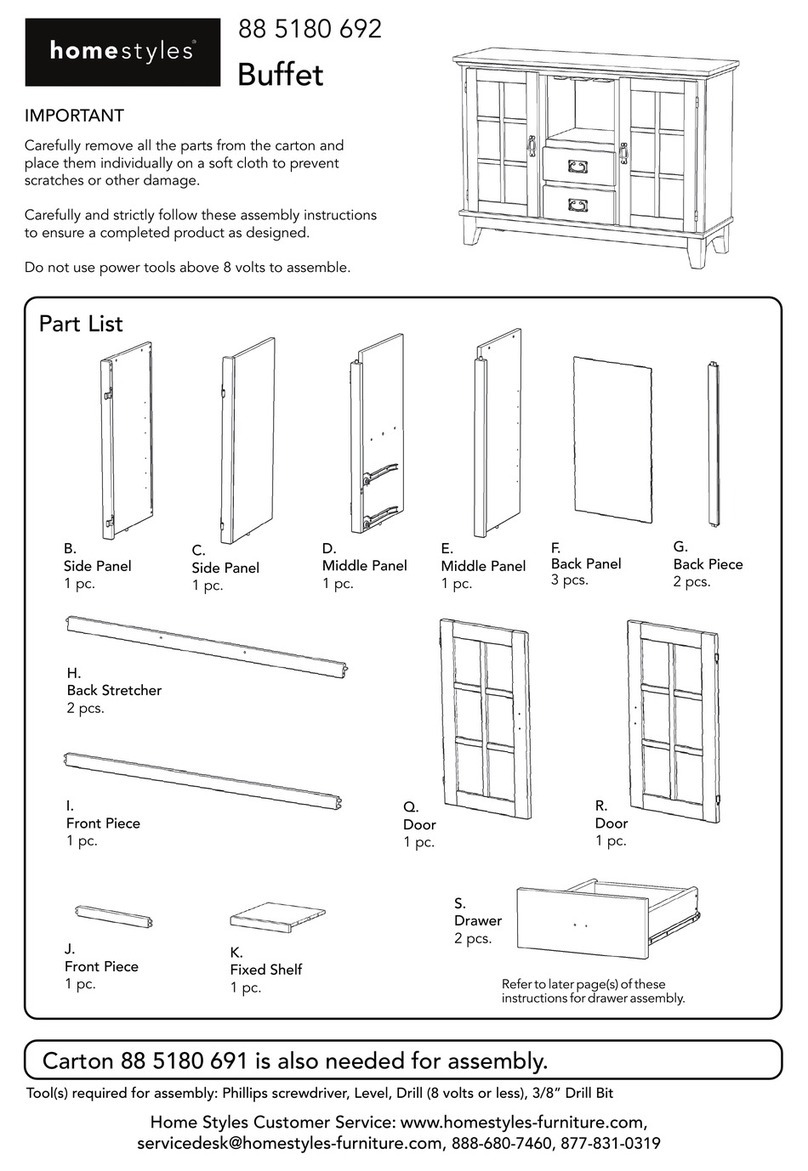
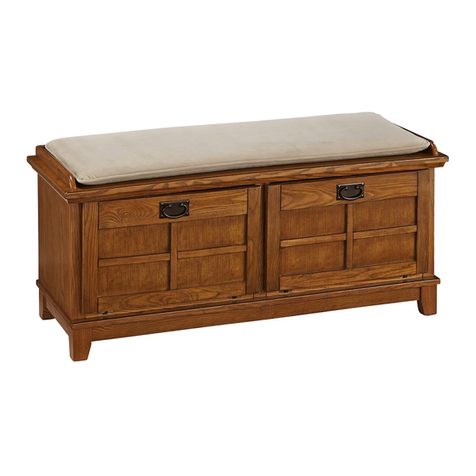
Home Styles Pedestal Desk User manual

IMPORTANT NOTE
Carefully remove all the parts from the carton and put
them individually on a soft cloth to prevent scratches
or other damage occurring to the parts.
We have taken great care in the design of this
product and request that you carefully and strictly
follow our assembly instructions to ensure a
completed product as it was designed.
Part List
Home Styles ConsumerAssistance: www.homestyles-furniture.com,
[email protected], 888-680-7460, 877-831-0319
88 5549 182
Pedestal Desk
(Please refer to the last page of these
instructions for drawer assembly steps.)
Also need the following from carton 88 5549 181 :
Tools required for assembly : Phillips screwdriver Tools recommended for assembly : Level
G.
Drawer
1 Pc.
H.
Drawer
1 Pc.
I.
Drawer
1 Pc.
J.
Drawer
1 Pc.
L.
Keyboard Front
1 Pc.
K.
Keyboard
1 Pc.
M.
Base
1 Pc.
N.
Base
1 Pc.
O.
Door
1 Pc.
P.
Metal Strip
2 Pcs.
B.
Side Panel
1 Pc.
C.
Side Panel
1 Pc.
D.
Middle Panel
1 Pc.
E.
Middle Panel
1 Pc.
Assembly Instructions 3
IMPORTANT
* Please keep Hex Wrench in a safe place as you may need to tighten up the Head Cap Bolts in the future.
* Do not tighten up all the bolts until each part is properly assembled.
* Use a soft cloth between these parts and the floor.
*After assembly item must be level to work properly. Use the included adjustable levelers to level.
STEP 1
Insert Cam Lock Screws into pre-drilled holes
of Top (A), Side Panels (B) and (C) and
Back Panel (F).
(See Figure 1)
STEP 2
Attach Magnet to Middle Panel (D) with
Wood Screw for magnet.
(See Figure 2)
A
B
C
D
F
Figure 1
Figure 2
Cam Lock Screw
Wood Screw
for magnet
2/10
Assembly Instructions 4
STEP 3
Attach Middle Panel (D) to Base (M) and Middle
Panel (E) to Base (N) with Head Cap Bolts.
(See Figure 3)
STEP 4
Attach units to Back Panel (F) with Cam Locks.
(See Figure 4)
STEP 5
Attach Side Panels (B) and (C)
to unit with Cam Locks and
Head Cap Bolts.
D
M
F
C
B
N
E
Figure 3
Figure 4
Head Cap Bolt
Head Cap Bolt
Cam Lock
Cam Lock
3/10
Assembly Instructions 5
STEP 6
Turn the unit over to its’ upright position.
Attach Top (A) to the unit with Cam Locks.
STEP 7
Attach Keyboard Front (L) to Keyboard (K) with Wood Screws for Hinge.
Attach Pull Handle to Keyboard Front (L) with Machine Screws.
(See Figure 5)
A
L
L
K
Cam Lock
Wood Screw
for Hinge
Figure 5
4/10
Assembly Instructions 6
STEP 8
Insert Adjustable Pins into the side panel and middle panel at the
desired level.
Place Shelf (Q) into position.
Attach Pull Handle to Door (O) with Machine Screws.
(See Figure 6)
Attach Door (O) by sliding the door lift hinges into the side panel lift hinges. (See Figure 7)
Slide Drawers (G), (H), (I), (J) and keyboard into position.
If you want to remove the keyboard or fi le drawer in the future, push the plastic lever on its’ left
side up, push the plastic lever on its’ right side down and pull open slowly.
(See Figure 8)
To level the unit, adjust the adjustable levelers on the bottom of the base legs. (See Figure 9)
Note : Unit must be level to work properly.
Q
G
H
I
J
O
Adjustable Pin
Figure 6 Figure 7 Figure 9
5/10
Figure 8
Assembly Instructions 7
Part List
Drawer (G)
G1
G1
G5
G5
G2
G3
G3
G4
G4
G1.
Front Part
1 Pc.
G2.
Back Part
1 Pc.
G3.
Side Part
Pc.
G4.
Side Part
1 Pc.
G5.
Base Part
1 Pc.
MAKE SURE ROLLER
IS ON THE BACK
STEP 1
Attach G1, G2 and G3 using a Phillips
screwdriver and long Wood Screws (4X),
tighten halfway.
Attach G1, G2 and G4 using long Wood
Screws (4X), tighten halfway.
(See Figure 1)
STEP 2
Slide G5 into grooves in G3 and G4. Be sure
to push G5 all the way forward so it meet G1.
(See Figure 2)
Figure 1
Figure 2
Figure 3
Figure 4
STEP 3
Insert short Wood Screws (4X) into the
pre-drilled holes in G5, tighten screws.
(See Figure 3)
STEP 4
Attach Pull Handle with Machine Screws.
(See Figure 4)
Tighten all screws used in drawer assembly.
6/10
Assembly Instructions 8
Part List
Drawer (H)
H1.
Front Part
1 Pc.
H2.
Back Part
1 Pc.
H3.
Side Part
Pc.
H4.
Side Part
1 Pc.
H5.
Base Part
1 Pc.
MAKE SURE ROLLER
IS ON THE BACK
STEP 1
Attach H1, H2 and H3 using a Phillips
screwdriver and long Wood Screws (4X),
tighten halfway.
Attach H1, H2 and H4 using long Wood
Screws (4X), tighten halfway.
(See Figure 1)
STEP 2
Slide H5 into grooves in H3 and H4. Be sure
to push H5 all the way forward so it meet H1.
(See Figure 2)
Figure 1
Figure 2
Figure 3
Figure 4
STEP 3
Insert short Wood Screws (4X) into the
pre-drilled holes in H5, tighten screws.
(See Figure 3)
STEP 4
Attach Pull Handle with Machine Screws.
(See Figure 4)
Tighten all screws used in drawer assembly.
H1
H1
H2
H5
H5
H3
H3
H4
H4
7/10
Assembly Instructions 9
Part List
Drawer (I)
I1.
Front Part
1 Pc.
I2.
Back Part
1 Pc.
I3.
Side Part
1 Pc.
I4.
Side Part
1 Pc.
I5.
Base Part
1 Pc.
STEP 1
Attach I1, I2 and I3 using a Phillips
screwdriver and long Wood Screws (4X),
tighten halfway.
Attach I1, I2 and I4 using long Wood
Screws (4X), tighten halfway.
(See Figure 1)
STEP 2
Slide I5 into grooves in I3 and I4. Be sure
to push I5 all the way forward so it meet I1.
(See Figure 2)
MAKE SURE ROLLER
IS ON THE BACK
Figure 1
Figure 2
Figure 3
Figure 4
STEP 3
Insert short Wood Screws (4X) into the
pre-drilled holes in I5, tighten screws.
(See Figure 3)
STEP 4
Attach Pull Handle with Machine Screws.
(See Figure 4)
Tighten all screws used in drawer assembly.
8/10
I1
I1
I2
I3
I3
I4
I4
I5
I5
Assembly Instructions 10
Part List
Drawer (J)
J1.
Front Part
1 Pc.
J2.
Back Part
1 Pc.
J3.
Side Part
1 Pc.
J4.
Side Part
1 Pc.
J5.
Base Part
1 Pc.
STEP 1
Attach J1, J2 and J3 using a Phillips
screwdriver and long Wood Screws (6X),
tighten halfway.
Attach J1, J2 and J4 using long Wood
Screws (6X), tighten halfway.
(See Figure 1)
P
STEP 2
Slide J5 into grooves in J3 and J4. Be sure
to push J5 all the way forward so it meet J1.
(See Figure 2)
STEP 3
Insert short Wood
Screws (4X) into the
pre-drilled holes in J5,
tighten screws.
(See Figure 3)
Figure 1
Figure 2
Figure 3
Figure 4
Figure 5
STEP 4
Attach Pull Handle with
Machine Screws.
(See Figure 4)
STEP 5
Place Metal Strops (P) into position. (See Figure 5)
The Metal Strips can be adjusted for letter size or legal size fi les as
shown.
Tighten all screws used
in drawer assembly.
Legal Size
Legal Size
9/10
J1
J1
J2
J5
J5
J3
J3
J4
J4
Assembly Instructions 11
Part List
Keyboard (K)
K1.
Back Part
1 Pc.
K2.
Side Part
1 Pc.
K3.
Side Part
1 Pc.
K4.
Base Part
1 Pc.
STEP 1
Attach K1 to K4, using a Phillips
screwdriver and long Wood Screws (3X),
tighten halfway. (See Figure 1)
K4
K1
K2
K3
STEP 2
Attach K2 and K3 to unit, using a Phillips
screwdriver and long Wood Screws (8X),
tighten halfway. (See Figure 2)
Figure 1
Figure 2
Tighten all screws used in drawer assembly.
10/10

Other Home Styles Indoor Furnishing manuals
Home Styles 20 05002 0992 User manual

Home Styles

Home Styles 20 05002 0992 User manual

Home Styles 88 5649 49C User manual

Home Styles

Home Styles 88 5649 49C User manual

Home Styles 88 5001 002 User manual

Home Styles

Home Styles 88 5001 002 User manual

Home Styles 5092 942 User manual

Home Styles

Home Styles 5092 942 User manual

Home Styles Naples Corner Entertainment User manual

Home Styles

Home Styles Naples Corner Entertainment User manual

Home Styles 88 5100 302 Operation instructions

Home Styles

Home Styles 88 5100 302 Operation instructions

Home Styles 20 08000 0932 User manual

Home Styles

Home Styles 20 08000 0932 User manual

Home Styles 20 08000 0611 User manual

Home Styles

Home Styles 20 08000 0611 User manual

Home Styles 20 05420 94Q1 User manual

Home Styles

Home Styles 20 05420 94Q1 User manual

Home Styles 88506101 User manual

Home Styles

Home Styles 88506101 User manual

Home Styles 88 500 941 Series User manual

Home Styles

Home Styles 88 500 941 Series User manual

Home Styles 20 05602 0030 User manual

Home Styles

Home Styles 20 05602 0030 User manual

Home Styles Cabin Creek 88 5411 15 User manual

Home Styles

Home Styles Cabin Creek 88 5411 15 User manual

Home Styles 88 5029 88 User manual

Home Styles

Home Styles 88 5029 88 User manual

Home Styles 20 05436 0772 User manual

Home Styles

Home Styles 20 05436 0772 User manual

Home Styles 88 5053 15 User manual

Home Styles

Home Styles 88 5053 15 User manual

Home Styles 88 5003 991 User manual

Home Styles

Home Styles 88 5003 991 User manual

Home Styles 20 05186 0026 User manual

Home Styles

Home Styles 20 05186 0026 User manual

Home Styles Monarch 5020-31 User manual

Home Styles

Home Styles Monarch 5020-31 User manual

Home Styles 20 05050 0941 User manual

Home Styles

Home Styles 20 05050 0941 User manual

Home Styles 5005-69 User manual

Home Styles

Home Styles 5005-69 User manual

Home Styles 88 5092 942 User manual

Home Styles

Home Styles 88 5092 942 User manual

Home Styles 20 05170 0016 User manual

Home Styles

Home Styles 20 05170 0016 User manual

Home Styles Ponderosa 88 5534 101 User manual

Home Styles

Home Styles Ponderosa 88 5534 101 User manual

Popular Indoor Furnishing manuals by other brands

Extremis Marina bistro manual

Extremis

Extremis Marina bistro manual

Safavieh Furniture SEA8018 quick start guide

Safavieh Furniture

Safavieh Furniture SEA8018 quick start guide

Walker Edison BS68FRSW Assembly instructions

Walker Edison

Walker Edison BS68FRSW Assembly instructions

Cello B600 instruction manual

Cello

Cello B600 instruction manual

Himolla Easy Comfort Series Assembly instructions

Himolla

Himolla Easy Comfort Series Assembly instructions

Vivo DESK-DR02 instruction manual

Vivo

Vivo DESK-DR02 instruction manual

Furniture of America Roanne FOA7927T Assembly instructions

Furniture of America

Furniture of America Roanne FOA7927T Assembly instructions

meubar CALCUTTA WV9 Assembly instruction

meubar

meubar CALCUTTA WV9 Assembly instruction

Eureka Ergonomic PYTHON II ERK-GC08-BU manual

Eureka Ergonomic

Eureka Ergonomic PYTHON II ERK-GC08-BU manual

Global Correlation Patio Furniture brochure

Global

Global Correlation Patio Furniture brochure

Girsberger Yanos A quick guide

Girsberger

Girsberger Yanos A quick guide

Furinno JAYA 15118 Assembly instruction

Furinno

Furinno JAYA 15118 Assembly instruction

Home Decorators Collection FRS50627F Use and care guide

Home Decorators Collection

Home Decorators Collection FRS50627F Use and care guide

ofichairs Dante manual

ofichairs

ofichairs Dante manual

Mocka Oslo Buffet Assembly instructions

Mocka

Mocka Oslo Buffet Assembly instructions

Anmytek California T0012 Assembly and Care Guide

Anmytek

Anmytek California T0012 Assembly and Care Guide

Next OAKHAM 820451 Assembly instructions

Next

Next OAKHAM 820451 Assembly instructions

Furniture of America Vaugh CM-AC6801-OT Assembly instructions

Furniture of America

Furniture of America Vaugh CM-AC6801-OT Assembly instructions

manuals.online logo
manuals.online logoBrands
  • About & Mission
  • Contact us
  • Privacy Policy
  • Terms and Conditions

Copyright 2025 Manuals.Online. All Rights Reserved.