manuals.online logo
Brands
  1. Home
  2. •
  3. Brands
  4. •
  5. HORNER
  6. •
  7. Controllers
  8. •
  9. HORNER RCC Series User manual

HORNER RCC Series User manual

4/16/2021 | MAN1201-04-EN
Indianapolis, USA | Cork, Ireland | Calgary, Canada | Bangalore, India | Oakleigh, Australia | Tianjin, China | Esteio, Brazil
Please visit our website for a complete listing and to learn more about certified Horner Automation products.
This document is the property of Horner Automation Group, and is subject to change.
RCC SERIES QUICK REFERENCE GUIDE
page 1 of 4
1. General Specifications
RCC972 Required Power (Steady State) 130mA @ 24VDC
RCC1410 Required Power (Steady State) 120mA @ 24VDC
RCC2414 Required Power (Steady State) 120mA @ 24VDC
RCC8842 Required Power (Steady State) 120mA @ 24VDC
Inrush Current
RCC972: 30A for 1ms @ 24VDC
RCC1410: 25A for 1ms @ 24VDC switched
RCC2414: 25A for 1ms @ 24VDC switched
RCC8842: 25A for 1ms @ 24VDC switched
Primary Power Range
RCC972: 10-32VDC
RCC1410: 10-32VDC
RCC2414: 10-28VDC
RCC8842: 10-32VDC
Relative Humidity 5 to 95% Non-condensing
Operating Temp. -10°C to +60°C
Storage Temp. -20°C to +70°C
Weight 10 oz (283.5g)
Certifications
(CE)
USA: https://hornerautomation.com/certifications/
Europe: https://www.hornerautomation.eu/support/certifications-2/
RCC Real
Time Clock
DC In
12/24VAC
DC Out
24VDC
Analog In
0-20mA
Analog Out
0-20mA
RCC972 No 8 4 8 4
RCC8842 Yes 8 8 4 2
RCC2414 Yes 2 4 1 4
RCC1410 Yes 14 10 – –
6
HE-RCC1410
1 2
3
4
5
7
89
10
10
1. CAN Port Connector
2. I/O Connector (A)
3. Run/Idle Switch
4. Load Switch
5. Ethernet Port(s)
6. Serial Port(s)
7. Status LEDS
8. I/O Connector (B)
9. Power Connector
10. microSD Memory Card
11. Mini-USB Programming
12. USB Flash Memory
2. Port Connectors
1
8
7
5
4
3
2
9
HE-RCC972
6
HE-RCC2414
1
2
6
3 4
5
7
9
10
12
11
HE-RCC8842
12
3
4
5
6
7
8
9
10
NOTE: See Precaution #12 about USB and grounding.
4/16/2021 | MAN1201-04-EN
Indianapolis, USA | Cork, Ireland | Calgary, Canada | Bangalore, India | Oakleigh, Australia | Tianjin, China | Esteio, Brazil
Please visit our website for a complete listing and to learn more about certified Horner Automation products.
This document is the property of Horner Automation Group, and is subject to change.
page 2 of 4
HE-RCC972:
8 Digital Inputs; 4 Digital Outputs
8 Analog Inputs; 4 Analog Outputs
V+
V-
0V
Q4
Q3
Q2
Q1
C
I8
I7
0-24VDC
I6
I5
I4
I3
I2
I1
LOAD
LOAD
LOAD
LOAD
0-24VDC
Digital I/O
V+ DC Power In
V+ 24VDC Out
COV
Q4 Digital Out4
Q3 Digital Out3
Q2 Digital Out2
Q1 Digital Out1
COV
I8 Digital In8
I7 Digital In7
I6 Digital In6
I5 Digital In5
I4 Digital In4
I3 Digital In3
I2 Digital In2
I1 Digital In1
AI1
AI2
AI3
AI4
AI5
AI6
AI7
AI8
C
AQ1
AQ2
AQ3
AQ4
C
CH
CL
LOOP PWR
CAN High
CAN Low
20mA
0-20mA TRANSMITTER
Analog I/O
1 Analog In1
2 Analog In2
3 Analog In3
4 Analog In4
5 Analog In5
6 Analog In6
7 Analog In7
8 Analog In8
COV
1 Analog Out1
2 Analog Out2
3 Analog Out3
4 Analog Out4
OV OV
CH CAN High
CL CAN Low
Power Wiring
To power up the RCC972, supply 10-32VDC to the V+ and C connections on the Power & Input connector..
HE-RCC1410:
14 Digital Inputs; 10 Digital Outputs
V2+
V-
On CAN Connector
1
2
..
10
POSITIVE LOGIC vs.
NEGATIVE LOGIC WIRING:
The RCC can be wired for
Positive Logic inputs or
Negative Logic inputs.
POWER & INPUT CONNECTOR
V- V-
V-
. . . . . .
Power Wiring
To power up the RCC1410, supply 10-32VDC to the V+ and C connections on the Power & Input connector.
10-24VDC
3. Wiring: Input/ Output
wiring: I/O continued on next page...
4/16/2021 | MAN1201-04-EN
Indianapolis, USA | Cork, Ireland | Calgary, Canada | Bangalore, India | Oakleigh, Australia | Tianjin, China | Esteio, Brazil
Please visit our website for a complete listing and to learn more about certified Horner Automation products.
This document is the property of Horner Automation Group, and is subject to change.
page 3 of 4
HE-RCC2414:
2 Digital Inputs; 4 Digital Outputs
1 Analog Inputs; 4 Analog Outputs
Analog Output Wiring
1
2
3
4
V-
Analog Input Wiring
1
V-
0 - 10V
Power Wiring
To power up the RCC2414, supply 20-28VDC to the V+ and V- connections on the Power and Comms Connector. Additionally, a 12 V source is provided at
the +12 terminal that is capable of 1 A maximum current.
Power Wiring - To power up the RCC8842, supply 10-
32VDC to the V+ and V- connections on the Power, CAN,
and Analog Connector.
1
2
V-
Digital Output Wiring
V-
1
2
3
4
V2+
10-24VDC
HE-RCC8842:
8 Digital Inputs; 8 Digital Outputs
4 Analog Inputs; 2 Analog Outputs
Digital Input Wiring
V-
V-
(on top connector) (on top connector)
Digital Output Wiring Analog Input Wiring
CAN, PWR, AND ANALOG I/O CONNECTOR
9
10
11
.
V-
SENSOR
SENSOR
0-10V
†
Loop Power if Sensor Not Powered
†
V2+
V-
On Top Connector
LOAD
LOAD
LOAD
LOAD
20mA
20mA
RCC972
The RCC972 does not have a battery.
RCC1410, RCC2414, RCC8842
The battery is designed to maintain the clock and memory for 7-10 years.
Refer to MAN1078 on the Horner Website for more information about the
battery.
5. Battery Information
Series Number Datasheet/ Manual
RCC972 MAN1200/ MAN1078
RCC1410 MAN1034/ MAN1078
RCC2414 MAN1033/ MAN1078
RCC8842 MAN1073/ MAN1078
4. Documentation
Digital Input Wiring
wiring: I/O continued....
4/16/2021 | MAN1201-04-EN
Indianapolis, USA | Cork, Ireland | Calgary, Canada | Bangalore, India | Oakleigh, Australia | Tianjin, China | Esteio, Brazil
Please visit our website for a complete listing and to learn more about certified Horner Automation products.
This document is the property of Horner Automation Group, and is subject to change.
page 4 of 4
For assistance and manual updates, contact Technical Support at
the following locations:
North America Europe
+1 (317) 916-4274
(877) 665-5666 +353 (21) 4321-266
www.hornerautomation.com www.horner-apg.com
techsppt@heapg.com technic[email protected]om
TECHNICAL SUPPORT
PRECAUTIONS
All applicable codes and standards need to be followed in the installation
of this product. Adhere to the following safety precautions whenever any
type of connection is made to the module:
1. Connect the safety (earth) ground on the power connector first
before making any other connections.
2. When connecting to the electric circuits or pulse-initiating
equipment, open their related breakers.
3. Do NOT make connection to live power lines.
4. Make connections to the module first; then connect to the circuit
to be monitored.
5. Route power wires in a safe manner in accordance with good
practice and local codes.
6. Wear proper personal protective equipment including safety
glasses and insulated gloves when making connections to power
circuits.
7. Ensure hands, shoes, and floor are dry before making any
connection to a power line.
8. Make sure the unit is turned OFF before making connection to
terminals.
9. Make sure all circuits are de-energized before making
connections.
10. Before each use, inspect all cables for breaks or cracks in the
insulation. Replace immediately if defective.
11. Use copper conductors in Field Wiring only, 60/75˚C.
12. Use caution when connecting controllers to PCs via serial or
USB. PCs, especially laptops, may use “floating power supplies:
that are ungrounded. This could cause a damaging voltage
potential between the laptop and controller. Ensure the controller
and laptop are grounded for maximum protection. Consider using
a USB isolator due to voltage potential differences as
a preventative measure.
WARNINGS
1. To avoid the risk of electric shock or burns, always connect the safety
(or earth) ground before making any other connections.
2. To reduce the risk of fire, electrical shock, or physical injury, it is
strongly recommended to fuse the voltage measurement inputs. Be
sure to locate fuses as close to the source as possible.
3. Replace fuse with the same type and rating to provide protection
against risk of fire and shock hazards.
4. In the event of repeated failure, do NOT replace the fuse again as
repeated failure indicates a defective condition that will NOT clear by
replacing the fuse.
5. Only qualified electrical personnel familiar with the construction
and operation of this equipment and the hazards involved should
install, adjust, operate, or service this equipment. Read and
understand this manual and other applicable manuals in their entirety
before proceeding. Failure to observe this precaution could result in
severe bodily injury or loss of life.
This device complies with part 15 of the FCC Rules. Operation is subject to
the following two conditions:
1. This device may not cause harmful interference
2. This device must accept any interference received, including
interference that may cause undesired operation
FCC COMPLIANCE
These RCC modules are suitable for use in the Class I, Division 2, Groups A, B, C
and D Hazardous Locations only.
WARNING - EXPLOSION HAZARD - DO NOT DISCONNECT EQUIPMENT
UNLESS POWER HAS BEEN SWITCHED OFF OR THE AREA IS KNOWN TO BE
NON-HAZRDOUS.
ATTENTION - RISQUE D’EXPLOSION - NE DÉBRANCHEZ PAS L’ÉQUIPEMENT
SAUF SI L’ALIMENTATION A ÉTÉ COUPÉE OU SI LA ZONE N’EST PAS
DANGEREUSE.
Devices shall be installed into an enclosure suitable for the environment that is
only accessible with the use of a tool.
INSTALLATION PROCEDURE
1. The RCC modules conveniently mount on a DIN rail.
2. Be sure the DIN rail is in a horizontal position before installing the unit.
3. The orientation shown to the right is necessary to prevent the unit from
slipping off the DIN rail.
4. Align the unit on the DIN rail then push the DIN rail clip until it clicks into
place. Check to ensure that the unit is secure on the DIN rail.
5. Do NOT mount the unit on its side as this may cause the unit from slipping
off the DIN rail.
NOTE: The spade connector for grounding and the DIN rail clip add to the
overall measurements. The CAN/PWR and LAN connectors also add to the
measurements.
NOTE: Screw holes and a spade connector are available for a mounting option.
CONNECTOR
4.57
4.37
2.81
2.13
4.37”
111mm
4.57”
116mm
2.81”
72mm 2.13”
54mm
2.33”
59.25mm
4.67”
118.6mm
4.48”
113.7mm
6. Dimensions
7. Installation Instructions

This manual suits for next models

8

Other HORNER Controllers manuals

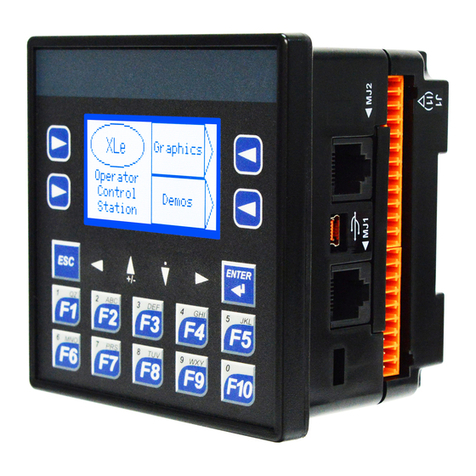
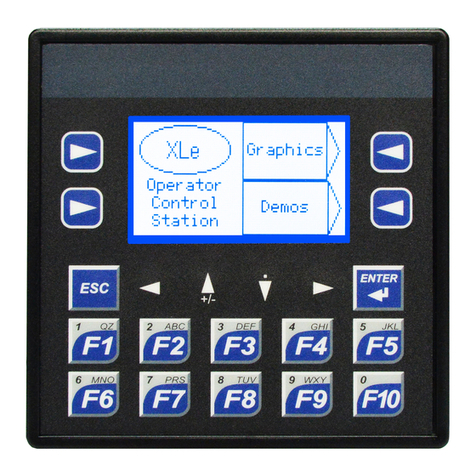
HORNER XLE Use and care manual

HORNER

HORNER XLE Use and care manual

HORNER HE-XPC1E3 User manual

HORNER

HORNER HE-XPC1E3 User manual

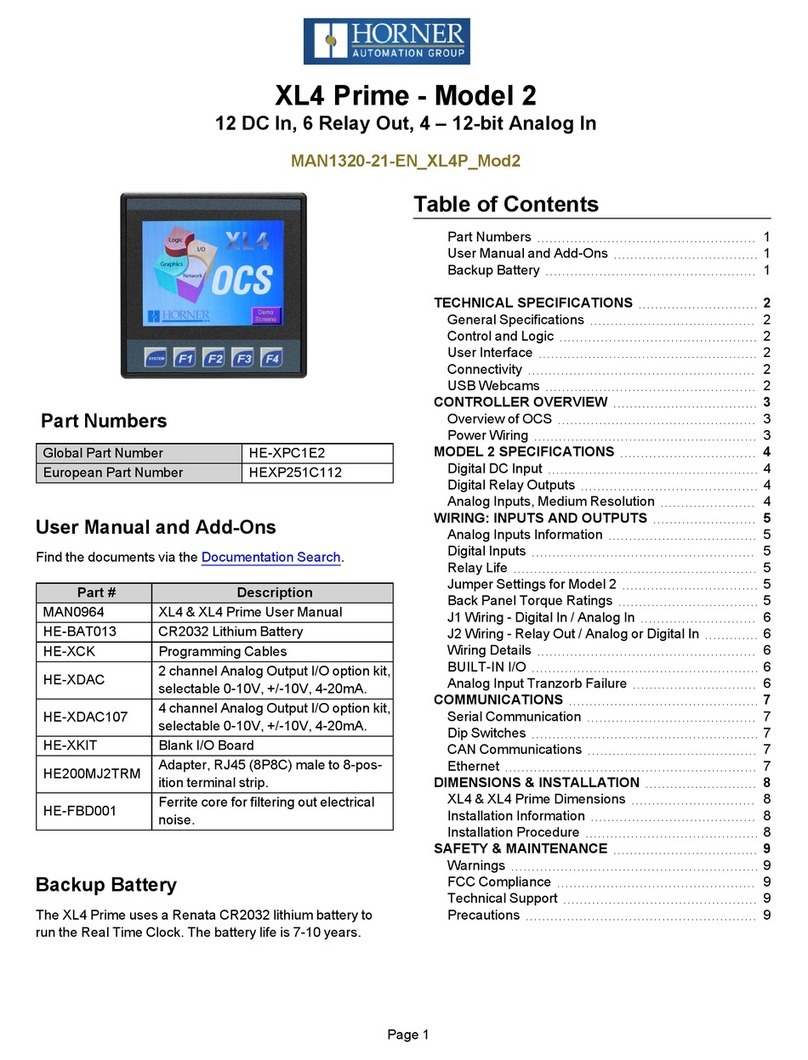
HORNER HE-XPC1E2 User manual

HORNER

HORNER HE-XPC1E2 User manual

HORNER X7 OCS User manual

HORNER

HORNER X7 OCS User manual

HORNER XLE-Model 2 User manual

HORNER

HORNER XLE-Model 2 User manual

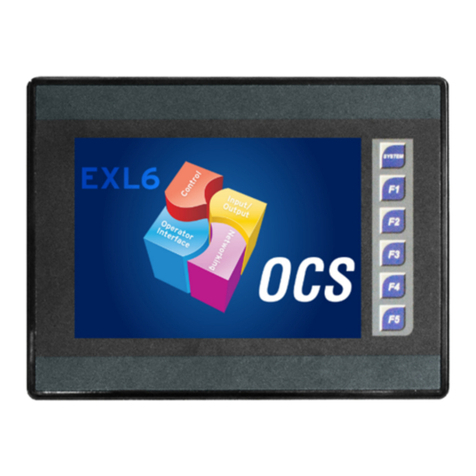
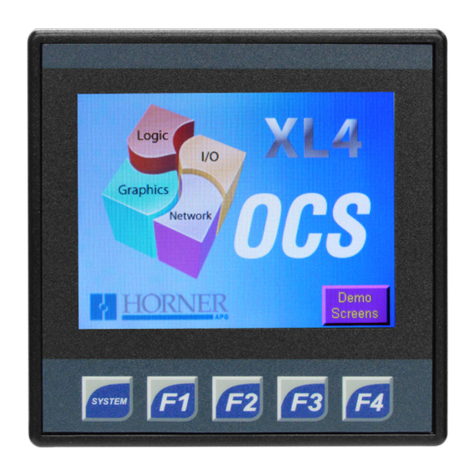
HORNER XL4 6 User manual

HORNER

HORNER XL4 6 User manual

HORNER XL Series User manual

HORNER

HORNER XL Series User manual

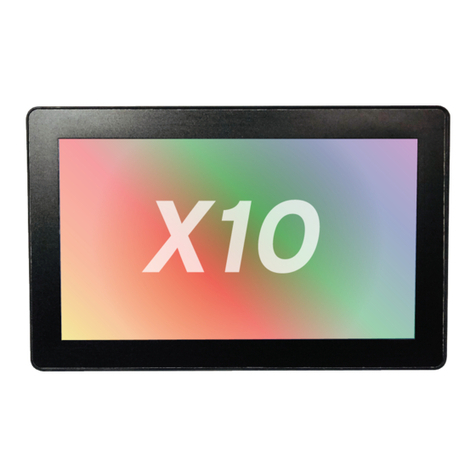
HORNER HE-X10 User manual

HORNER

HORNER HE-X10 User manual

HORNER XL4 User manual

HORNER

HORNER XL4 User manual

HORNER HE-XE100 User manual

HORNER

HORNER HE-XE100 User manual

HORNER X Series User manual

HORNER

HORNER X Series User manual

HORNER XL6 Prime Instruction Manual

HORNER

HORNER XL6 Prime Instruction Manual

HORNER XL6 Series User manual

HORNER

HORNER XL6 Series User manual

HORNER RCC972 User manual

HORNER

HORNER RCC972 User manual

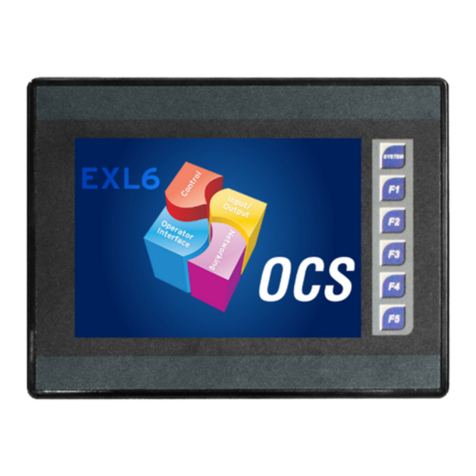
HORNER EXL6 3 User manual

HORNER

HORNER EXL6 3 User manual

HORNER ZX Series User manual

HORNER

HORNER ZX Series User manual

HORNER XLE Series User manual

HORNER

HORNER XLE Series User manual

HORNER XLW PRIME User manual

HORNER

HORNER XLW PRIME User manual

HORNER HE-EXL1E0 User manual

HORNER

HORNER HE-EXL1E0 User manual

Popular Controllers manuals by other brands

Solid State Logic Nucleus2 user guide

Solid State Logic

Solid State Logic Nucleus2 user guide

Kemot SHB-3000 owner's manual

Kemot

Kemot SHB-3000 owner's manual

Apeks ATX Second Stage Technical maintenance manual

Apeks

Apeks ATX Second Stage Technical maintenance manual

Belimo CR24 Series Product information

Belimo

Belimo CR24 Series Product information

Mitsubishi LJ61BT11 user manual

Mitsubishi

Mitsubishi LJ61BT11 user manual

Danfoss ECtemp 850 IV Installation instruction

Danfoss

Danfoss ECtemp 850 IV Installation instruction

SOMFY WISNIOWSKI Metro 800 RTS installation manual

SOMFY

SOMFY WISNIOWSKI Metro 800 RTS installation manual

WAREMA KNX SA 16M230.32 SMI AP installation instructions

WAREMA

WAREMA KNX SA 16M230.32 SMI AP installation instructions

Norac UC4+ installation manual

Norac

Norac UC4+ installation manual

TEL AFA4000/1/AS Installation and calibration guide

TEL

TEL AFA4000/1/AS Installation and calibration guide

Fireye BurnerPRO BP110 manual

Fireye

Fireye BurnerPRO BP110 manual

Bosch EasyControl CT200 Installation and operating instructions

Bosch

Bosch EasyControl CT200 Installation and operating instructions

SPL SMC 7.1 quick start guide

SPL

SPL SMC 7.1 quick start guide

Johnson Controls VAV1717 installation guide

Johnson Controls

Johnson Controls VAV1717 installation guide

NETGEAR ProSafe WC7520 Reference manual

NETGEAR

NETGEAR ProSafe WC7520 Reference manual

ECUE light-drive elite Setup manual

ECUE

ECUE light-drive elite Setup manual

Honeywell SEC-H-602 manual

Honeywell

Honeywell SEC-H-602 manual

CD Automation REVO REVEX3PH user manual

CD Automation

CD Automation REVO REVEX3PH user manual

manuals.online logo
manuals.online logoBrands
  • About & Mission
  • Contact us
  • Privacy Policy
  • Terms and Conditions

Copyright 2025 Manuals.Online. All Rights Reserved.