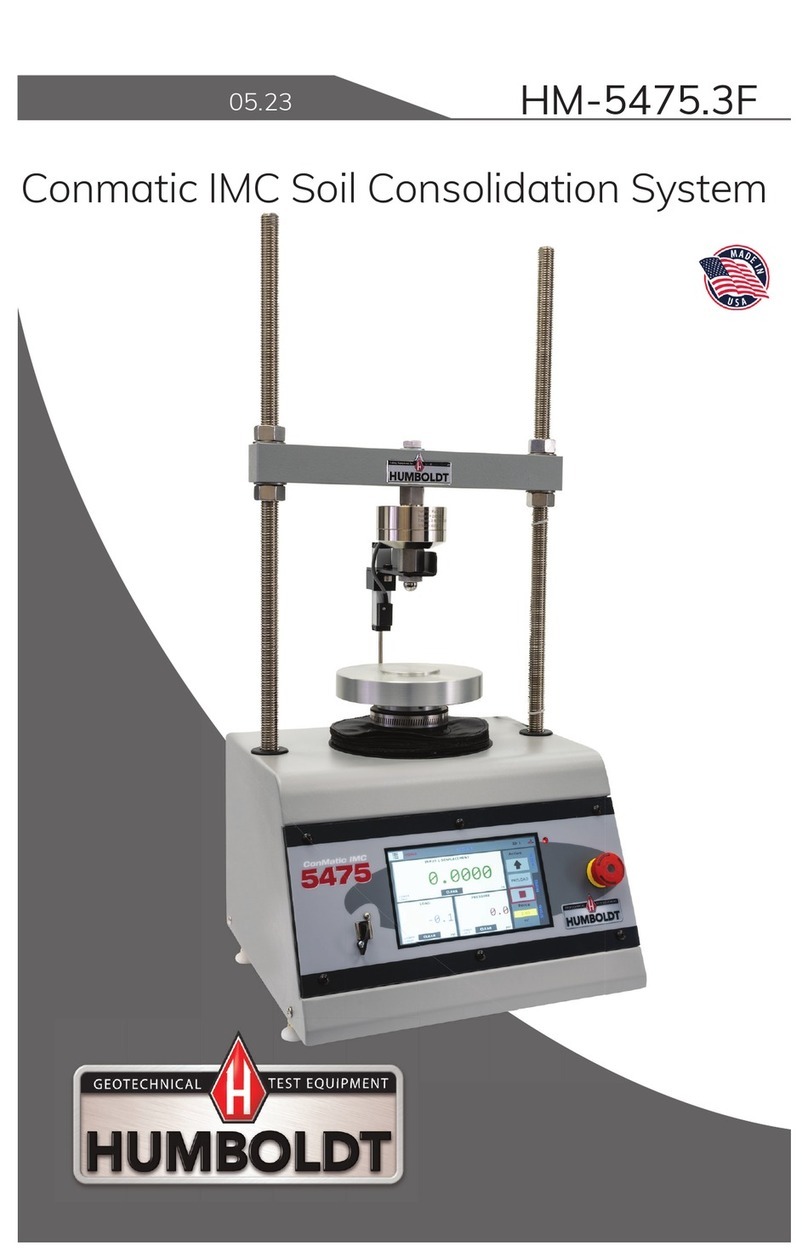
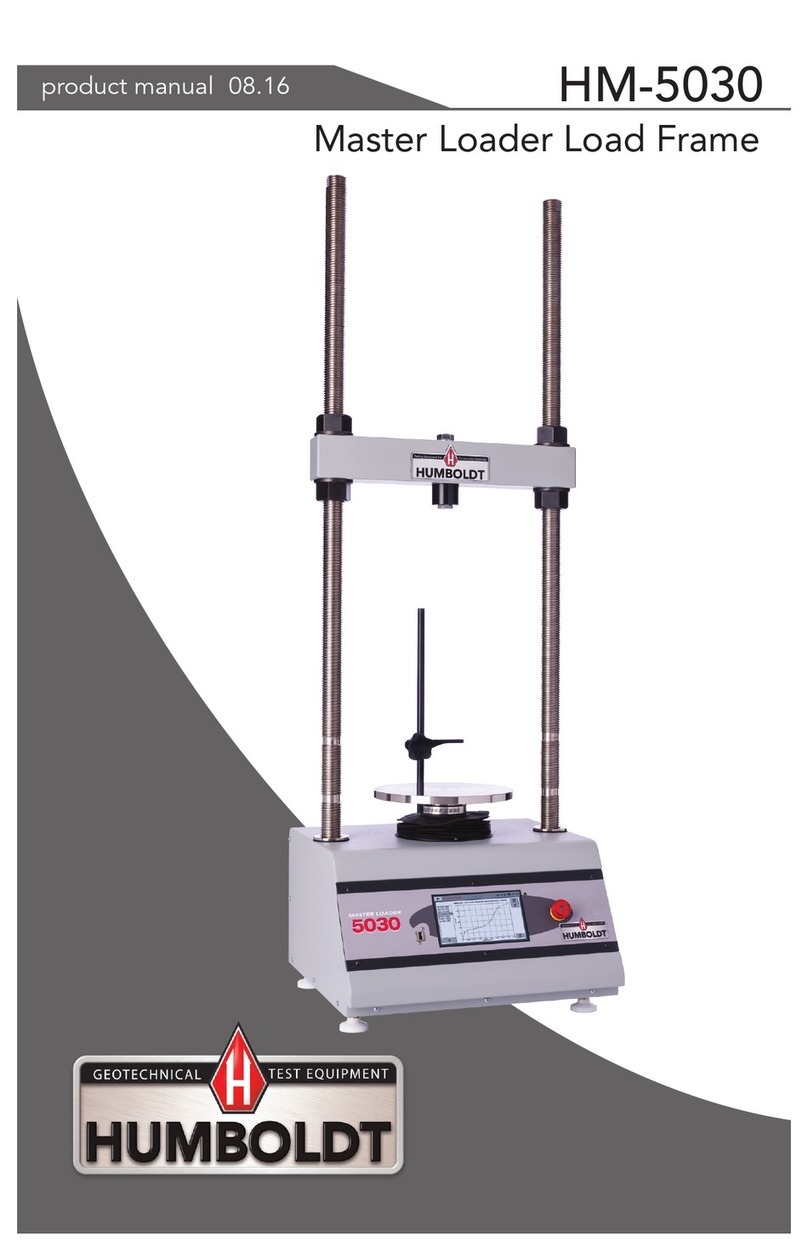
Humboldt HM-5470.3F ConMatic IPC User manual

product manual 03.18
HM-5470 ConMatic IPC
HM-5470.3F


CONTENTS
Quick Start Guide 4
Unpacking 4
Installation and Equipment Setup 4
Electrical Connections 4
Power Switch 4
Air Connection 5
Instrumentation Connections and Setup 5
HM-5760 Rear Instrumentation Panel 5
Network 5
USB Power 5
Instrument Inputs 5
Initial Machine Set-up 6
Initial Set-up — Calibration 8
Calibration Input Screen 8
Units 9
Value 9
Export Calibration via USB 10
Initial Set Up — Date/Time 10
Date 11
Time 11
Clock Style 11
Clock 11
Initial Set Up — Display 11
Brightness 12
Dim Display 12
Turn Display Off 12
Initial Set-up — Preferences 12
Preferences – General Tab 13
Logger ID 13
Sound 13
Automatically Update System 13
Update Check Frequency 13
Preferences – System Units Tab 13
Ambient Temperature 14
Motor Speed Unit 14
Stress Control Unit 14
Preferences – Specimen Parameters Tab 14
Specimen Height 15
Specimen Diameter 15
Specimen Width 15
Preferences – Storage Tab 15
Test Storage Limit 15
Recycled Tests 15
Test Templates 15
Save to USB Check Box 15
Initial Set Up — Network 16
Network Settings Screen 17
DHCP 17
IP Information 17
Local Status 17
Internet Status 17
Initial Set Up — Information 17
System Information 18
Firmware Version 18
IP Information 18
Local Status 18
Internet Status 19
Memory 19
Factory Screen 19
Export Log File 19
Initial Set Up — Contact 19
Contact Information 19
Initial Set Up — Update 20
Update from USB 21
Check for Update 22
Update Details 22
Download Updates 22
Equipment Setup 25
Installation and Equipment Setup 26
Electrical Connections 26
Power Switch 26
Air Connections 26
Air Connection Accessories 27
Air Connection Accessories 28
Instrumentation Connections and Setup 29
Rear Instrumentation Panel 29
Network 29
USB Power 29
Instrument Inputs 29
Test Deck Setup 30
Consolidation Cell Placement 31
Consolidation Cells 32
Consolidation Cells 33
Consolidation Cell Components - Inches 34
Consolidation Cell Components - Metric 35
Calibration of Instrumentation 36
How to Perform a Calibration 36
Export Calibration via USB 36
Test Setup 43
Test Setup 44
Test Setup Wizard – Select Test Type 44
Test Setup Wizard – Select Taget Load 45
Test Setup Wizard – Select Logging Values 46
Test Setup Wizard – Select Stop Parameters 48
Test Setup Wizard – Select Trigger Parameters49
HM-547-.3F Specifications 54
General Warnings 56


QUICK START GUIDE
4
Unpacking
Initial inspection should include checking for physical dam-
age during shipping and obvious external damage to the
product.
Package contents are defined by your packing list. Each
Loader is configured according to customer specifications.
In your inspection, make certain that the contents of your
shipment match the documentation provided by your pack-
ing list.
Place unit on a flat, smooth surface and use leveling feet
(supplied) and use a bubble level to ensure that the unit is
level side-to-side and back-to-front.
Installation and Equipment Setup
Electrical Connections
The HM-5470 is equipped with an internal digital switching
power supply, which allows it to be used with most power
configurations throughout the world. The unit is supplied
with an IEC electrical cord with a standard 110V plug.
The HM-5470 arrives ready for operation. Attach the sup-
plied IEC electrical cord to the machine and plug into a
standard wall receptacle for use in the United States. For
locations other than the U.S., replace the supplied electrical
cord with an IEC cord that has the correct plug for your ap-
plication. The supplied cord can also be used by cutting the
standard plug from the cord and attaching the correct plug.
Power Switch
The Power Switch is located on the upper right hand corner
of the back of the machine, above the electrical cord inlet.
The Fuse Compartment is located between the electrical
cord inlet and the Power Switch. The HM-5470 uses a 10
amp fuse. To begin operation, attach the supplied electrical
cord, plug it in and press the Power Switch.
Fig. 1 Power Switch
Fuse Compartment

QUICK START GUIDE
5
Air Connection
A constant supply of clean, dry air is required for operation. The
air connection is located in the rear of the base cabinet, see photo
below. The air connection is 1/4” (6mm) OD. Insert tubing (sup-
plied) into the quick-connect until it bottoms out, and make sure
the connections are tight.
The inlet air pressure should not exceed 150psi (1000 kpa). Mini-
mum air pressure should be set at least 20psi higher than expected
operating pressure. For example, a maximum vertical operating
load of 10kN (2000 lb), the pressure required would be 95psi.
See pages 27-28 for more information about air supply accessories
for your HM-5470.
Instrumentation Connections and Setup
HM-5470 Rear Instrumentation Panel
Above is a photo of the rear instrumentation panel of the HM-5470.
Network (1)
Ethernet input for connecting machine to a local area net-
work (LAN) and/or the internet.
USB Power (2)
The USB Power port is used for powering a wireless access
appliance for those who want to use a wireless LAN setup.
Instrument Inputs (3)
The panel features two (2) inputs for connecting instrumentation
to the machine. Each input represents a separate channel, and has
been assigned and calibrated to a specific instrument for use with
your HM-5470.
2
1
3

QUICK START GUIDE
6
Once you have installed the instrumentation into the correct
inputs, your rear panel should look like this:
Below are photos of an instrumentation input and the in-
strumentation plug. Install the plugs into the inputs by lining
up the guide at the bottom of the plug with the slot at the
bottom of the input.
Remember, your HM-5470 ConMatic IPC, Automated Con-
solidation Machine includes all the necessary instrumenta-
tion, which is already calibrated and assigned to an Input
and will not need calibration; however, you should confirm
that the instrumentation has been set up and calibrated,
that you have plugged them into the correct channel, and
that you check with your QC/QA program to set up a fre-
quency of calibration schedule.
Instrumentation Input Instrumentation Plug
Initial Machine Set Up

QUICK START GUIDE
7
DO NOT RECALIBRATE!
When your HM-5470 is first turned on, the screen below will
appear.
Navigate to the bottom of this drop-down menu and click
on System Settings (1). You will see the following screen.
From this screen, to confirm your machine instrumentation has
been calibrated, navigate to the Calibration section by clicking
the Menu icon in the top left corner of the screen (1). When you
click on this button, you will see a drop-down menu appear, see
below.
1
1

QUICK START GUIDE
8
Click on the Calibration tab in the top left corner (2). You will
see the following screen.
2
Calibration Input Screen
The Calibration Input Screen (above) is used to monitor and
calibrate instrumentation and assign them to specific chan-
nels of the HM-5470. The Calibration Input Screen provides
a summary of the calibration status of each channel. At this
time, verify the calibration information.
A green box at the left of a channel indicates that the chan-
nel has instrumentation assigned to it and that it is calibrated
and ready for use (1).
1
Initial Set Up — Calibration

QUICK START GUIDE
9
Calibration Input Screen, cont.
Each channel has a “Limits On” check box (1). Use the Limits
On to keep the machine from exceeding the sensor limits of
the instrumentation. By selecting this option, before the test
can exceed the limits of the sensors, all tests will stop run-
ning and the motor will stop to avoid damaging connected
instrumentation.
Note: An input cannot be calibrated during testing.
Units (2)
In this field, a calibrated instrument will display the units
that were chosen for use at the time of calibration. This field
can also be used to automatically toggle conversion of units
between lb.-in. and SI units if the need arises.
Value (3)
This field displays the current calibration value. This value
should already be set with 4 decimal point accuracy (1)
below. If the instrument is not calibrated, the unit will read
“N/A.”
1
23
4
1

QUICK START GUIDE
10
1
For the HM-5470, Vertical load = 2,000 lb and vertical
displacement = 1.000”)
Export Calibration via USB (4)
Press this button to select calibrations to export via USB. It
is a good practice to export all your calibrations to a thumb
drive. In case of a problem this practice allows you to recover
your calibration data quickly.
To set up Date and Time settings, return to the System Set-
tings screen and click on the Date/Time Panel. (1)
1
2
3
4
Click on the Date/Time tab (1). You will see the following
screen.
Initial Set Up — Date and Time

QUICK START GUIDE
11
To set up Display settings, return to the System Settings
screen and click on the Display Panel. (1)
1
Date (1)
Set the month, day, year, and date display format.
Time (2)
Set the hours, minutes, seconds, and am/pm.
Clock Style (3)
Select a clock view, either a 24-hour or 12-hour clock, as well
as the option to show seconds or not.
Clock (4)
The current time is displayed and is located on every control-
ler screen. Clicking on the time from any screen, you will be
taken to the Date/Time Settings Screen.
Click on the Display tab (1). You will see the following screen.
Initial Set Up — Display

QUICK START GUIDE
12
This screen is accessed by clicking on the “Preferences”
button. (1)
Brightness (1)
Slide the gray bar to the left or right to adjust brightness.
Dim Display (2)
The backlight of the display will automatically dim to save
power. Click the yellow box to change the number of min-
utes before the display goes dim. After the time has elapsed,
touch the display to deactivate dimming.
Turn Display Off (3)
The display will automatically turn off to save power. Click
the yellow box to change the number of minutes before the
display powers off.
1
2
3
1
Initial Set Up — Preferences

QUICK START GUIDE
13
Click on the Preferences tab (1). You will see the following
screen.
2
3
1
4
Preferences – General Tab
The Preferences panel is comprised of four (4) tabs and
defaults to the General tab, see above.
Logger ID (1)
Each machine that is connected to your network requires
a unique Logger ID. These numbers can be assigned any
number between 1-245. In most cases, if you are setting up a
new machine it has been given the Logger ID 1. This would
show in the Logger ID field. (1). If this number conflicts with
another machine’s Logger ID, one of the machines will have
to be changed to another Logger ID.
Sound (2)
Checking this box enables or disables audio feedback for
logger events.
Automatically Update System (3)
Checking this box allows the machine to automatically search
for firmware updates when actively connected to the Inter-
net. The machine will not automatically install updates; it will
prompt when an update is available.
Update Check Frequency (4)
The number placed in this box represents the frequency
(how many days) the machine checks for updates.
Preferences – System Units Tab
This screen is accessed by clicking on the “System Units”
Tab under System Preferences.

QUICK START GUIDE
14
1
2
1
2
Ambient Temperature (1)
This field displays the current ambient temperature and
allows you to select desired units (Fahrenheit or Celsius) for
temperature recording.
Stress Control Unit (2)
Click on the desired units you want to use for motor control.
Preferences – Specimen Parameters Tab
This screen is accessed by clicking on the Specimen Parame-
ters Tab under System Preferences.

QUICK START GUIDE
15
Test Storage Limit (1)
This field allows you to set the number of previously run tests
to be available on the “Previous Tests” screen. This number
can be between 10-50.
Recycled Tests (2)
This refers to previously run tests that are not displayed in
the “Previous Tests” window. These tests are not deleted;
they are recycled for later use. Select this button to view/ex-
port/delete recycled tests.
Test Templates (3)
Select this button to delete test templates that have been
created, but are no longer desired.
Save to USB Check Box (4)
Checking this Box saves the results of a test to USB thumb
drive inserted into the front USB slot on the machine.
Specimen Height (1)
This field allows you to set the specimen height that will be
used for all testing calculations.
Specimen Diameter (2)
This field allows you to set the specimen diameter that will
be used for all testing calculations.
Preferences – Storage Tab
This screen is accessed by clicking on the Storage Tab under
System Preferences.
1
2
3
4

QUICK START GUIDE
16
A password is required to access the Network Settings. That
password is: 27604.
1
To set up Network settings, return to the System Settings
screen and click on the Network panel. (1)
Initial Set Up — Network

QUICK START GUIDE
17
1
2
3
4
Initial Set Up — Information
Network Settings Screen
The screen above is the Network Settings screen, it provides
information on your IP information and network status.
DHCP (1)
Check this box to enable/disable the Dynamic Host Configu-
ration Protocol (DHCP). If enabled, your machine will pick up
IP information from your router. If disabled, you will need to
manually enter the network information for a static IP, please
consult your network administrator for this.
IP Information (2)
This information will be filled in automatically if the DHCP is
checked, otherwise you will have to manually supply this in-
formation. The IP address must be unique for each machine.
Local Status (3)
This indicates the status of the local network connection,
Connected or Disconnected.
Internet Status (4)
This indicates the status of your Internet connection, Con-
nected or Disconnected.
Note: If you are experiencing issues with any connec-
tions, please contact your IT department for assistance.
Clicking on this panel provides a view of the current status
of the machine. (1)

QUICK START GUIDE
18
Firmware Version (1)
The current version of the machine firmware is shown here. If you
contact product support, you will need to supply this information.
IP Information (2)
This information will be filled in automatically if DHCP is
checked, otherwise you will have to manually supply this in-
formation. The IP address must be unique for each machine.
Local Status (3)
This indicates the status of the local network connection,
Connected or Disconnected.
1
System Information
Below is a view of the System Information screen. It provides
a current status of the machine.
1
24
7
3
5
6

QUICK START GUIDE
19
Contact Information
Below is a view of the Contact Information screen showing
contact information for Humboldt Support and Service.
For quickest response go to this link on our website:
https://www.humboldtmfg.com/support and fill in the
support form. This will provide us with the necessary in-
formation to assist you and you will be added to the next
position in the support cue.
You can also email Humboldt Support at support@hum-
boldtmfg.com or Humboldt Service at service@humboldtm-
fg.com. Please include contact information and a detailed
description of your reason for contact.
Internet Status (4)
This indicates the status of your Internet connection,
Connected or Disconnected.
Memory (5)
This indicates the current status of how much available
memory is being used by the machine
Factory Screen (6)
This is for Humboldt use only.
Export Log File (7)
This button exports a log file from the machine to a USB thumb
drive. Be sure to insert a thumb drive before exporting the file or
you will receive an error. This file can be helpful in trouble shooting
by Humboldt Support.
Clicking on this panel provides contact information for
Humboldt Support and Service(1)
1
Initial Set Up —Contact

QUICK START GUIDE
20
Clicking on this panel provides information on checking for
Updates, performing updates and an update history for the
machine. (1)
1
Initial Set Up — Update
Table of contents
Other Humboldt Test Equipment manuals

Humboldt
Humboldt ConMatic IMC User manual

Humboldt
Humboldt HM-5040.3F User manual

Humboldt
Humboldt HM-5760.3F User manual

Humboldt
Humboldt Deluxe Series User manual

Humboldt
Humboldt HM-5030 User manual

Humboldt
Humboldt Digital MasterLoader HM-3000.3F User manual

Humboldt
Humboldt H-4212MH User manual

Humboldt
Humboldt Speedy 2000 H-4968 User manual

Humboldt
Humboldt H-4165 User manual

Humboldt
Humboldt HM-2850.3F User manual