ries. Use equipment only as described in this manual.
Never stand on the Balancer. Wear non-slip safety foot-
wear when operating the Balancer. Keep hair, loose cloth-
ing, neckties, jewelry, fingers, and all parts of body away
from all moving parts. ALWAYS WEAR OSHA AP-
PROVED SAFETY GLASSES. Eyeglasses that have only
impact resistant lenses are NOT safety glasses.
2.4. Important Safety Instruction -
Balancers
Keep the safety hood and its safety interlock system in
good working order.
Do not place any tools, weights, or other objects on the
safety hood while operating the balancer.
Verify that the wheel is mounted properly and that the
wing nut is firmly tightened before spinning the wheel.
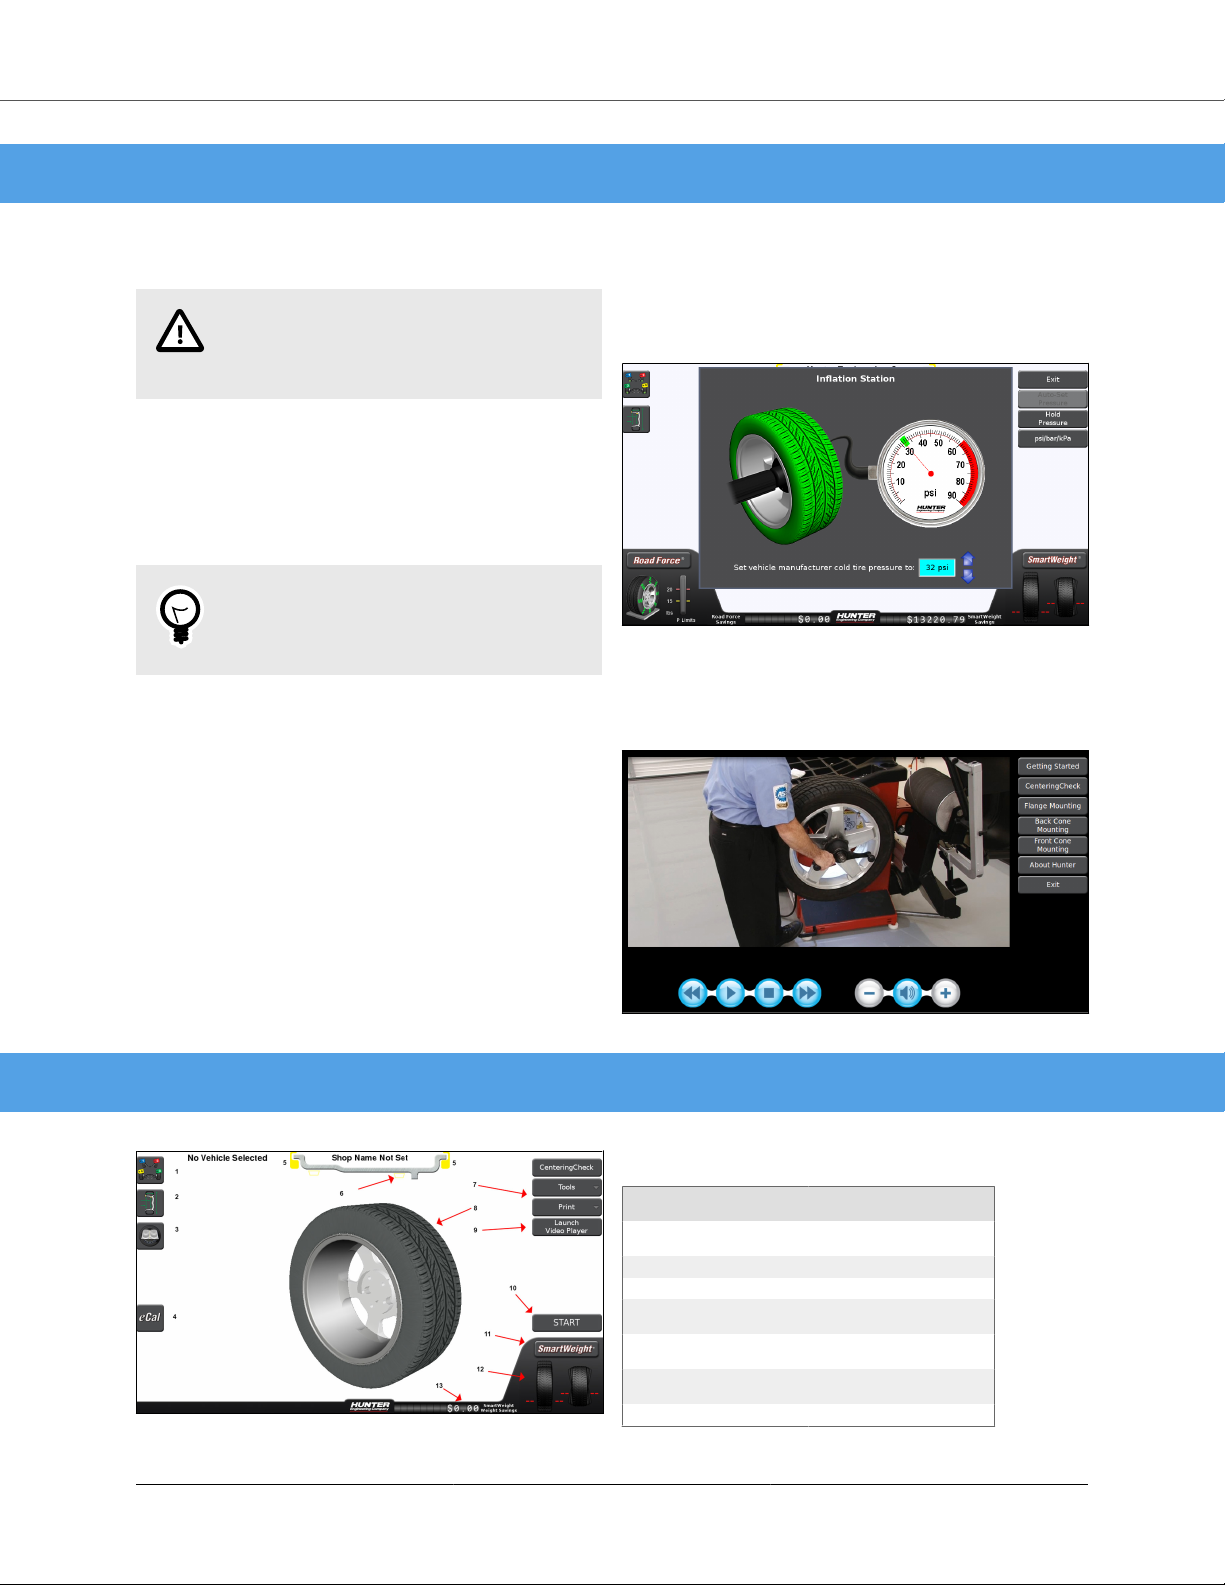
The safety hood must be closed before touching the green
“START” button, to spin the wheel.
Raise safety hood only after wheel has come to a com-
plete stop. If safety hood is raised before the spin is com-
pleted, the weight values will not be displayed.
The red “STOP” button, can be used for emergency stops.
2.5. Decal Information & Placement
- Balancers
• Decal 128-1244-2 cautions the operator that spindle ro-
tation may occur with foot pedal depression and to keep
clear of clamping components during shaft rotation.
• Decal 128-964-2 gives the maximum wheel diameter
and maximum wheel weight for the SmartWeight® Elite.
• EN/IEC Class 1 Laser Product Certification is shown on
Decal 128-1638-2. This label shows the EN/IEC stand-
ards for a Class 1 Laser Product.
• An explanation of FDA compliance standards is shown
on Decal 128-1117-2. FDA performance standards com-
pliance is shown on the decal.
• For units with TDC Laser, FDA standards for Class 2M
laser compliance are shown on Decal 128-1155-2.
• Decal 128-381-2 warns the operator not to remove the
covered of the SmartWeight® Elite because of the risk
of the electrical shock and not to use below garage floor
level.
• ETL certification standards are outlined on Decal
128-1120-2. Users are cautioned not to use the balanc-
er below garage level.
• A manufacturer's identification is also on the rear of the
balancer.
2.6. Balancer Power Source Precau-
tion
The SmartWeight® Elite is intended to operate from a
power source that will apply 230VAC +10% / -15%, 1
phase, 10 amp 50/60 Hz power.
The power cable includes NEMA 20 amp plug, L6-20P,
between the supply conductors of the power cord.
The power cord supplied utilizes a twist lock connector.
NEMA L6-20P Plug
CAUTION
A protective ground connection,
through the grounding conductor is
the power cord, is essential for safe
operation. Use only a power cord that
is in good condition.
NOTE
For information on converting from
single phase NEMA L6-20P plug to a
three phase NEMA L15-20P plug refer
to Form 5350-T
2.7. Optical Scan Laser Precaution
The Optical Scan Laser is a Class 1 laser designed to
measure the profile of wheel assemblies. The laser is not
a field serviceable part. No maintenance is to be per-
formed on the laser.
Wavelength: 650nm.
2.8. HammerHead TDC Laser Pre-
caution (optional equipment)
The TDC (Top Dead Center) Laser Indicator is a class 2M
laser designed to aid in applying clip-on weights.
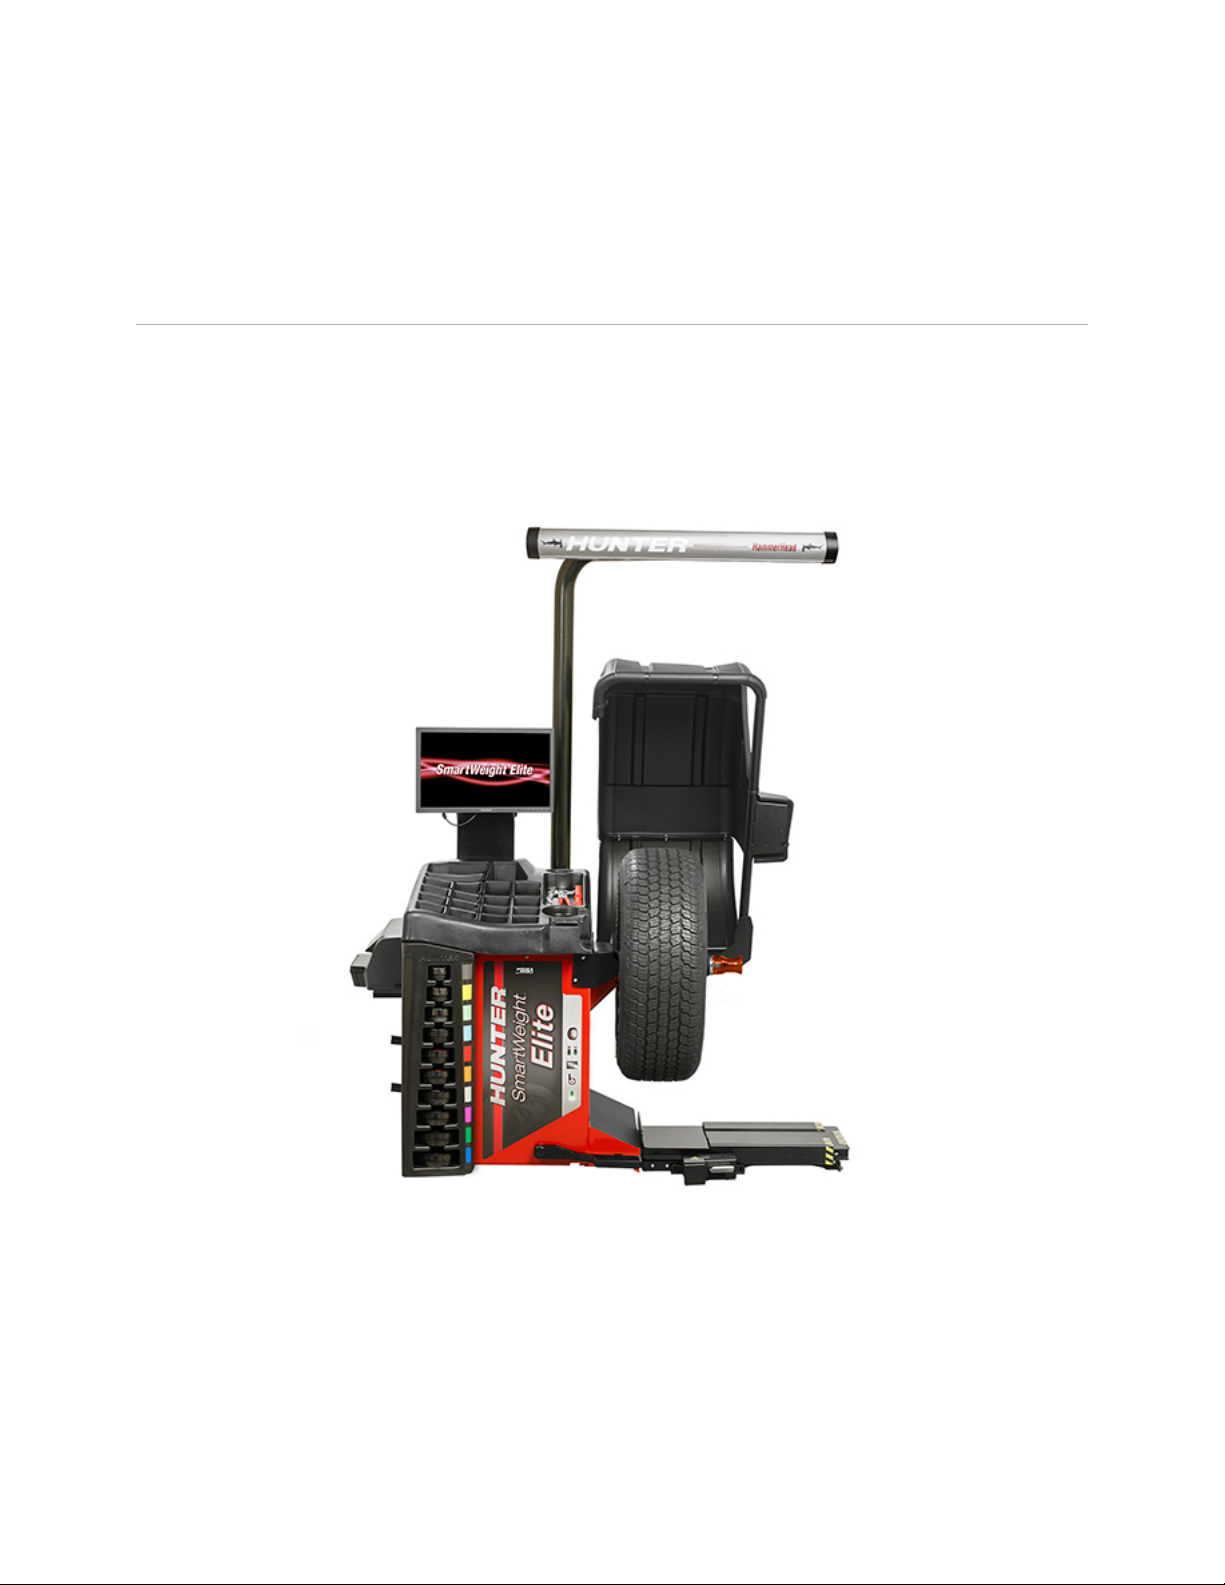
BM07900-00 SmartWeight® Elite Operations Manual
Page 4 of 7