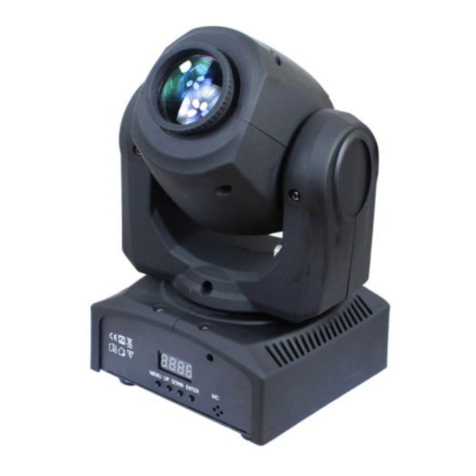
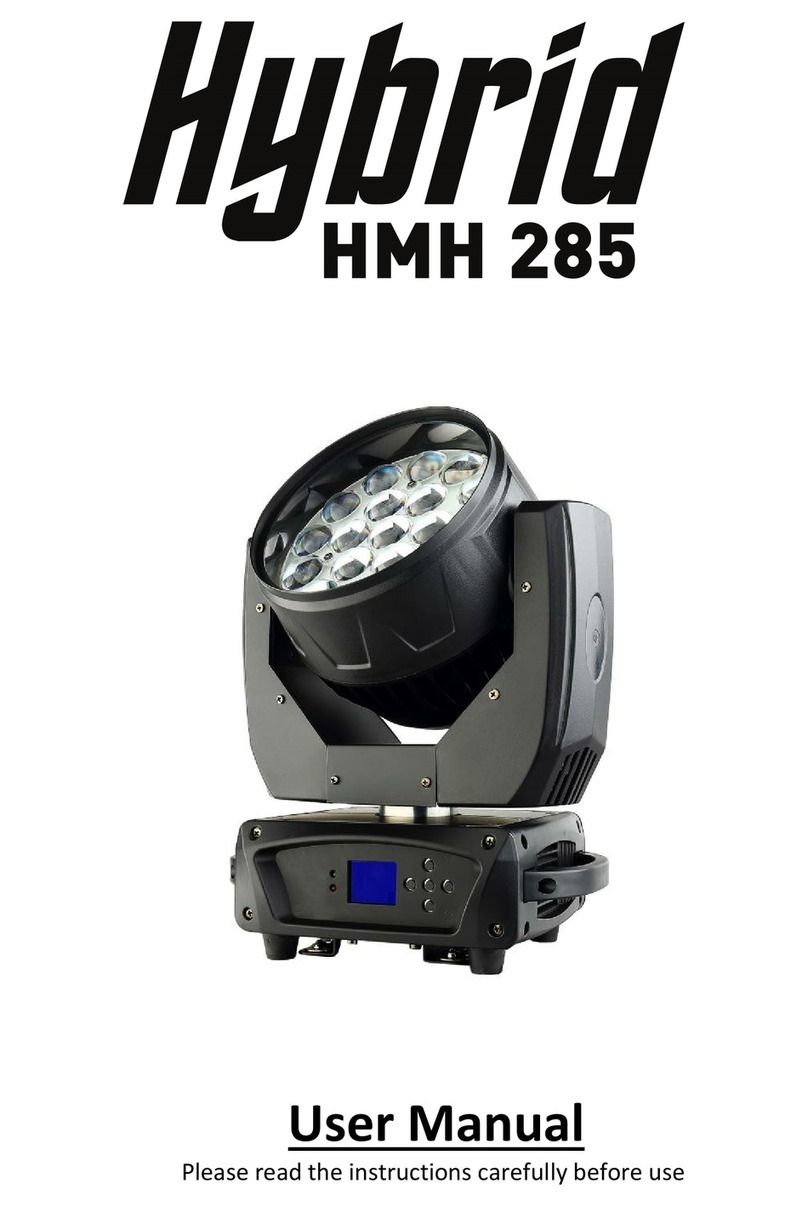
Hybrid+ HMH 230 User manual

HMH230 BEAM
User Manual
Please read the instruction carefully
before use

1. Safety Instruction
WARNIN
G
Please keep this User Guide for future consultation. If you sell the unit to another
user, be sure that they also receive this instruction manual.
Important:
Damages caused by the disregard of this user manual are not subject to
warranty. The dealer will not accept liability for any resulting defects or
problems.
Unpack and check carefully that there is no transportation damage before using
the unit.
The unit is for indoor use only. Use only in a dry location.
Do install and operate by qualified operator.
Do not allow children to operate the fixture.
Use safety chain when fixing the unit. Handle the unit by carrying its base instead
of head only.
The unit must be installed in a location with adequate ventilation, at least
50cm from adjacent surfaces.
Be sure that no ventilation slots are blocked; otherwise the unit will be
overheated.
Before operating, ensure that the voltage and frequency of power supply
matches the power requirements of the unit.
It’s important to ground the yellow/green conductor to earth in order to avoid
electric shock.
Maximum ambient temperature TA: 40℃. Don’t operate it when the temperature
is higher.
Don’t connect the device to any dimmer pack.
During initial start-up some smoke or smell may arise. This is a normal
process and does not necessarily mean that the device is defective, and it will
decrease gradually within 15 minutes.
Make sure there are no flammable materials close to the unit while operating
to avoid fire hazard.
Please read carefully the instruction manual, which includes
important information about the installation, usage and
maintenance.

Examine the power wires carefully; replace them immediately if there is any
damage.
Unit’s surface temperature may reach up to 85℃. Don’t touch the housing
bare-handed during its operation, and allow about 15 minutes for cooling the
unit down before replacing bulb or maintenance as it could be very hot.
Avoid any inflammable liquids, water or metal objects entering the unit. Once
it happens, cut off the mains power immediately.

Do not operate in dirty or dusty environment; do clean the fixture regularly.
Do not touch any wire during operation as there might be a hazard of electric
shock.
Avoid power wires twist other cables.
The minimum distance between light output and the illuminated surface must
be more than 12 meters.
Disconnect mains power before fuse/lamp replacement or servicing.
Replace fuse/lamp only with the same type.
In the event of serious operating problem, stop using the unit immediately.
Never turn on and off the unit time after time.
The housing, the lenses, or the ultraviolet filter must be replaced if they are
visibly damaged.
Do not open the unit as there are no user serviceable parts inside.
Never try to repair the unit by yourself. Repairs carried out by unskilled people
can lead to damage or malfunction. Please contact the nearest authorized
technical assistance center if needed.
Disconnect the mains power if the fixture is has not been used for a long time.
Do use the original packing materials before transporting it once again.
To prevent or reduce the risk of electrical shock or fire, do not expose the unit
to rain or moisture.
Hot lamp explosion hazard. Do not open the unit within 15 minutes after
switching off.
Do replace the bulb once it is damaged, deformed or life-expired.
Do not look directly at the light while the bulb is on.
Never touch bulb with bare fingers, as it is very hot after using.
Do not start on the unit without bulb enclosure or when housing is damaged.

2. Technical Specification
DMX Channels: 15 and 18 channels
Control mode: DMX, Master slave, Sound active
TFT display easy to control
One gobo wheel:17 gobos+Open
One color wheel:13 colors+Open
Smooth 0~100% dimming and variable strobe speeds
Voltage: AC 100~240V, 50/60Hz
Power Consumption: 330W
LED: OSRAM 230W
Beam Angle: 3°
Weight: 16.7Kgs
Dimension: 465 x 445 x 510mm

3. Description
3.1 Control Panel
1. Button:
2. LED:
3. Function Display: Used to show the various menus and the selected function;
4. How To Set The Unit
LEFT
Return to the top level and adjust the
field
RIGHT
Adjust the field
ENTER
To confirm the selected functions
UP
To go backward in the selected
functions
DOWN
To go forward in the selected
functions
DMX
On
DMX input present
SOUND
Flashing
Sound activation

4.1 Main Function

DMX Address
To select DMX Address, press the ENTER button to show the DMX ADDRESS on
the display. Use the UP/DOWN button to adjust the address from 001 to
495(18CH)/498(15CH). Once the address has been selected, press the ENTER
button to setup, to go back to the functions without any change press the LEFT
button again.
Run Mode
To select Run Mode, press the ENTER button to show the RUN MODE on the
display. Use the DOWN/UP button to select the DMX or Auto or Sound or Master
ON/OFF or Lamp ON/OFF or Channel 15CH/18CH Mode. Once the mode has
been selected, press the ENTER button to setup, to go back to the functions
without any change press the LEFT button again.
DMX Mode Auto
Mode

Sound Mode Master
ON/OFF
Lamp ON/OFF (Manual control the lamp ON or OFF)
Channel Mode 15CH /18CH (Choose 15channels or 18 channels)

Display Screen Brand ( Means show the Hybrid on the panel when never
operation)
Display Screen ON ( Means show the DMX address on the panel when never
operation)
Display Screen OFF ( Blackout the panel when never operation)

Test Mode (For testing all function by manual )
Setup Mode

Pan Inverse
To select Pan Inverse, press the ENTER button to show the PAN INVERSE on the
display. Use the DOWN/UP button to select the Inverse (pan inversion) or Normal
(normal) mode. Once the mode has been selected, press the ENTER button to
setup, to go back to the functions without any change press the LEFT button
again.
Tilt Inverse
To select Tilt Inverse, press the ENTER button to show the TILT INVERSE on the
display. Use the DOWN/UP button to select the Inverse (tilt inversion) or Normal
(normal) mode. Once the mode has been selected, press the ENTER button to
setup, to go back to the functions without any change press the LEFT button
again.
Lamp Set (Power on/Delay/ Manual)
Lamp Power On /Delay/Manual
To select Power On, press the ENTER button to show the POWER ON on the
display. (Lamp on when power on) Press UP or DOWN button to show the Delay
on the display.(Lamp on when the unit do resetting finish) Displayed the
Manual.(Lamp on/off controlled by manual )

Info (Show the information of the light as following)
Lamp Time (the display show the number of working hours of the lamp.)
Total Time (the display will show the number of working hours of the unit.)
DMX Clr (Professional person make all channels of the unit will return to their
standard position.)
SysRst (all channels of the unit will return to their standard position.)
5. Control By Universal DMX Controller
5.1 Connection

1. At last unit, the DMX cable has to be terminated with a terminator. Solder a
120-ohm 1/4W resistor between pin 2(DMX-) and pin 3(DMX+) into a 3-pin XLR-
plug and plug it in the DMX-output of the last unit.
2. Connect the unit together in a “daisy chain” by XLR plug cable from the
output of the unit to the input of the next unit. The cable cannot be branched or
split to a “Y” cable. DMX 512 is a very high-speed signal. Inadequate or
damaged cables, soldered joints or corroded connectors can
easily distort the signal and shut down the system.
3. The DMX output and input connectors are pass-through to maintain the DMX
circuit, when one of the units’ power is disconnected.
4. Each lighting unit needs to have a DMX address to receive the data by the
controller. The address number is between 0-511 (usually 0 & 1 are equal to 1).
5. The end of the DMX 512 system should be terminated to reduce signal errors.
6. 3 pin XLR connectors are more popular than 5 pins XLR.
3 pin XLR: Pin 1: GND, Pin 2: Negative signal (-), Pin 3: Positive signal (+)
5 pin XLR: Pin 1: GND, Pin 2: Negative signal (-), Pin 3: Positive signal (+), Pin4, Pin5
not used.

5.2 Address Setting
If you use a universal DMX controller to control the units, you have to set DMX
address from 1 to 512 so that the units can receive DMX signal.
Press MENU button to enter menu mode, select DMX Functions, press ENTER
button to confirm, use UP and DOWN button to select DMX Address, press ENTER
button to confirm, the present address will blink on the display, use UP and DOWN
button to adjust the address from 1 to 512, press ENTER button to store. Press
MENU button back to the last menu or let the unit idle one minute to exit menu
mode.
Please refer to the following diagram to address your DMX512 channel for the first 4
units.
Channel
mode
Unit 1
Address
Unit 2
Address
Unit 3
Address
Unit 4
Address
15 channels
1
1
6
3
1
4
6
18 channels
1
1
9
3
7
5
5
5.3 DMX 512
Configuration 15
Channels Mode:
Channel
Function
DMX
Value
1
Pan
0-255
0-540 degree
2
Pan Fine
0-255
16bit
3
Tilt
0-255
0-270 degree
4
Tilt Fine
0-255
16bit
5
Pan/Tilt Speed
0-255
From slow to fast
6
Dimmer
0-255
From dark to light
7
Shutter
0-7
None
8-15
Open
16-131
Strobe from slow to fast
132-167
Random fast strobe from slow to fast
168-203
Random slow strobe from slow to fast

204-239
Pulsation from slow to fast
240-247
Strobe from slow to fast
248-255
Open
8
Color
0-4
Open
5-8
Color 1
9-12
Color 2
13-16
Color 3
17-20
Color 4
21-24
Color 5
25-28
Color 6
29-32
Color 7
33-36
Color 8
37-40
Color 9
41-44
Color 10
45-48
Color 11
49-52
Color 12
53-56
Color 13
57-60
Color 14
61-127
Half color
128-189
Clockwise Rainbow rotation from slow
to fast
190-193
Stop
194-255
Anti-clockwise Rainbow rotation from
slow to fast
9
Gobo
0-3
Open
4-6
Gobo 1
7-9
Gobo 2
10-12
Gobo 3
13-15
Gobo 4
16-18
Gobo 5
19-21
Gobo 6
22-24
Gobo 7
25-27
Gobo 8
28-30
Gobo 9
31-33
Gobo 10
34-36
Gobo 11
37-39
Gobo 12
40-42
Gobo 13
43-45
Gobo 14
46-48
Gobo 15
49-51
Gobo 16
52-55
Gobo 17
56-59
White

60-63
Gobo 1 shaking from slow to fast
64-67
Gobo 2 shaking from slow to fast
68-71
Gobo 3 shaking from slow to fast
72-75
Gobo 4 shaking from slow to fast
76-79
Gobo 5 shaking from slow to fast
80-83
Gobo 6 shaking from slow to fast
84-87
Gobo 7 shaking from slow to fast
88-91
Gobo 8 shaking from slow to fast
92-95
Gobo 9 shaking from slow to fast
96-99
Gobo 10 shaking from slow to fast
100-103
Gobo 11 shaking from slow to fast
104-107
Gobo 12 shaking from slow to fast
108-111
Gobo 13 shaking from slow to fast
112-115
Gobo 14 shaking from slow to fast
116-119
Gobo 15 shaking from slow to fast
120-123
Gobo 16 shaking from slow to fast
124-127
Gobo 17 shaking from slow to fast
128-189
Clockwise Rainbow rotation from slow
to fast
190-193
Stop
194-255
Anti-Clockwise Rainbow rotation from
slow to fast
10
Prism
0-4
None
5-255
Prism
11
Prism Rotation
0-127
Index rotation
128-189
Clockwise rotation from slow to fast
190-193
Stop
194-255
Anti-clockwise rotation from slow to
fast
12
None
0-255
None
13
Focus
0-255
Focus from far to near
14
Frost
0-255
Frost function
15
Function
0-129
None
130-139
Lamp on
140-199
None
200-209
Reset
210-229
None
230-239
Lamp off
240-255
None
248-255
Pan/tilt movement ramp
speed,increase off

18 Channels mode
Channel
Function
DMX
Value
1
Pan
0-255
0-540 degree
2
Pan Fine
0-255
16bit
3
Tilt
0-255
0-270 degree
4
Tilt Fine
0-255
16bit
5
Pan/Tilt Speed
0-255
From slow to fast
6
Dimmer
0-255
From dark to light
7
Dimmer fine
0-255
16bit
8
Shutter
0-7
None
8-15
Open
16-131
Strobe from slow to fast
132-167
Random fast strobe from slow to fast
168-203
Random slow strobe from slow to fast
204-239
Pulsation from slow to fast
240-247
Strobe from slow to fast
248-255
Open
9
Color
0-4
Open
5-8
Color 1
9-12
Color 2
13-16
Color 3
17-20
Color 4
21-24
Color 5
25-28
Color 6
29-32
Color 7
33-36
Color 8
37-40
Color 9
41-44
Color 10
45-48
Color 11
49-52
Color 12
53-56
Color 13
57-60
Color 14
61-127
Half color
128-189
Clockwise Rainbow rotation from slow
to fast
190-193
Stop
194-255
Anti-clockwise Rainbow rotation from
slow to fast
10
Gobo
0-3
Open
4-6
Gobo 1

7-9
Gobo 2
10-12
Gobo 3
13-15
Gobo 4
16-18
Gobo 5
19-21
Gobo 6
22-24
Gobo 7
25-27
Gobo 8
28-30
Gobo 9
31-33
Gobo 10
34-36
Gobo 11
37-39
Gobo 12
40-42
Gobo 13
43-45
Gobo 14
46-48
Gobo 15
49-51
Gobo 16
52-55
Gobo 17
56-59
White
60-63
Gobo 1 shaking from slow to fast
64-67
Gobo 2 shaking from slow to fast
68-71
Gobo 3 shaking from slow to fast
72-75
Gobo 4 shaking from slow to fast
76-79
Gobo 5 shaking from slow to fast
80-83
Gobo 6 shaking from slow to fast
84-87
Gobo 7 shaking from slow to fast
88-91
Gobo 8 shaking from slow to fast
92-95
Gobo 9 shaking from slow to fast
96-99
Gobo 10 shaking from slow to fast
100-103
Gobo 11 shaking from slow to fast
104-107
Gobo 12 shaking from slow to fast
108-111
Gobo 13 shaking from slow to fast
112-115
Gobo 14 shaking from slow to fast
116-119
Gobo 15 shaking from slow to fast
120-123
Gobo 16 shaking from slow to fast
124-127
Gobo 17 shaking from slow to fast
128-189
Clockwise Rainbow rotation from slow
to fast
190-193
Stop
194-255
Anti-Clockwise Rainbow rotation from
slow to fast
11
Prism
0-4
None
5-255
Prism
12
Prism Rotation
0-127
Index rotation
128-189
Clockwise rotation from slow to fast

190-193
Stop
194-255
Anti-clockwise rotation from slow to
fast
13
None
0-255
None
14
Focus
0-255
Focus from far to near
15
Frost
0-255
Frost function
16
P/T marco
0-255
Pan/Tilt marco
17
P/T M speed
0-255
Speed from slow to fast
18
Function
0-129
None
130-139
Lamp on
140-199
None
200-209
Reset
210-229
None
230-239
Lamp off
240-255
None
Table of contents
Other Hybrid+ Dj Equipment manuals

Hybrid+
Hybrid+ TRIPLE DERBY User manual

Hybrid+
Hybrid+ HSS 12.6 User manual

Hybrid+
Hybrid+ HH3000 User manual

Hybrid+
Hybrid+ CM3UFX User manual

Hybrid+
Hybrid+ FOUR BEAM User manual

Hybrid+
Hybrid+ HMN 285 User manual

Hybrid+
Hybrid+ HMH GOBO II User manual

Hybrid+
Hybrid+ HMH 12 User manual

Hybrid+
Hybrid+ HMH GOBO User manual

Hybrid+
Hybrid+ HSS 6.4B User manual