PAGE 3
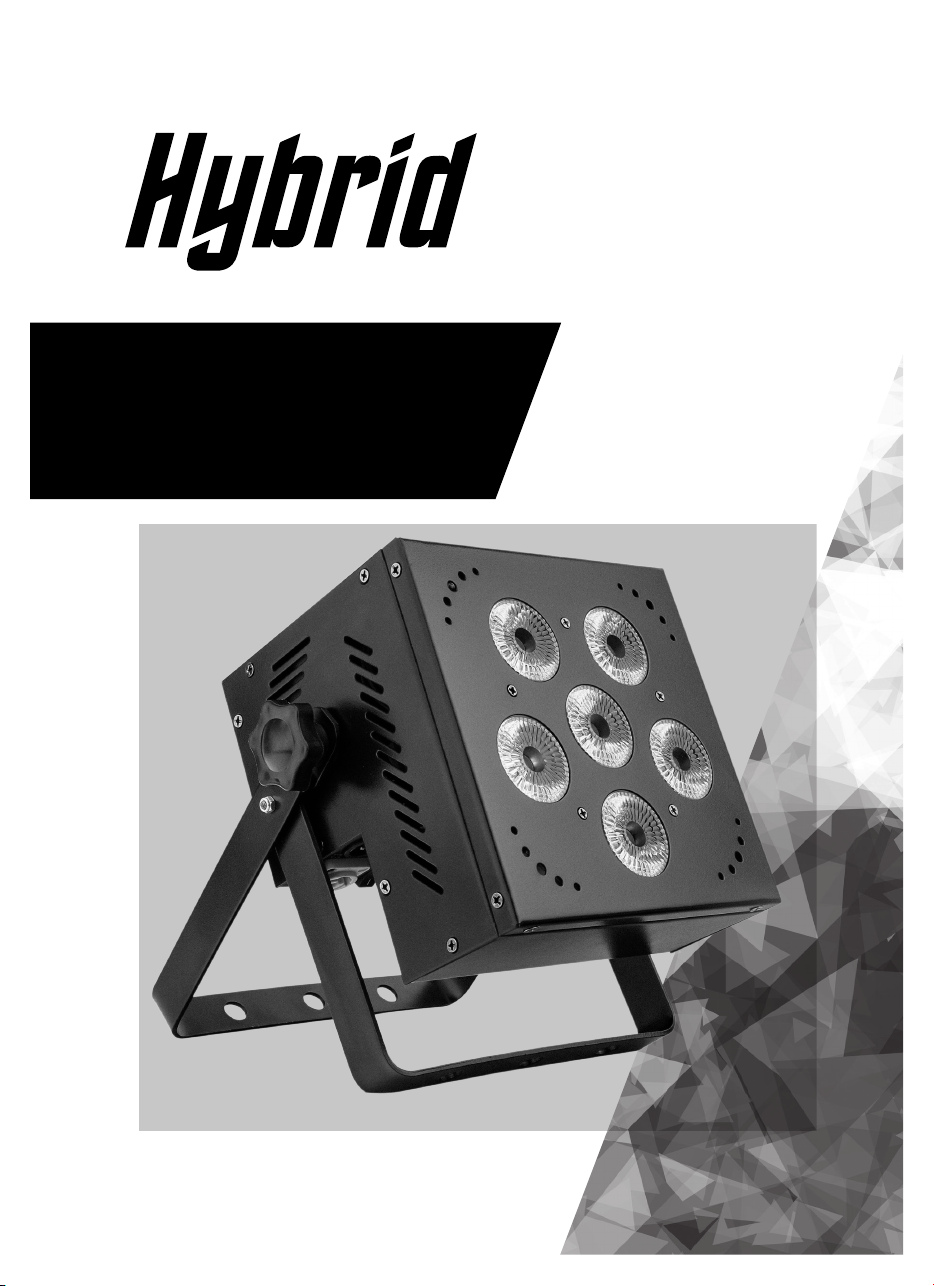
USER MANUAL - HSS 6.4B PROFESSIONAL LED LIGHT
INSTALLATION
The unit should be mounted via its screw holes on the bracket.
Always ensure that the unit is firmly fixed to avoid vibration and slipping
while operating. Always ensure that the structure to which you are attaching
the unit is secure and is able to support a weight of 10 times of the unit’s
weight. Also always use a safety cable that can hold 12 times of the weight
of the unit when installing the fixture. The equipment must be fixed by
professionals. And it must be fixed at a place where is out of the touch of
people and has no one pass by or under it.
Power Supply: Before plugging your unit in, be sure the source voltage in your area matches the required
voltage for your light is workable in 100-240V/50~60Hz. Because line voltage may vary from venue to
venue, you should be sure your unit voltage matches the wall outlet voltage before attempting to operate
you fixture.
Operating Instructions :
Operating Modes: You can use this light in 5 ways:
Sound activation – The unit will activated by the sound signal.
Static display – The unit will display the color in static way.
Auto Mode -The unit will automatically chase through the different patterns.
DMX control mode -This function will allow you to control the lighting with a standard
DMX 512 controller.
Battery powered – This function will allow you to control the lighting independently without any
DMX cable
DMX Mode: Operating through a DMX controller give the user the freedom to create their own programs
tailored to their own individual needs. This function also allows you to use your fixtures as pattern
changing lights.
1. This function will allow you to control each individual fixtures traits with a standard DMX 512 controller.
2. This light use 4/8 DMX channels to operate. Please see “DMX channel and Functions” for the
DMX traits.
3. To run your fixture in DMX mode, plug in the fixture via the XLR connections to any standard
DMX controller. Set your desired DMX address following the setup specifications that come with
your DMX controller.
4. The unit can automatically recognize the DMX signal once the DMX connection is done.
HOW TO SET THE UNIT
Display and buttons