manuals.online logo
Brands
  1. Home
  2. •
  3. Brands
  4. •
  5. Hypercom
  6. •
  7. Payment Terminal
  8. •
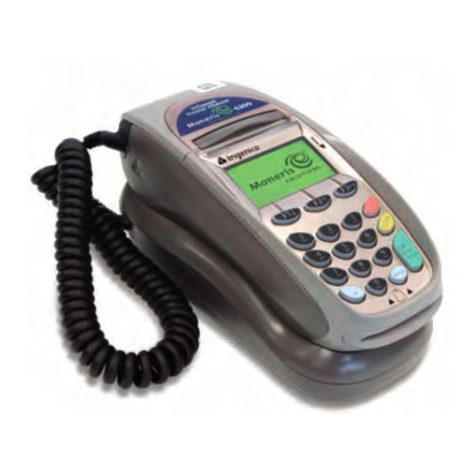
  9. Hypercom ICE 5700 User manual

Hypercom ICE 5700 User manual

This file provided by
Switch to Infinity Data Corp for your processing
needs! Infinity offers great rates, excellent customer
support and a wide range of payment processing
solutions.
http://www.infinitydata.com/
Call Today!
Sales 1 800 393 6665
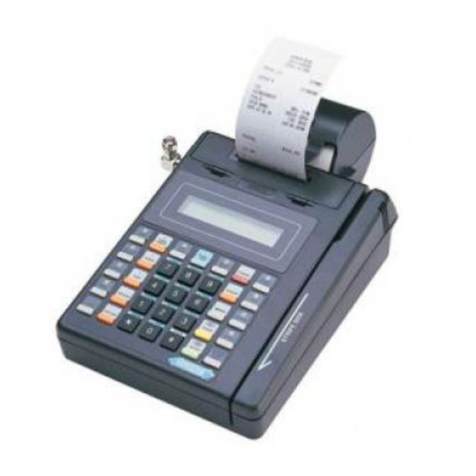
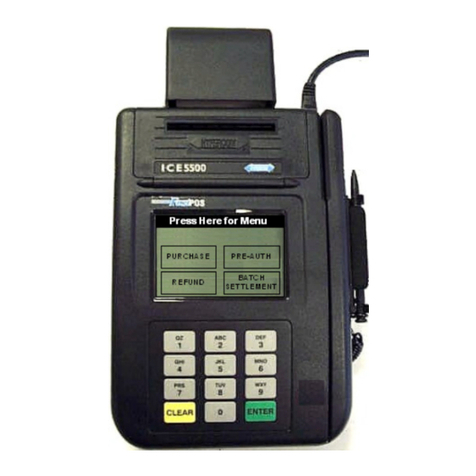
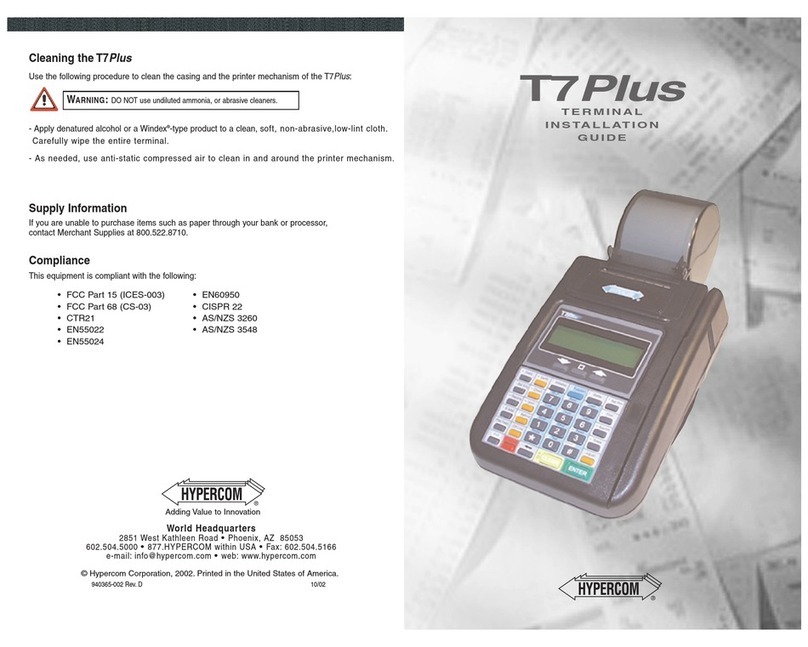
ICE 5700 Terminal
ICE™ (Interactive Consumer Environment) from Hypercom
®
combines the flexibility of a full-fea-
tured, integrated POS terminal with the infrastructure to quickly and cost-effectively integrate new
applications. This combination makes ICE the simplest and most innovative POS solution available
today. The ICE 5700 incorporates the new integrated modem technology, Hypercom FastPOS™.
Operating at 9600 bps, FastPOS allows lower transaction costs, new data-rich applications such as
signature capture, and faster transactions.
Installation Procedures
Note:
The following equipment warnings are for your safety and that of your equipment.
Powering Up the Terminal
Use the following procedures to power up the ICE 5700:
1. Connect the +24-VDC power cable from the AC adapter to the
three-pin terminal power socket on the back panel of the ICE 5700.
See Figure 1.
2. Plug the adapter into a 110-Volt (or 220-Volt in some countries)
grounded power receptacle. Be sure the connector is firmly seated. When
the power is connected successfully, the terminal beeps twice and then
performs a self-test and diagnostic routine.
Connecting the Telephone Line
Use the following procedures to connect a telephone line to the ICE 5700:
1. Insert the telephone cable shipped with the ICE 5700 terminal into a
dedicated analog modular telephone receptacle.
2. Insert the other end of the telephone cable into the opening labeled
LINE on the back panel of the ICE 5700 terminal and make sure it is
fully seated. See Figure 2. The use of a different cable might result in
improper operation.
Note:
Ensure that the telephone line cable latches are firmly locked into the
jacks on both the ICE 5700 terminal and wall receptacle.
Setup Procedures
Use the following instructions to load paper into your ICE 5700 and prepare
it for printing:
Loading Paper
Use the following procedures to load paper into the ICE 5700 terminal.
1. After powering up the terminal as shown in the Installation Procedures
section of this document, open the printer paper cover on the back of the
ICE 5700 terminal. See Figure 3.
2. Place the paper roll into the holder so the paper feeds from under the roll,
not over the top, and has a straight path into the printer paper-feed
mechanism. See Figure 4.
3. Place the end of the paper in the paper guide. The printer then
automatically feeds the paper and you are ready to print. See Figure 5.
If the printer does not automatically feed the paper, proceed to Step 4.
4. At the main terminal display, touch the
Terminal
menu, then touch the
arrow. The Terminal Main menu prompt appears.
Note:
If the terminal is set up in Restaurant mode instead of Retail mode,
the
Setup
prompt appears as
Server or Cashier
and the
Test
prompt appears
as
Tab
.
5. Touch
Setup (
or
+
and
Server or Cashier
when in Restaurant mode
)
on
the terminal display. The Setup menu appears.
6. Touch
Printer
on the terminal display. The Printer menu appears.
7. Touch
Paper Feed
on the terminal display. The Paper Feed menu appears.
Continue to touch
Paper Feed
on the terminal display until the paper
feeds through the printer tear bar.
8. Close the paper cover and you are ready to print. If the paper still does not
feed, proceed to Step 1 below.
If the printer fails to advance the paper
; check the printer ON/OFF settings. Complete the
following steps to verify the settings:
1. At the main terminal display, touch the
Terminal
menu option, then touch the arrow.
The Terminal Main menu appears.
2. Touch
Setup
. The Setup menu appears.
3. Touch
Printer
. The Printer prompt appears.
4. Touch On/Off. The Printer Toggle menu prompt appears and the menu displays
Printer is
disabled. Enable?
.
5. Touch
Yes
and the terminal changes the printer settings to
Enabled
and returns to the main menu.
Repeat Steps 4 through 8, as shown in the Setup Procedures section of this document.
6. Touch
Quit
. When the system returns to the main terminal menu, close the printer paper cover.
W
ARNING
:
•
Disconnect the AC electric power before replacing the printer module.
•
Do not use an adapter, power extender adapter, power extender cable, or an AC outlet
that does not have a ground connection.
•
Do not disassemble the AC adapter. Only qualified technicians should service the adapter.
•
The AC adapter was designed for indoor use only; do not expose to rain or snow.
•
Do not immerse in fluid.
•
The reliability of electronic equipment is significantly reduced when it is powered from
an ungrounded outlet.
•
Do not use a pen on the screen display. Pens and other sharp objects will scratch or
damage the screen display.
Power
Figure 1
Figure 2
W
ARNING
:
DO NOT insert the telephone line into the PIN pad port.
Open Paper Cover
Figure 3
Paper Cover
Figure 4
Paper Guide
Figure 5
Line
Using a Credit Card
A credit card can be swiped bi-directionally (toward or away from you):
1.When holding the card, make sure the magnetic stripe is toward the
body of the terminal or toward your left and down.
2.Slide the card in the long slot in the right-top of the terminal, either
toward or away from you in one smooth stroke. See Figure 6.
3.
Follow standard operating procedures to complete the transaction. See
the
ICE 5700 HyperWare Retail and Restaurant Software Manual
for more information; contact your bank or processor.
Using a Smart Card
1. When holding the card, make sure the chip is facing upward and toward the terminal.
2. Insert the card into the Smart Card slot on the right side of the ICE 5700. See Figure 6. Remove
the Smart Card when the terminal screen instructs you to do so.
Using the Check Reader
1. When holding the check, make sure the front of the check is facing
the terminal and the MICR number is at the bottom.
2. Gently run the check through the reader. The reader will then
read the check. See Figure 7.
Supply Information
If you are unable to purchase items such as paper through your bank or
processor, contact Merchant Supplies at 800.522.8710
Cleaning the ICE 5700
Apply denatured alcohol or a Windex
®
-type product to a clean, soft, nonabrasive, low-lint cloth,
then carefully wipe the terminal screen.
Compliance:
Figure 6
Smart Card Slot
World Headquarters
2851 West Kathleen Road
•
Phoenix, AZ 85053
602.504.5000
•
877.HYPERCOM within USA
•
Fax: 602.504.5166
e-mail: [email protected]
•
Web: www.hypercom.com
© Hypercom Corporation, 2001. Printed in the United States of America.
940313-001 Rev. A 04/01
ICE 5700
TERMINAL
INSTALLATION
GUIDE
W
ARNING
:
DO NOT use water, undiluted ammonia, or abrasive cleaners.
•
FCC Part 15 (ICES-003)
•
FCC Part 68 •CTR21
•Industry Canada (IC)
Credit Card Slot
Figure 7
MICR Number

Other manuals for ICE 5700

1

Other Hypercom Payment Terminal manuals

Hypercom Optinum T4200 Series User manual

Hypercom

Hypercom Optinum T4200 Series User manual

Hypercom T4205 Dial Installation guide

Hypercom

Hypercom T4205 Dial Installation guide

Hypercom Optimum T4100 User manual

Hypercom

Hypercom Optimum T4100 User manual

Hypercom M4230 User manual

Hypercom

Hypercom M4230 User manual

Hypercom Optinum T4200 Series User manual

Hypercom

Hypercom Optinum T4200 Series User manual

Hypercom S9 User manual

Hypercom

Hypercom S9 User manual

Hypercom T4000 Series User manual

Hypercom

Hypercom T4000 Series User manual

Hypercom T7 series Programming manual

Hypercom

Hypercom T7 series Programming manual

Hypercom Optinum T4200 Series User manual

Hypercom

Hypercom Optinum T4200 Series User manual

Hypercom T7 Plus User manual

Hypercom

Hypercom T7 Plus User manual

Hypercom epic T7 Plus User manual

Hypercom

Hypercom epic T7 Plus User manual

Hypercom T4000 Series User manual

Hypercom

Hypercom T4000 Series User manual

Hypercom M4230 User manual

Hypercom

Hypercom M4230 User manual

Hypercom M4230 User manual

Hypercom

Hypercom M4230 User manual

Hypercom SmartICE User manual

Hypercom

Hypercom SmartICE User manual

Hypercom ICE 5500 User manual

Hypercom

Hypercom ICE 5500 User manual

Hypercom Optimum T2100 User manual

Hypercom

Hypercom Optimum T2100 User manual

Hypercom T7 series User manual

Hypercom

Hypercom T7 series User manual

Popular Payment Terminal manuals by other brands

NBS Technologies NORE 710 user guide

NBS Technologies

NBS Technologies NORE 710 user guide

PAX Q80 user manual

PAX

PAX Q80 user manual

VeriFone EFTPOS 1 user guide

VeriFone

VeriFone EFTPOS 1 user guide

Castles Technology UPT1000 user manual

Castles Technology

Castles Technology UPT1000 user manual

Nurit 2085 Easy user guide

Nurit

Nurit 2085 Easy user guide

Visanet T7RRXXX Quick reference manual

Visanet

Visanet T7RRXXX Quick reference manual

CCV BUDGET  VX 520 user manual

CCV

CCV BUDGET VX 520 user manual

Ingenico iCT 200 Series installation guide

Ingenico

Ingenico iCT 200 Series installation guide

Ingenico iSMP4 user guide

Ingenico

Ingenico iSMP4 user guide

Ingenico i7780 Specifications

Ingenico

Ingenico i7780 Specifications

VeriFone e265G installation guide

VeriFone

VeriFone e265G installation guide

Spire SPg7 Home Working Guide

Spire

Spire SPg7 Home Working Guide

VeriFone e275 quick start guide

VeriFone

VeriFone e275 quick start guide

NCR 7454 Site preparation guide

NCR

NCR 7454 Site preparation guide

Pax Technology D900 user manual

Pax Technology

Pax Technology D900 user manual

JMC VEGA-RC Operation and maintenance manual

JMC

JMC VEGA-RC Operation and maintenance manual

Ingenico FLEX IPP320 installation guide

Ingenico

Ingenico FLEX IPP320 installation guide

Innovative Control Systems Auto Sentry Petro installation guide

Innovative Control Systems

Innovative Control Systems Auto Sentry Petro installation guide

manuals.online logo
manuals.online logoBrands
  • About & Mission
  • Contact us
  • Privacy Policy
  • Terms and Conditions

Copyright 2025 Manuals.Online. All Rights Reserved.