manuals.online logo
Brands
  1. Home
  2. •
  3. Brands
  4. •
  5. Hytronik
  6. •
  7. Accessories
  8. •
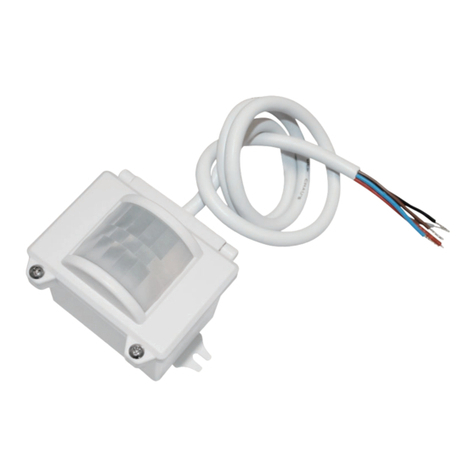
  9. Hytronik HC018V User manual

Hytronik HC018V User manual

NOTE:the high-frequency output of this sensor is <0.2mW;approximately just 1‰ of the transmission power of a mobile telephone.
<0.2mW
1.1
7
Nx2(neutral / 220-240VAC)
L
(phase / 220-240VAC)
L’
(switched phase / output)
Push(push switch interface)
-
(1-10v “ - ” interface)
+
(1-10v “ + ” interface)
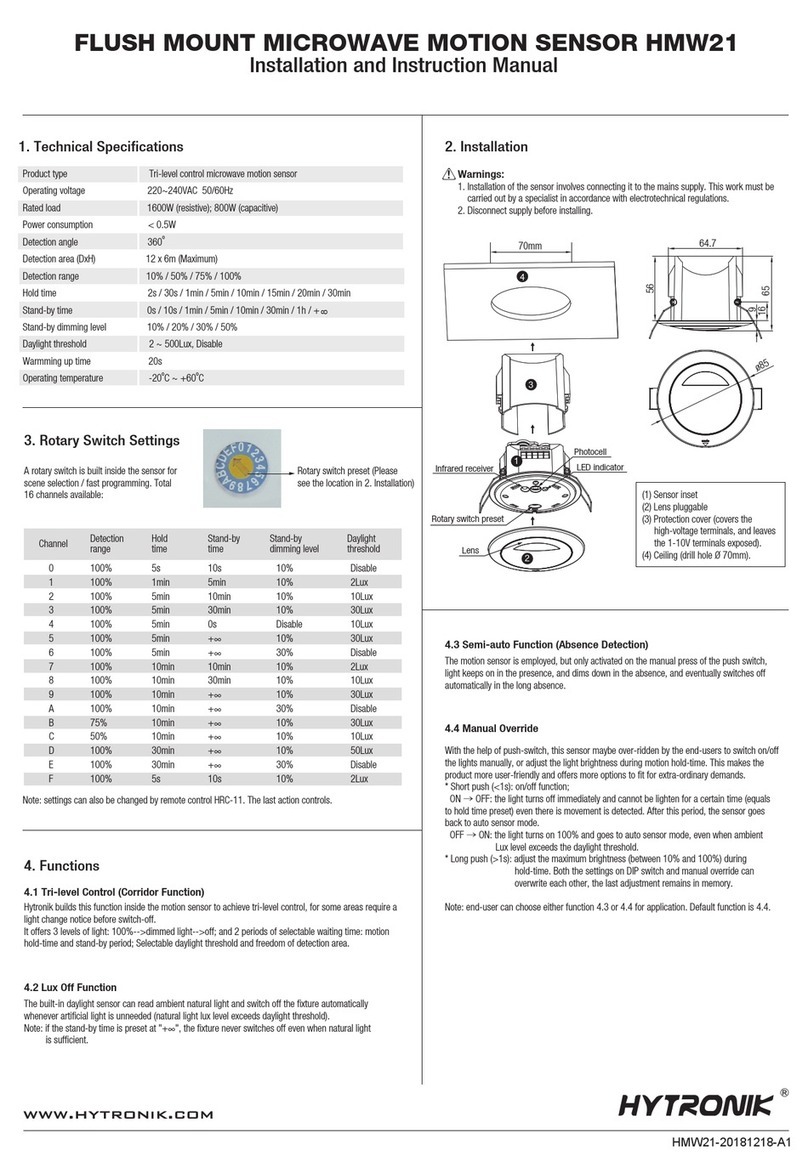
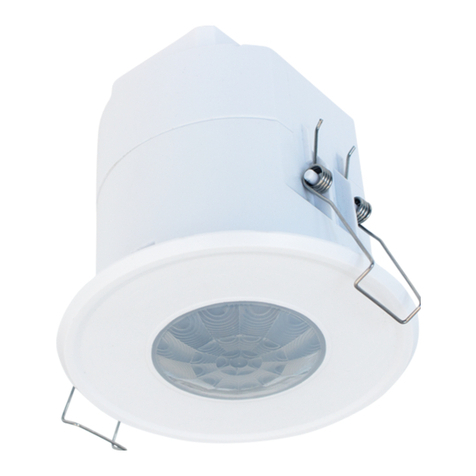
New advanced version Model No.:HC018V
800W(capacitive Load)
2~50Lux, disable
-20 ~ +60℃
STAND-BY PERIOD: 0s, 10s ~ 1h, +∞
STAND-BY DIMMING LEVEL : 10% ~ 50%
Max. 12 x 6m (DxH)
Approx. 0.5W
Led indication
Antenna module
Detection area
Hold-time
Daylight threshold
Stand-by period
Stand-by diming level
Daylight sensor
0-10V
output
Push
<0.2mW
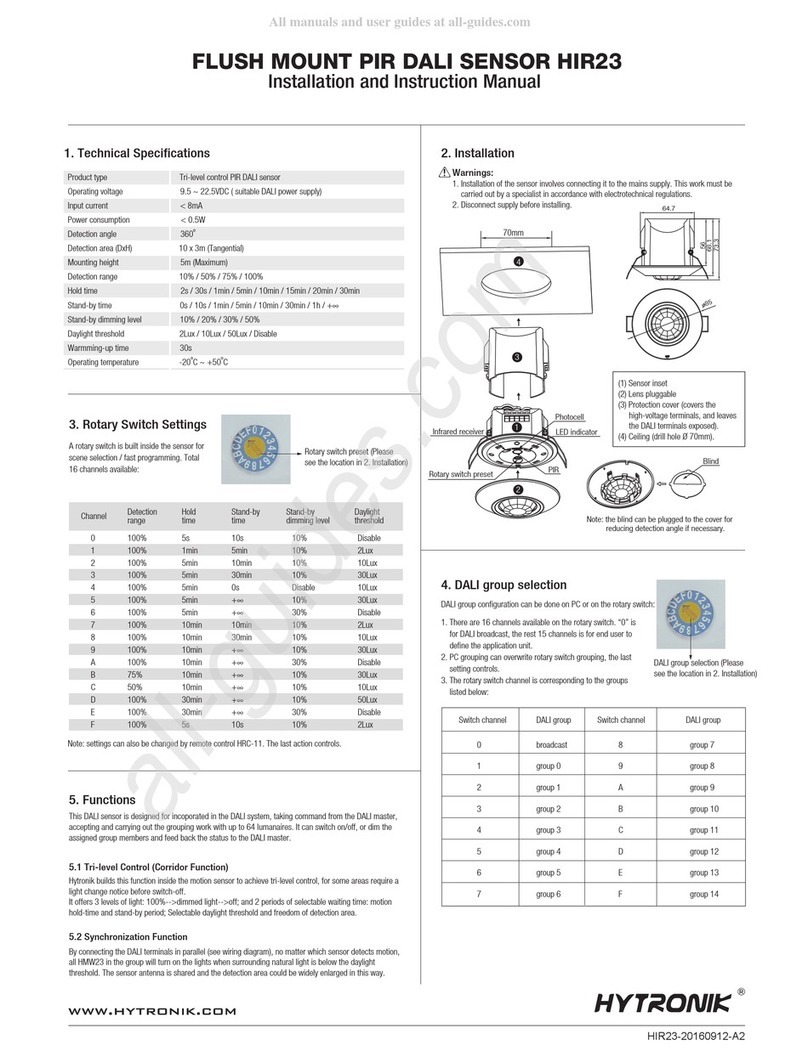
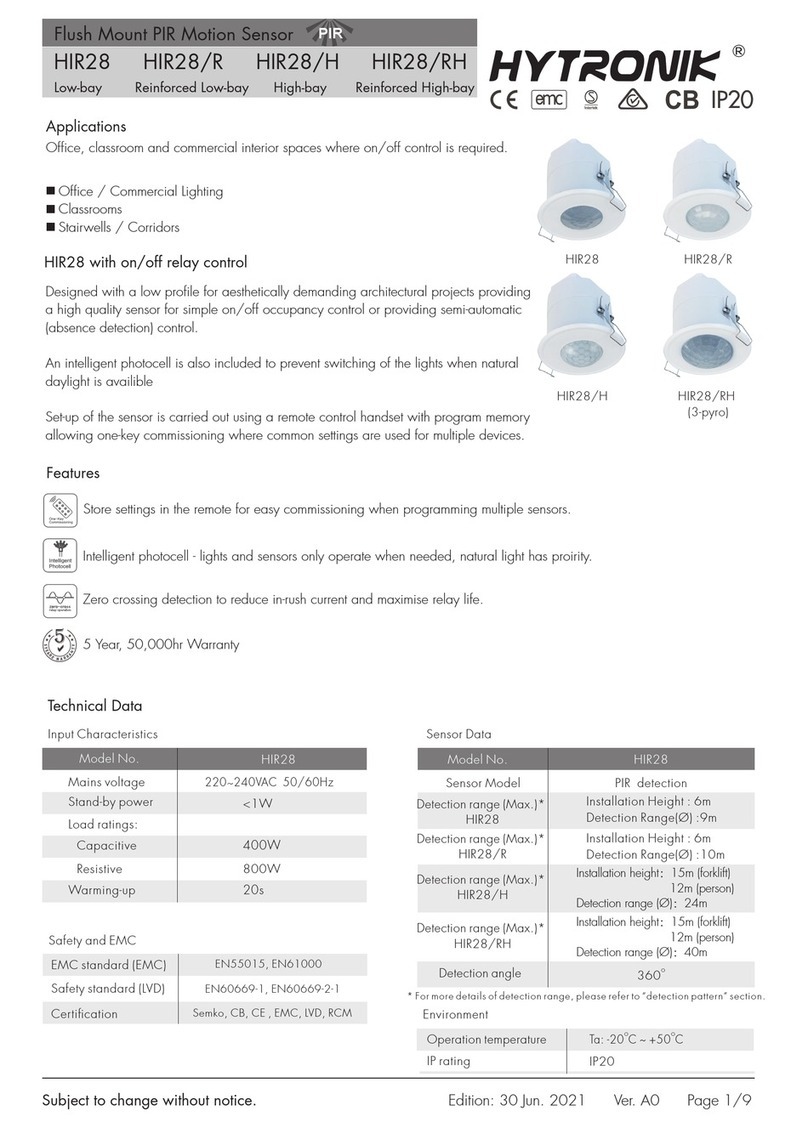
The sensor works with a main voltage of 220-240VAC 50/60 Hz.
Wring with any 1~10V control gear to achieve dimming function.
push
HC018V MAX.800w
revirDDELrevirDDEL
220-240VAC 50Hz/60Hz
DAYLIGHT SENSOR:
3rd Floor, block C, complex building, 155#, Bai'gang road south,
Bai'gang village, Xiao Jin Kou town, Huicheng district, Huizhou 516023
Tel:86-752-2772020 F:86-752-2777877
E: [email protected] W:www.hytronik.com
CHINA FACTORY
Room D, 10/f, Tower A, Billion Center, 1 wang Kwong Road,
Kowloon Bay, Kowloon, Hongkong
T: 00852-35197525 F: 00852-30116936
E: [email protected]
HYTRONIK INDUSTRIAL LIMITED
SECTION 2 SETTINGS
Detection Area:
This determines the effective range of the motion detector and is set by DIP switches at the sensor itself, refer to figure.
Note that reducing the sensitivity will also narrow the detection range.
The following settings are available:
Hold time:
This determines the time the fitting remains at 100% level on motion detection and is set with DIP switches at the sensor
itself, refer to figure. The walk test setting is useful when installing the fitting to establish correct operation and range.
The following settings are available:
Daylight sensor:
This setting holds off the 100% light output should there sufficient daylight and is set using DIP switches at the sensor, refer
to figure. The following settings are available:
*In disable mode the lamp(s) will always be on with motion detected and operate at 100% light output, even in bright daylight.
I – 100%
II – 75%
III – 50%
IV – 10%
I – 5S
II – 30S
III – 1min
IV – 5min
V – 10min
VI – 20min
VII – 30min
I – Disable
II – 50Lux
III – 10Lux
IV – 2Lux
100%
75%
50%
10%
21
I
II
III
IV
3
21
5s
30s
1min
0s
10s
1min
5min
10min
30min
1h
5min
10min
20min
30min
I
II
III
IV
V
VI
VII
21
Disable
50Lux
10Lux
2Lux
I
II
III
IV
I – 0s
II – 10s
III – 1min
IV – 5min
V – 10min
VI – 30min
VII – 1h
VIII – +∞
I – 10%
II – 20%
III – 30%
IV – 50%
This is the time period you would like to keep at the low light output level before it is completely switched off in the long absence
of people.
Note: 0 means on/off control; +∞ means 2 steps of dimming control, fixture never switch off.
This is the dimmed low light output level you would like to have after the hold-time in the absence of people.
Stand-by period (corridor function)
Stand-by dimming level
3
21
+∞
I
II
III
IV
V
VI
VII
VIII
10%
20%
30%
50%
21
I
II
III
IV
SECTION 3 FUNCTIONS
Designed in the software, the sensor switches on/off the load right on the zero-cross point, to ensure the min. current passing through
the relay contact point, and enable the max. load and life-time of the relay.
3.1 Zero-cross relay operation
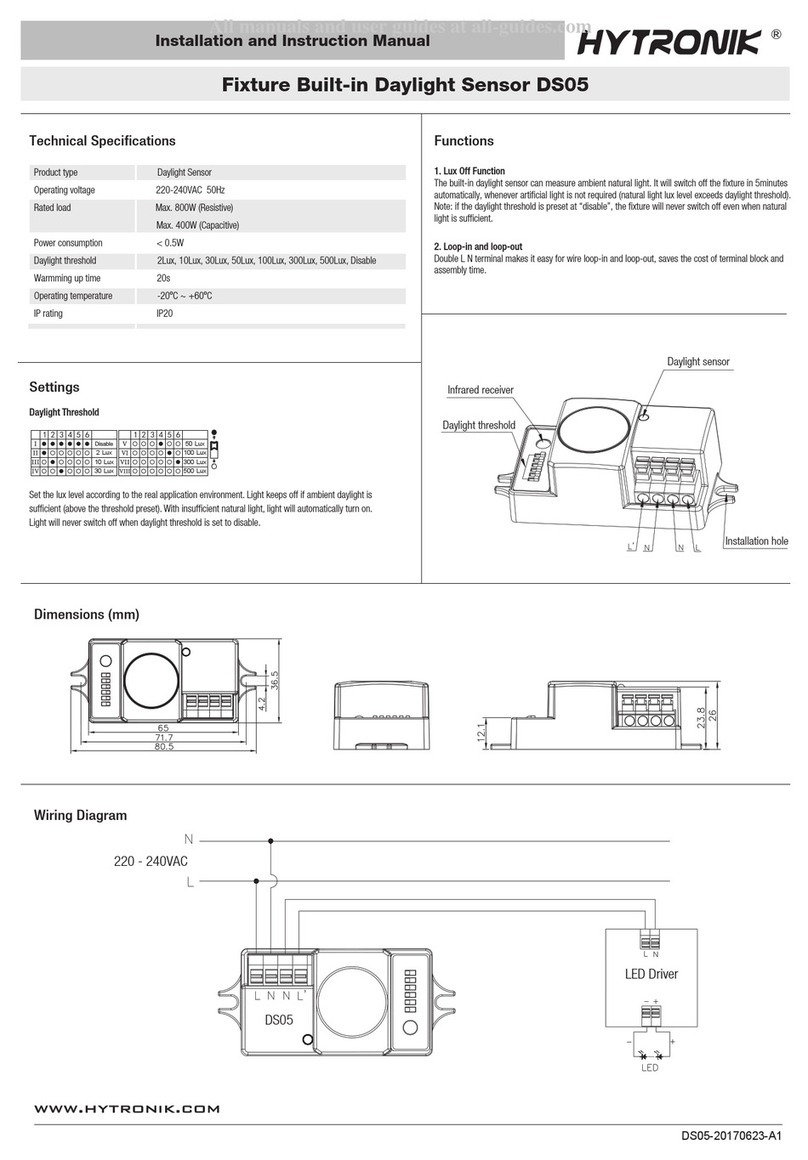
Double “ L ” and “ N ” terminal makes it easy for wire loop-in and loop-out, saves the cost of terminal block and assembly time.
3.2 Loop-in and loop-out
SECTION 4 TROUBLE SHOOTING
YDEMERESUACYDEMERESUACNOITCNUFLAM
The load will not work
gnittestsujdAdetcelesgnitteslortnoc-thgiltcerrocnI
daolecalpeRytluafdaoL
NOhctiwSFFOhctiwssniaM
gnittesenozkcehCenoznoitcetedehtnitnemevomsuounitnoCnosyawlasidaolehT
The load is on without any identifiable
movement
The sensor is not mounted for reliably detecting movement Securely mount enclosure
Movement occurred, but not identified by the sensor
(movement behind wall, movement of small object in
immediate lamp vicinity etc.)
Check zone setting
The load will not work despite movement Rapid movements are being suppressed to minimize
malfunctioning or the detection radius is too small Check zone setting
This sensor reserved the access of manual override function for end-users to switch on/ off, or adjust the stand-by dimming level with
the push-switch. which makes the product more user-friendly and more options to fit for some extra-ordinary demands.
short push (<1s): on/off;
ON → OFF: the light turns off immediately and can not be lighten for a certain time (equals to hold time preset) even movement is
detected. After this period, the sensor goes to auto sensor mode.
OFF → ON: the light turns on 100% and goes to hold time period directly even movement is detected. As soon as the sensor goes to
stand-by period, it can detect movement and turn on the light(100%) again (auto sensor mode).
long push (>1s): dim up/down the hold-time brightness between 10% to 100%. Both the settings on DIP switch and manual override can
overwrite each other, the latest action controls.
if customers do not want to have this manual override function, we can just leave this “push” terminal alone , not connected to any wire.
*
*
*
3.3 Manual override
Note: this 1-10V output is non-isolated, it can be connected to isolated 1-10V LED driver only.
Other Hytronik Accessories manuals

Hytronik HC019V/DH User manual

Hytronik

Hytronik HC019V/DH User manual

Hytronik HBHC25 Quick guide

Hytronik

Hytronik HBHC25 Quick guide

Hytronik DS05 User manual

Hytronik

Hytronik DS05 User manual

Hytronik HMW12 Quick guide

Hytronik

Hytronik HMW12 Quick guide

Hytronik HCD418/I User manual

Hytronik

Hytronik HCD418/I User manual

Hytronik HC419V User manual

Hytronik

Hytronik HC419V User manual

Hytronik HC419S User manual

Hytronik

Hytronik HC419S User manual

Hytronik DS05 Quick guide

Hytronik

Hytronik DS05 Quick guide

Hytronik HMW32 User manual

Hytronik

Hytronik HMW32 User manual

Hytronik HMW21 Quick guide

Hytronik

Hytronik HMW21 Quick guide

Hytronik HN020-01V User manual

Hytronik

Hytronik HN020-01V User manual

Hytronik HC009S-KD/I Quick guide

Hytronik

Hytronik HC009S-KD/I Quick guide

Hytronik HMW34 Quick guide

Hytronik

Hytronik HMW34 Quick guide

Hytronik HMW30 User manual

Hytronik

Hytronik HMW30 User manual

Hytronik HMW28/PRO Quick guide

Hytronik

Hytronik HMW28/PRO Quick guide

Hytronik HMW14 Quick guide

Hytronik

Hytronik HMW14 Quick guide

Hytronik HMW34 Quick guide

Hytronik

Hytronik HMW34 Quick guide

Hytronik HIM34 User manual

Hytronik

Hytronik HIM34 User manual

Hytronik HC005S/BT Quick guide

Hytronik

Hytronik HC005S/BT Quick guide

Hytronik HCD418/DH User manual

Hytronik

Hytronik HCD418/DH User manual

Hytronik HIM31 Quick guide

Hytronik

Hytronik HIM31 Quick guide

Hytronik HMW15 Quick guide

Hytronik

Hytronik HMW15 Quick guide

Hytronik HIR23/D2 Quick guide

Hytronik

Hytronik HIR23/D2 Quick guide

Hytronik HIR21 Quick guide

Hytronik

Hytronik HIR21 Quick guide

Popular Accessories manuals by other brands

Quincy lab 140AE-1 operating manual

Quincy lab

Quincy lab 140AE-1 operating manual

HomePro ZIR000 user manual

HomePro

HomePro ZIR000 user manual

DOL 20SCR Technical user guide

DOL

DOL 20SCR Technical user guide

RAB Smart Task installation manual

RAB

RAB Smart Task installation manual

Kemppi KMS 300 quick guide

Kemppi

Kemppi KMS 300 quick guide

Stearns 57,500 Series Installation and service instructions

Stearns

Stearns 57,500 Series Installation and service instructions

iGuzzini TWILIGHT COPENAGHEN manual

iGuzzini

iGuzzini TWILIGHT COPENAGHEN manual

Adelaide Annexe & Canvas Avan Deluxe installation guide

Adelaide Annexe & Canvas

Adelaide Annexe & Canvas Avan Deluxe installation guide

OHAUS 5000 instruction manual

OHAUS

OHAUS 5000 instruction manual

HOME8 WLS1300 quick start guide

HOME8

HOME8 WLS1300 quick start guide

MAXBOTIX MaxSonar quick start guide

MAXBOTIX

MAXBOTIX MaxSonar quick start guide

ioSmart iSmart56 Installation and user guide

ioSmart

ioSmart iSmart56 Installation and user guide

Focusrite Scarlett 18i8 user guide

Focusrite

Focusrite Scarlett 18i8 user guide

Velleman ED38105 user manual

Velleman

Velleman ED38105 user manual

JumpSport SkyBounce user manual

JumpSport

JumpSport SkyBounce user manual

Prima-Temp PRIYA Instructions for use

Prima-Temp

Prima-Temp PRIYA Instructions for use

Tefcold BC85I-BC85I W user manual

Tefcold

Tefcold BC85I-BC85I W user manual

Vaisala WMS302 user guide

Vaisala

Vaisala WMS302 user guide

manuals.online logo
manuals.online logoBrands
  • About & Mission
  • Contact us
  • Privacy Policy
  • Terms and Conditions

Copyright 2025 Manuals.Online. All Rights Reserved.