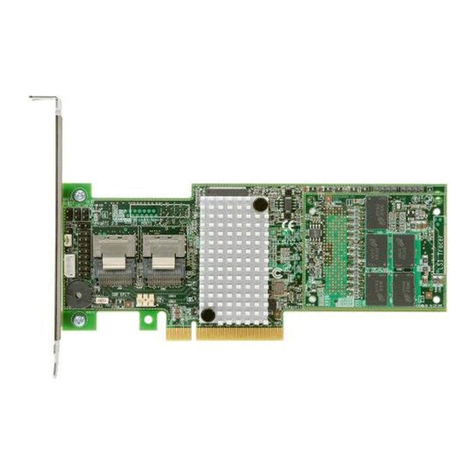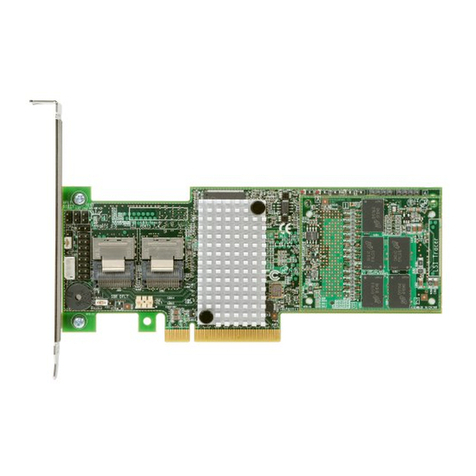
Connect the cables between the controller and
the SAS devices, SATA II devices, or both. Refer
to the external device documentation to view
connector locations for the external devices.
Note:Refer to the ServeRAID M5025 SAS/SATA
Controller User’s Guide for information about the
cables and the connectors.
Step 7 Turn on the Power to the Computer
Reinstall the computer cover and reconnect the
power cords.
Turn on the power to the computer, making sure
that the power is turned on to the SAS devices
and the SATA II devices before or at the same
time as the host computer. If the power is turned
on to the computer before it is turned on to the
devices, the computer might not recognize the
devices.
During boot, a BIOS message similar to the
following displays:
LSI MEGARAID BIOS VERSION xxxx [date]
Copyright(c) 2010, LSI Corporation
HA-1 (Bus x Dev y) MegaRAID 9260-8i
PCI-Express RAID Controller
Standard FW xxxx DRAM=xxx MB(SDRAM)
The firmware takes several seconds to initialize.
During this time the adapter scans the bus(es).
Step 8 Run the WebBIOS Configuration Utility
Run the WebBIOS Configuration Utility to
configure the physical arrays and the logical
drives. When the message Press <Ctrl><H> for
WebBIOS displays on the screen, press CTRL+H
immediately to run the utility.
Note:Refer to the ServeRAID-MR Software User’s
Guide on the ServeRAID M Documentation CD
for detailed steps on configuring the physical
arrays and the logical drives.
Step 9 Install the Operating System Driver
The ServeRAID M5025 controller can operate
under various operating systems. To operate
under these operating systems, you must install
software drivers.
View the supported operating systems and
download the latest drivers for the controller at
http://www.ibm.com/support/en/us. For updates,
click Downloads and drivers. Access the
download center and follow the steps to
download the driver.
Refer to the ServeRAID-MR Device Driver
Installation User’s Guide on the CD for details on
installing the driver. Be sure to use the latest
Service Packs provided by the operating system
manufacturer and review the readme file that
accompanies the driver.
SUPPORTED RAID LEVELS
The ServeRAID M5025 controller supports drive groups
using the following RAID levels:
RAID 0 (data striping): Data is striped across all drives
in the group, enabling very fast data throughput. There is
no data redundancy. All data is lost if any drive fails.
RAID 1 (drive mirroring): Data is written simultaneously
to both drives in the drive group, providing complete data
redundancy if one drive fails. RAID 1 supports an even
number of drives from 2 to 32 in a single span.
RAID 5 (drive striping with distributed parity): Data is
striped across all drives in the group. Part of the capacity
of each drive stores parity information that reconstructs
data if a drive fails. RAID 5 provides good data
throughput for applications with high read request rates.
RAID 6 (drive striping with distributed parity across
two drives): Data is striped across all drives in the group
and two parity drives are used to provide protection
against the failure of up to two drives. In each row of data
blocks, two sets of parity data are stored.
Note:The ServeRAID M5000 Series Advanced Feature
Key is required to make RAID 6 configurations on
the ServeRAID M5025 SAS/SATA controller. For
information about the Feature Key, see the
ServeRAID M5000 Series Advanced Feature Key
Quick Install Guide.
RAID 10 (RAID 1 and RAID 0 in spanned groups):
RAID 10 uses mirrored pairs of drives to provide
Attention: The battery in the iBBU must charge for at least
six hours under normal operating conditions. To
protect your data, the firmware changes the Write
Policy to write-through until the battery unit is
sufficiently charged. When the battery unit is
charged, the controller firmware changes the
Write Policy to write-back to take advantage of
the performance benefits of data caching.
