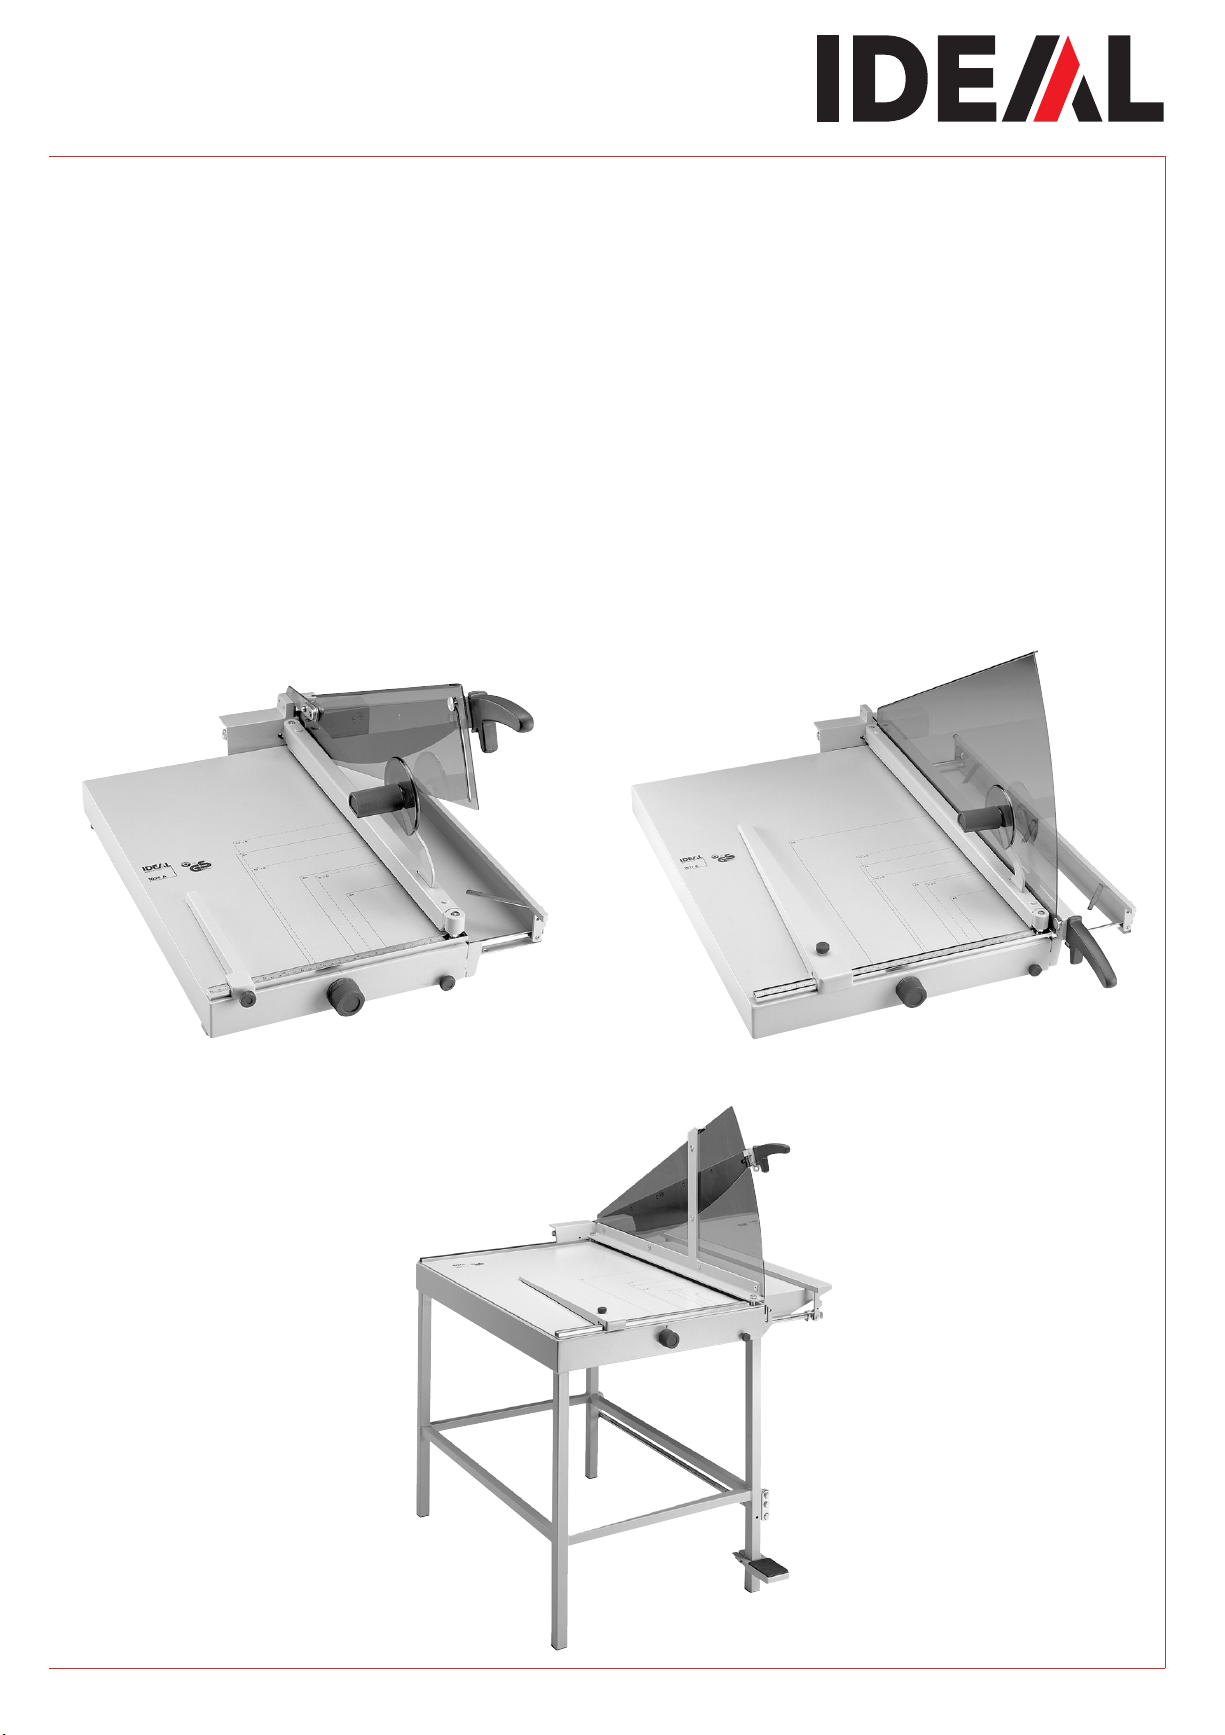
IDEAL 1038 • IDEAL 1058 • IDEAL 1071 • IDEAL 1080 • IDEAL 1110
- 2-
DBitte lesen Sie vor Inbetriebnahme der Maschine unbedingt diese Betriebsanleitung
und beachten Sie die Sicherheitshinweise. Die Betriebsanleitung muss jederzeit
verfügbar sein.
GB Please read these operating instructions before putting the machine into operation
and observe the safety precautions. The operating instructions must always be
available.
FNous vous prions de lire attentivement le mode d’emploi avant d’utiliser la machine,
et attirons votre attention sur les consignes de sécurité. Les instructions d'utilisation
et les consignes de sécurité doivent toujours être disponibles. Les instructions
d'utilisation et les consi.
NL Leest u voor de ingebruik name van het apparaat a.u.b. deze gebruiksaanwijzing
goed door en neemt u de veiligheidsinstructies n acht. De gebruiksaanwijzing en
de veiligheids-voorschriften moeten altijd binnen handbereik zijn.
IPer favore legga questo manuale di istruzione prima di mettere in funzione il
distruggidocumenti e osservi le regole di sicurezza. Le istruzioni d’uso devono
essere sempre disponibili.
ELe recomendamos lea las instrucciones antes de poner en funcionamiento esta
máquina y cumpla las normas de seguridad. Las instrucciones de servicio y
seguridad deben estar siempre disponibles.
SLäs igenom denna bruksanvisning innan ni startar maskinen. Var noga med
säkerhetsföreskrifterna. Instruktionsmanualen måste alltid finnas tillgänglig.
FIN Lue nämä käyttö-ohjeet läpi ennenkuin käynnistät laitteen !
Noudata turvaohjeita. Käyttöohjeiden on oltava aina saatavilla.
NLees gjennom denne bruksannvisningen før De tar i bruk maskinen
Vær oppmerksom på sikkerhetsforskriftene. Opperatørmanualen
må alltid være tilgjengelig.
PL Proszęuważnie przeczytaćinstrukcjęobsługi przed uruchomieniem urządzenia i
stosowaćsiędo przepisów bezpieczeństwa. Instrukcje obsługi musząbyć
zawsze dostępne.
RUS Ïîæàëóéñòà, ïðî÷èòàéòå èíñòðóêöèþ ïî ýêñïëóàòàöèè ïåðåä óñòàíîâêîé
àïïàðàòà, ñîáëþäàéòå òåõíèêó áåçîïàñíîñòè. Èíñòðóêöèÿ ïî
ýêñïëóàòàöèè äîëæíà íàõîäèòüñÿ â äîñòóïíîì äëÿ ïîëüçîâàòåëÿ ìåñòå.
HA gép üzembe helyezése előtt figyelmesen olvassa el a kezelési utasítást és tartsa
be a biztonsági előírásokat. A kezelési utasításnak mindig elérhetőnek kell lennie.
TR Lütfen makineyi çalýþtýrmadan önce bu kullanma talimatlarýný dikkatli bir þekilde
okuyunuz ve belirtilen güvenlik önlemlerine uyunuz. Kullanma Talimatlarý
her zaman kullanýma hazýr olmalýdýr.
DK Før installation af maskinen bedes De venligst læse brugervejledningen
brugervejledningen og være opmærksom på sikkerhedsanvisningerne.
Brugervejledningen skal altid være tilgængelig.
CZ Prosím přečtěte si instrukce k obsluze a dodržujte bezpečnostní
upozornění. Návod k obsluze musí být vždy dostupný.
PPor favor leiam o manual de instruções antes de colocar a máquina em operação
e vejam as precauções de segurança. As instruções de operação deverão estar
sempre disponíveis.
GR ÐÁÑÁÊÁËÙ ÄÉÁÂÁÓÔÅ ÔÉÓ ÏÄÇÃÉÅÓ ×ÑÇÓÅÙÓ ÊÁÉ ÔÉÓ ÐÑÏÖÕËÁÎÅÉÓ
ÁÓÖÁËÅÉÁÓ ÐÑÉÍ ÂÁËÅÔÅ ÔÏ ÌÇ×ÁÍÇÌÁ ÓÅ ËÅÉÔÏÕÑÃÉÁ.
ÏÉ ÏÄÇÃÉÅÓ ×ÑÇÓÇÓ ÐÑÅÐÅÉ ÍÁ ÅÉÍÁÉ ÐÁÍÔÁ ÄÉÁÈÅÓÉÌÅÓ.
SLO Prosimo preberite navodila za uporabo ter upoštevajte varnostna opozorila
preden zaženete naparavo. Navodila naj bodo vedno pri roki.
SK Starostlivo si preštudujte tento návod na obsluhu pred uvedením stroja do
prevádzky a najmä bezpecnostné predpisy. Držte tento návod na obsluhu na
dostupnom mieste.
EST Palun lugege enne masina käivitamist käesolevat kasutusjuhendit ning järgige
ohutusnõudeid. Kasutusjuhend peab alati käepärast olema.
CHI
UAE
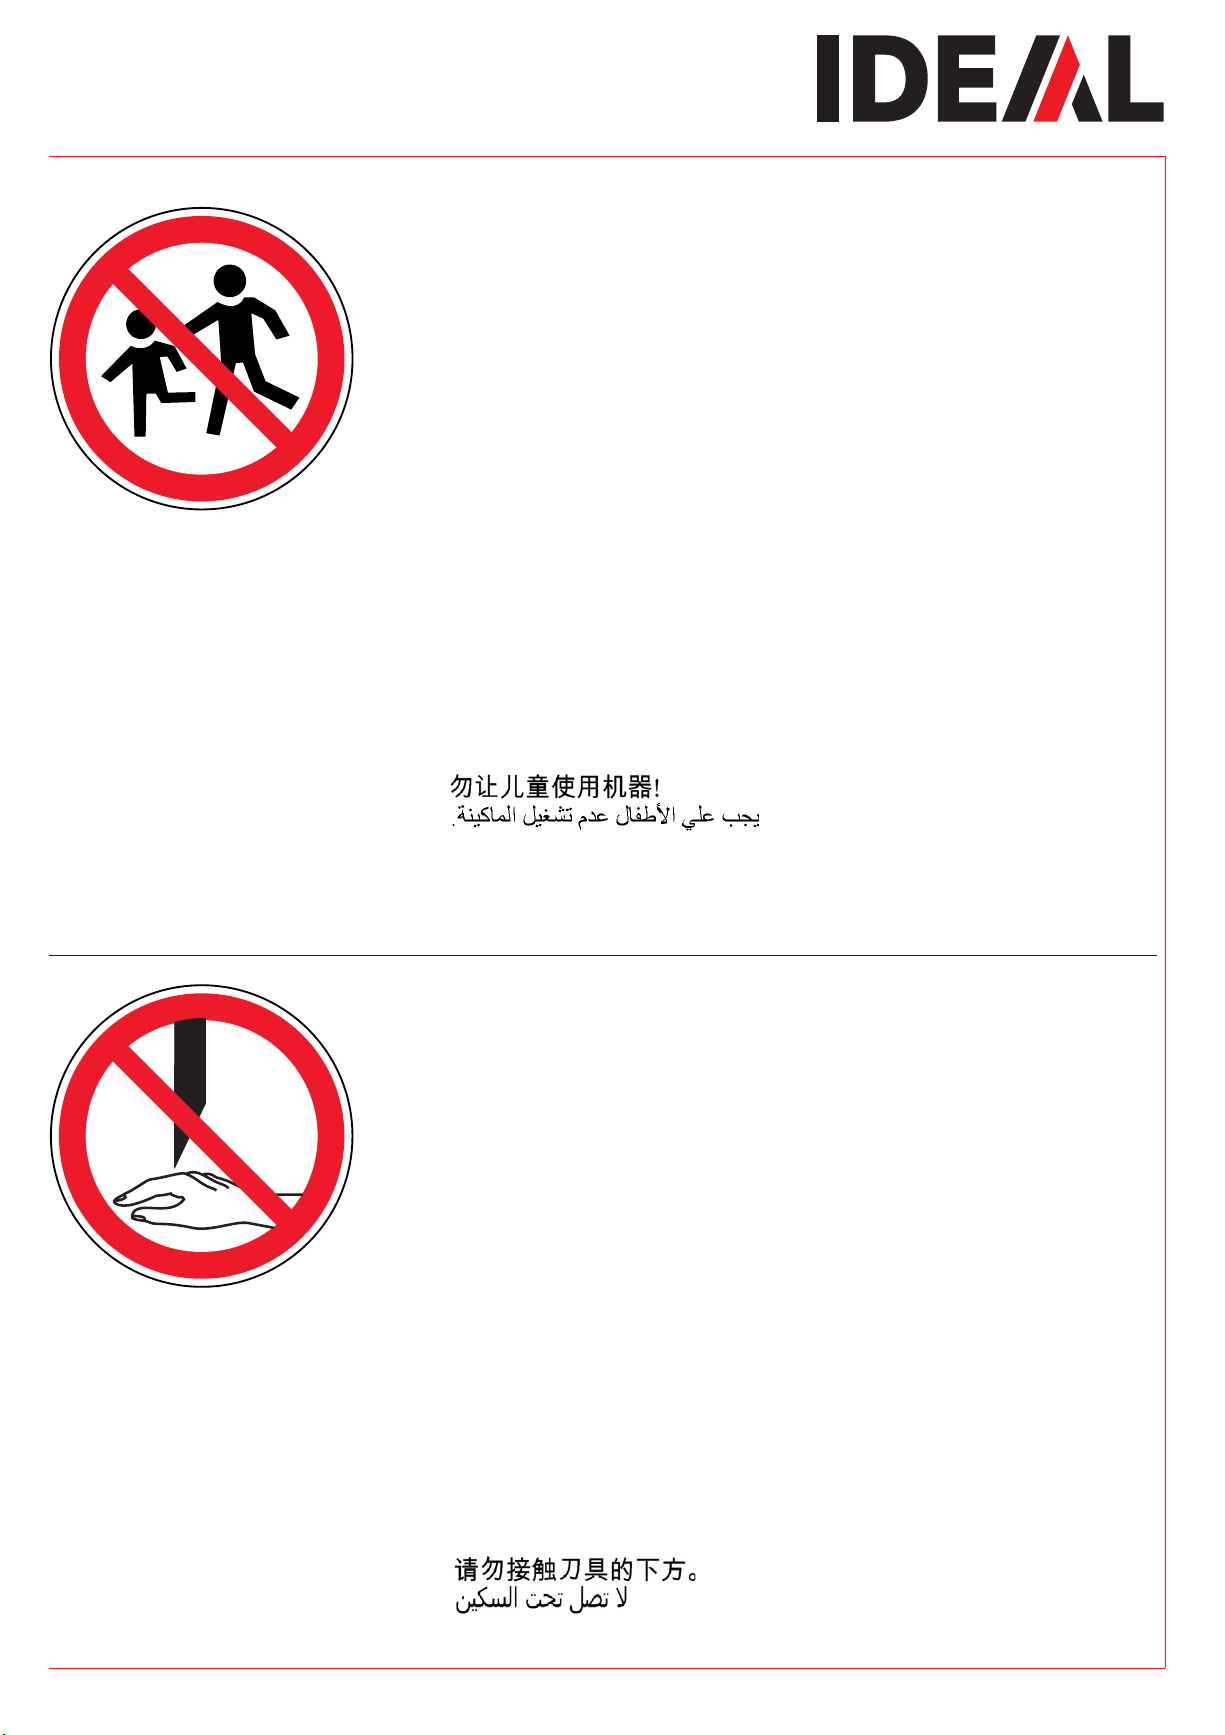
•Sicherheitshinweise • Safety precautions •
•Consignes de sécurité • Veiligheidsvoorschriften •
•Misure di Sicurezza • Normas de Seguridad •
•Säkerhetsföreskrifter • Turvallisuusohjeita • Sikkerhetsforskriftene •
•Środki bezpieczeństwa •Ìåðû ïðåäîñòîðîæíîñòè •