manuals.online logo
Brands
  1. Home
  2. •
  3. Brands
  4. •
  5. injen technology
  6. •
  7. Automobile Accessories
  8. •
  9. injen technology RD1482 User manual

injen technology RD1482 User manual

Part number RD1482
04-08 Acura TL 3.2L V6
07-08 Acura TL Type-S 3.5L V6
03-07 Honda Accord 3.0L V6
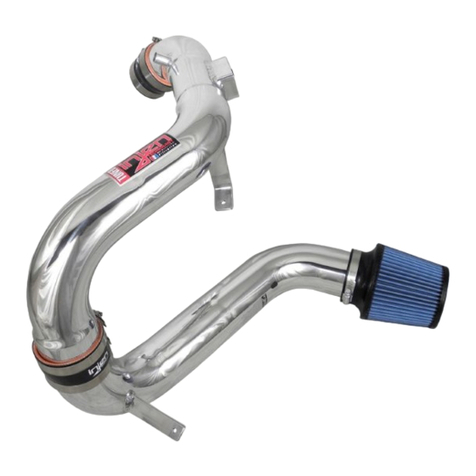
1- Injen cold air intake (CA)
1- 3.50” Injen filter (#1015)
1- 2.75”X3” molded step hose(#3011)
1- Power-Band (.362)(.048) (#4004)
1- Power-Band (.312)(.040) (#4003)
1- 14” 10mm vacuum hose (#3077)
1- m6 vibra-mount (#6020)
1- m6 flange nut (#6002)
1- Fender washer (#6010)
1- 1/4” plastic coupler (#8008)
1- Instruction
Note: This intake system was specifically
designed and tested with this
size filter element.
F
Fi
ig
gu
ur
re
e
1
1
Now available, Hydro Shield by Injen
Part Number X-1034
Hydro Shield Sold Separately
Figure 6
Figure 6
Figure 8
Figure 8
Figure 7
Figure 7
Figure 9
Figure 9
Figure 4
Figure 4
F
Fi
ig
gu
ur
re
e
3
3
Figure 2
Figure 2
Figure 5
Figure 5
Figure 10
Figure 10
Remove the PCV pipe
Remove the PCV pipe
from the vacuum hose
and coolant line.
and coolant line.
Use the 1/4” coupler to
reconnect the coolant
lines together.
lines together.
This is what the stock
location of the ground
lines look like.
lines look like.
This ground lines is
relocated to this pre-
tapped hole.
tapped hole.
Insert the primary
Insert the primary
intake into the step
hose on the throttle
body. Use the clamp to
semi-tighten the intake
in place.
in place.
The bracket on the intake
is lined up to the vibra-
mount stud use the m6
nut and fender washer to
secure the intake.
secure the intake.
The bracket on the intake is lined
up to the vibra-mount stud. Use
the m6 nut and fender washer to
secure the entire intake.
The 3.50” filter is pressed
over the swaged end of
the intake. The clamp on
the filter is secured tight.
Bracket >>>>>
Bracket >>>>>
>>>>>>
>>>>>>
>>>>>>
>>>>>>
>>>>>>
>>>>>>
>>>>>>
>>>>>>
>>>>>>
>>>>>>
>>>>>>
>>>>>>
Press the step hose over
the throttle body and
use two clamps.
use two clamps.
PCV pipe >>>
PCV pipe >>>
The smaller line
The smaller line
connects the
connects the
coolant lines.
coolant lines.
Breather hose connects
to the valve cover port.
>>>>>>
>>>>>>
>>>>>>
>>>>>>
1/4” coupler >>>
1/4” coupler >>>
Use the stock
Use the stock
clamps to re-
clamps to re-
connect the lines
connect the lines
>>>>>>
>>>>>>
This is the location of
the new vibra-mount
the new vibra-mount
in this kit.
in this kit.
>>>>>>
>>>>>>
Figure 11
Figure 11 Figure 12
Figure 12
Connect one end of the
14” 10mm hose over
14” 10mm hose over
the valve cover port
and the other end over
the 1/2” nipple on the
intake.
intake. View of complete
View of complete
installation.
installation.
>>>>>>
>>>>>>
>>>>>>
>>>>>>
Injen CAI
Torque
Injen CAI
H/P gain
Stock
H/p
Stock
Torque
>>>
>>>
>>>
>>>
>>>
>>>
>>>
>>>
Note: Please disconnect the negative battery terminal before starting this installation.
1. Remove the stock intake box and intake duct leading to the throttle body unplug the vacuum
hose from the intake duct. This installation will require the removal of the front bumper in order
to place the filter in the bumper section.
Note: The engine must be cool before removing any hose or coolant lines.
2. When the engine has had enough time to cool down remove the PCV hard pipe which connects
the breather hose and coolant lines. (See fig. 2)
3. Take the 1/4” coupler and press it into one of the two bypass water coolant lines. Press the
second coolant line over the 1/4” coupler and use the stock clamps to secure both coolant
lines. (See fig. 3)
4. Once the bumper has been removed relocate one ground wire on the side of the main frame to
the pre-taped hole to the left. (See figs. 4 and 5) Once the ground wire has been relocated
screw the vibra-mount in the same place, use the m6 nut and fender washer. (See fig. 5)
5. Take the molded step hose and press the 2 3/4” end over the throttle body. Use two clamps on
the step hose but tighten the clamp on the throttle body at this point. (See fig. 6)
6. Take the cold air intake and press the top section into the step hose on the throttle body. Align
the bracket located on the filter end of the intake to the vibra-mount stud and use the m6 nut and
fender washer to hold the intake in place. Note: The filter end of the intake must be inserted into the
resonator opening prior to pressing the top end into the step-hose on the throttle body. (See figs. 7 and 8)
7. Press the 3 1/2” Injen filter over the swaged end of the lower half of the intake, fasten the clamp
on the filter tight. (See figs. 9 and 10)
8. Insert one of the ends of the 14” -10mm vacuum hose over the port on the valve cover. Press
the other end over the 1/2” nipple on the intake located up by the throttle body. (See fig. 11)
9. Align the entire intake for best fit. Once proper clearance has been made throughout the length
of the intake continue to tighten all nuts, bolts and clamps. (See figs. 1 and 12)
10. Replace the front bumper to its original location and reconnect the negative battery terminal.
11. Remove all tools and rags from the engine compartment before starting the engine.
12. Congratulations! You have just completed the installation.
AIR INTAKES CAR ACCESSORIES

Other injen technology Automobile Accessories manuals

injen technology SP1571 User manual

injen technology

injen technology SP1571 User manual

injen technology SP2115 User manual

injen technology

injen technology SP2115 User manual

injen technology PF2057 User manual

injen technology

injen technology PF2057 User manual

injen technology EVO1107 User manual

injen technology

injen technology EVO1107 User manual

injen technology SP3028 User manual

injen technology

injen technology SP3028 User manual

injen technology SP1230 User manual

injen technology

injen technology SP1230 User manual

injen technology FM1573i User manual

injen technology

injen technology FM1573i User manual

injen technology SP7035 User manual

injen technology

injen technology SP7035 User manual

injen technology SP1870 User manual

injen technology

injen technology SP1870 User manual

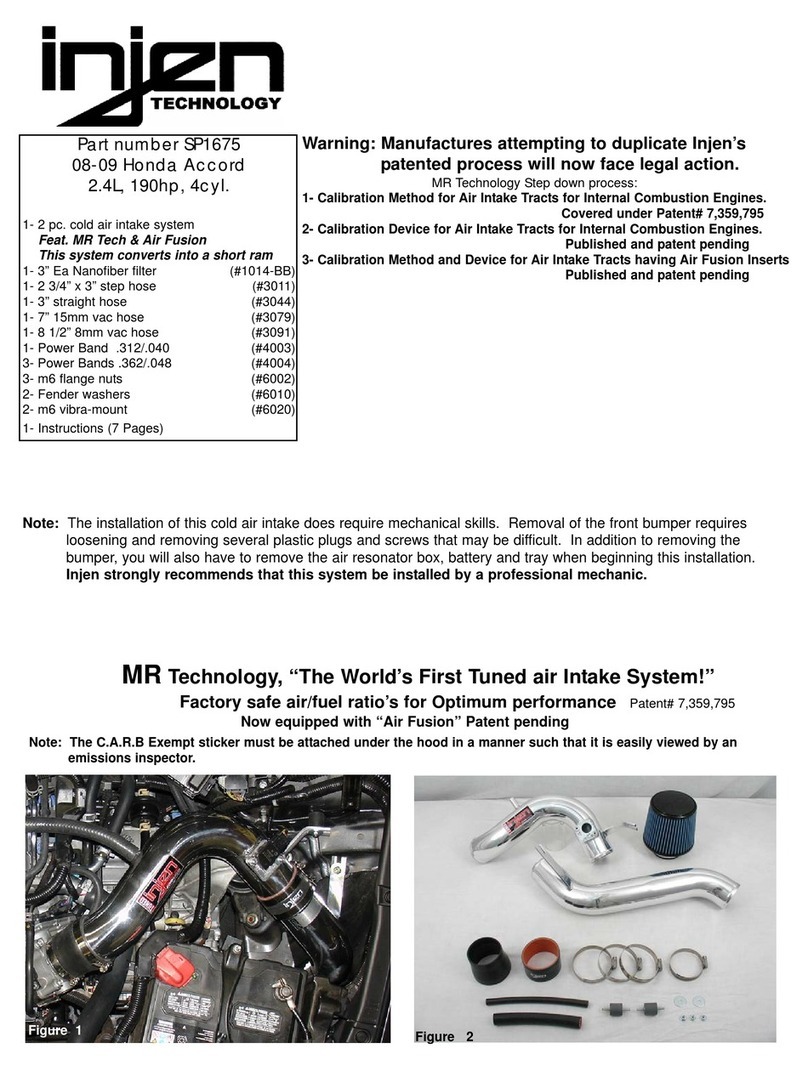
injen technology SP1675 User manual

injen technology

injen technology SP1675 User manual

Popular Automobile Accessories manuals by other brands

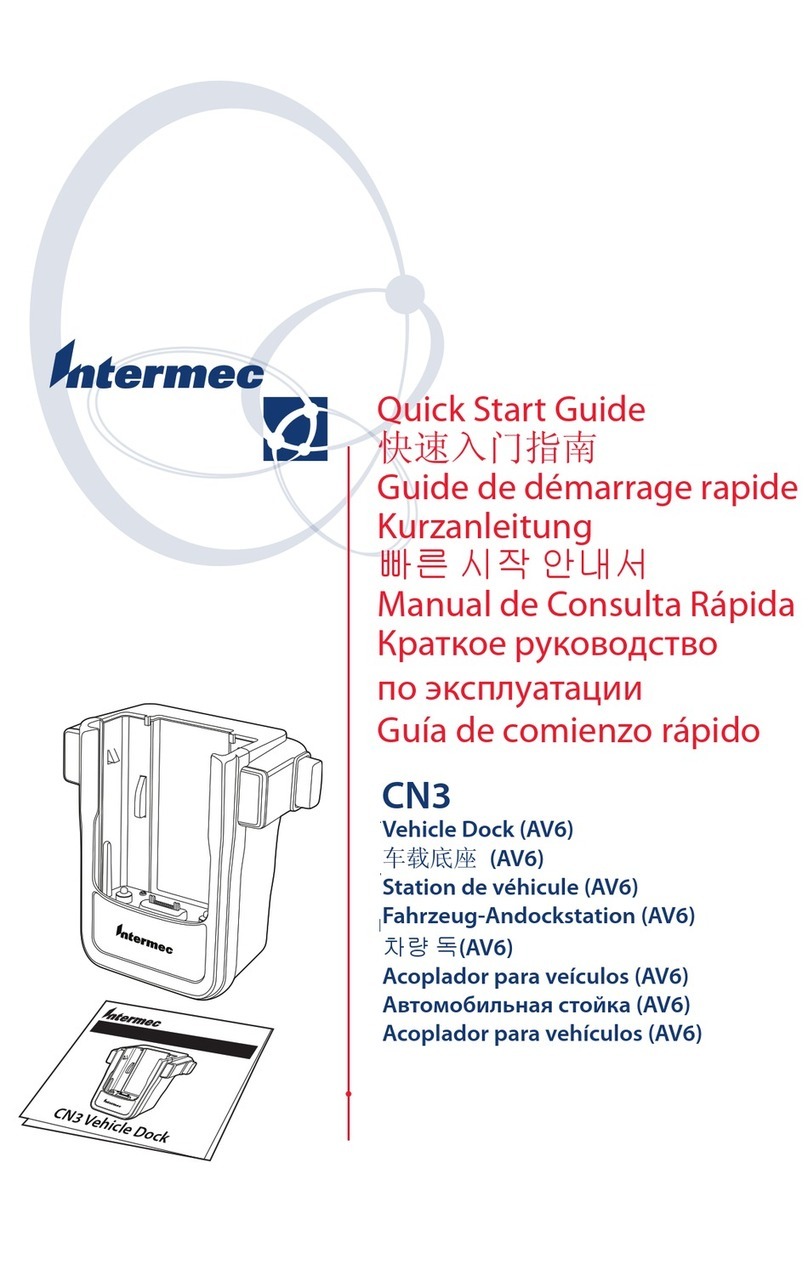
Intermec CN3 Series quick start guide

Intermec

Intermec CN3 Series quick start guide

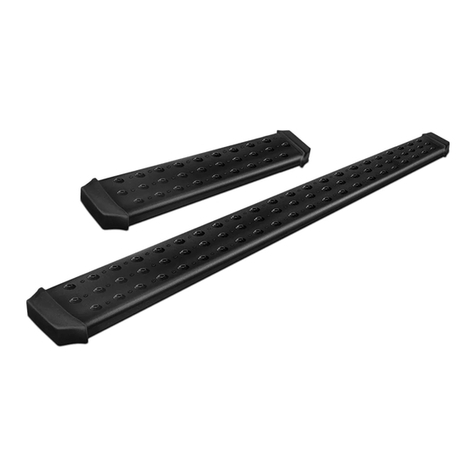
TrailFX RBV05B Assembly, Installation, Operation and Maintenance Instructions

TrailFX

TrailFX RBV05B Assembly, Installation, Operation and Maintenance Instructions

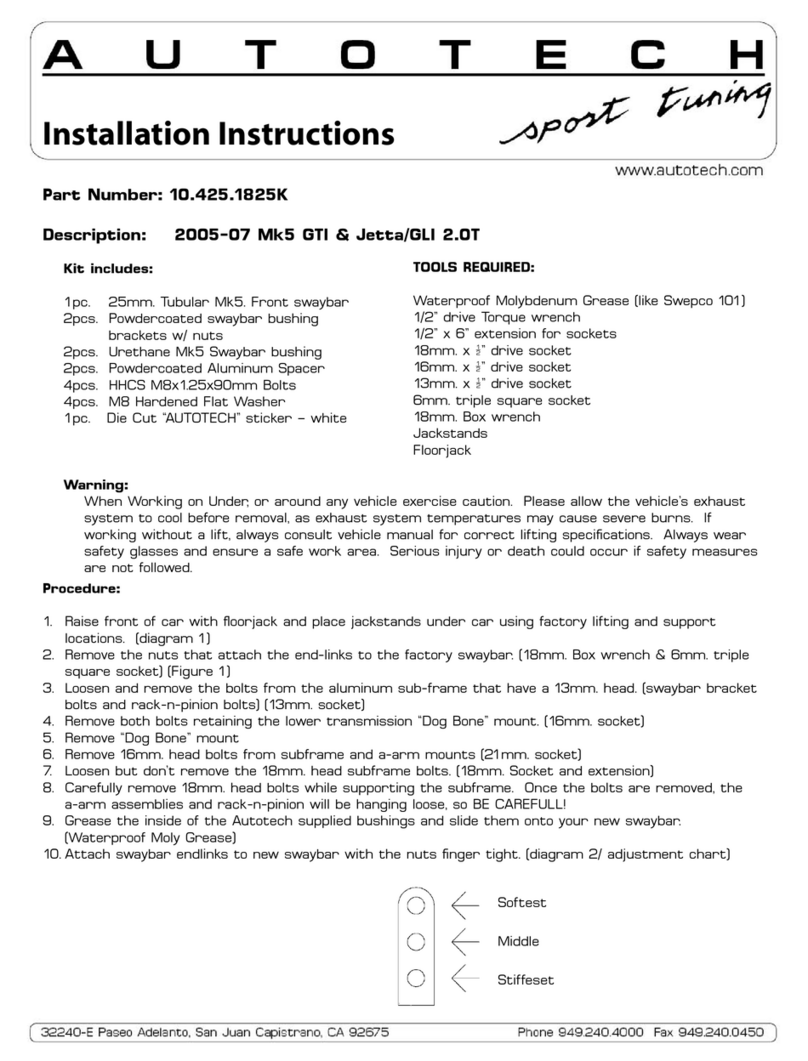
AUTOTECH 10.425.1825GK installation instructions

AUTOTECH

AUTOTECH 10.425.1825GK installation instructions

BURY EasyTouch Quick user guide

BURY

BURY EasyTouch Quick user guide

Porsche Mobile Charger Connect Driver manual

Porsche

Porsche Mobile Charger Connect Driver manual

Mont Blanc FK172 Fitting instructions

Mont Blanc

Mont Blanc FK172 Fitting instructions

Jotto Desk 425-5603 quick start guide

Jotto Desk

Jotto Desk 425-5603 quick start guide

Motoalliance VIPER PLOW manual

Motoalliance

Motoalliance VIPER PLOW manual

Metra Electronics 95-3302 installation instructions

Metra Electronics

Metra Electronics 95-3302 installation instructions

Vauxhall KTA-2744/2-VX-en owner's manual

Vauxhall

Vauxhall KTA-2744/2-VX-en owner's manual

ARB RD116 installation guide

ARB

ARB RD116 installation guide

Lit Lightz Flex Series installation guide

Lit Lightz

Lit Lightz Flex Series installation guide

Baja Designs 44-7807 instructions

Baja Designs

Baja Designs 44-7807 instructions

KMS Sequential driver Manual for installation and setup

KMS

KMS Sequential driver Manual for installation and setup

Whispbar K385W Fitting instructions

Whispbar

Whispbar K385W Fitting instructions

MSW MSW-CC-S-70 user manual

MSW

MSW MSW-CC-S-70 user manual

Hella Flying Clutch II Mounting instructions

Hella

Hella Flying Clutch II Mounting instructions

Audi AIH-RNS installation guide

Audi

Audi AIH-RNS installation guide

manuals.online logo
manuals.online logoBrands
  • About & Mission
  • Contact us
  • Privacy Policy
  • Terms and Conditions

Copyright 2025 Manuals.Online. All Rights Reserved.