manuals.online logo
Brands
  1. Home
  2. •
  3. Brands
  4. •
  5. injen technology
  6. •
  7. Automobile Accessories
  8. •
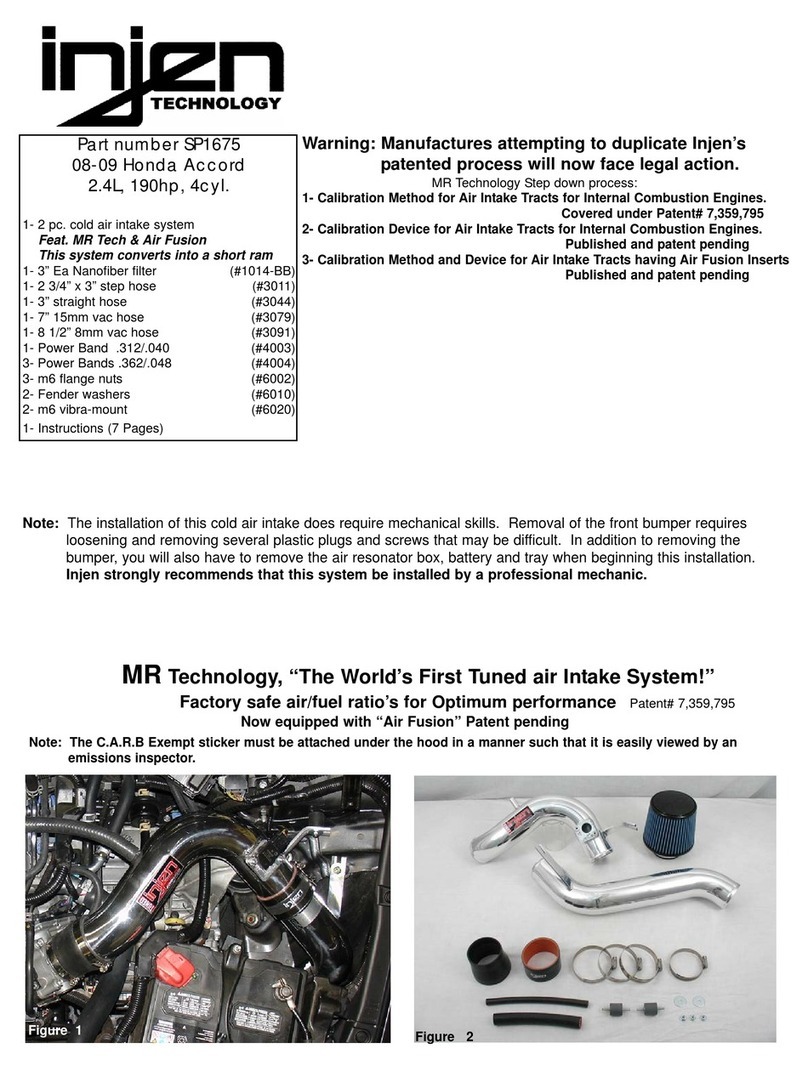
  9. injen technology SP1230 User manual

injen technology SP1230 User manual

Part numb r SP1230
2013-2020 Subaru BRZ
2013-2016 Scion FR-S
2017-2020 Toyota 86
2.0L 4cyl
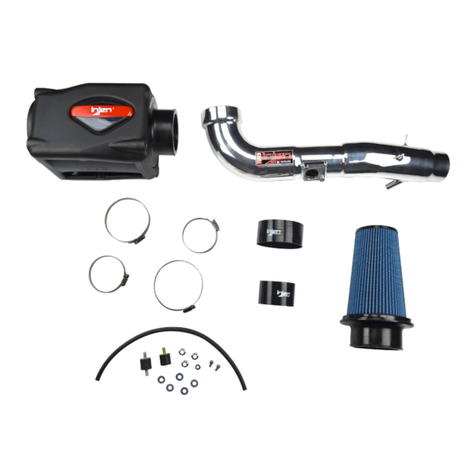
1- 1 intake system
1- 3.5”
Web nanofiber Dry filter
(#1021)
(#11086)1- Heat Shield
(#11087)
(#3044)1- 3” straight hose
2- #048 Clamps (#4004)
5-
M6 button head screws
(#6083)
(#6047)
2-
M4 button head screws
3-
M6x16mm Hex screws
(#6005)
1- M6 flange nut (#6002)
3- Fender washers (#6010)
1- 1.5” vinyl plug (#8040)
1- Rubber Trim @13.5"L (#6023)
ote: All parts and accessories now
sold on-line at :
“inj nonlin .com”
ote: The C.A.R.B Exempt sticker must
be attached under the hood in a man-
ner such that it is easily viewed by an
emissions inspector.
CARB E.O. 2013-2014 models only
Congratulations! You hav just purchas d th b st ngin r d,
dyno-prov n cold air intak syst m availabl .
Pl as ch ck th cont nts of this box imm diat ly.
Report any defective or missing parts to the Authorized Injen
Technology dealer you purchased this product from.
Before installing any parts of this system, please read the instructions
thoroughly. If you have any questions regarding installation please
contact the dealer you purchased this product from.
Installation DOES require some mechanical skills. A qualified
mechanic is always recommended.
*Do not attempt to install the intake system while the engine is hot.
The installation may require removal of radiator fluid line that may be
hot.
Injen Technology offers a limited lifetime warranty to the original
purchaser against defects in materials and workmanship. Warranty
claims must be handled through the dealer from which the item was
purchased.
Injen Technology 244 Pioneer Place Pomona, CA 91768 USA
Please check the contents of this box immediately.
Note: This intake system was Dyno-tested with an Injen filter and
Injen parts. The use of any other filter or part will void the
warranty and CARB exemption number.
Parts and accessories are available on line at “Injenonline.com
Figure 2
Figure 1
NOTE: DISCONNECT BATTERY BEFORE
INSTALLATION! THIS WILL RESET AND
START FUEL-TRIMS AT ZERO!
Cyborg Intake System
“The World’s First Tuned air Intake System!”
Factory safe air/fuel ratio’s for Optimum performance
Injens tuning process covered by three .S. Patents
Note: Injen strongly recommends that this system be installed by a
professional mechanic.
Warning: Manufactures attempting to duplicate Injen’s
patented process will now face legal action.
MR Technology tep down process:
1- Calibration Method for Air Intake Tracts for Internal Combustion Engines.
Covered under Patent# 7,359,795
2- Calibration Device for Air Intake Tracts for Internal Combustion Engines.
Published and patent pending
3- Calibration Method and Device for Air Intake Tracts having Air Fusion Inserts
Published and patent pending
1- Heat Shield Cover
A)Loosen the 2 screws holding in the MAF sensor using
the phillips screwdriver. B)Remove the MAF sensor
from the vehicle.
ecure MAF sensor using provided M4 button head
screws. Tighten using 2.5mm allen key.
Un-clip the upper part of the air box, remove the upper
assembly including the intake tube from the vehicle.
Now lift up and remove the lower intake assembly
from vehicle.
Loosen the clamp on the ound Tube resonator. Disconnect MAF sensor harness and pull line away
from air box.
tock box shown in this picture. DISCONNECT
BATTERY BEFORE INSTALLATION! THIS WILL
RESET AND START FUEL-TRIMS AT ZERO!
With pliers, pull back the crank case line from the
intake fitting.
Loosen the clamp on the throttle body using 8mm nut
driver.
Loosen the clamp on the intake tube and remove the
sound tube. This will no longer be used on the new
Injen intake system.
Loosen the 3 bolts holding in the bottom half of the air
box using 10mm socket and ratchet.
Install the MAF sensor into the intake tube.
Figure 3 Figure 4 Figure 5
Figure 6 Figure 7 Figure 8
Figure 9 Figure 10 Figure 11
Figure 12 Figure 13 Figure 14
Page 2 of Part# SP1230
A
This line will not be used
B
Position for best fit. Tube will have slight angle for fil-
ter to clear heat shiel cover. Make sure the tube
sits up against the throttle bo y. Do not tighten.
Now position for best fit, ecure and tighten using
8mm nut driver.
Tighten all screws using 10mm socket an ratchet. Now install intake tube through heat shield and posi-
tion to throttle body.
ecure the front of the heat shield using provided M6
hex screw and fender washer.
A) Place provided hex screw from bottom of radiator
support through tab. Hold screw in place.
B) Now secure using provided M6 nut and fender
washer.
Pull back the clip that is holding in cable located on the
radiator support. This hole will support the tab on the
new Injen heat shield.
A)Install the heat shield and position the tabs to fac-
tory mounting points. B)Position tab to radiator sup-
port from step 15.
Install the vinyl trim to the hole in the heat shield..
ecure the back of the heat shield using provided M6
screw and fender washer.
Now install the 3” straight hose to the throttle body
with clamps and tighten on the throttle body only.
Install the filter to the intake tube and tighten using
8mm nut driver. MAKE URE THAT THE FILTER
FLANGE GOE ON THE TUBE 3/4”-1” AND TOP.
DO NOT FORCE FILTER ON ANY FURTHER.
Figure 15 Figure 16 Figure 17
Figure 18 Figure 19 Figure 20
Figure 24 Figure 25 Figure 26
Figure 23
Figure 22 Figure 21
Page 3 of Part# SP1230
AB
This hole will be used
A
B
A) ecure the crank case line to fitting on tube using
pliers and factory clamp. B)Reconnect the MAF sen-
sor harness.
With vinyl cap provided, cap-off the sound tube
resonator.
Now attach the cover to the heat shield.
Figure 27 Figure 29
Figure 28
Page 4 of Part# SP1230
1. Upon completion of the installation, reconnect the negative battery terminal before you start the engine.
2. Align the entire intake system for the best possible fit. Once the intake has been properly fitted continue
to tighten all nuts, bolts and clamps.
3. Periodically, recheck the alignment of the intake system and make sure there is proper clearance around
and along the length of the intake. Failure to follow proper mainentance procedures may cause
damage to the intake and will void the warranty.
4. Start the engine and listen carefully for any odd noises, rattles and/or air leaks prior to taking it for a test
drive. If any problems arise go back and check the vacuum lines, hoses and clamps that maybe causing
leaks or rattles and correct the problem.
5. Check the filter for excessive dirt build up. Clean or replace the filter with an original Injen filter (can be
bought on-line at “injenonline.com”). Congratulations! You have just completed the installation of the best
intake system sold on the market. Enjoy the added power and performance of your new intake system.
Congratulations! You have just completed the installation of this intake system.
Periodically, check the alignment of the intake, normal wear and tear can cause
nuts and bolts to come loose. Note: Check clearance an a just if nee e !
Failure to check the alignment an a just the intake can cause amage that
will voi the warranty. Injen Technology is not responsible for any amages
cause by/from improper installation.
Figure 31
With provided M6 button head screws, secure the cover and tight-
en. Re-position if necessary. NOW CONNECT BATTERY TERMI-
NALS. START VEHICLE AND LET IDLE FOR 5 MINUTES.
Figure 30
A
B

Other injen technology Automobile Accessories manuals

injen technology SP3028 User manual

injen technology

injen technology SP3028 User manual

injen technology PF2057 User manual

injen technology

injen technology PF2057 User manual

injen technology EVO1107 User manual

injen technology

injen technology EVO1107 User manual

injen technology SP1870 User manual

injen technology

injen technology SP1870 User manual

injen technology SP7035 User manual

injen technology

injen technology SP7035 User manual

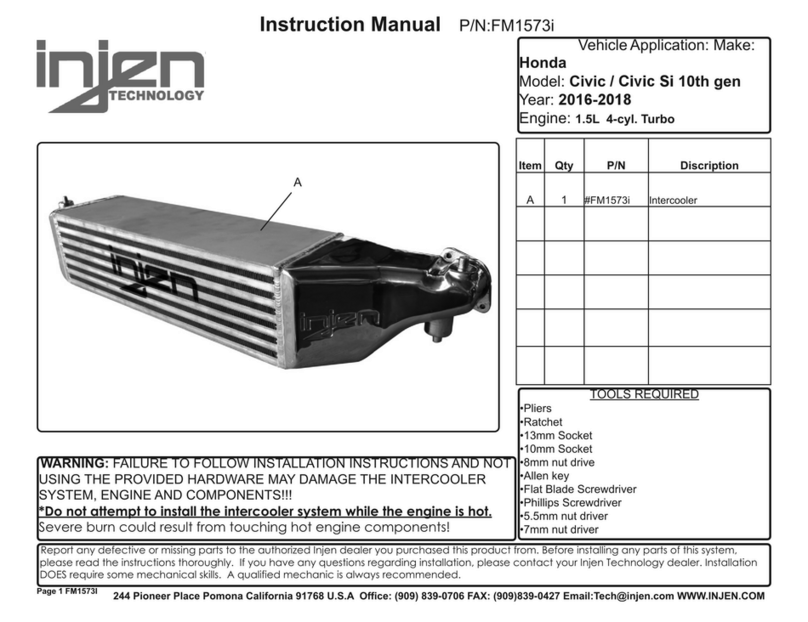
injen technology FM1573i User manual

injen technology

injen technology FM1573i User manual

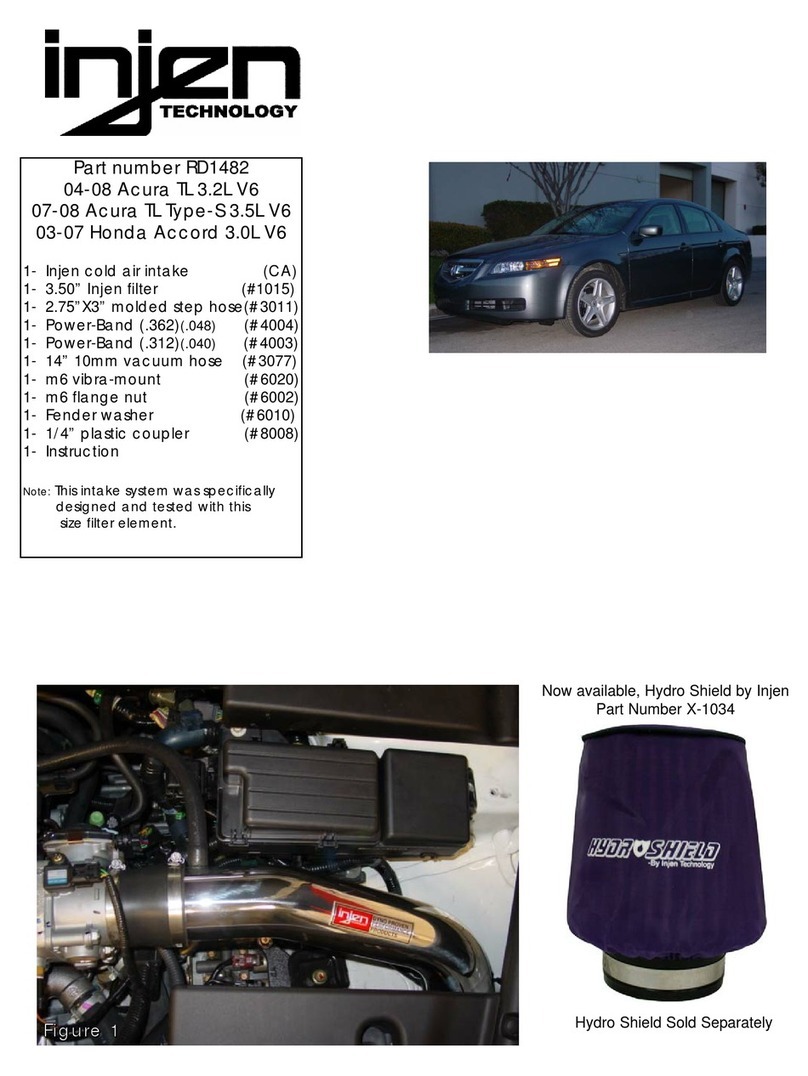
injen technology RD1482 User manual

injen technology

injen technology RD1482 User manual

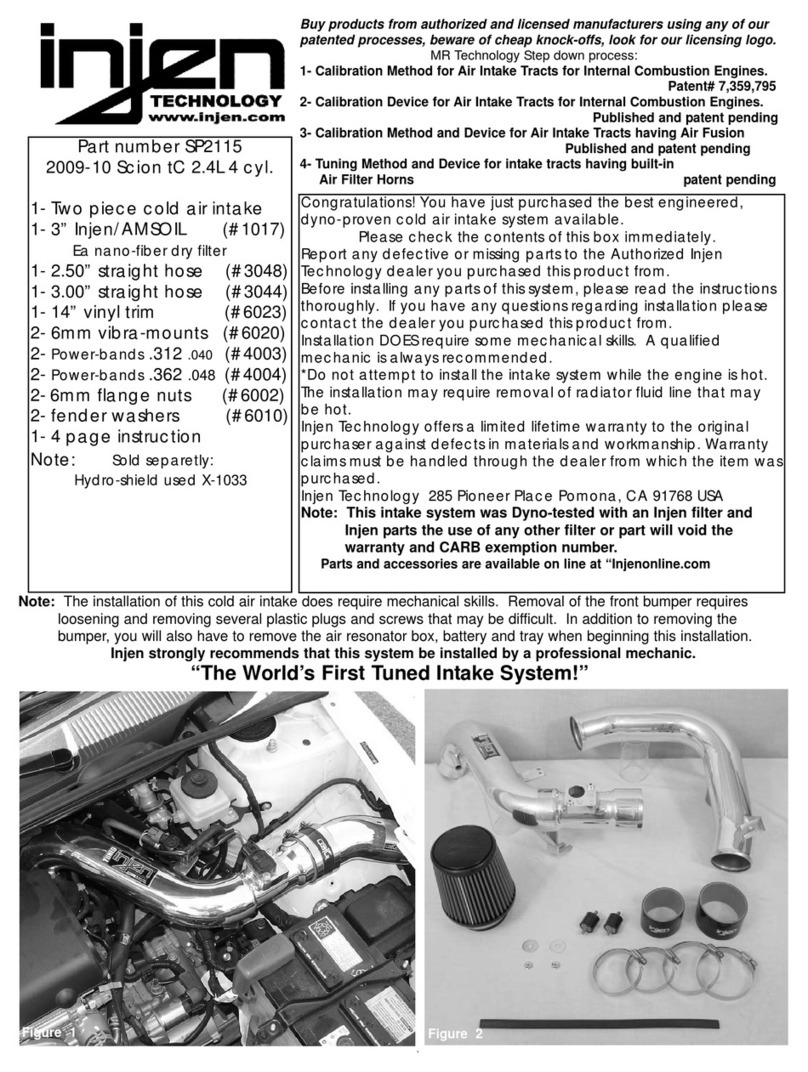
injen technology SP2115 User manual

injen technology

injen technology SP2115 User manual

injen technology SP1571 User manual

injen technology

injen technology SP1571 User manual

injen technology SP1675 User manual

injen technology

injen technology SP1675 User manual

Popular Automobile Accessories manuals by other brands

Suzuki 99178-78R00 installation instructions

Suzuki

Suzuki 99178-78R00 installation instructions

Dakota Digital Odyssey II Series manual

Dakota Digital

Dakota Digital Odyssey II Series manual

Kargo Master 40601SH installation guide

Kargo Master

Kargo Master 40601SH installation guide

DVB Third Brake Light Extension Bracket installation manual

DVB

DVB Third Brake Light Extension Bracket installation manual

Skoda iV Charger manual

Skoda

Skoda iV Charger manual

Scosche FD5000SW manual

Scosche

Scosche FD5000SW manual

Prorack K124 Fitting instructions

Prorack

Prorack K124 Fitting instructions

SEEKROAD TPM003A operating manual

SEEKROAD

SEEKROAD TPM003A operating manual

Aries 203016 installation manual

Aries

Aries 203016 installation manual

Myto cz Billien OBU 5051 Basic user's guide

Myto cz

Myto cz Billien OBU 5051 Basic user's guide

SpeedTech Lights K-FORCE 27 LINEAR instruction manual

SpeedTech Lights

SpeedTech Lights K-FORCE 27 LINEAR instruction manual

Scosche TA2121B quick guide

Scosche

Scosche TA2121B quick guide

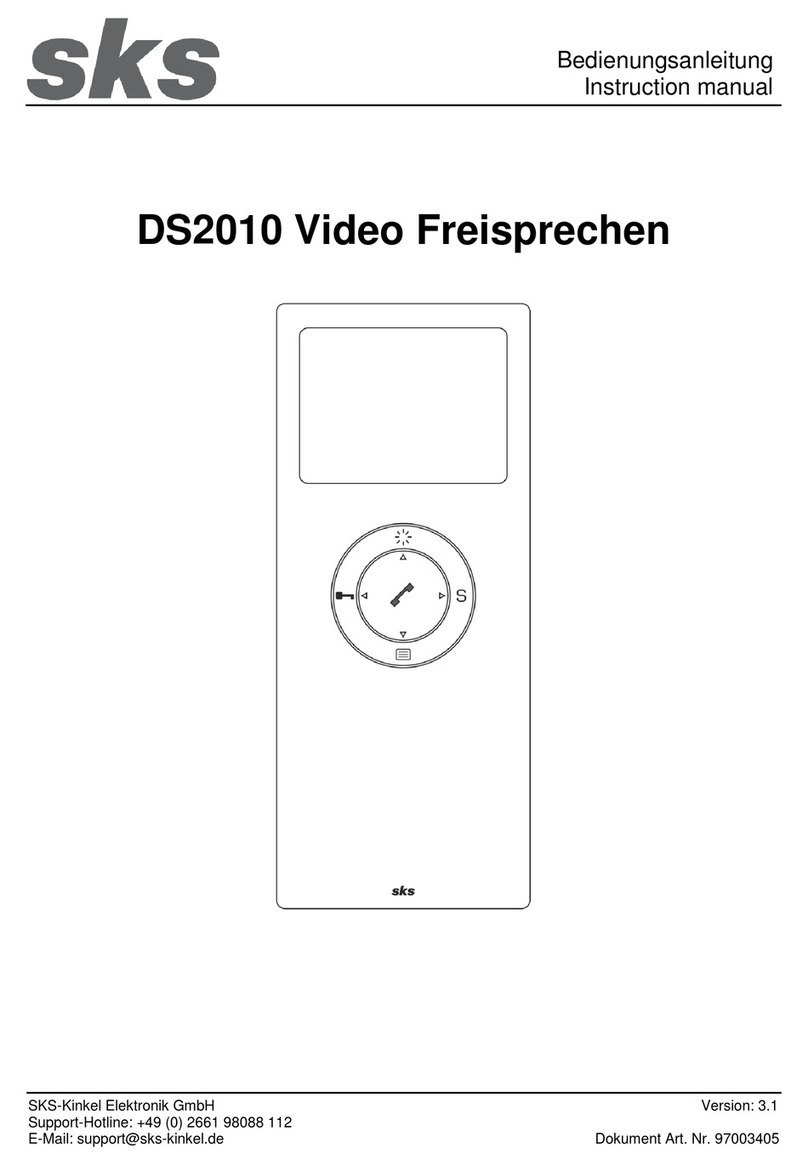
SKS–Kinkel Elektronik DS2010 instruction manual

SKS–Kinkel Elektronik

SKS–Kinkel Elektronik DS2010 instruction manual

TrailFX FCLR003B Assembly, Installation, Operation and Maintenance Instructions

TrailFX

TrailFX FCLR003B Assembly, Installation, Operation and Maintenance Instructions

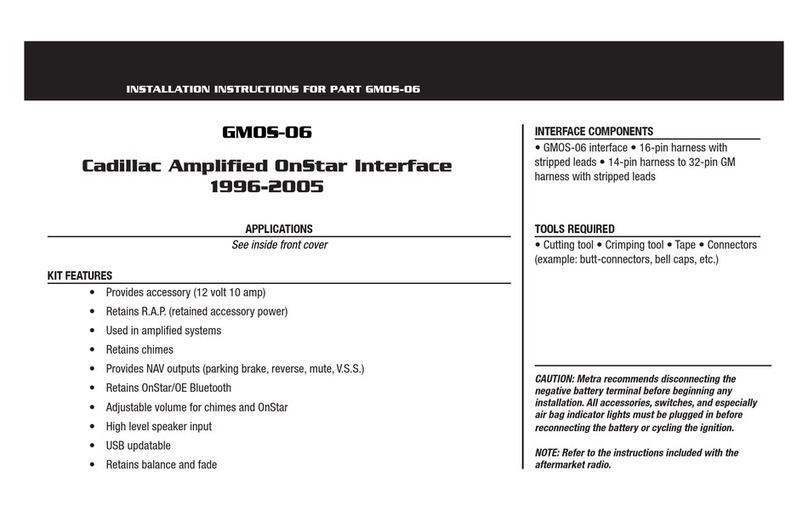
Metra Electronics GMOS-06 installation instructions

Metra Electronics

Metra Electronics GMOS-06 installation instructions

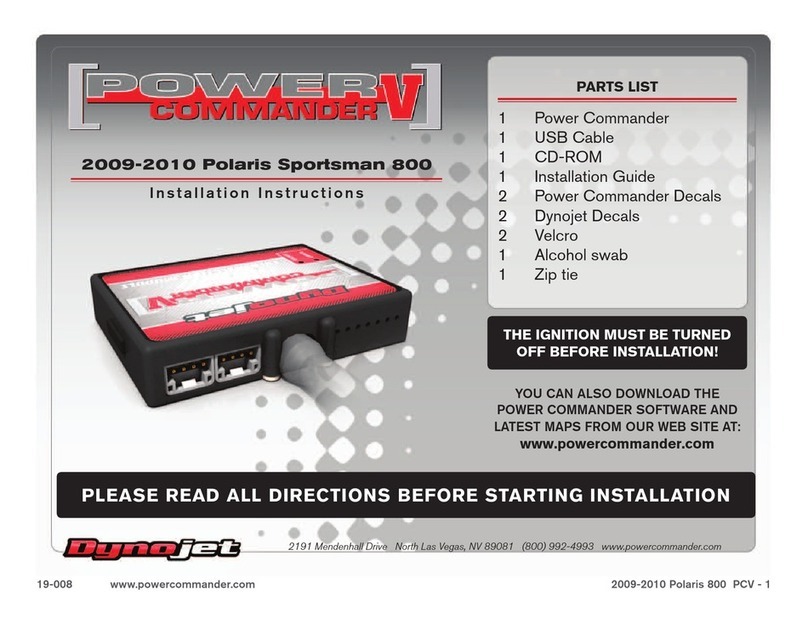
Dynojet Power commander V installation instructions

Dynojet

Dynojet Power commander V installation instructions

Rescue 42 podRUNNER quick start guide

Rescue 42

Rescue 42 podRUNNER quick start guide

RVS SenseVue instruction manual

RVS

RVS SenseVue instruction manual

manuals.online logo
manuals.online logoBrands
  • About & Mission
  • Contact us
  • Privacy Policy
  • Terms and Conditions

Copyright 2025 Manuals.Online. All Rights Reserved.