3 4
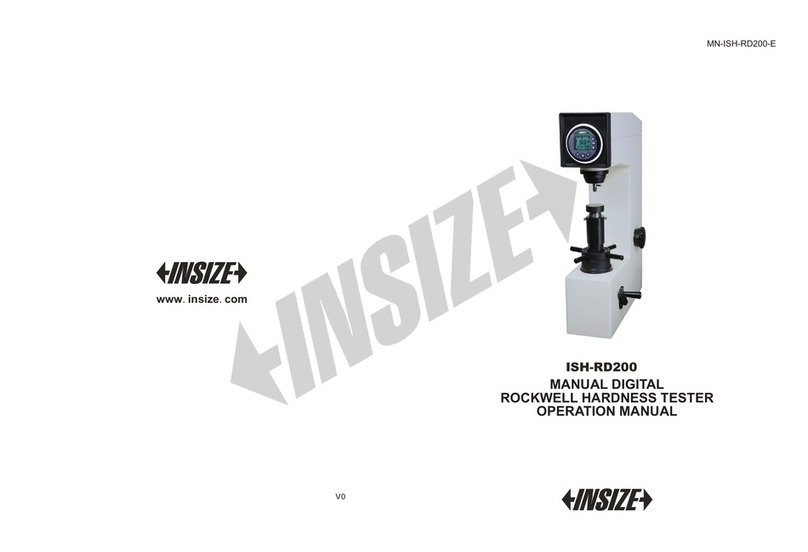
Main Technical Parameters
Initial test force: 10kg
Test force: 30, 100, 150kg
Force applying method: by screw
Indenter: 120°diamond cone, Ø1.588mm carbide balls
Testing Items: HRC, HRB, HRA
Resolution: 1HR
Accuracy: Meets the requirements of ISO6508/6506
Application: All metals, including steel, forged steel, cast iron, copper,
copper alloy, aluminum, aluminum alloy and carbides etc.
Operation
Test Conditions:
Make sure the surface is flat and smooth. It is forbidden to have scale,
decarburized layer, steel pit or dust on the surface of the part.
1
2
3
4
Set the load dial to “0”:
Check the indicator, it should rest exactly on the red dot “0” on the
indicator dial. If it doesn’t, adjust the dial by turning the bezel to locate
the red dot.
Fix the test piece:
Put the test piece into the opening of the tester with its back side
contacting the anvil tight, and be sure to keep its testing surface vertical
to the principal axis of the indenter. Turn the hand wheel to make the
main shaft of the tester move to the left, and the indenter is made to hit
on the test piece surface.
Apply initial test force:
Slowly turn the hand wheel
clockwise to bring the indicator
to the position of initial force
F0 (for Rockwell Hardness
Tester F0=10Kg.
5Set the full scale line to “0”:
Rotate the rotational drum dial anticlockwise until its pin rests against
the upper edge of the magnifier. Meanwhile, the operator should adjust
the observing angle to make the full-scale benchmark line on the fixed
drum dial (the red scale mark 130, black scale mark 100) exactly
aligned beneath the reading scale mark of the magnifier. The operator
should keep this viewing angle also known as the viewing angle for
reading the hardness value until the test is finished.
6Load and unload major test force:
Rotate the hand wheel stably clockwise to bring the indicator to the
position of total test force F=F0+F1 (e.g., for HRC scale, F=150kg). The
indicator should be aligned exactly to the marked scale of the selected
test force. If the goes beyond the scale mark, the testing
should be considered as failure. Then unload the test force and choose
a new point on the test piece to make a new test.
The time duration from loading initial test force to loading total test
force should be no more than 8 seconds.
After loading total test force, the test force should be maintained 3 to
5 seconds. Then completely unload major test force within 2 seconds
to bring the indicator back to the position of initial test force F0.
indicator
Test force
60kg
100kg
150kg
Scale
HRA
HRB
HRC

